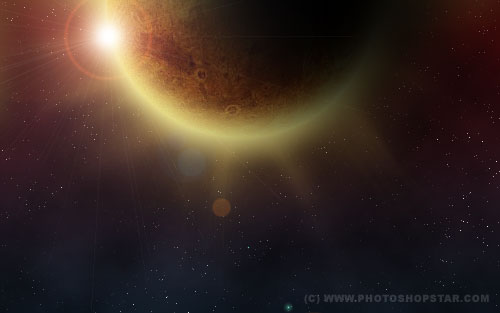
Here is one more tutorial about creating space landscape. It is not so difficult but very useful. I’ll teach you how to recreate solar eclipse in space.
So, let’s begin to recreate it! Set foreground color as #500000 and background color as black. After that apply Filter > Render > Clouds to our canvas.
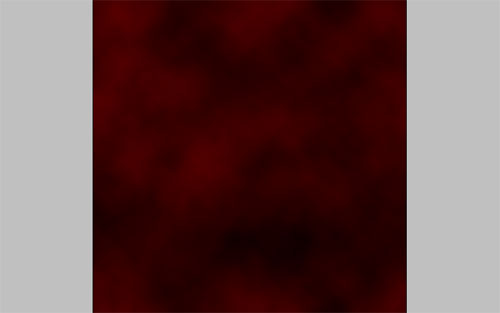
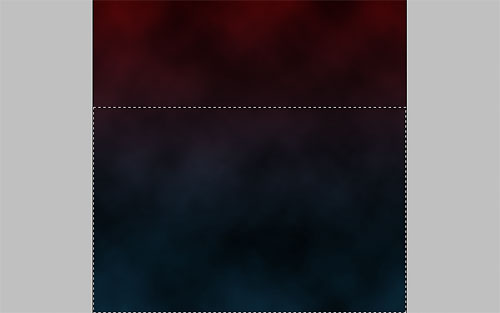
To change the background color at the bottom of the picture apply Quick Mask Mode with gradient as below:
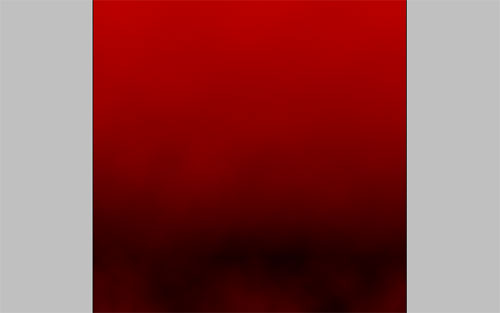
Then go back to Standard Mode. Now we have some selected area.
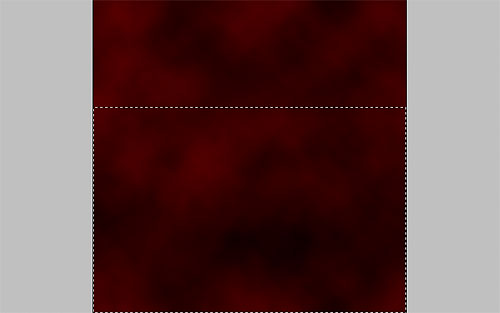
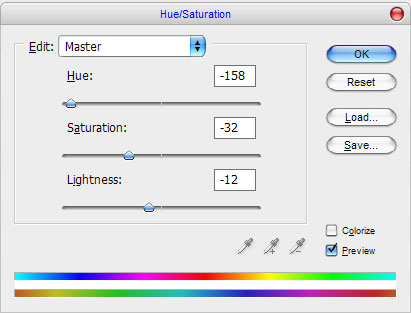
Change color of selected area with Image > Adjustment > Hue/Saturation with similar settings to these:
See the difference now?
Ok, move further. Remove the selection with Select > Deselect, after that create a new layer and fill it with black color. Apply Filter > Noise > Add Noise to this layer.
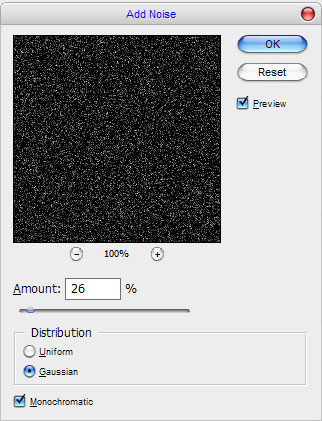
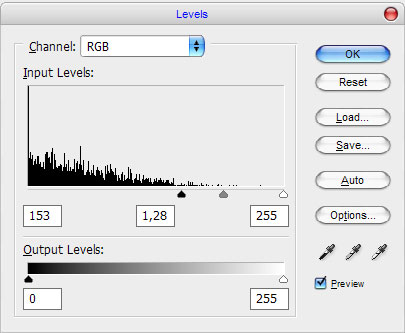
Change layer style to screen and use Image > Adjustment > Levels with next presets:
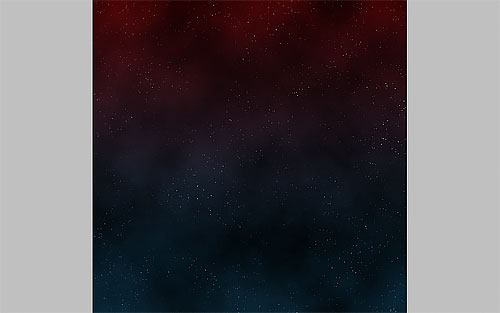
Now we have picture as below:
Ok, now select the Eraser Tool and a soft round brush and make a little clear work to get the result as on my picture below.
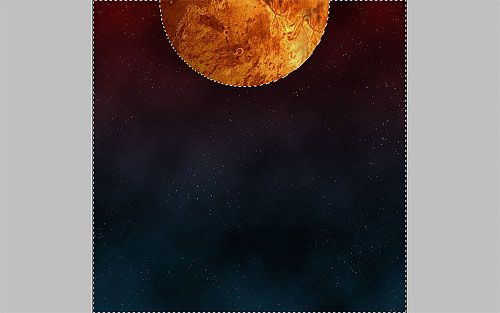
Time to recreate the solar eclipse. In the beginning try to find some appropriate texture of magma what we will use for the sun recreating. Feel free to use your own textures also. Open up this picture and copy to our main canvas.
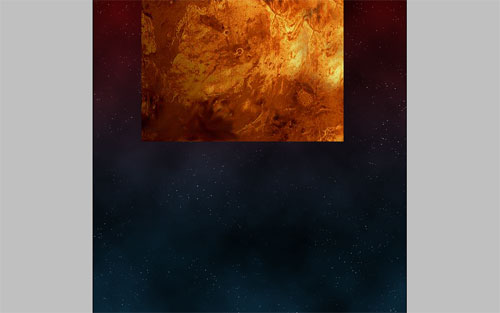
Then get out the Elliptical Marquee Tool to create round selection as shown on the picture below. Invert selection with Ctrl+Shift+I and use Delete to clear selected area.
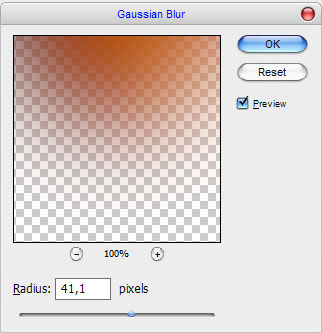
Remove selection with Ctrl+D and duplicate current layer using Ctrl+J. Ok, move to original lower layer and apply Filter > Blur > Gaussian Blur with similar settings to these:
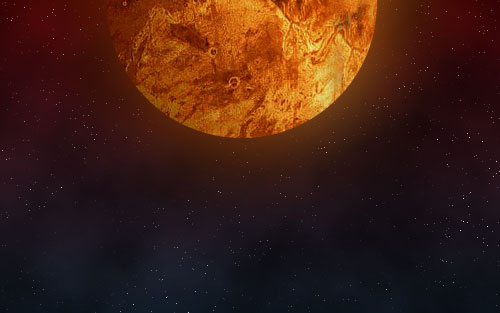
Your result should be next:
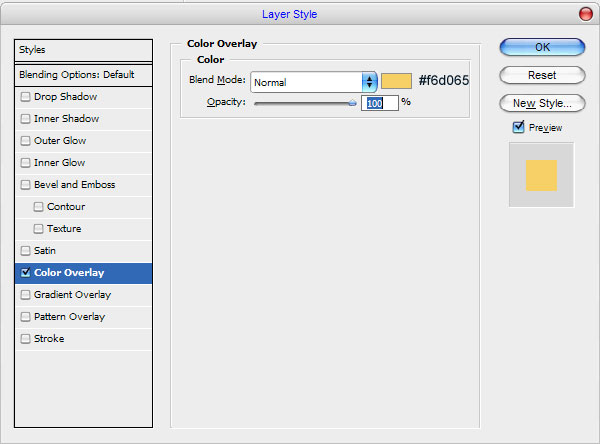
Ok, apply Color Overlay layer style to this layer.
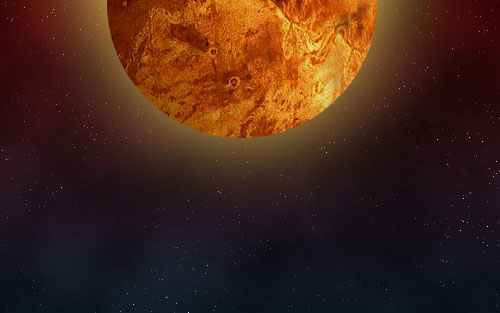
Use the Smudge Tool to create sunlight beams.
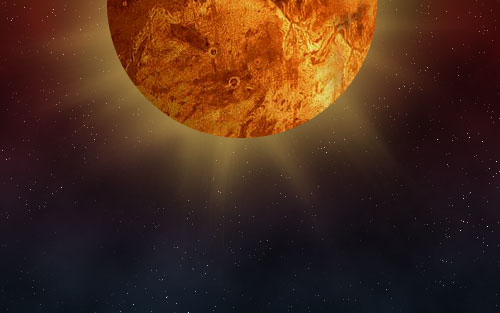
Ok, now move to copied upper layer again and start to process it. In the beginning select it with Select > Load Selection and after that apply Filter > Distort > Spherize. Use next parameters for this filter.

Remove the selection. See the result below.
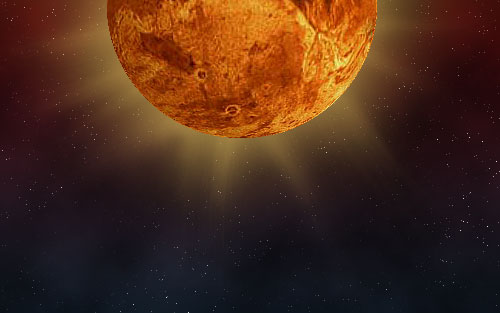
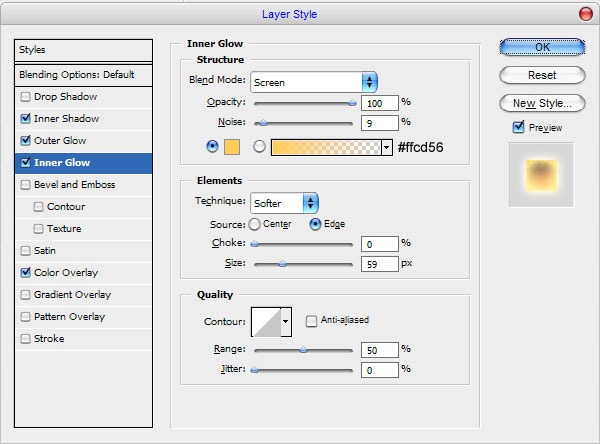
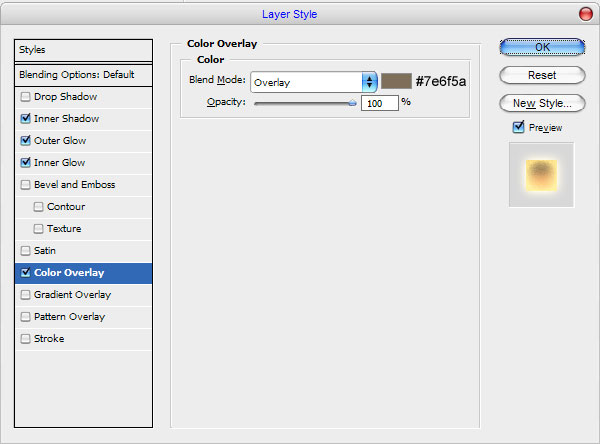
Then apply Inner Shadow, Outer Glow, Inner Glow, Color Overlay layer styles to this layer.
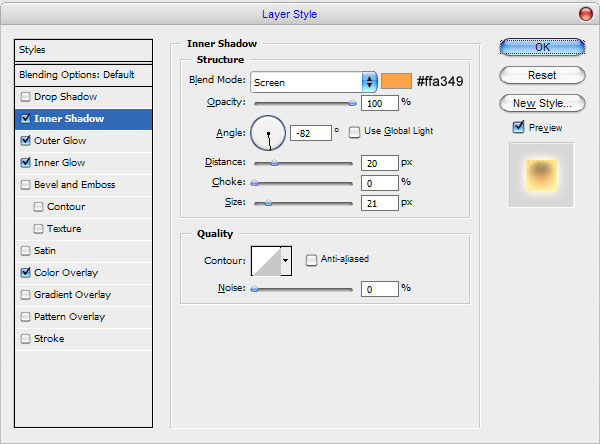
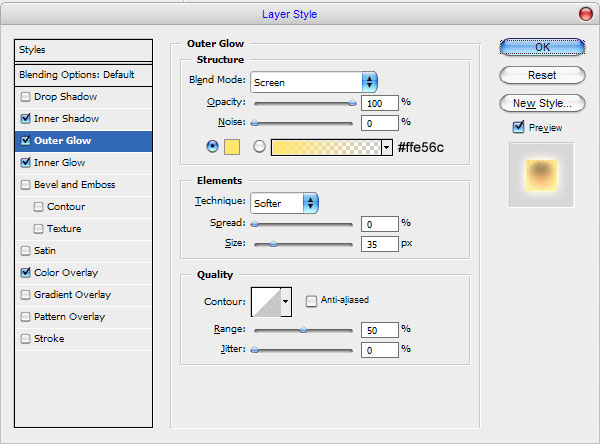
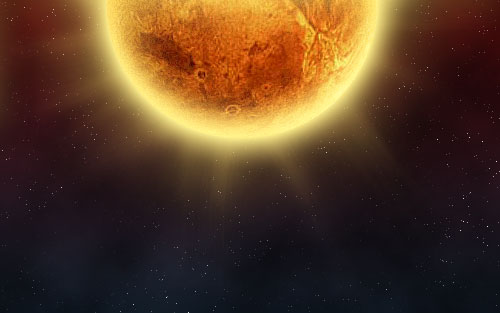
Looks better than before, don’t you think? Move to the next step. Create a new layer and use the Elliptical Marquee Tool to create round selection, fill it with black color.
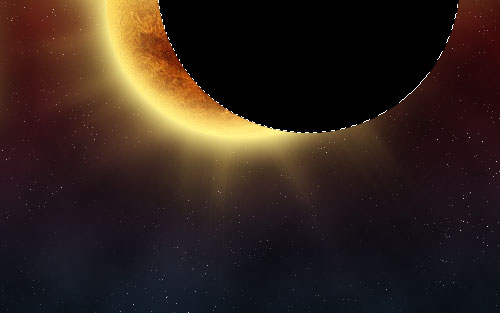
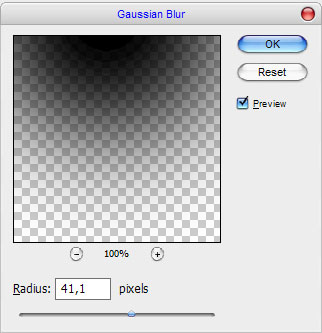
Deselect this layer with Ctrl+D and apply Filter > Blur > Gaussian Blur with next presets:
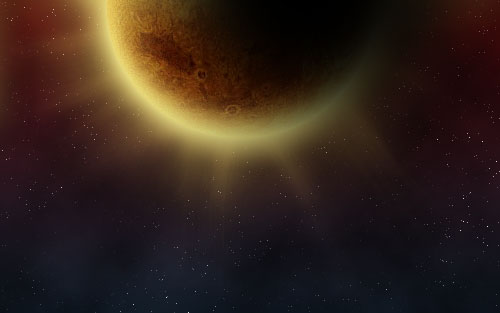
Your image should look as mine:
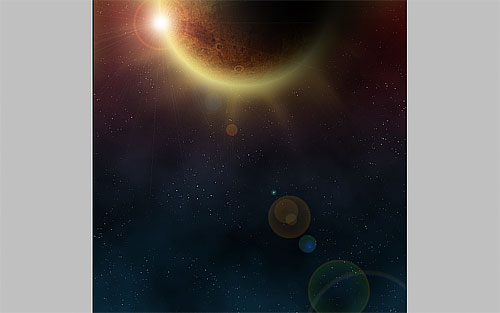
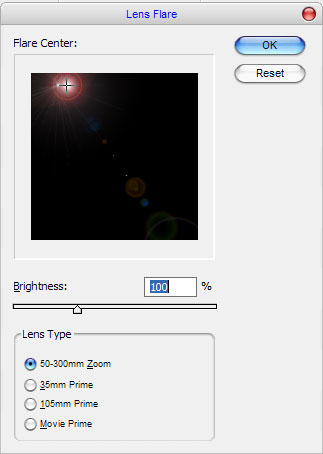
Ok, and the last one step that you need to do is to make optical lens flare. For this effect create a new one layer and will it with black color. Change layer mode for this layer to Screen and apply Filter > Render > Lens Flare:
Looks cool as for me!
We are done for now! Hope you have the same good result! Don’t be afraid to experiment and you will get the best results!

