Learn how to create a ghost in the landscape with this Photoshop tutorial.
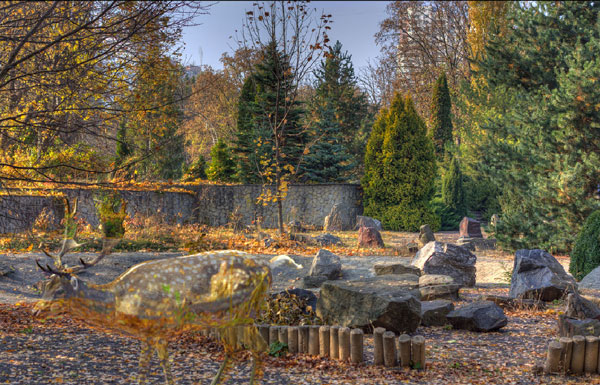
Final Image Preview
Resources
Step 1
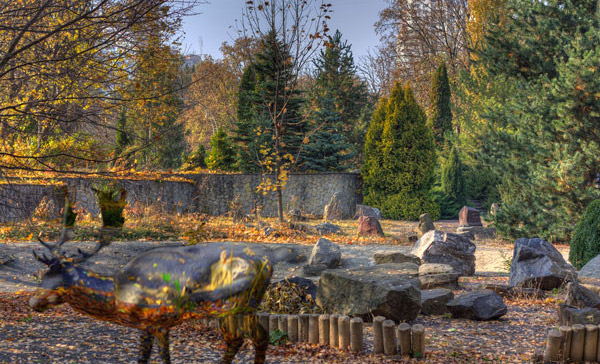
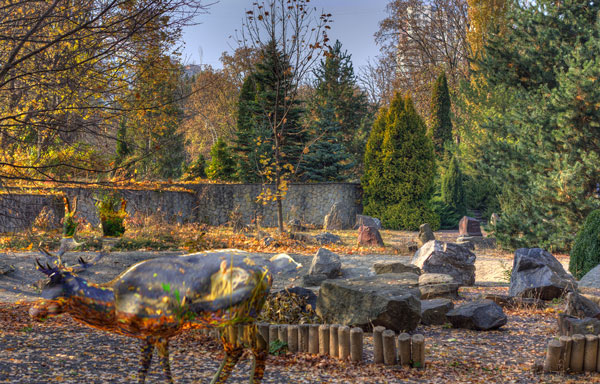
Download and open both photos in Photoshop. Start by working on Deer photo. With Polygonal Lasso Tool make selection of deer. When you have completed, press Ctrl+C to copy deer. Paste selection on scenery photo with Ctrl+V to have something similar to what I have.
Step 2
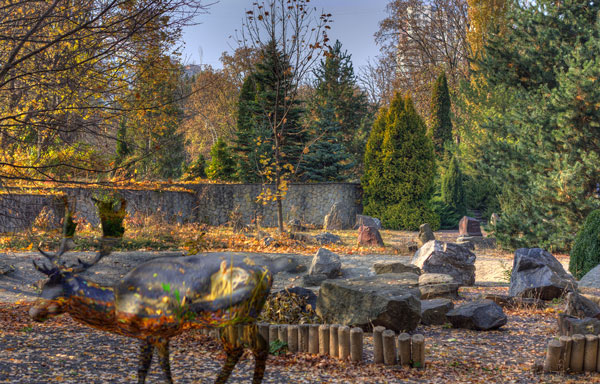
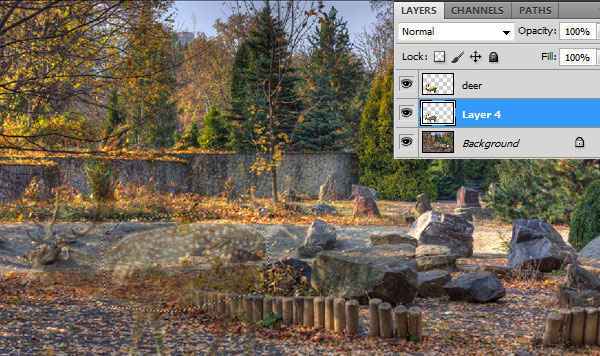
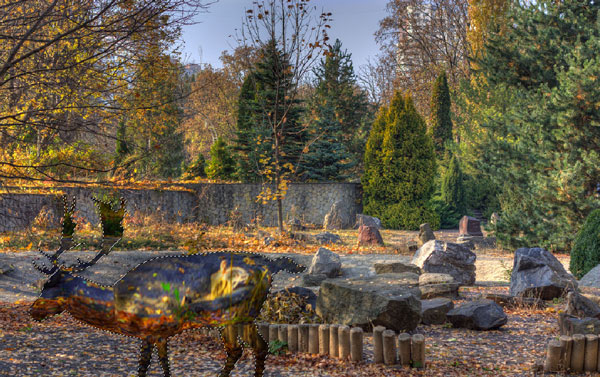
Update deer layer opacity to 45% so we can see background.
With deer layer selected go to Select > Load Selection. Hide deer layer (click on layer eye to turn layer visibility off). Select background layer and press Ctrl+J to duplicate layer selection into a new layer.
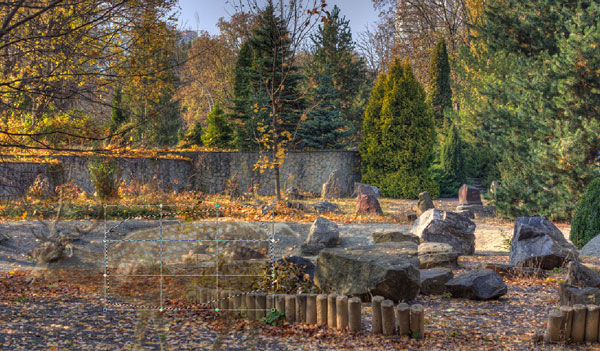
Turn back layer visibility on in deer layer. Select Polygonal Lasso Tool and create a selection like mine.
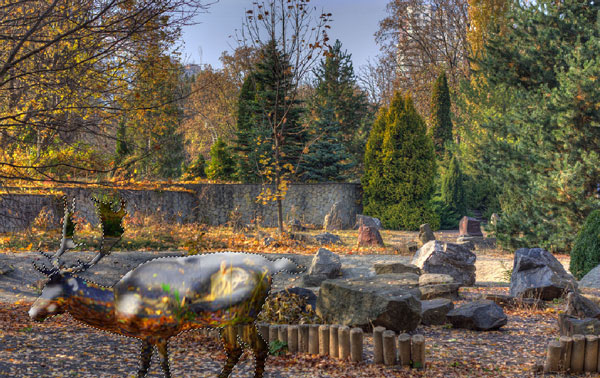
Go to Edit > Transform > Warp to change the shape and perspective.
Begin to stretch the content of the layer to create the impression of the distortion of space.
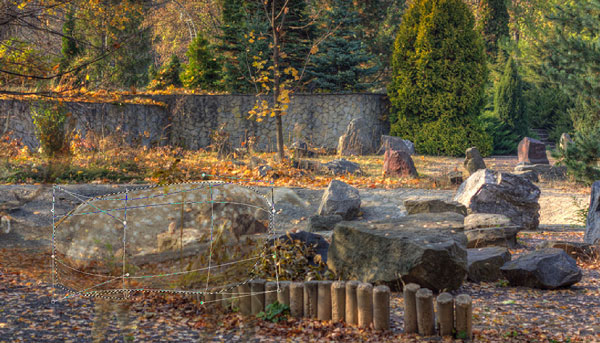
Apply same technique to other parts of body.
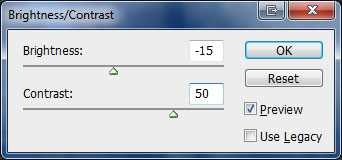
Delete deer layer by selecting it and pressing Del. With background fragment layer selected Go to Image > Adjustments > Brightness/Contrast.
Step 3
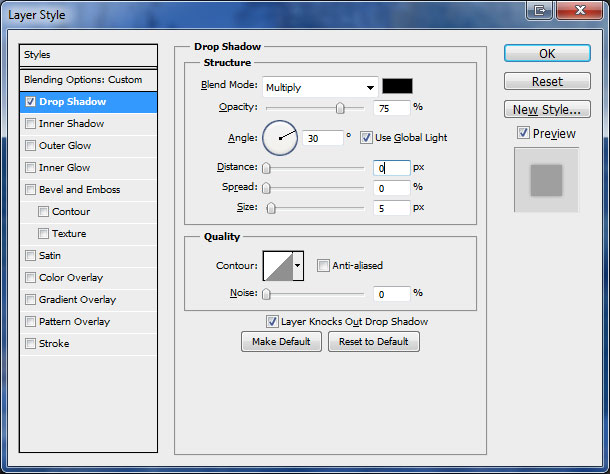
Apply following layer styles by going to Layer > Layer Style > Blending Options.
Step 4
Go to Select > Load Selection to load selection. Create a new layer on top and change layer mode to Hard Light. Select Brush Tool (black color, hard round brush with opacity at 30%-50%) and apply to bottom parts of selection.
Step 5
Create a new layer above all and update layer mode to Hard Light. Select Brush Tool again and highlight upper parts of selected area with white color.
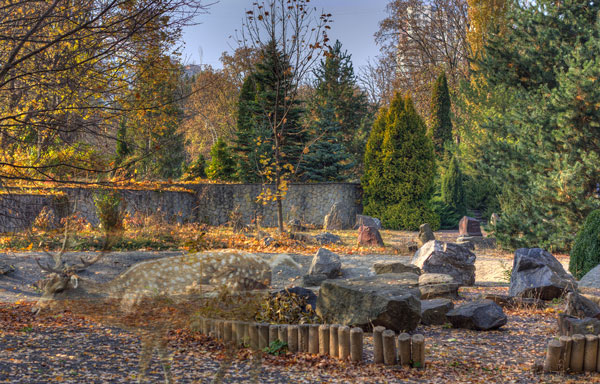
To finish this tutorial, reduce layer opacity to 50% and deselect selection by pressing Ctrl+D.
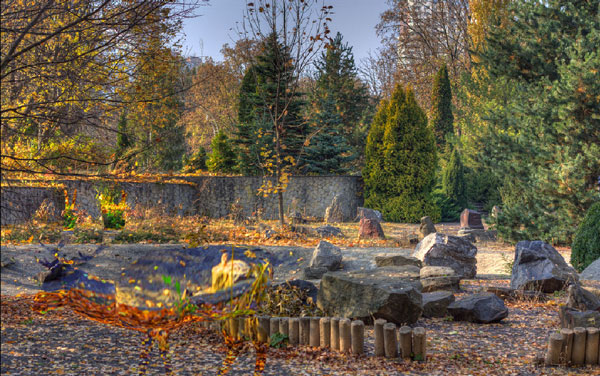
Final Image