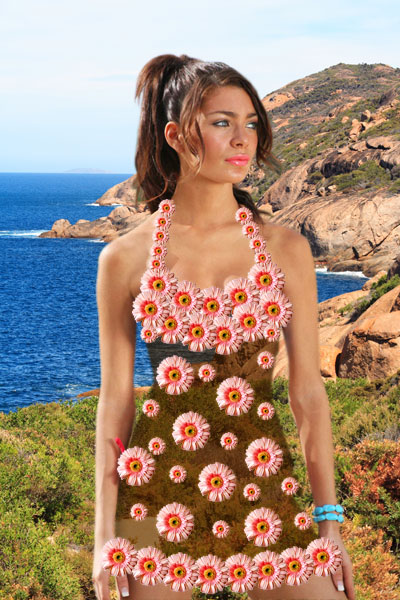
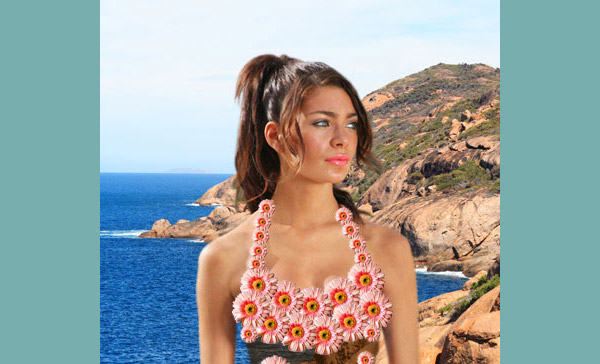
In this Photoshop tutorial I’m going to show you how to make an interesting creative effect of creating transparent clothes on woman body.
Final Image

Resources
Step 1
Open the beach photo and reduce the size to 400 x 600px with Image > Image Size.
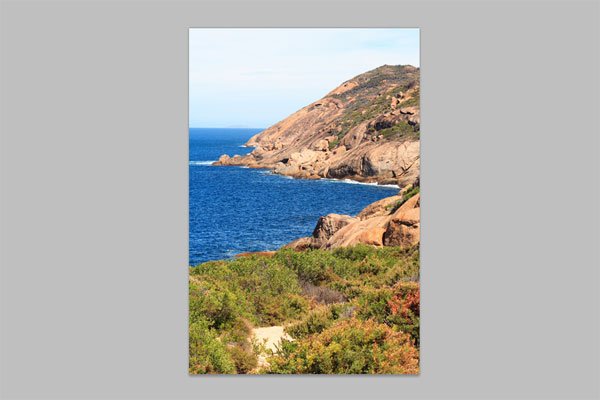
Step 2
Open the bikini photo and reduce the size of it with Image > Image Size again.
Select the Polygonal Lasso Tool (Feather: 1px) to separate the woman from the background.
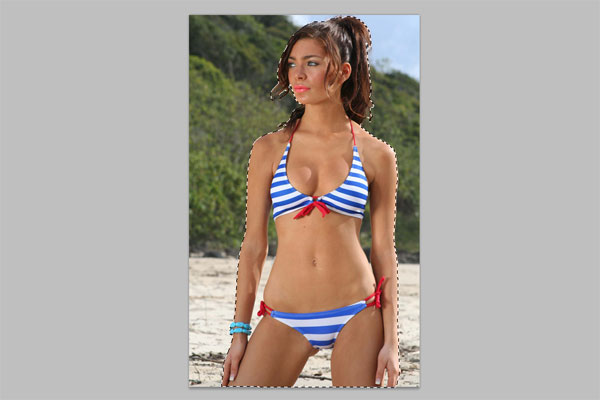
Hold Alt button and cut away the inner parts of the background between hands and body also.
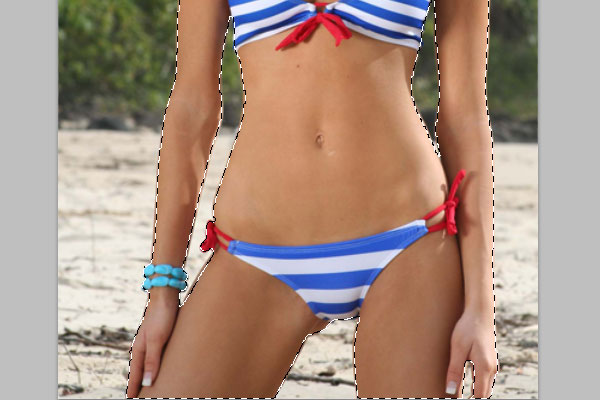
Press Ctrl+C to copy the selected area, then go back to the main picture with the scenery background and paste the image selection with Ctrl+V.
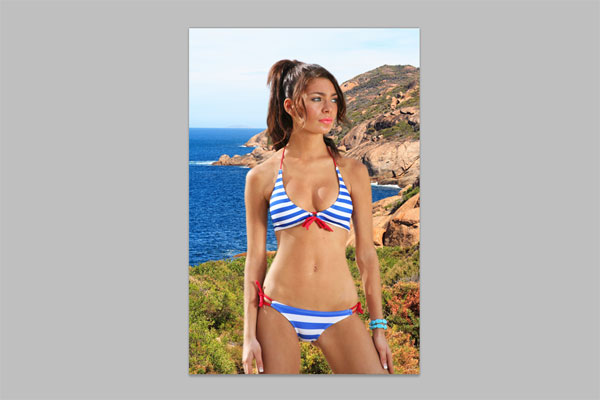
Use Edit > Free Transform to reduce the size of the copied fragment a bit and flip it horizontally with Edit > Transform > Free Transform as shown on my picture below.

Step 3
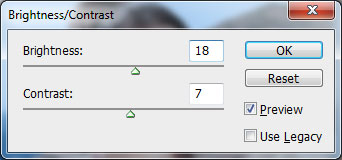
Since the background where we put the girl is brighter, we have to adjust the brightness of the layer with the girl. Make the layer with girl active and make the adjustment with Image > Adjustments > Brightness/Contrast:
Step 4
Open the pink daisy photo and use the Polygonal Lasso Tool to separate the flower from the background.
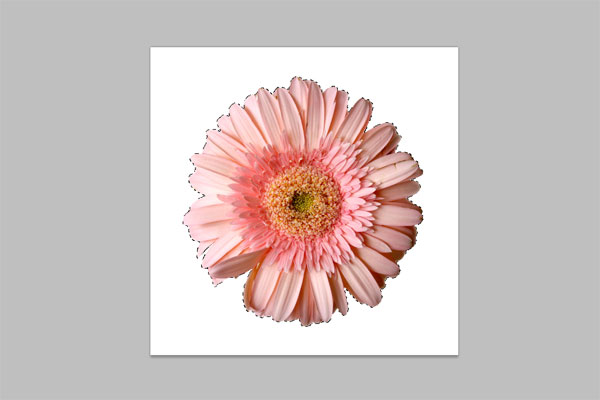
Press Ctrl+C to copy the selected fragment of the image, then go to the main canvas and paste the copied fragment with Ctrl+V.
Apply Edit > Free Transform to reduce the flower size.
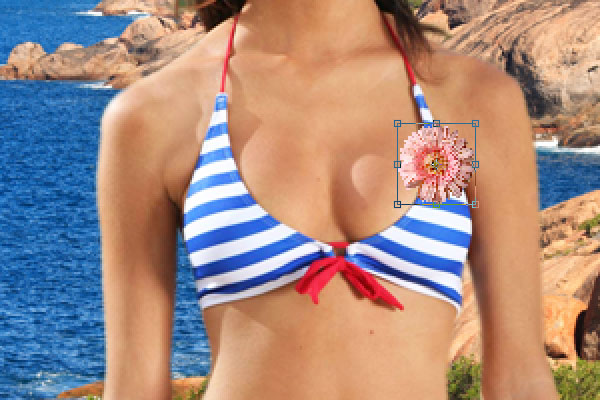
Duplicate this layer a few times to create the upper and lower contour of the dress.
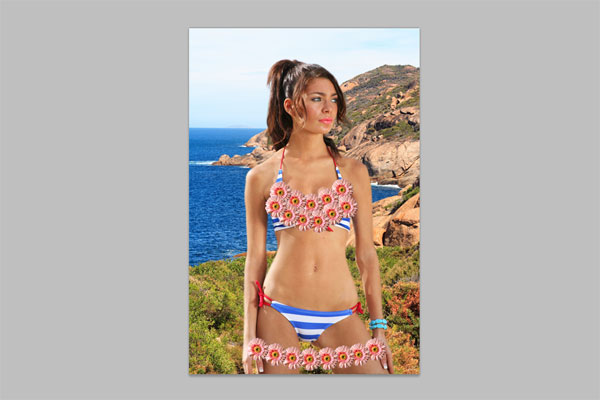
Duplicate the last layer with the flower again and press Ctrl+T to reduce it a little bit. We need smaller flowers to create the dress straps.
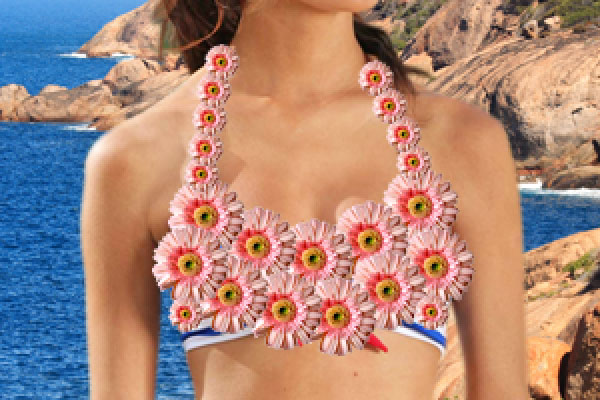
After that we can bring a few flowers of different sizes to the dress area as ornaments.
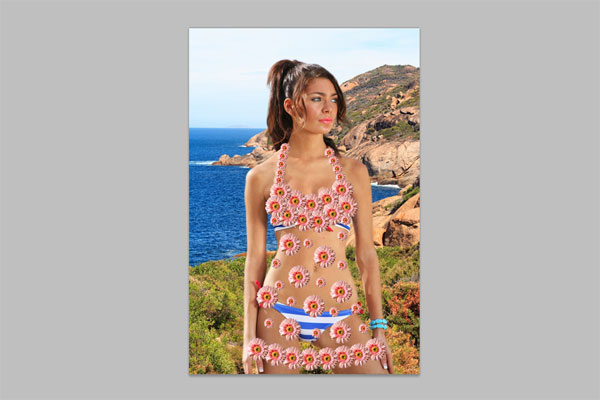
Go to the woman layer and create the same selection with the Polygonal Lasso Tool as on my picture below.
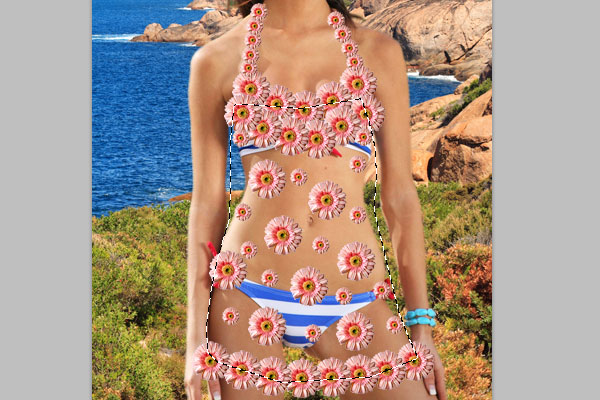
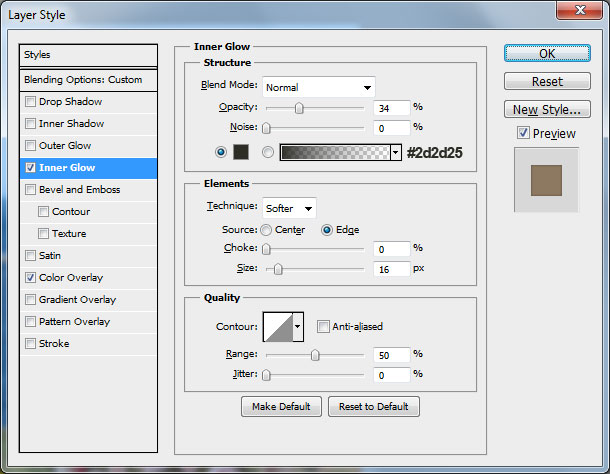
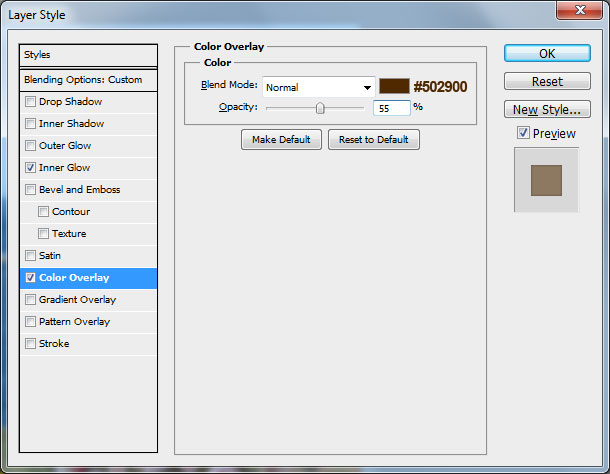
After that press Ctrl+Shift+J to cut the selected part of image on a new layer. Then set the fill opacity to 0% and apply Inner Glow and Color Overlay layer styles for this layer:
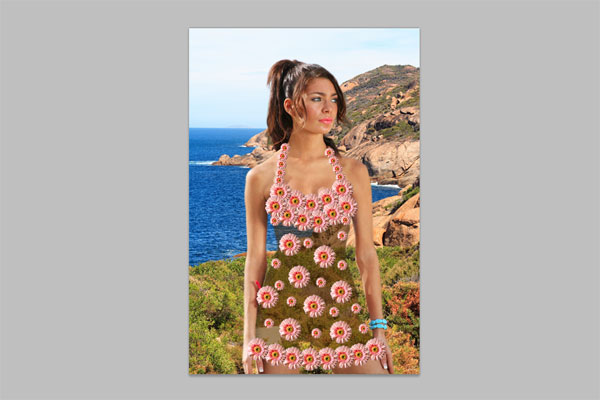
Now we have one small hole on the bottom of the dress. To remove this defect use the Polygonal Lasso Tool and create selection as shown on the picture below. Fill this selected area with any color.
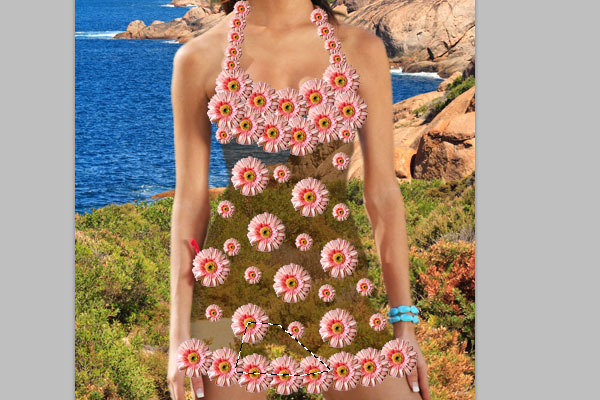
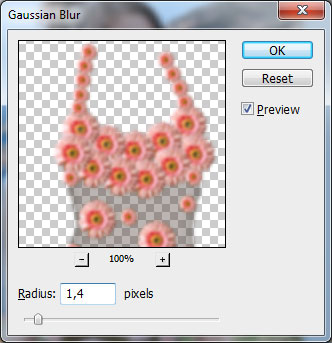
Remove the selection with Ctrl+D. Merge all the layers together except the interior background and the woman. Duplicate the merged layer and apply Filter > Blur > Gaussian Blur to the copied layer.
Change the layer mode to Soft Light for this layer.
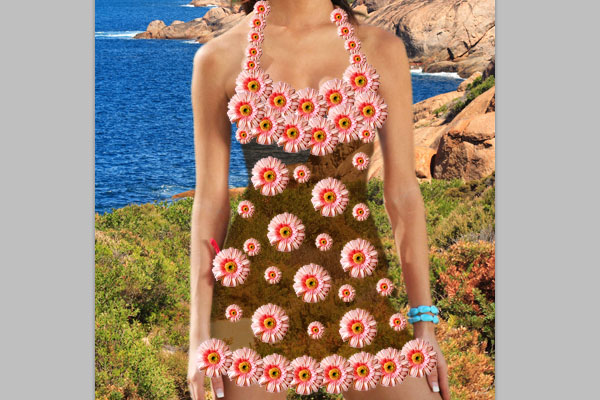
Final Image
Hope you enjoyed the tutorial and found it helpful.
