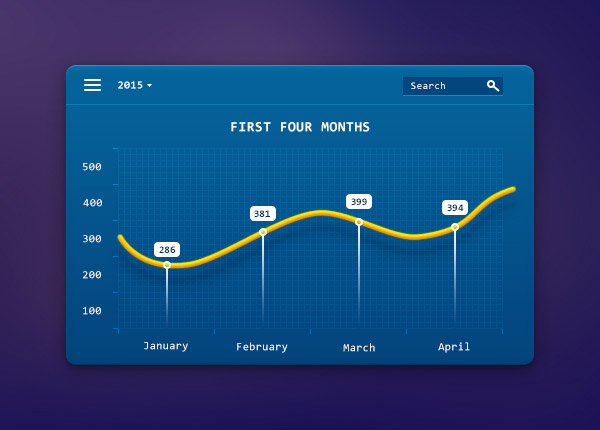
In today’s tutorial you will learn how to create a statistic chart in Adobe Photoshop.
Final Image
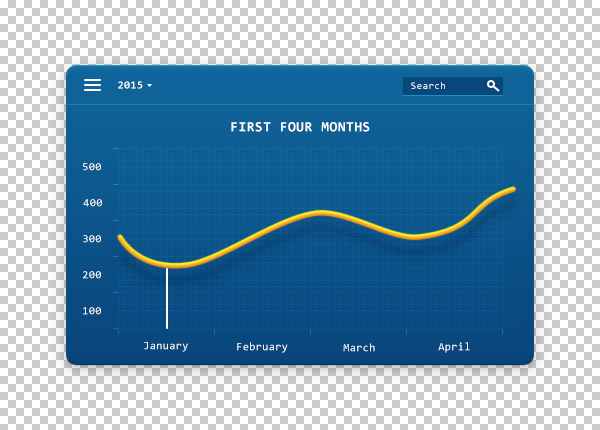
As always, this is the final image that we’ll be creating:

Tutorial Details
- Program: Adobe Photoshop CC
- Estimated Completion Time: 40 minutes
- Difficulty: Beginner – Intermediate
Resources
Step 1
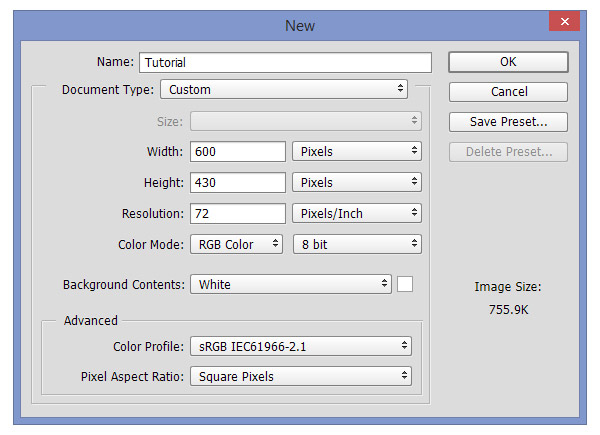
Create a 600x 430px document, go to View > Show > Grid to enable the Grid and then go to View > Snap To > Grid to enable the Snap to Grid. Hit Control + K to open the Preferences window, go to Guides, Grid & Slices and enter the settings mentioned in the next image. Along the tutorial I turned off the grid ( Control + ‘ ) for you to have a better vision. The grid will make it easier for you to create/edit the shapes.
Step 2
Concentrate on your Toolbar and fill the foreground color with #05649C.
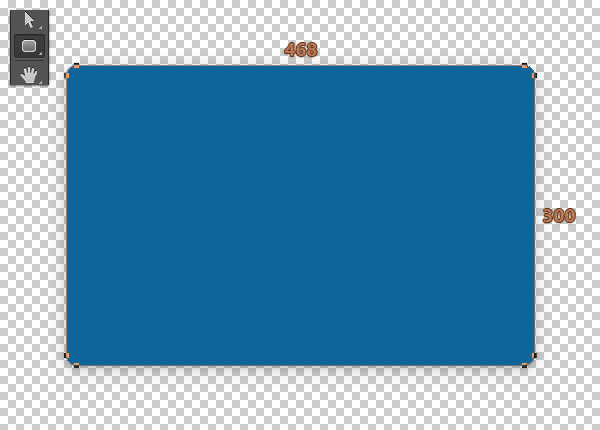
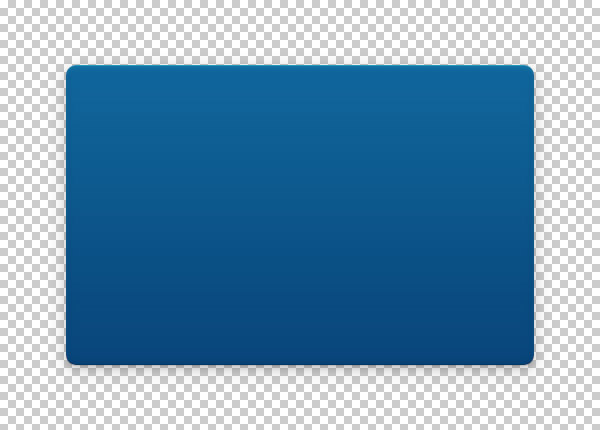
Select the Rounded Rectangle Tool, focus on the top bar and set the Radius to 10px.
Move to your canvas and create a 468 x300 px vector shape.
Step 3
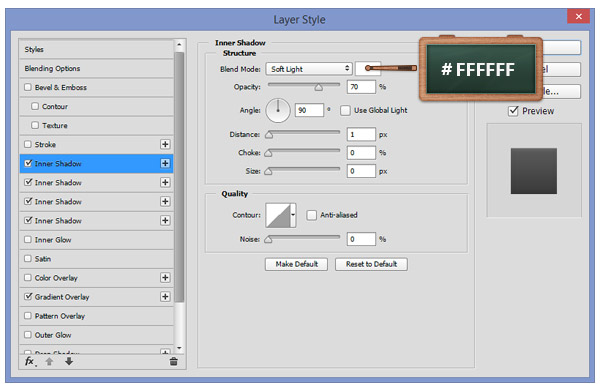
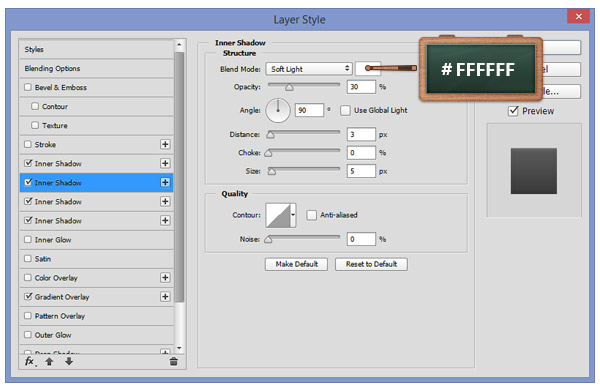
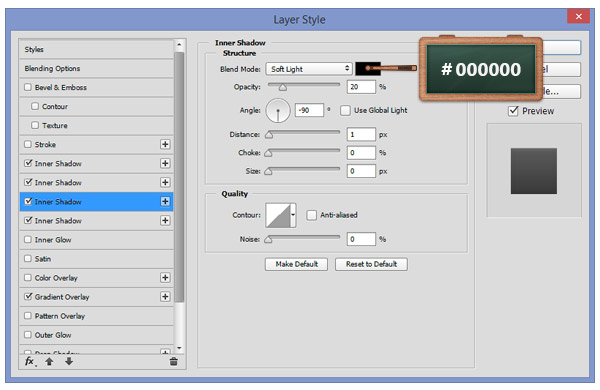
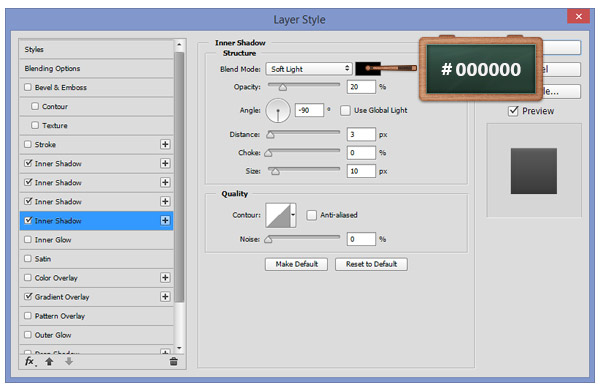
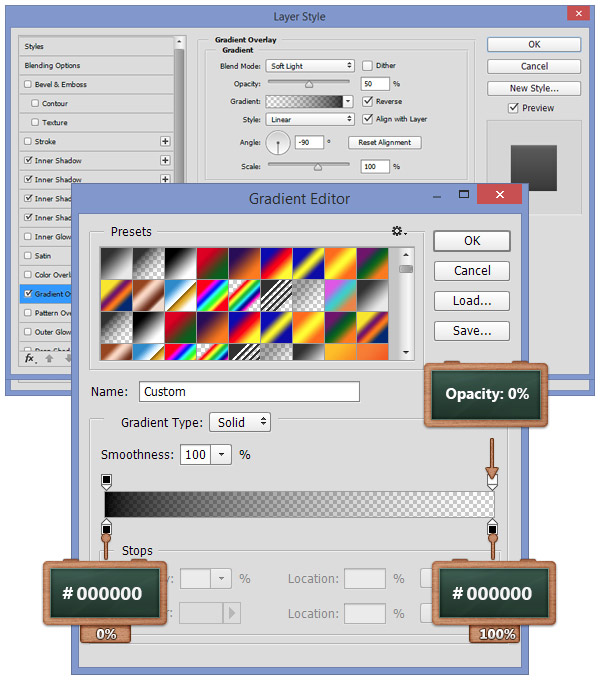
Open the Layer Style window for your vector shape and enter the settings mentioned in the next images.
Step 4
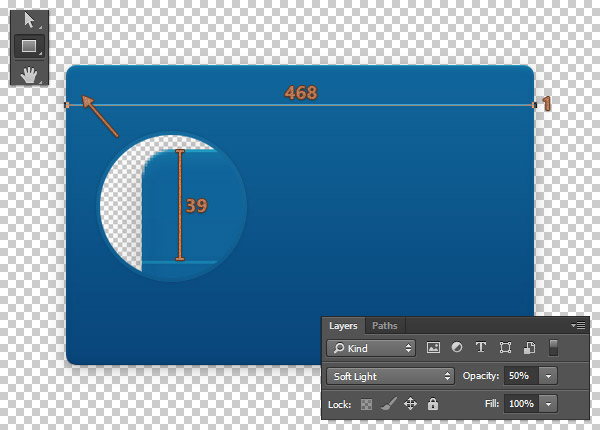
Change the foreground color to #FFFFFF and pick the Rectangle Tool. Move to your canvas, create a 468 x 1 px vector shape and place it as you can see below.
Go to the Layers panel, change the Blend Mode to Soft Light and lower the Opacity to 50%.
Step 5
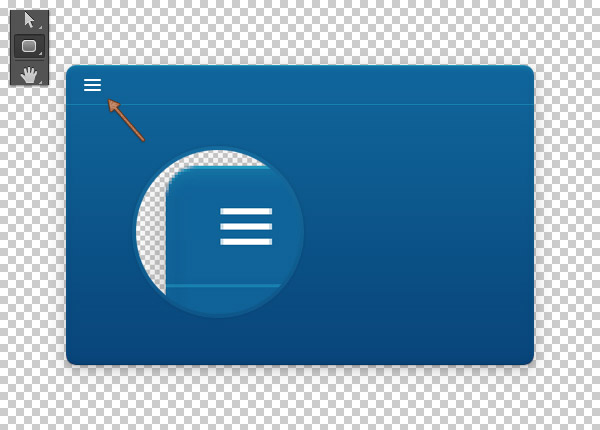
Grab the Rounded Rectangle Tool, create three 17 x 12 px vector shapes with the Radius set to 1 and then place them as you can see below.
Step 6
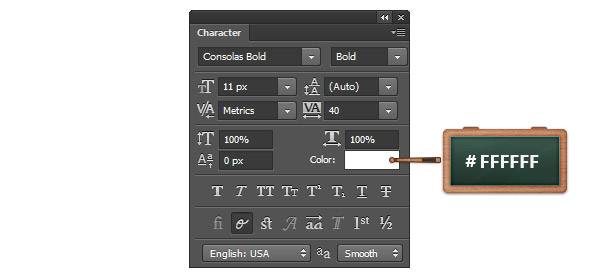
Open your character window ( Window > Character ) and use the Consolas Bold font.
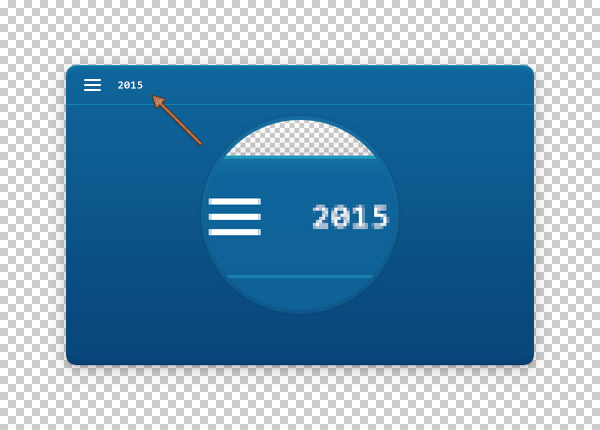
Change the color to #FFFFFF, set the size to 11 px and then enter the text as shown below.
Step 7
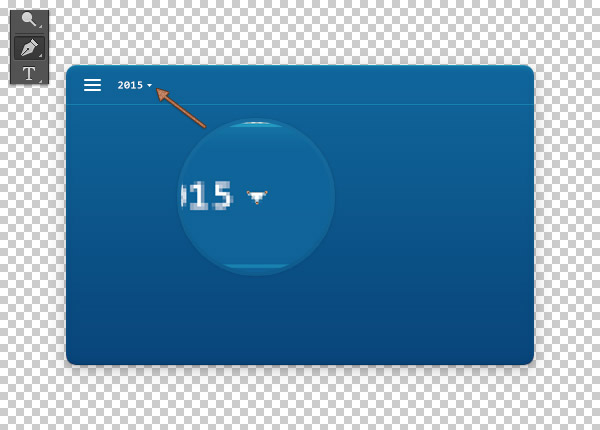
Pick the Pen Tool, create a small triangle and then place it as you can see in the next image.
Step 8
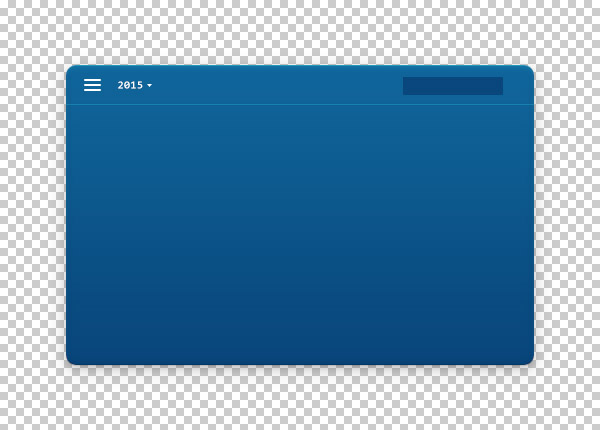
Set the foreground color to #03467E and pick the Rectangle Tool.
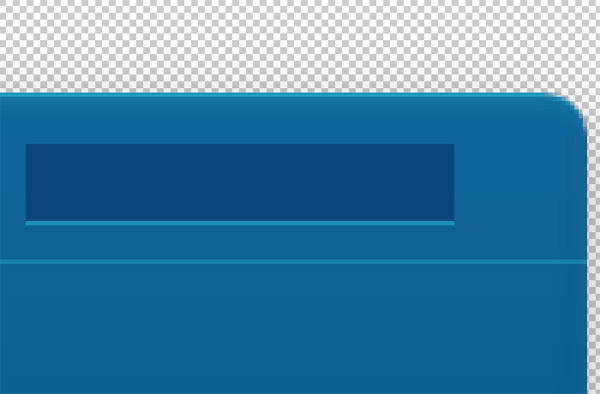
Move to your canvas, create a 31 x 12 px vector shape and then place it as you can see below.
Step 9
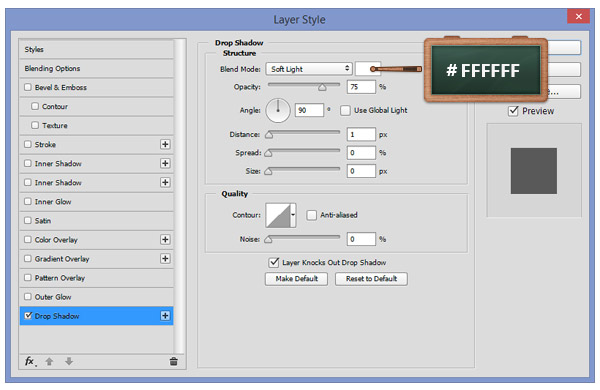
Open the Layer Style window for the vector shape made in the previous step and enter the settings shown below.
Step 10
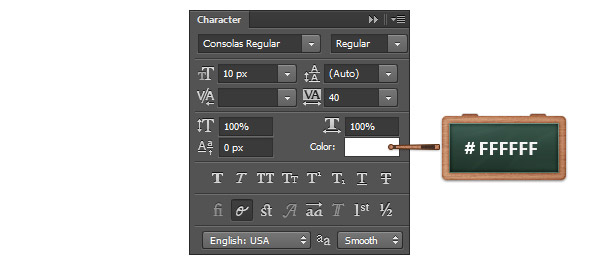
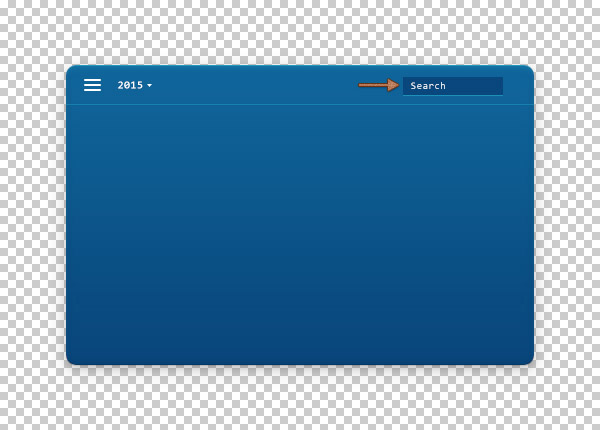
Open again the character window, set the size to 10 px and then enter the text as you can see below.
Step 11
Change the foreground color to #FFFFFF and pick the Ellipse Tool.
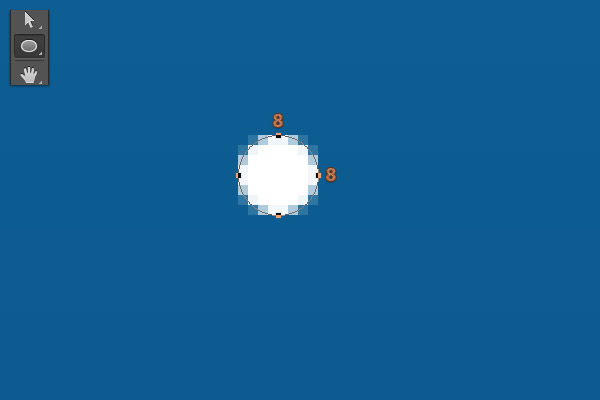
Create an 8 x 8 px circle and a 4 x 4 px circle. Make sure that these new vector shapes are placed as shown in the first two images.
Look inside the Layers panel, select both circle vector shapes and go to Merge Shapes.
Now, pick the Path Selection Tool, click inside on the small circle ( 4 x4 px ), focus on the top bar and select the Subtract Front Shape . The result should be the same as you can see in last image.


Step 12
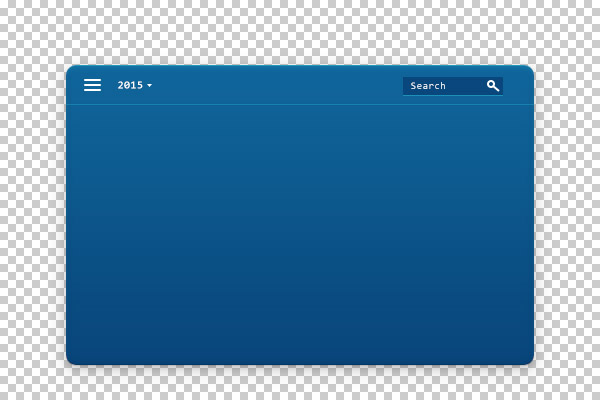
Pick the Line Tool, focus on the top bar and set the Weight to 2 px. Move to your canvas and create a tiny line as you can see in the first image.
Now, focus on the Layers panel, select the tiny line along with the vector shape made in the previous step and go to Merge Shapes.
Select this new vector shape and place it as you can see in the last image.

Step 13
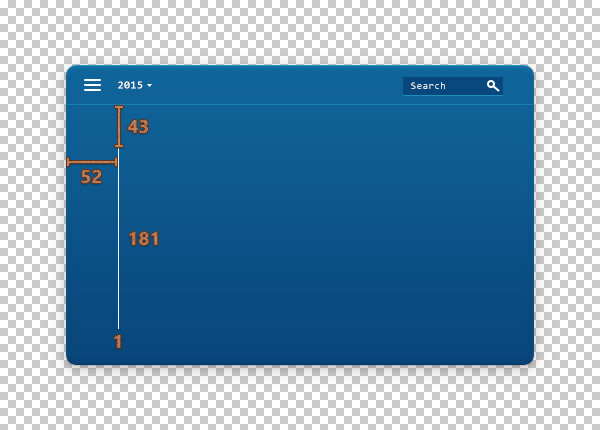
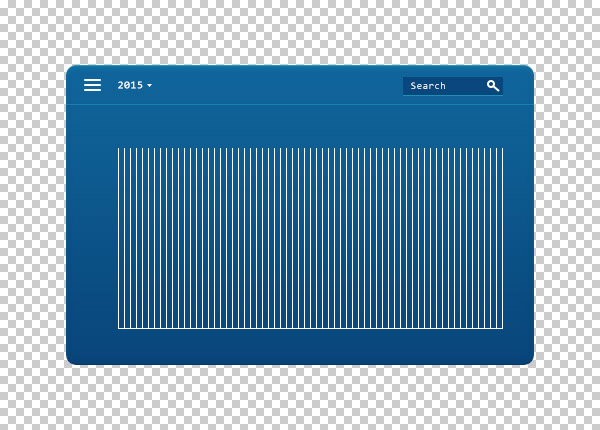
Select the Rectangle Tool, create a 1 x 181 px vector shape and place it roughly as you can see in the first image.
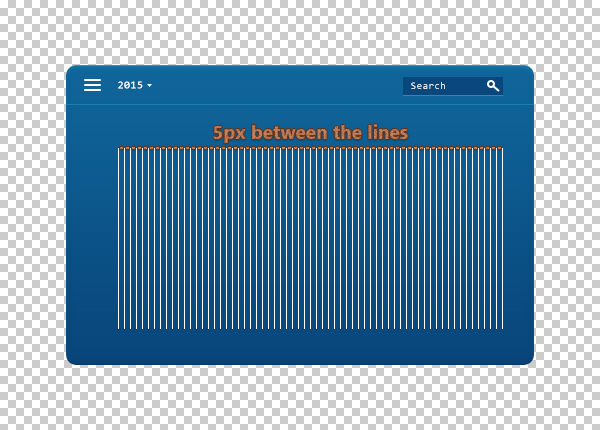
Using the Control + J keyboard shortcut, duplicate this vector shape 64 times and place them one after another with a space of 5 px between them as shown in the last image.
Step 14
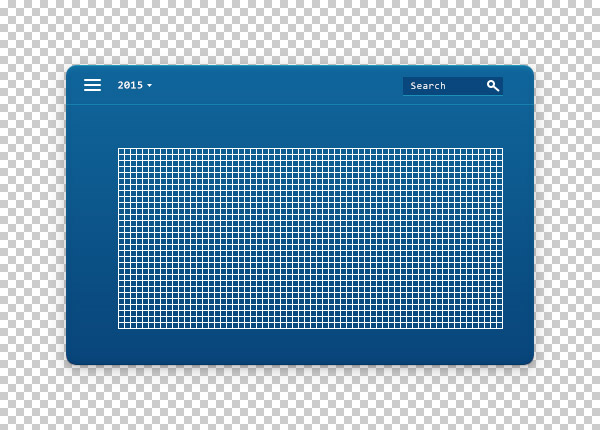
With the same tool, create a 385 x 1 px vector shape and place it as you can in the first image.
Duplicate this vector shape 30 times and place them one after another with a space of 5 px between them as shown in the second image.
Select all the vector shapes made in this step along with the vector shapes made in the previous step and go to Merge Shapes.
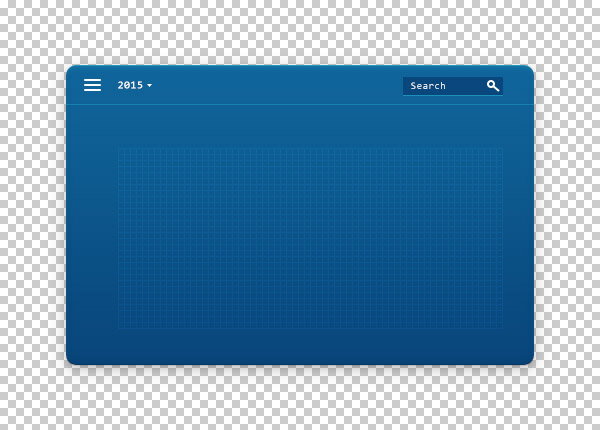
Select the new vector shape and then change the Blend Mode to Overlay and the Opacity to 10%.
Step 15
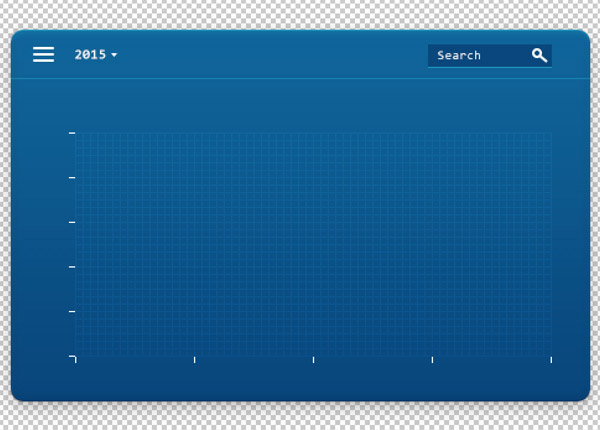
Change the foreground color to #F1FAFE and make sure that the Rectangle Tool is still selected. Move to your canvas, create two types of rectangles (for horizontal 5 x 1 px and for vertical 1 x 5 px) and place them as you can see in the first image.
Select all the vector shapes made in this step and go to Merge Shapes. Select the new shape and then change the Blend Mode to Overlay and the Opacity to 50%.

Step 16
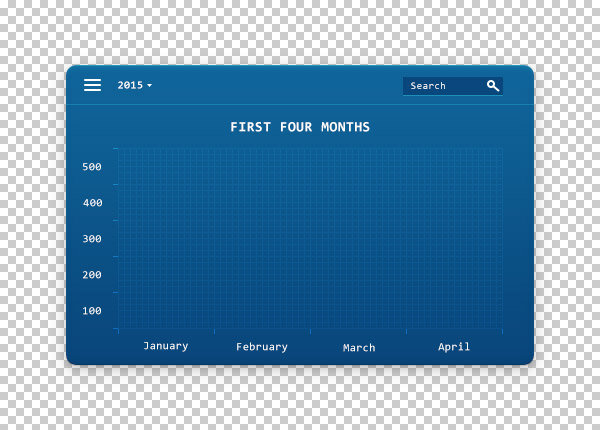
Open the character window, use the Consolas Bold font and then make sure that the color is set to #FFFFFF and the size to 14 px. Move to your canvas and add the title text.
Now, use the Consolas Regular font, change the size to 11 px and add the numbers and the months text.
Step 17
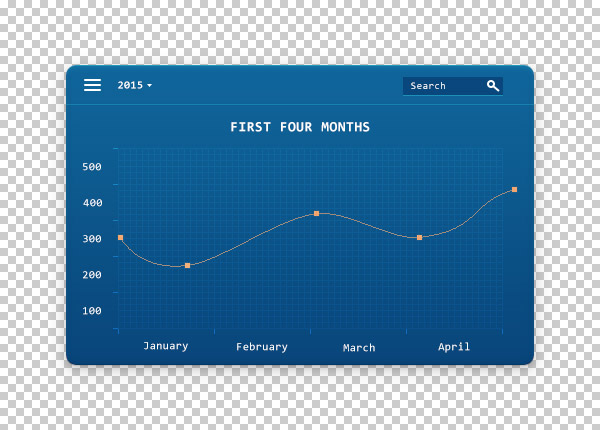
Pick the Pen Tool and make sure that the Pen tool mode is set to Path from the top bar.
Move to your canvas and create the following path.
Step 18
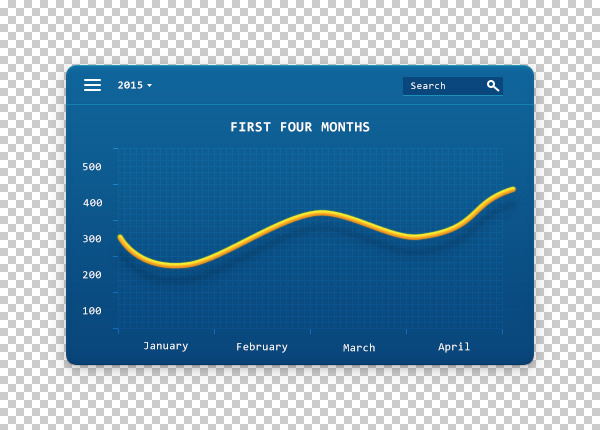
Select the Brush Tool , use the “Hard Round” brush and set the Size to 5px and the Hardness to 100%.
Focus on the Layers panel and create a new layer. Now, move to the Paths panel (Window > Paths), click on the small button in the right corner, go to Stroke Path, pick the Brush Tool from the dropdown menu and hit enter.
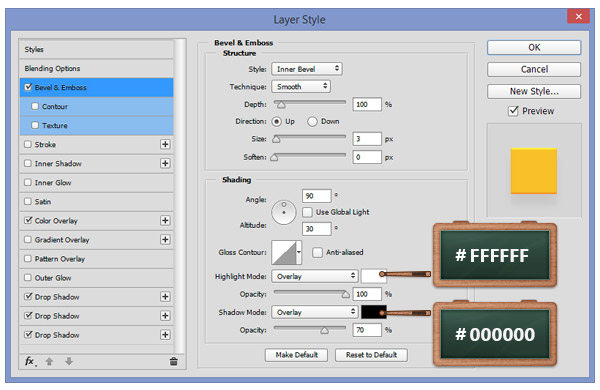
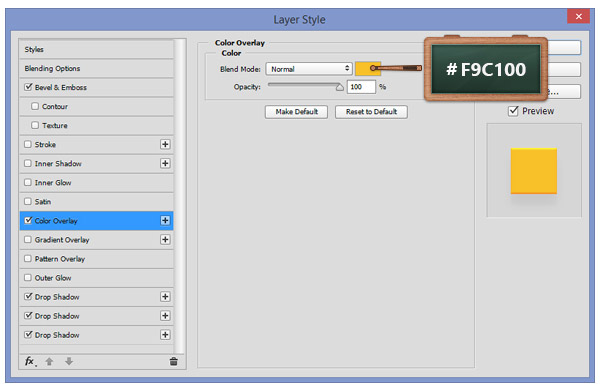
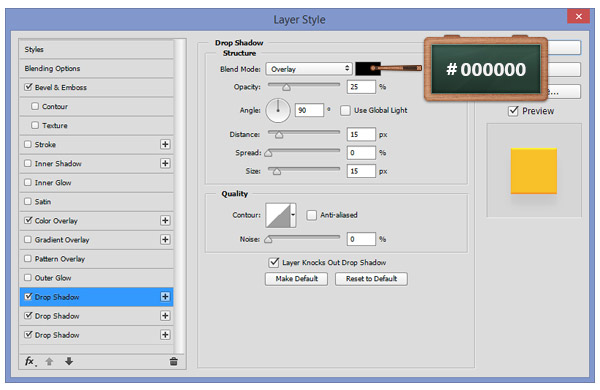
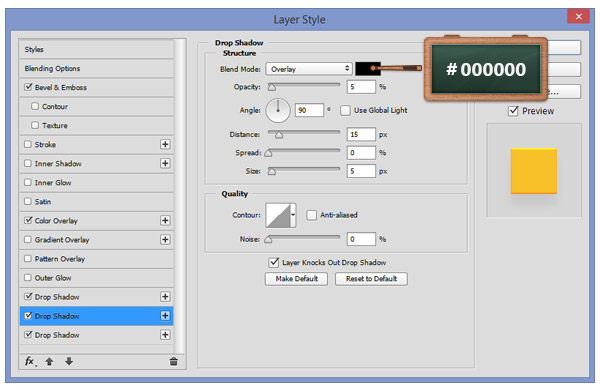
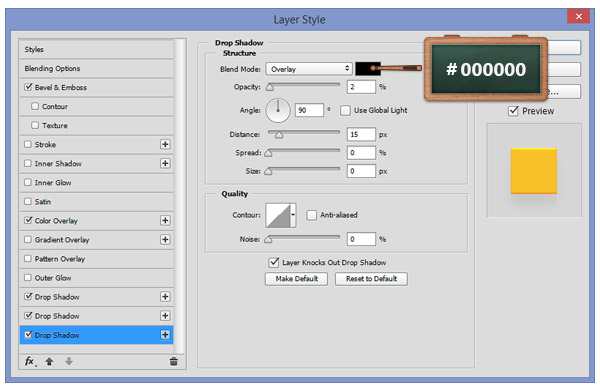
Open the Layer Style window for the layer made in this step and enter the settings shown below.
Step 19
Set the foreground color to #FFFFFF, pick the Rounded Rectangle Tool and set the Radius to 1 px.
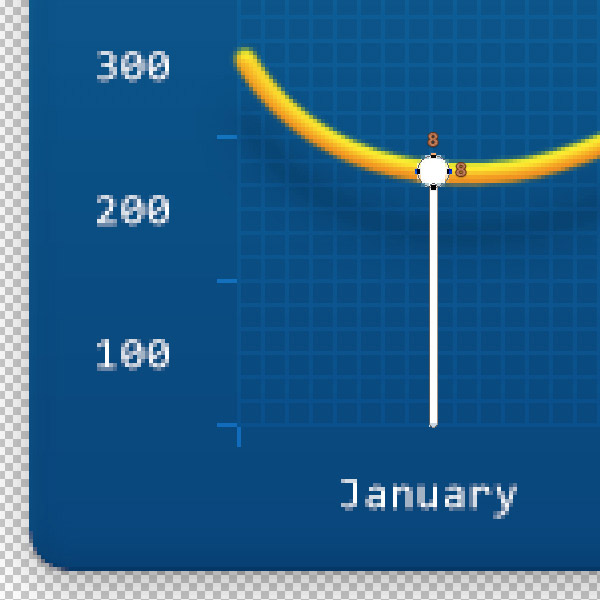
Move to your canvas and create a white line as you can see in the first image.
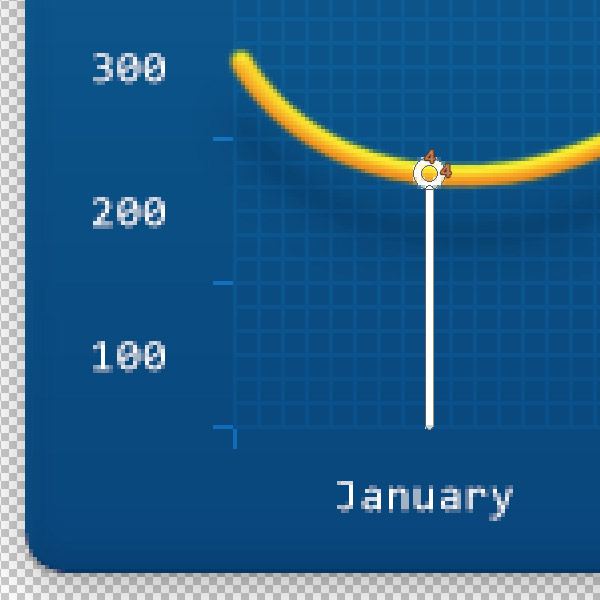
Create an 8 x 8 px circle and a 4 x 4 px circle and then place them as shown in the second image. Select both circles, go to Merge Shapes, pick the Path Selection Tool, click inside on the small circle and select the Subtract Front Shape.
Step 20
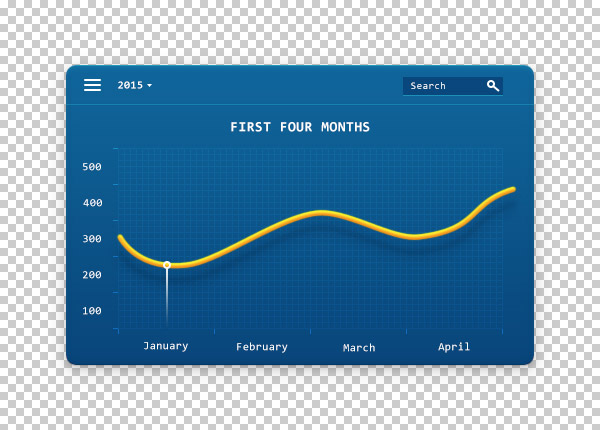
Select all the vector shapes made in the previous step and go to Merge Shapes.
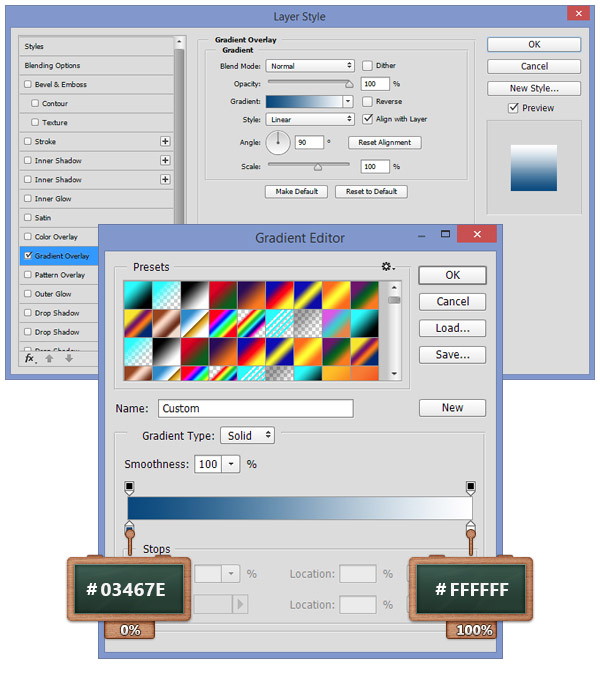
Open the Layer Style window for this vector shape and enter the settings mentioned below.
Step 21
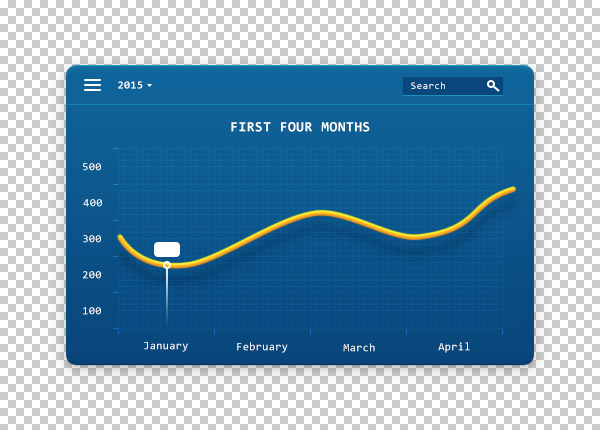
Pick the Rounded Rectangle Tool and set the Radius to 4 px. Move to your canvas, create a 26 x 15 px vector shape and place it as shown in the first image.
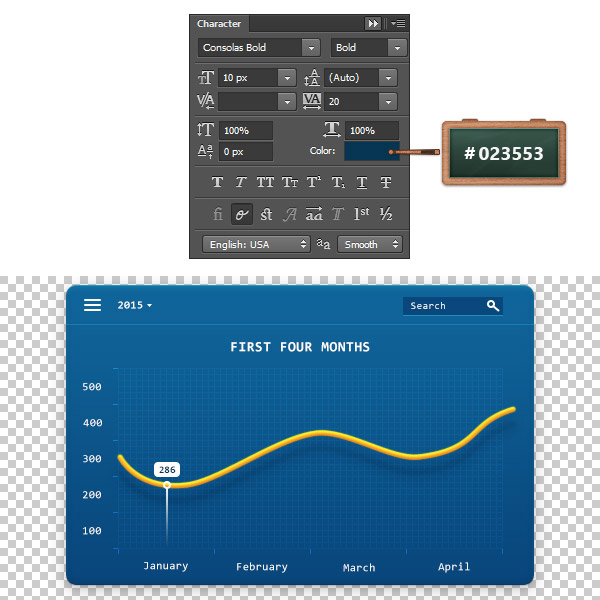
Open the character window, use the Consolas Bold font, set the color to #023553 and the size to 10 px. Move to your canvas and add the numbers inside of the vector shape made in this step.
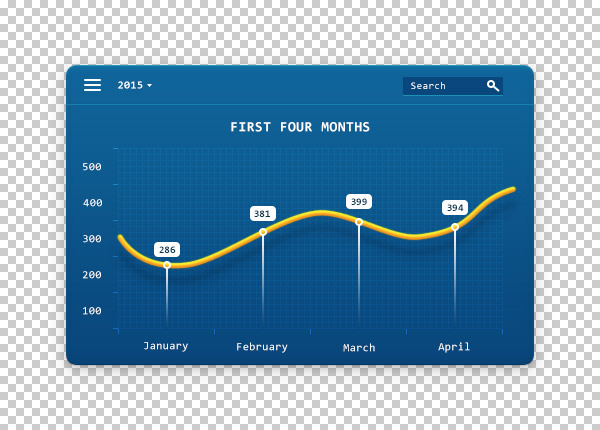
Select all the shapes that make up the pop up numbers, duplicate and place them as you can see in the last image. Don’t forget to adjust the rectangle height and the numbers.
Step 22
Select all the shapes that make up your statistic chart and group them using the Control + G keyboard shortcut.
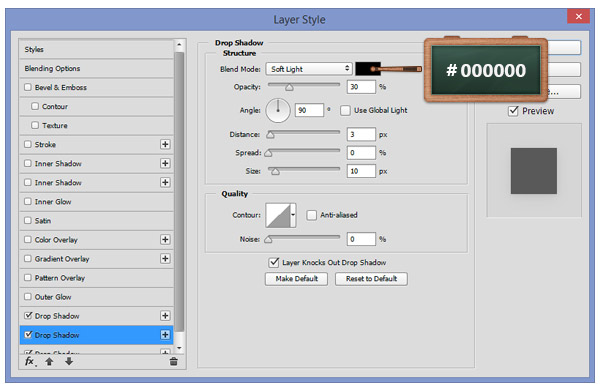
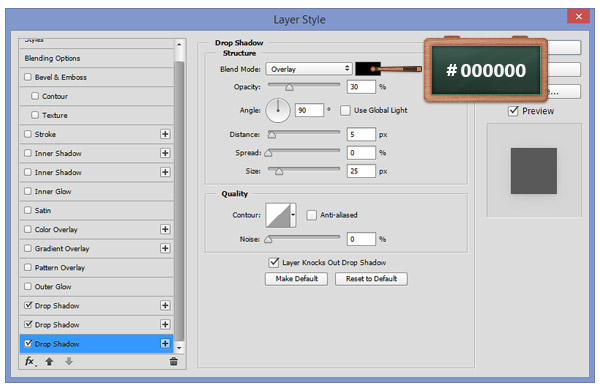
Open the Layer Style window for this group and enter the settings shown below.


Step 23
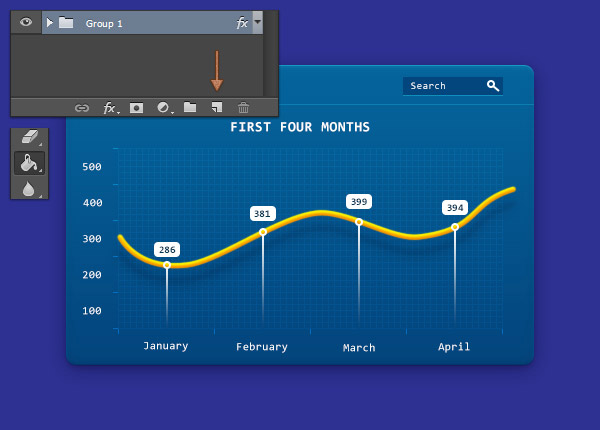
Move to the Layers panel, click on the “Create a new layer” button and then move this new layer under the group.
Focus on the Toolbar, change the foreground color to #2E3192 and pick the Paint Bucket Tool. Now, simply go to your canvas and hit the left button of your mouse to fill the new layer with your color.
Step 24
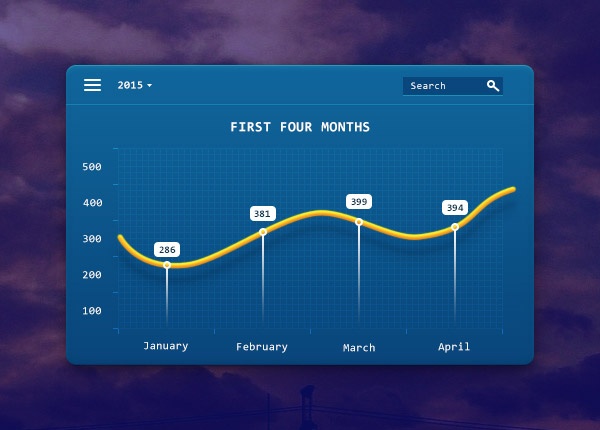
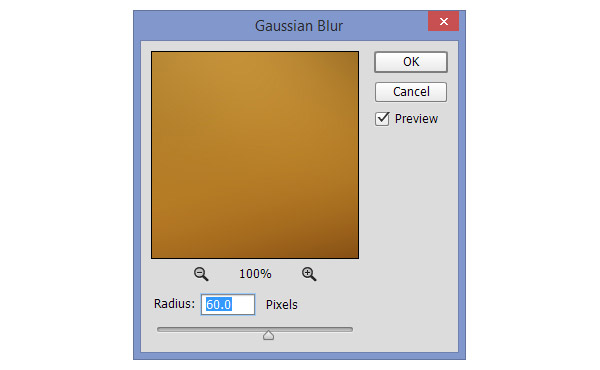
In the final step, you need to import image listed in Resources section and then place it right under the group. Go to Filter > Blur > Gaussian Blur and set the Radius to 60 px.
Focus on the Layers panel and simply change the Blend Mode to Soft Light.

And We’re Done!
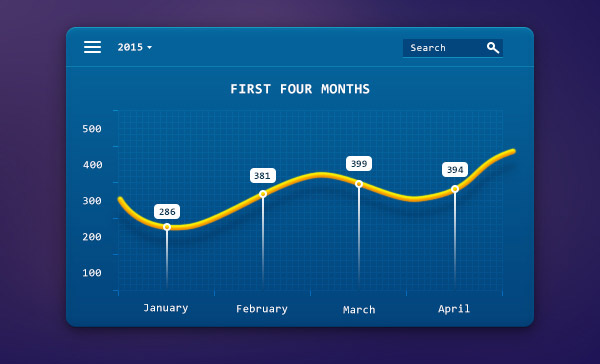
Here is how your final result should look.
