In this tutorial I will show you how to create a set of hand drawn icons using only Adobe Photoshop.
Final Image
As always, this is the final image that we’ll be creating:

Tutorial Details
- Program: Adobe Photoshop CC
- Estimated Completion Time: 20 minutes
- Difficulty: Beginner
Resources
- Insaniburger Font by Insanitype
- 42 Icons for Designers by PSDStreet.com
Step 1
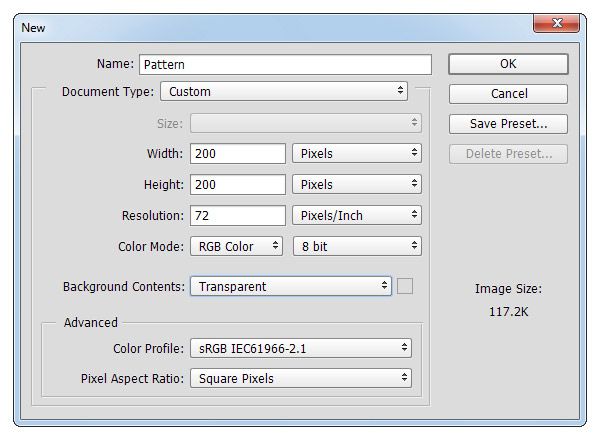
First, we create the pattern for the icons. Hit Control + N, create a 200px x 200px document and make sure that the Background Contents is set to Transparent.
Step 2
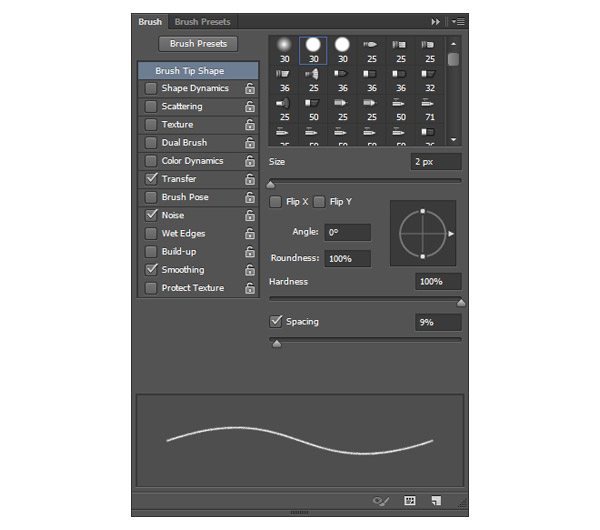
Move to your Toolbar, set the foreground color to #2E8E99 and select the Brush Tool. Go to Window > Brush, pick the Hard Round Pressure Opacity and enter the settings shown below.
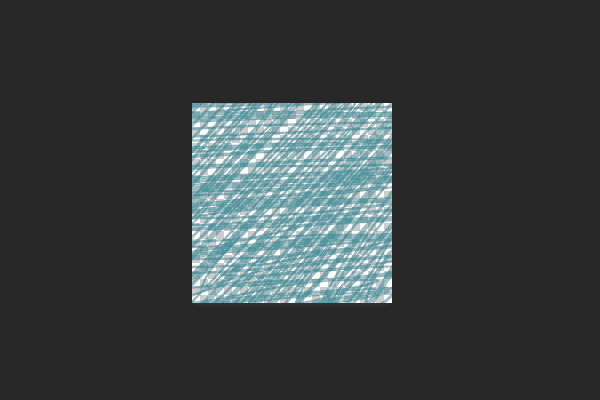
Move to your canvas and create two sets of lines ( horizontal and diagonal ) as shown in the second image.
Step 3
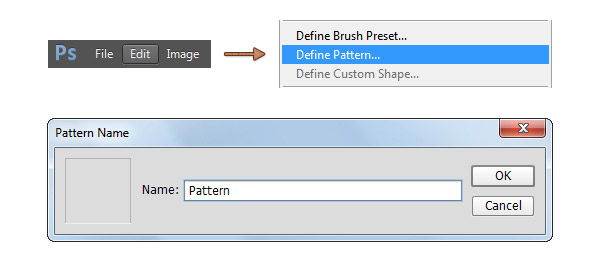
To save your pattern simply go to Edit Define Pattern. Pick a name for your pattern and click OK.
Step 4
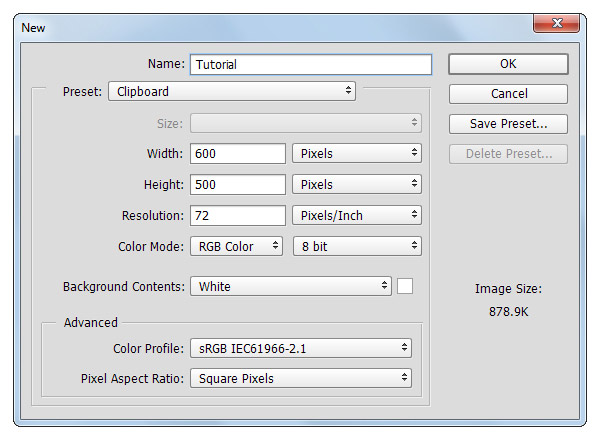
Hit Control + N and create a 600px x 500px document.
Select the Background layer and click on the padlock icon to unlock the layer.
Step 5
Set the foreground color to #B08232, grab the Paint Bucket Tool and fill the canvas with the new color.
Open the Layers Style for the background layer and enter the settings shown below.

Step 6
Open the psd file “42 Icons for Designers” that you downloaded and then open the “flat” group. Pick your favorite icons and drag them in your work document.
If you want to resize an icon to a bigger size, make sure that the size is not bigger than the pattern made in this tutorial, otherwise you will need to create a bigger pattern.


Step 7
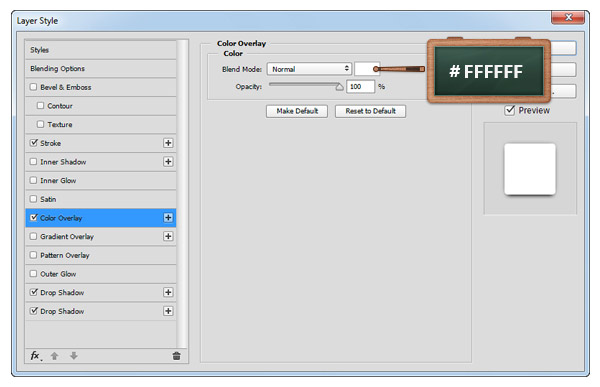
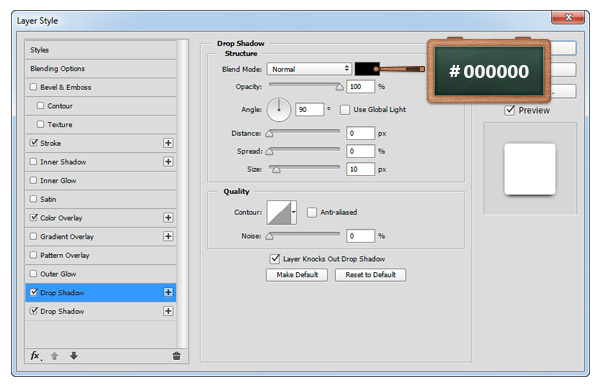
Open the Layer Style window for an icon and enter the settings shown below.
After you apply these settings, focus on the Layers panel, right click on that edited icon and go to Copy Layer Style . Move to the other icons, right click and this time go to Paste Layer Style.


Step 8
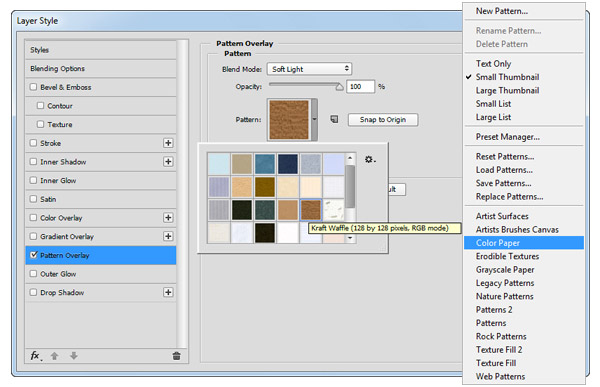
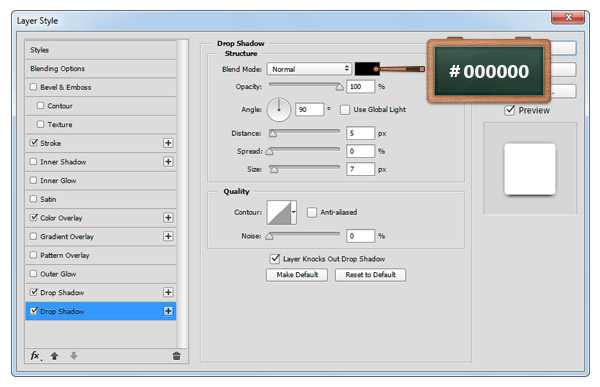
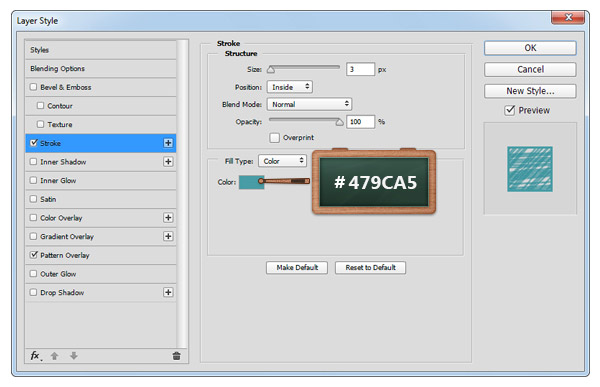
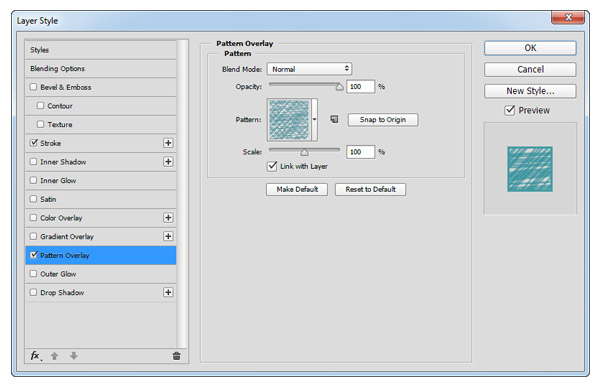
Focus on the Layers panel, select an icon and duplicate it. Open the Layer Style window for this fresh copy and enter the settings shown below.
For the Pattern Overlay section use the pattern made in this tutorial.
Now, copy this new layer style, duplicate the rest of your icons and paste the layer style on those.

Step 9
Focus on one of your icons, move to the Layers palette and select both shapes that make up this icon. Right click on one of these selected shapes and then go to Covert to Smart Object.
Move to the rest of your icons and repeat this technique.

Step 10
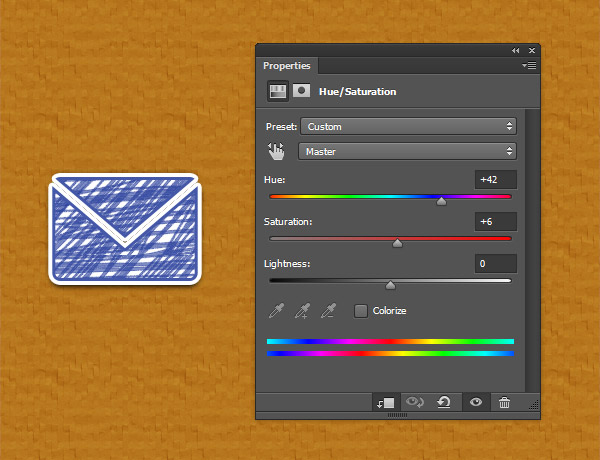
Keep focusing on the Layers palette and select the smart object that makes up your envelope icon. Focus on the bottom side of the Layers palette, click the Create new fill or adjustment layer button, go to Hue/Saturation and then hit Control + Alt +G.
Now, go to the Properties panel and simply enter the attributes shown in the following image.

Step 11
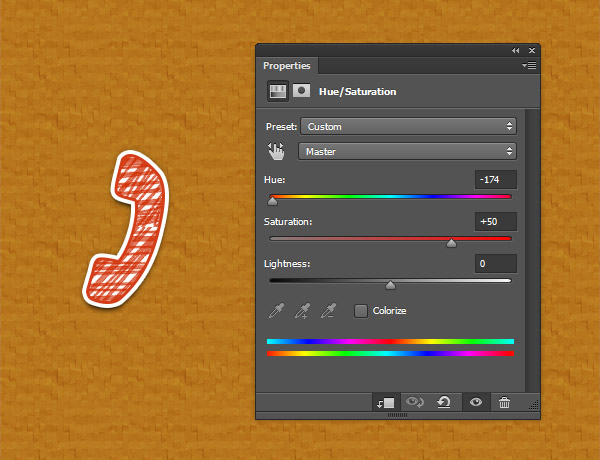
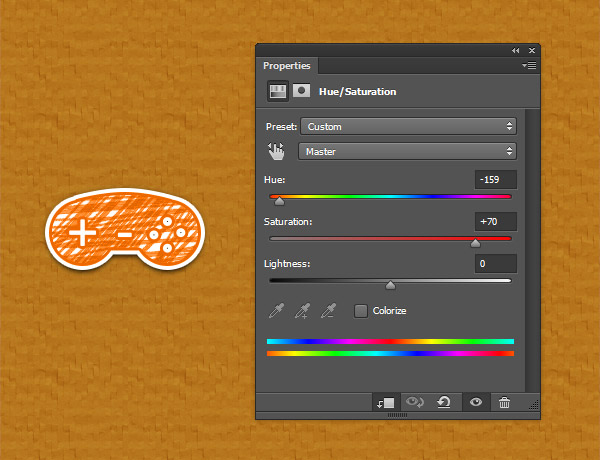
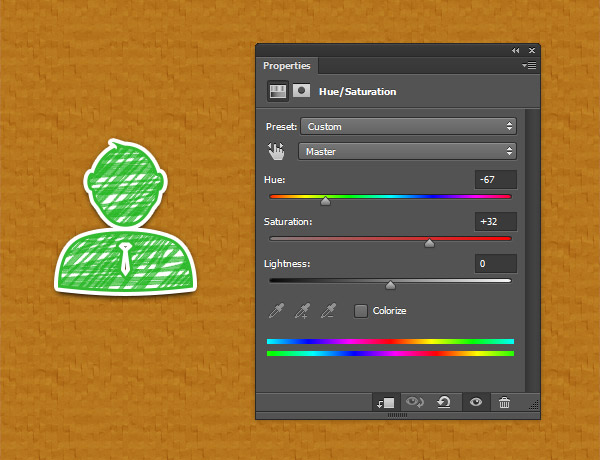
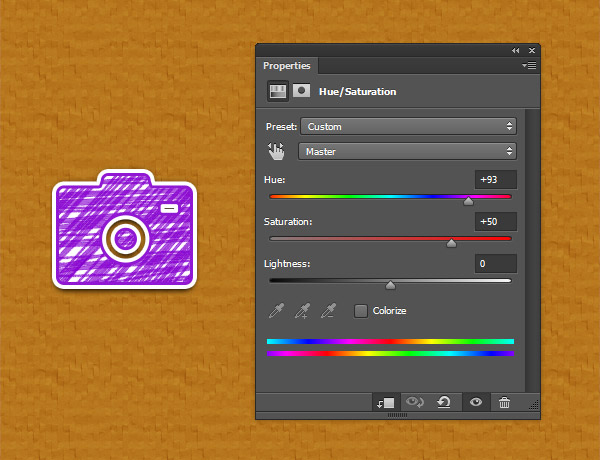
Move to the rest of the icons, use the technique mentioned in the previous step to easily add a Hue/Saturation effect and enter the attributes shown in the following images.

And We’re Done!
Here is how your final result should look.