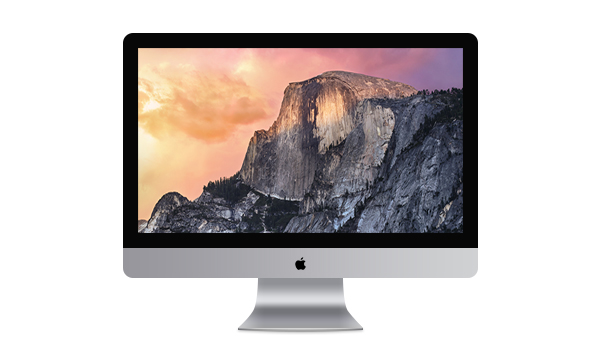
In this tutorial you will learn how to create an iMac illustration in Photoshop.
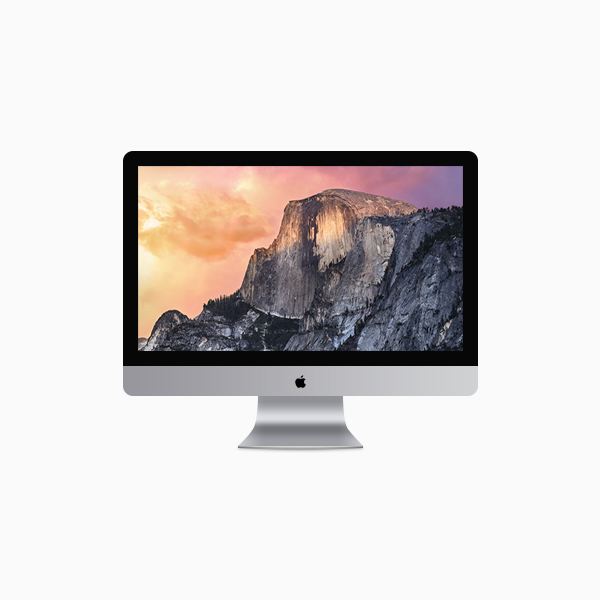
Final Image
As always, this is the final image that we’ll be creating:
Tutorial Details
- Program: Adobe Photoshop CC
- Estimated Completion Time: 35 minutes
- Difficulty: Beginner-Intermediate
Resources
Step 1
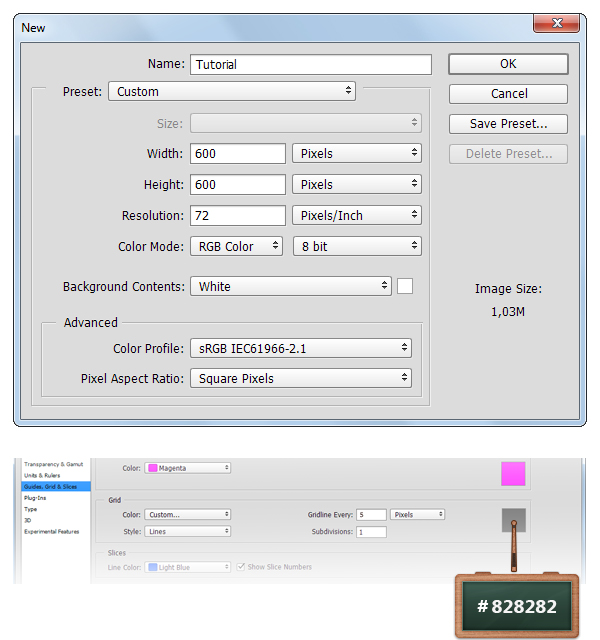
Create a 600 x600px document, go to View > Show > Grid to enable the Grid and then go to View > Snap To > Grid to enable the Snap to Grid. Hit Control + K to open the Preferences window, go to Guides, Grid & Slices and enter the settings mentioned in the next image. Along the tutorial I turn off the grid ( Control + ‘ ) for you to have a better view. The grid will make it easier for you to create the shapes.
Step 2
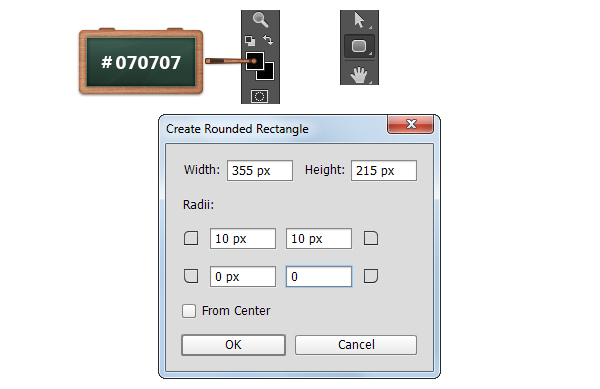
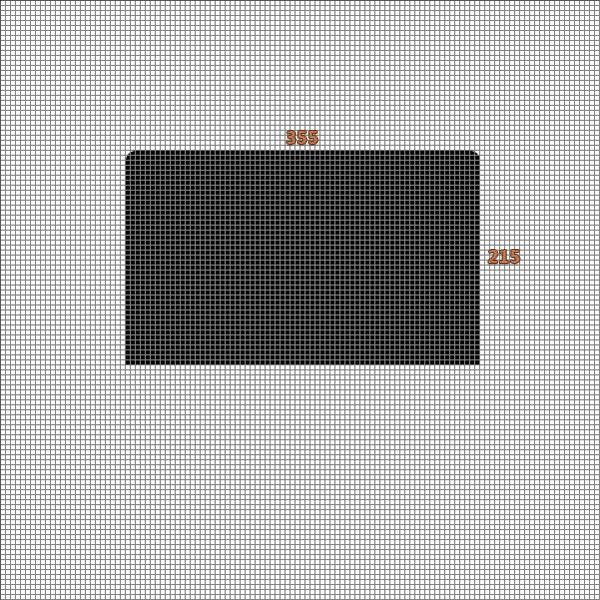
Set the foreground color to #070707, select the Rounded Rectangle Tool and click on your canvas to open “Create Rounded Rectangle” window.
Enter the settings shown in next image and then click the Ok button.
Step 3
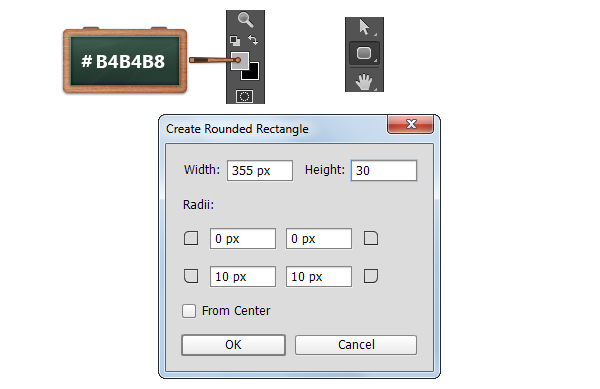
Set the foreground color to #B4B4B8 and make sure that your Rounded Rectangle Tool is still selected.
Again click on your canvas and enter the settings shown in the next image.
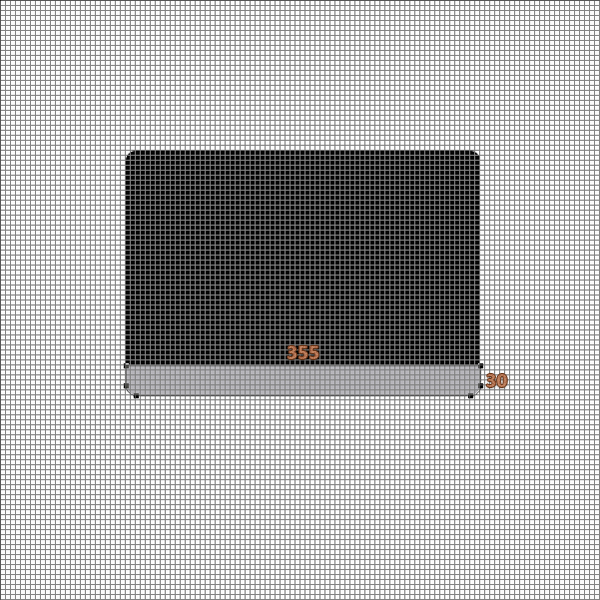
Keep focusing on your canvas, make sure that the newly created shape is selected and place it as shown below.
Step 4
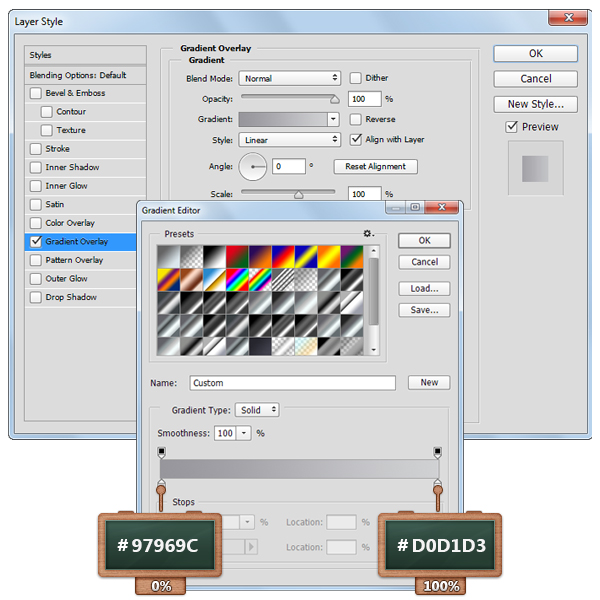
Open the Layer Style window for the vector shape made in the previous step and enter the settings shown below.

Step 5
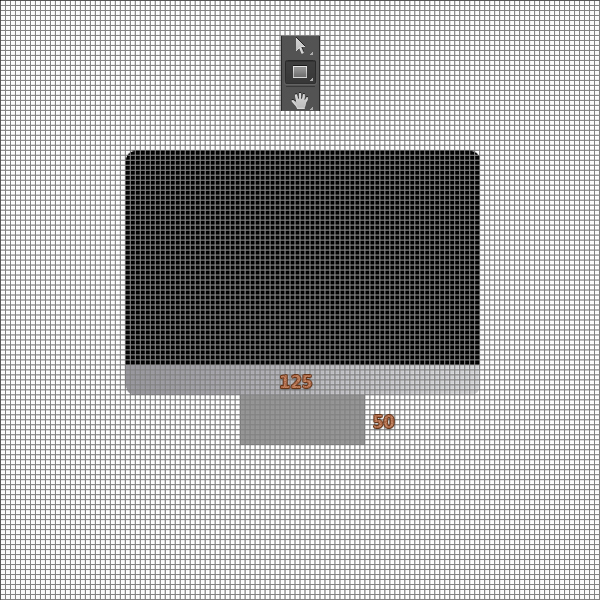
Set the foreground color to #949494 and select the Rectangle Tool.
Move to your canvas, create a 125 x 50px vector shape and place it as you can see below.
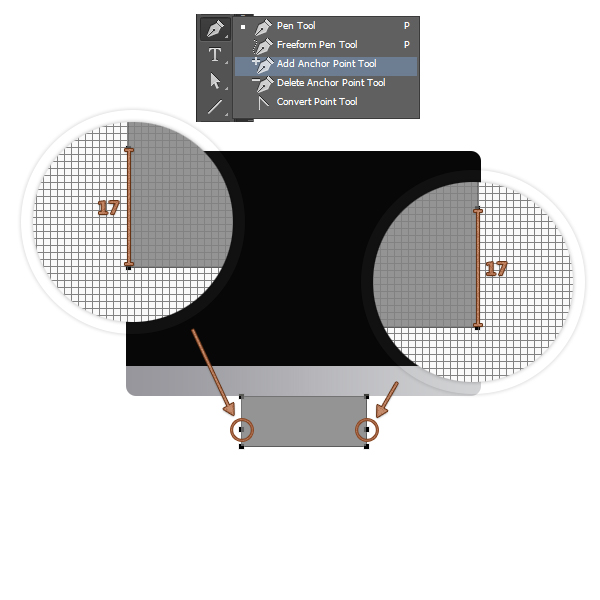
Now you must change the grid to every 1px. Simply go to Edit > Preferences > Guides, Grid & Slices and set 1 in the Gridline Every box.
Select the Add Anchor Point Tool, make sure that your 125 x 50px shape is selected and add two new anchor points as shown in the second image.
Step 6
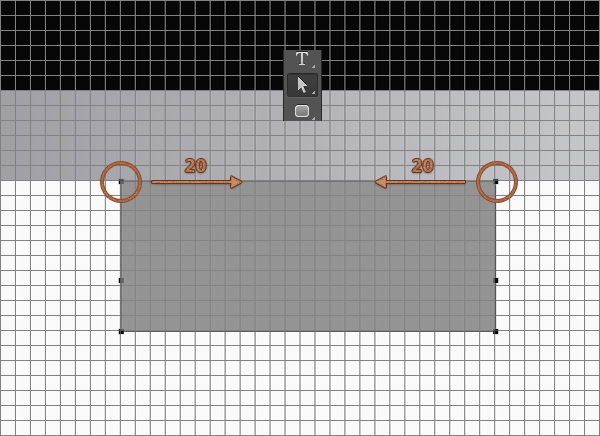
For the next steps you will need a grid every 5px. ( Control + K )
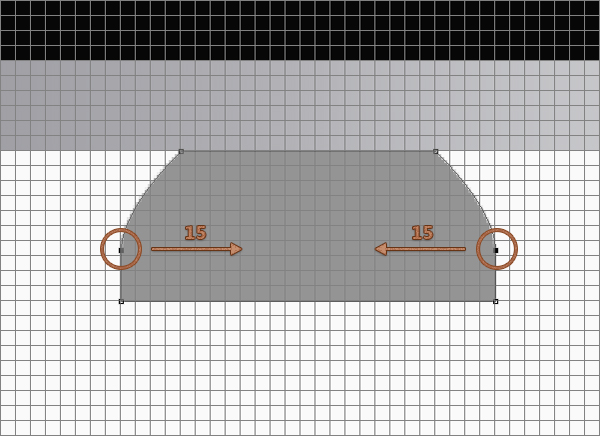
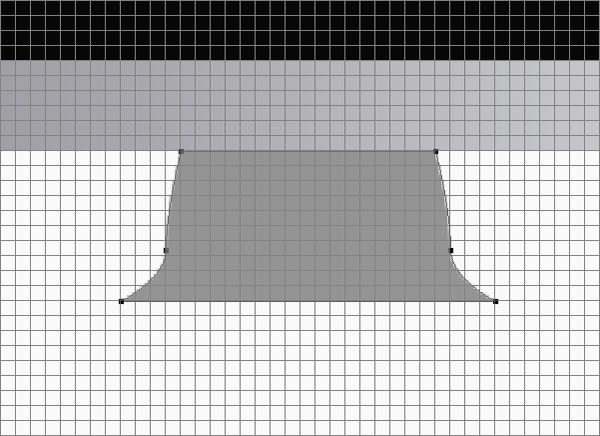
Pick the Direct Selection Tool, select the top anchor points one by one and drag them 20px to the center.
Select the anchor points added in the previous step one by one and drag them 15px to the center.
Tip: For precise moving, use the keyboard arrows.
Step 7
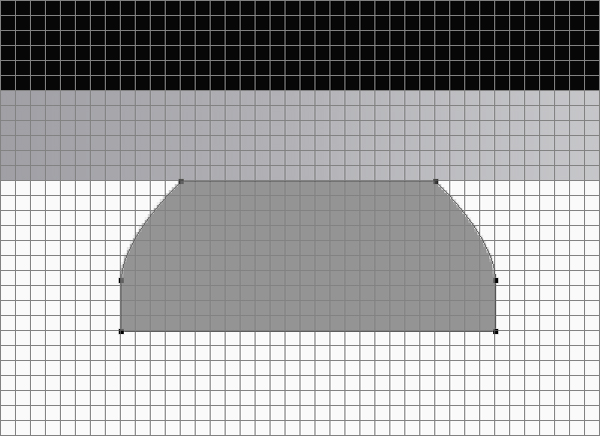
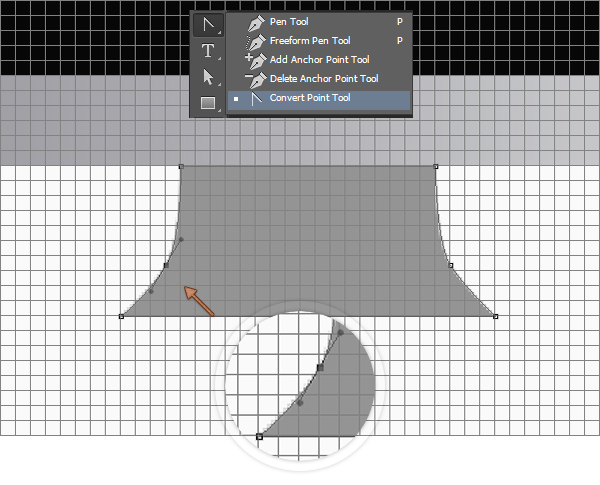
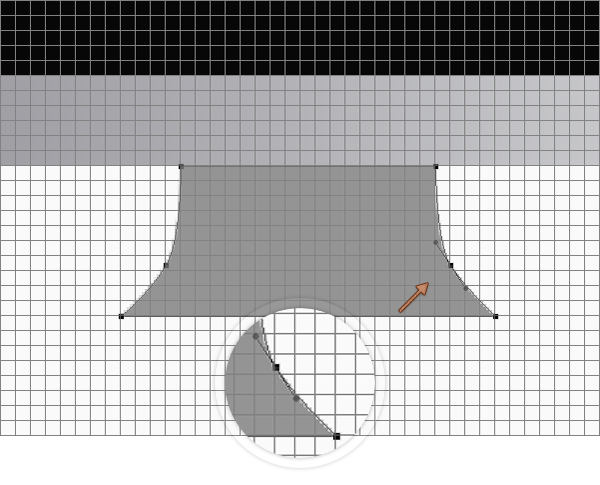
Pick the Convert Point Tool, click on the highlighted anchor points and then drag those handles exactly as shown below.
Step 8
Open the Layer Style window for the vector shape edited in the previous step and enter the settings shown in the next images.

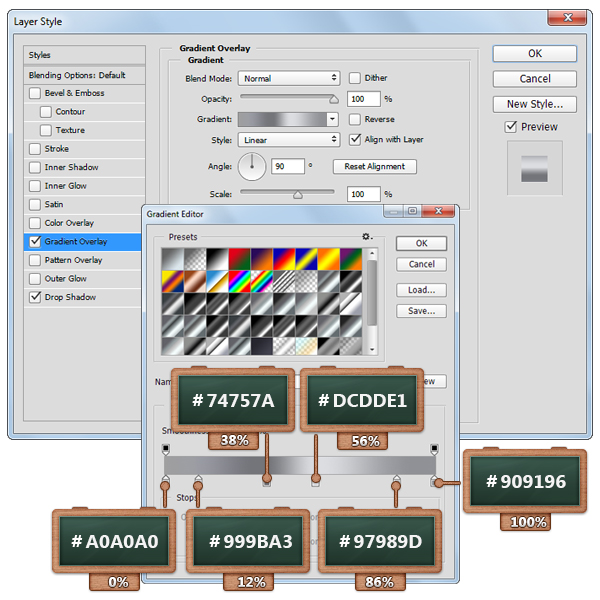
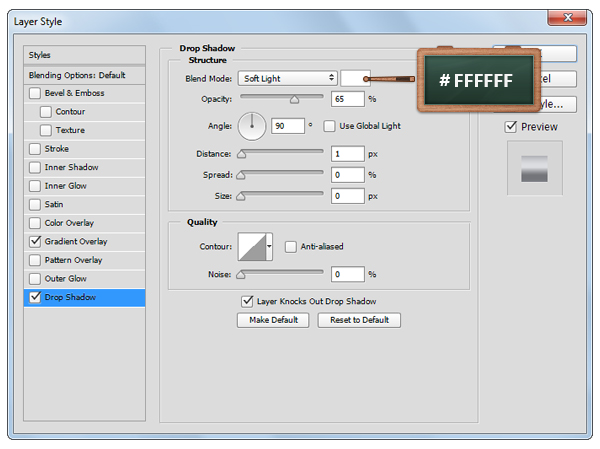
Step 9
Duplicate ( Control + J ) the vector shape edited in the previous step. Move to the Layers panel, make sure that your fresh copy is selected, lower the Fill to 0% and then open the Layer Style window and enter the settings shown below.
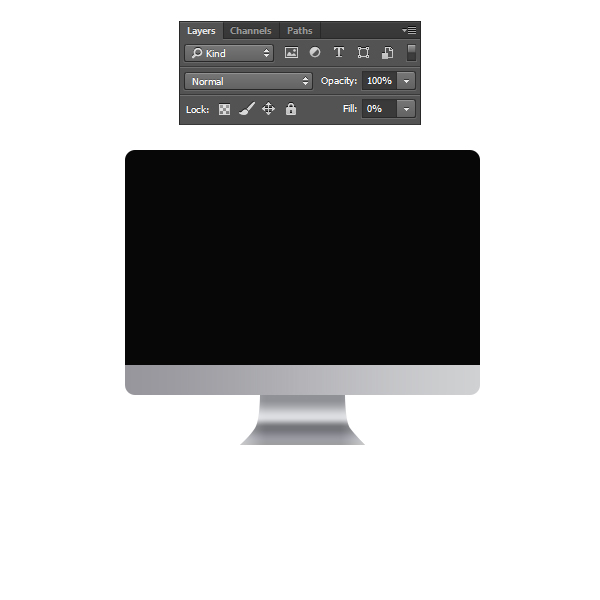
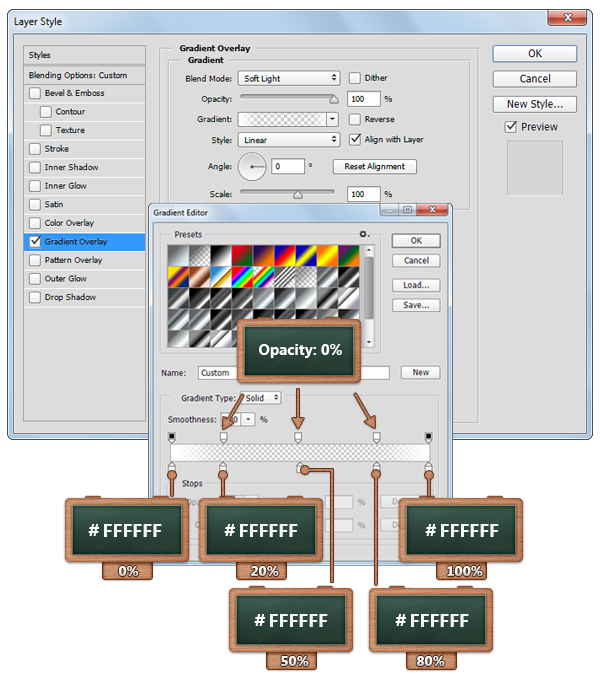
Step 10
Change the grid to every 1px. ( Control + K )
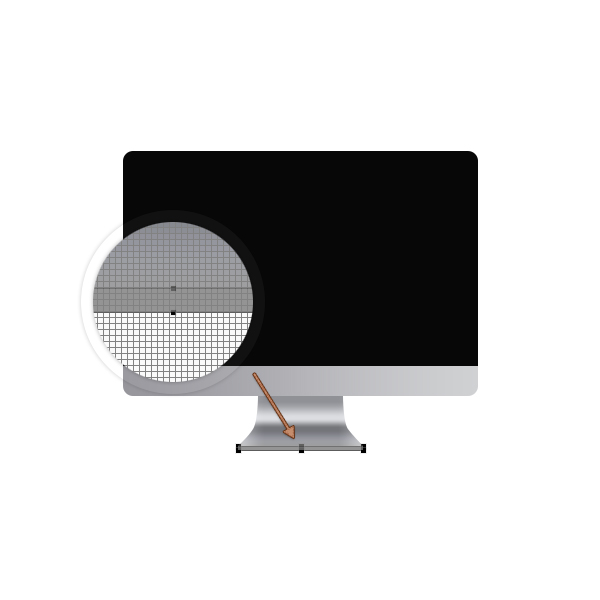
Grab the Rectangle Tool, create a 125 x 4px vector shape and place it as you can see in the first image.
Pick the Add Anchor Point Tool and add two new anchor points as shown in the second image.
Make sure that the vector shape made in this step is still selected and send it to back using the Control + Shift + [ keyboard shortcut.

Step 11
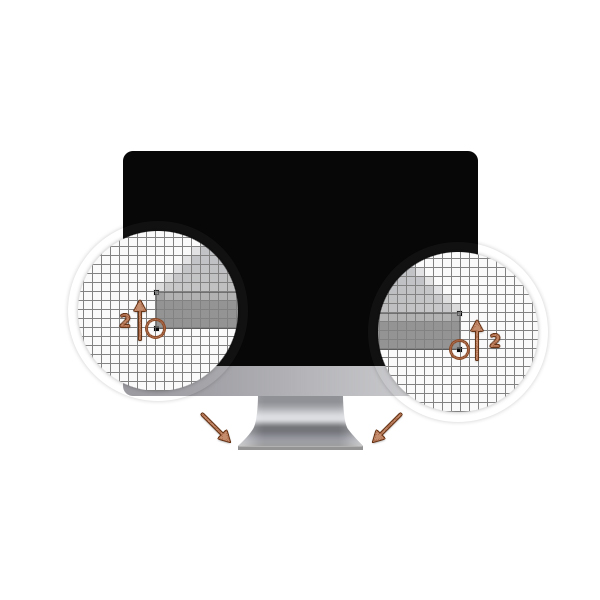
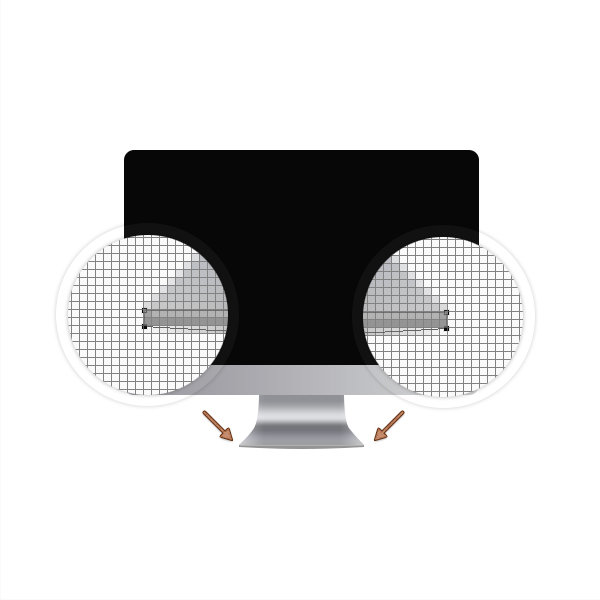
Pick the Direct Selection Tool and select the bottom, left and right anchor points and move them 2px up.
Step 12
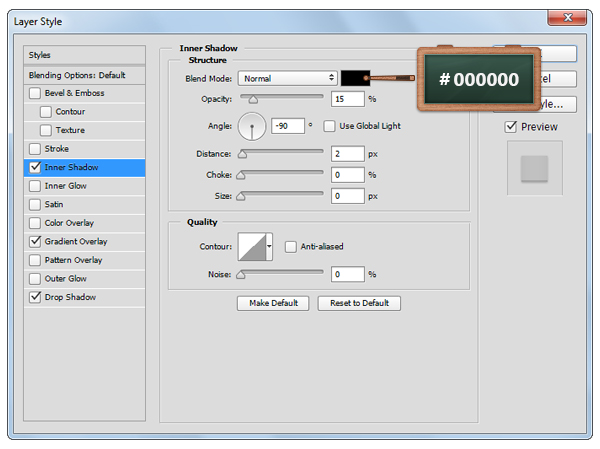
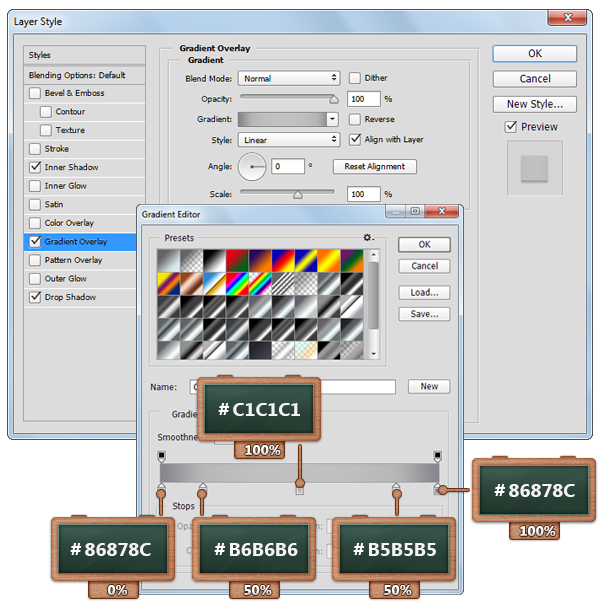
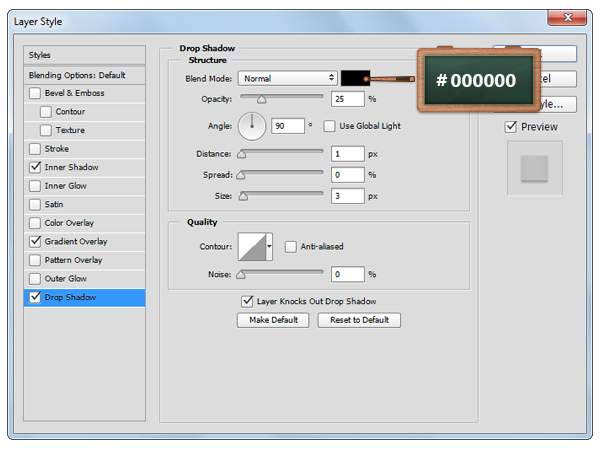
Open the Layer Style window for your last vector shape ( 125 x 4px ) and enter the settings shown in the next images.

Step 13
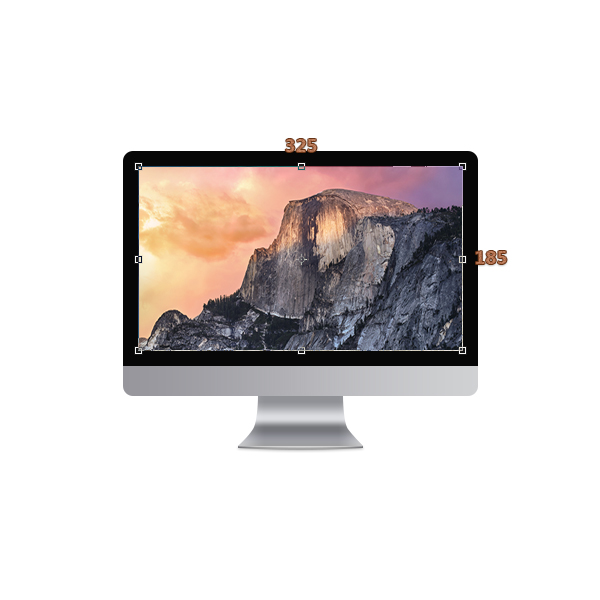
For this step you will have to download the Yosemite sunset image from here.
Bring the image inside your document, hit Control-T, resize it to 32 x 185px and place it as shown below.
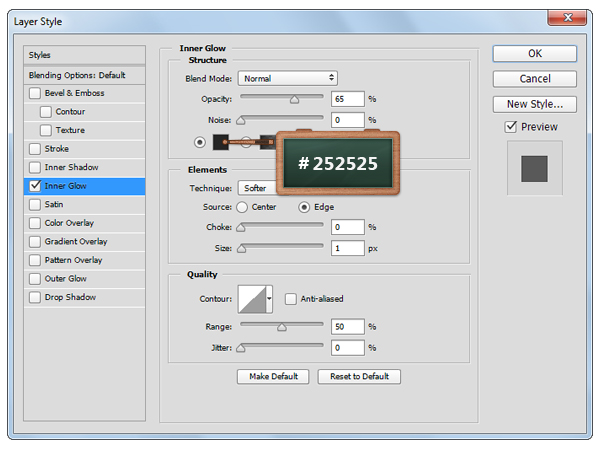
Open the Layer Style window for your image and enter the settings shown below.
Step 14
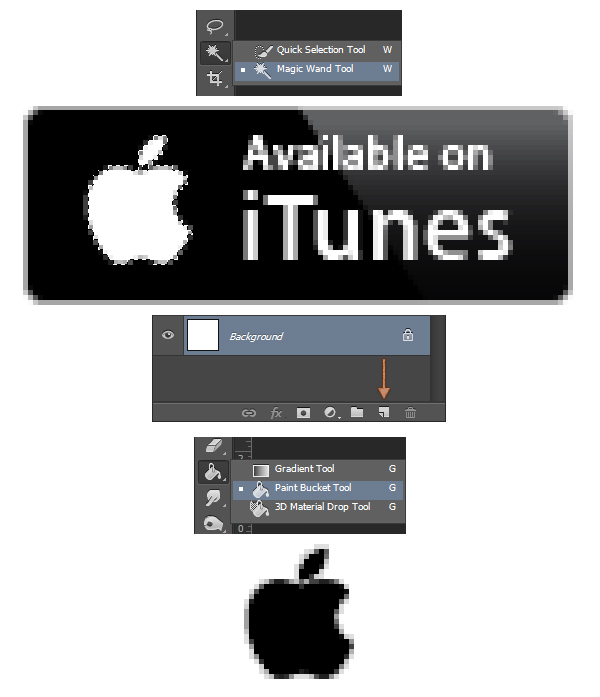
Open one of those PNG files, pick the Magic Wand Tool, hold the Shift button from your keyboard and click on the white area that makes up the Apple logo.
Focus on the bottom side of the the Layers panel and click the “Create a new layer” button.
Set the foreground color to full black ( #000000 ), pick the Paint Bucket Tool and click inside your selection.
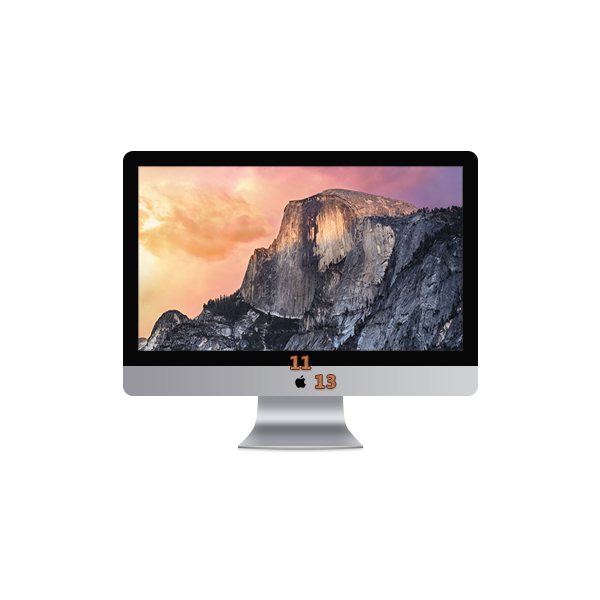
Hit Control + D to get rid of your selection and then click Control + T. Resize your Apple logo to 11 x 13px and place it as shown below.
Step 15
Set the foreground color to #FAFAFA and select the Paint Bucket Tool.
Focus on the Layers panel, select the background layer and click on the canvas to change the color.
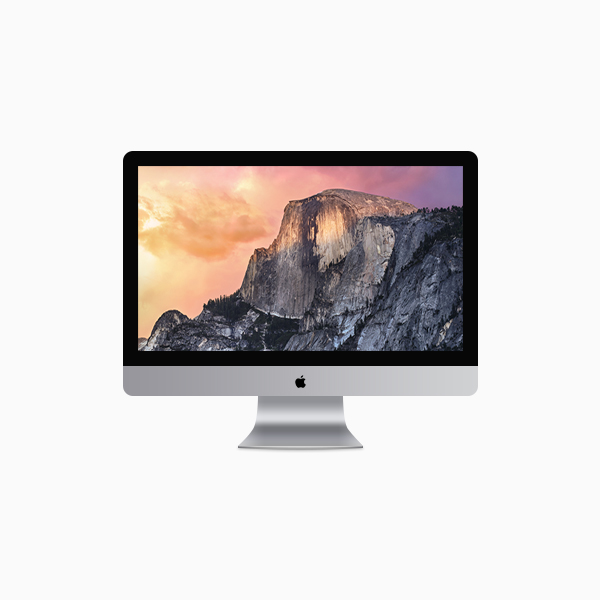
And We’re Done!
Here is how your final result should look.


