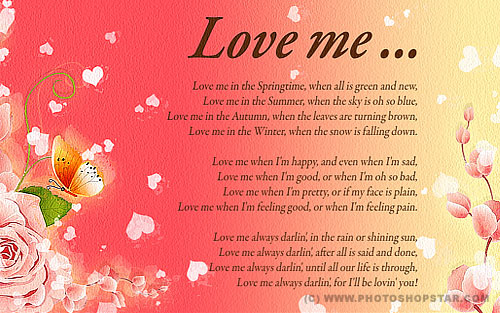
The long-awaited holiday coming… This is Valentine day. This holiday so important almost for each of us. That’s why I decided to prepare for you one more interesting Photoshop tutorial about how to make Valentine greeting card by using creative art.
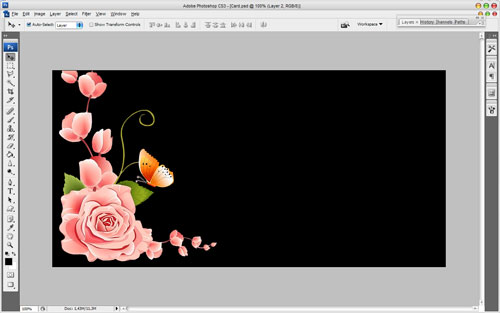
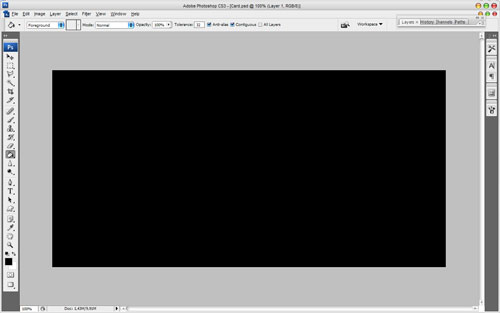
Ready to start? Ok, let’s go! In the beginning I created a new document and filled it with black color.
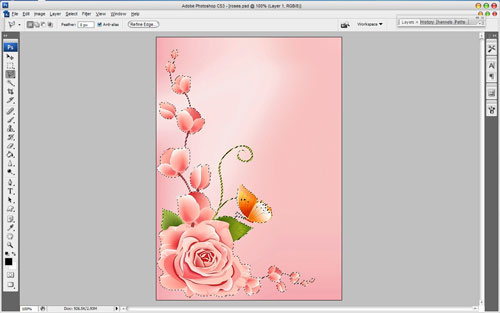
Then I would like to add decorative elements to the background. You can find some appropriate picture on stock photo websites and feel free to use my picture. Open up it and use the Polygonal Lasso Tool to separate picture from the background.
Press Ctrl+C to copy selected area, then go back to our main canvas and press Ctrl+V to paste coped part of image on it. Move it a little bit left as shown on my picture below.
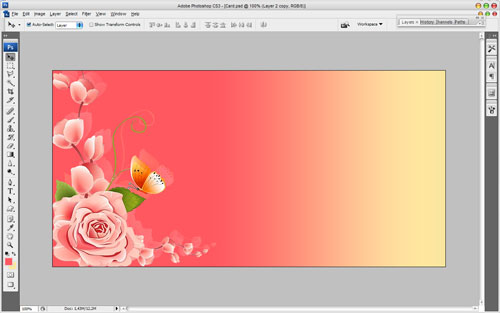
Press Ctrl+J to duplicate current layer with flowers and hide the copy (click on the eye, which indicates layer visibility). Go to lower layer and set opacity up to 20% for it. Then create a new one layer above and fill it with pink to orange gradient, using colors of #ff5860 and #f6e69e. Change layer mode to Screen for this layer.
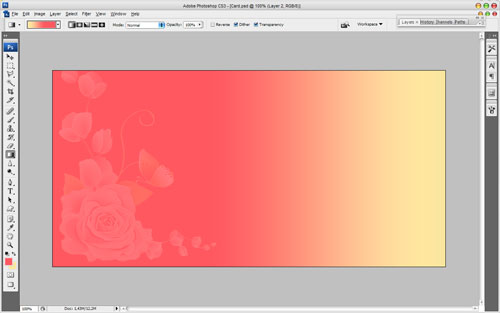
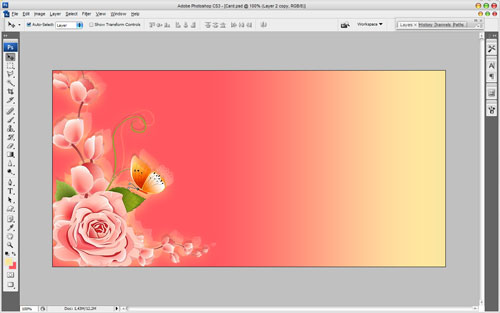
Go back to the hidden copy of layer and make it visible again. After that move it like on my print screen which you can see below.
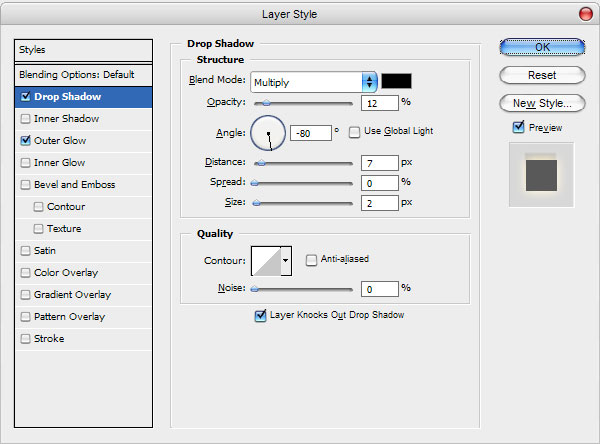
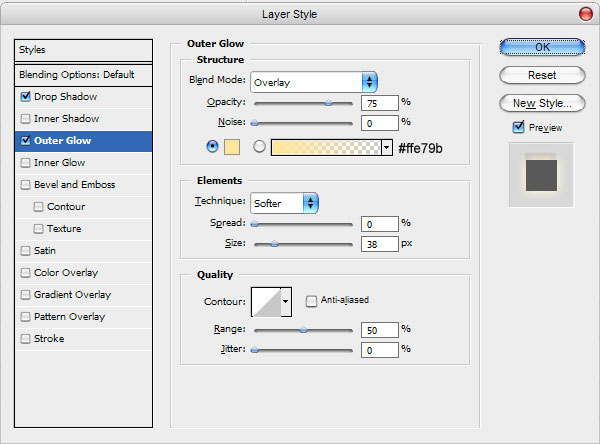
Apply Drop Shadow and Outer Glow layer styles to this layer.
See the difference now?
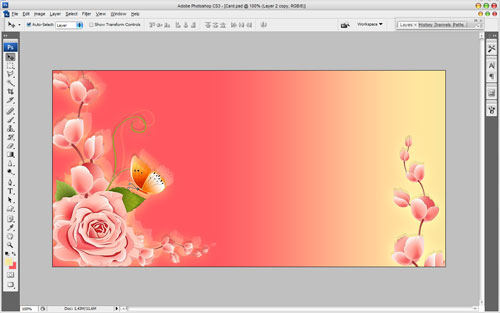
Ok, now duplicate this layer with Ctrl+J and move copy to the right lower corner.
Move to the next step. I would like to bring some heart shapes to the background. How we can do this? I’ll show you one way. Create a new one document sized 50×50 pixels. Then select the Custom Shape Tool and one of the standard shapes from Photoshop gallery. Add this shape to our new document. It doesn’t matter which color it will be.
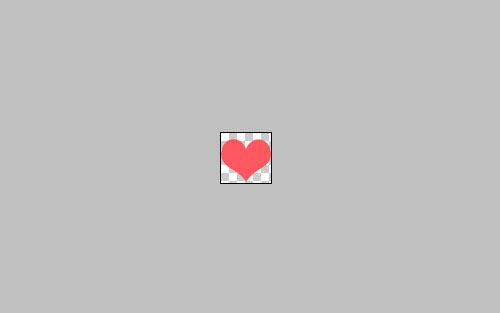
After that use Edit > Define Brush Preset to save this shape as brush. Ok, now we have ready heart brush. But before applying it we should set up some settings for it. Select the Brush Tool and our new brush. Then click the button ‘Toggle the Brushes palette’ on the Options Bar to open brush presets window or by choosing Window > Brushes. Here we can see a couple of presets. Now, set up the following presets for our selected brush:
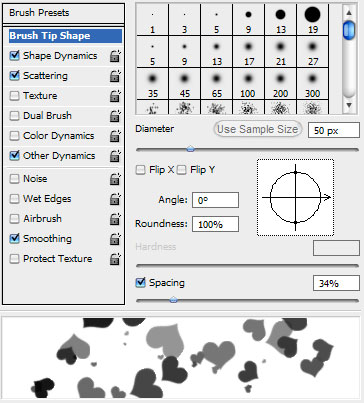
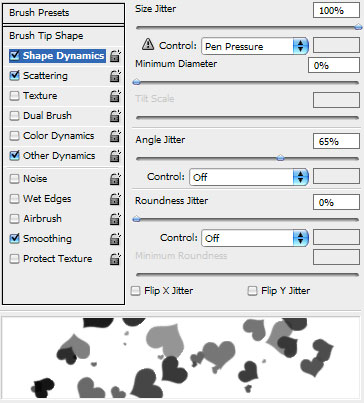
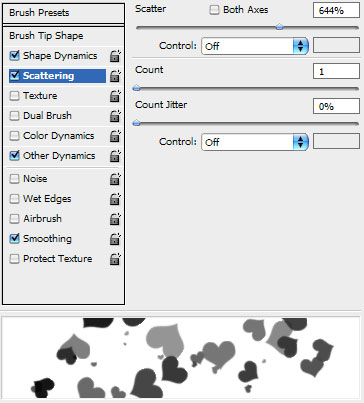
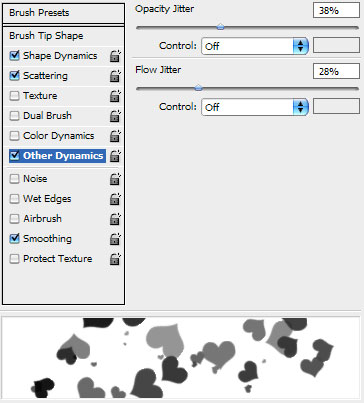
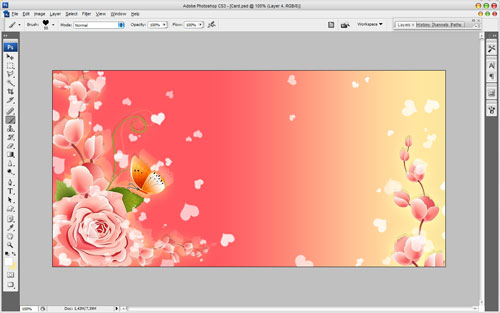
Ok, when we are done with settings, select the white color as foreground color and add a few strokes with hearts.
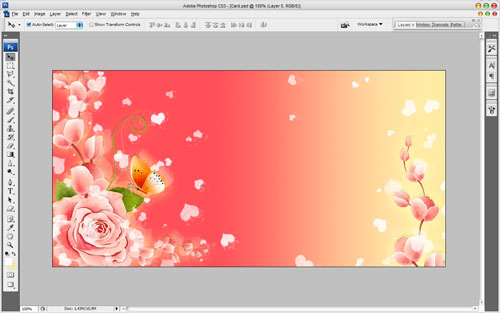
Ok, move to the next step. Now we need to bring our greeting card some creative art looking and should stylize it. For this effect merge all layers in one by pressing Ctrl+Shift+E. Duplicate new layer with Ctrl+J and apply Filter > Distort > Ocean Ripple for the new layer with similar settings to these:
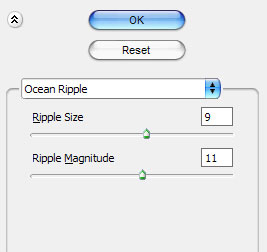
After that mess with the layer mode & opacity/fill. I tried Sift Light with opacity of 60%.
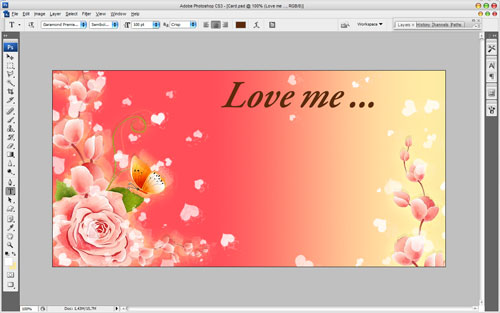
Then we should add greeting text or something like this. Get out the Horizontal Type Tool and write out some text. Actually, I decided to put some poem about love in my greeting card. So, the first line will be title of the poem. Use the color of #5b2a0c for this text line.
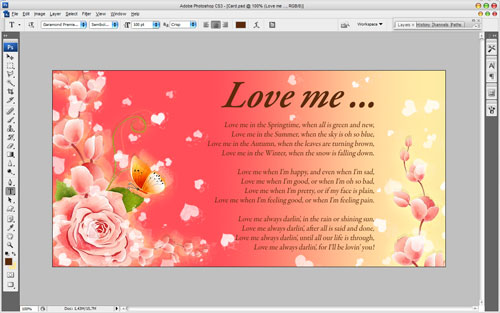
In the above image I’ve used a font called Garamond Premier Pro, which is one of standard Windows fonts. Ok, then add the poem with the same color and the same font. But use smaller size font for this text layer.
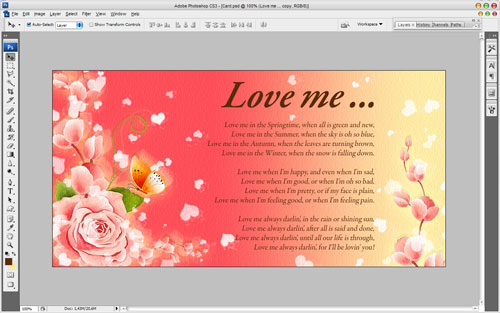
Looks good, isn’t it? Merge all layers in one again and apply Filter > Texture > Texturizer with next presets:
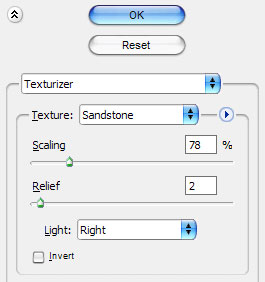
Now we have effect like this:
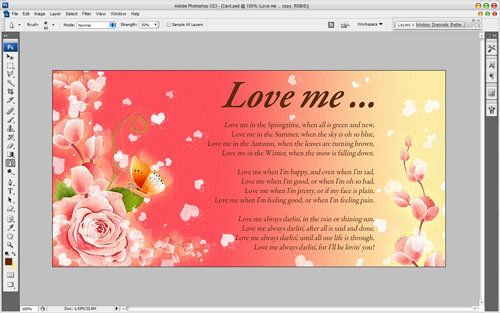
After that use the Sharpen Tool to add some sharpness to our canvas.
Ok, on this step we are done! Now we have great looking Valentine Greeting card.
I congratulate all on the Valentine day! Love each other and try to save your love!

