In this easy Photoshop tutorial I’m going to try and teach you how to recreate the famous Yahoo! smiley face, you know, the one that’s all over the Yahoo website? 😛

1. Document
Start by creating a new document. For this tutorial I used a very small document size. I then added in a simple radial gradient to the background.

Document size: 250×250.
Gradient: #e9d5ed to #9533ad.
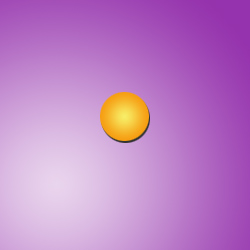
2. Base
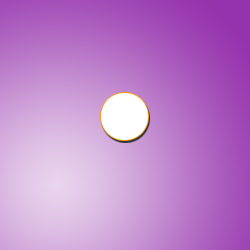
Create a new layer (layer > new > layer) then make a rounded selection in the middle of the document. The size of my face is 49 x 49 pixels. Now fill your selection with any old color, I used #f7ee67, but it doesn’t matter since we’ll be applying layer styles to it anyway.

In the layers palette, right-click your layer and go into the Blending Options, then click and apply the following settings:
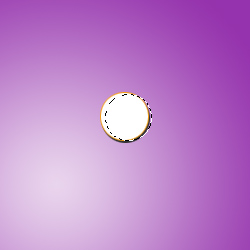
Applying those two layer styles will leave your face looking like this:
3. Effects
Let’s add the shiny effect to the left of the face. After creating a new layer, select your face pixels by holding ctrl and clicking the layer thumbnail in the layers palette. This is what your document should look like now:
Contract your newly-made selection by one pixel by going to Select > Modify > Contract in the Photoshop menus. Be sure you’re on the new layer then fill the selection with white. (#ffffff)
With the selection for the smaller circle still active, move the selection about 4 pixels to the right and 1 pixel downwards.
Press delete on your keyboard to remove the selected area. You should be left with this:
Zoom in so you can see a bit better, then, using the eraser tool erase away one pixel like shown:
Now we want to separate our two sections of the highlight, do this by using a selection tool to select the bottom half, then, right-click your selection and go to layer via cut. Name your layers bottom and top.

Lower the layer opacity for your top layer to about 80-90%, then lower the layer opacity for your bottom layer to about 50-60%. This won’t change much at all, just gives it little details.

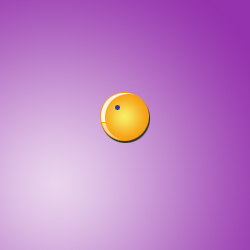
4. Face
Let’s add in the eyes. Make a new layer, then make a selection in your face around 5 x 5 pixels in size, fill your selection with a fair blue color (#2b37a5)
All you have to do is duplicate, move to the right then merge together.

(note that I moved the right eye approximately 14 pixels to the right)
5. Mouth
Time to add in the mouth for our character. Start by making a rounded selection using the elliptical marquee tool. Something like shown below.
If you can’t seem to get it right, simply copy the above image into photoshop and make the selection over it. Fill the selection with black, or any color for that matter, and fill in the sides of the circle to make it square on the sides.
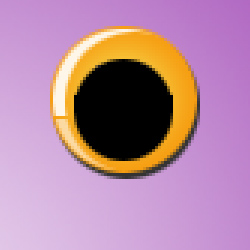
Next, delete the top half of the mouth so that the top is completely flat.

Apply the following layer styles to your newly-created mouth layer:
- Gradient Overlay (download the Gradient file from here.)
- Stroke
You should be left with a result like so:

6. Finishing Off
Again, on a new layer make a selection the entire width of the mouth, but only about 5 pixels in height at the top of the mouth, these are the teeth! Fill the selection with white (#ffffff)

Apply the following layer styles to the teeth layer:
- Inner Shadow
- Gradient Overlay (download the Gradient file from here.)
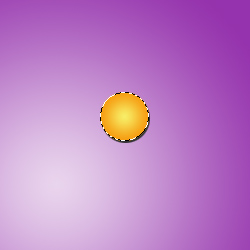
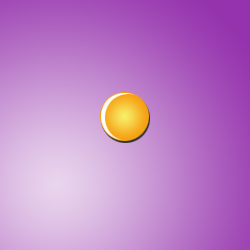
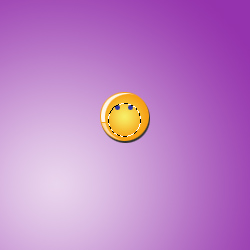
Now you should be left with a result like so:

Now all the smiley needs that it doesn’t have already is one of those soft, little shadows underneath it.
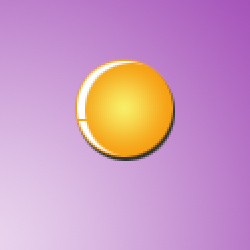
To compare, you can go to https://messenger.yahoo.com/ and see a few of their smilies, I got mine pretty close if I don’t say so myself 😉
Thanks for reading this Photoshop tutorial, everyone, I hope you learned something.