Learn to create a silhouette effect in the sun on this photo manipulation tutorial.
Final Image Preview

Resources
Step 1
Open girl photo in Photoshop.

Duplicate layer (Ctrl+J). On duplicated layer apply Image > Adjustments > Brightness/Contrast.
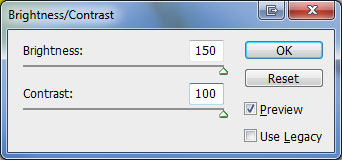

Update layer mode to Pin Light.

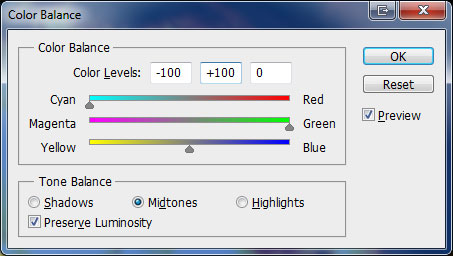
Duplicate current layer with Ctrl+J (leave layer with original photo untouched for now) and apply Image > Adjustments > Color Balance to duplicated layer.

Step 2
We have too much yellow on photo and we need to replace yellow for another color. Duplicate current layer (Ctrl+J) and on duplicated layer apply Image > Adjustments > Replace Color.
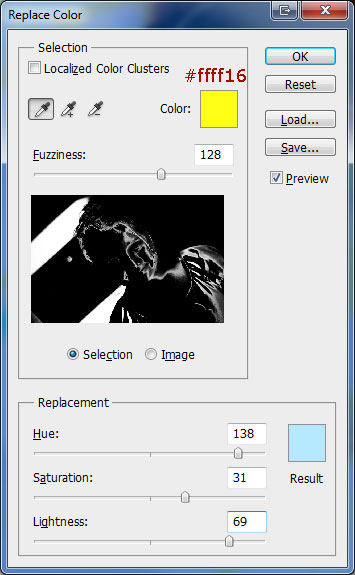

We need to keep replacing color until we get the result we want. Apply again Image > Adjustments > Replace Color
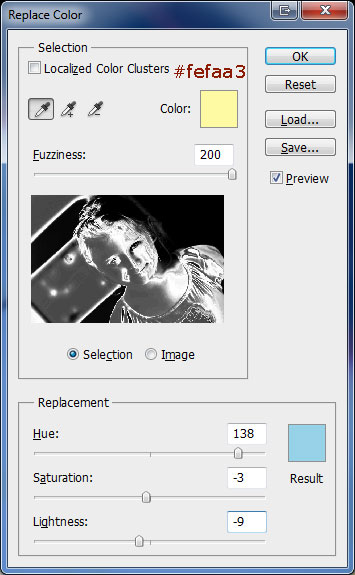

Now we have a lot of blue. Apply again Image > Adjustments > Replace Color
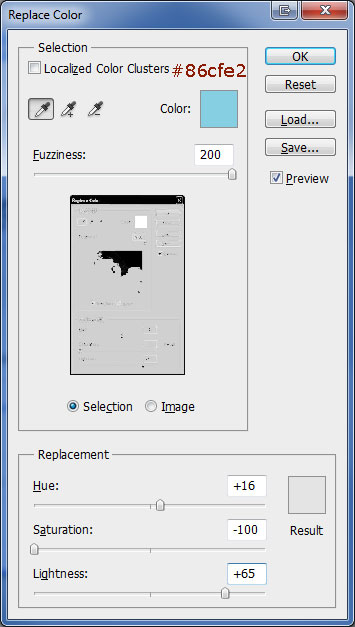

Keep changing color with same process till you have a result you like.

Step 3
We now need to make girl more visible and add more attention to her face. Select and duplicate original layer using Ctrl+J and place it above all layers. After that apply Image > Adjustments > Desaturate to duplicated layer.
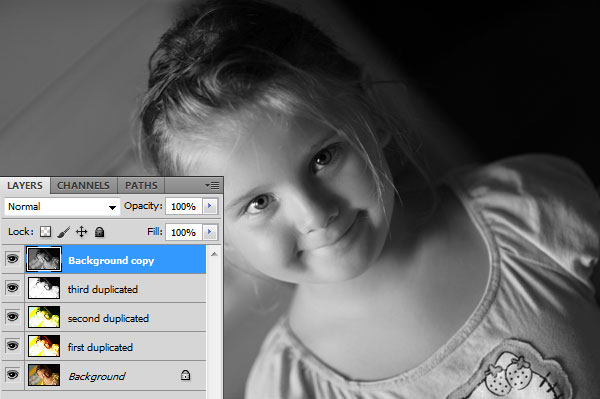
Keep working on top layer. Apply Image > Adjustments > Invert.
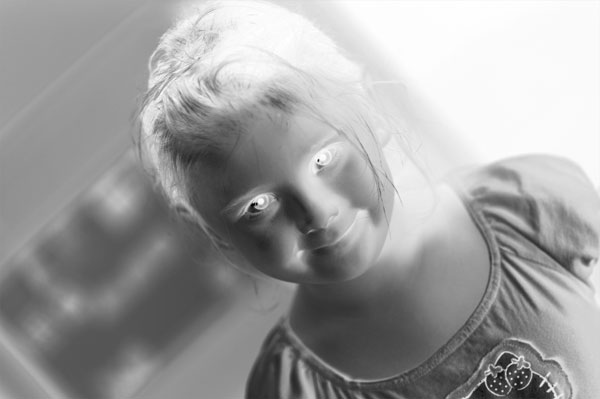
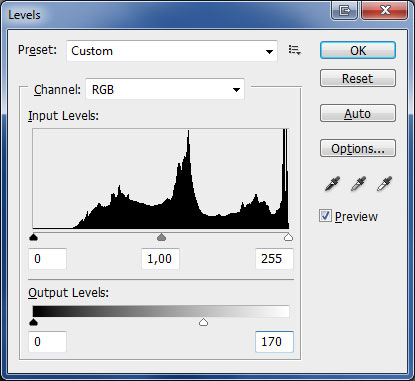
Apply Image > Adjustments > Levels to make image a bit darker.
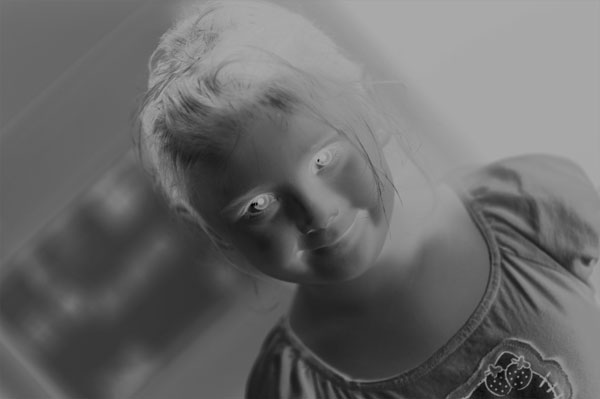
Apply Image > Adjustments > Brightness/Contrast to create more contrast.
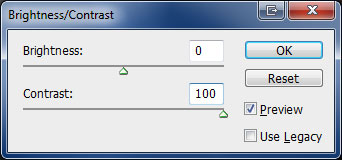
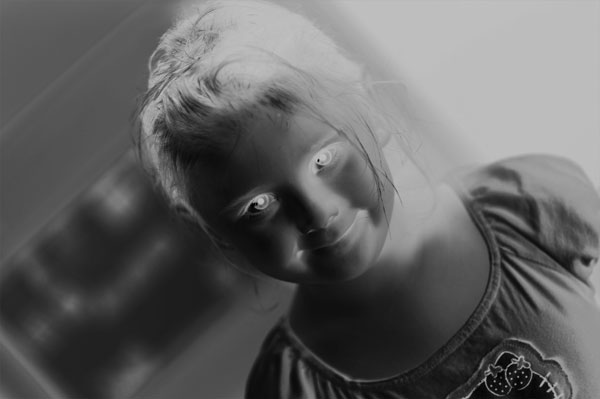
Apply again Image > Adjustments > Brightness/Contrast to increase effect.
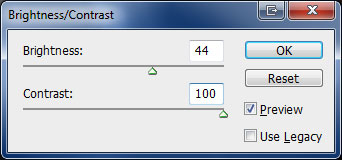
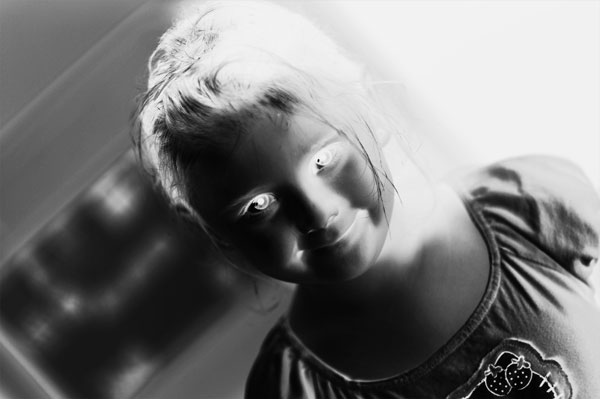
Update layer mode to Soft Light for current layer.

Step 4
Duplicate layer selected (should be layer on top) with Ctrl+J.

With duplicated layer selected apply Image > Adjustments > Invert.

Update layer mode to Multiply on current layer.

Step 5
Select Eraser Tool (Opacity: 30%, soft-brush). Clean almost anything on layer leaving some paths to slightly emphasize the face and darken lower area off the photo. You can see on image below area that was left after using Eraser Tool.
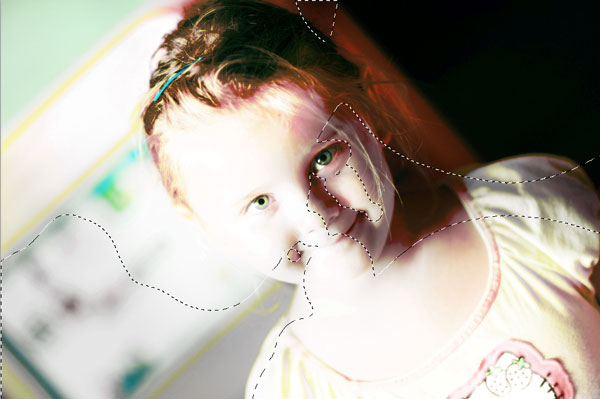
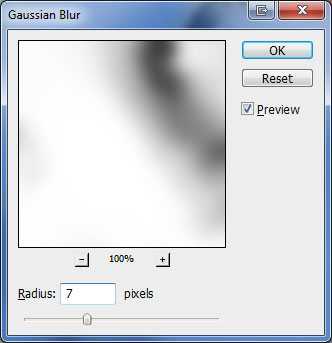
This tutorial is now complete but you can improve it a bit more. Select third layer when counting from the top (my third duplicated layer) and apply Filter > Gaussian Blur.
Final Image

