On this tutorial i will show you one interesting effect i’ve got by experimenting with Photoshop filters.
Final Image Preview

Resources
Step 1
Start by opening photo and then go to Image > Image Size to update it´s width to 600px and height to 800px.

Step 2
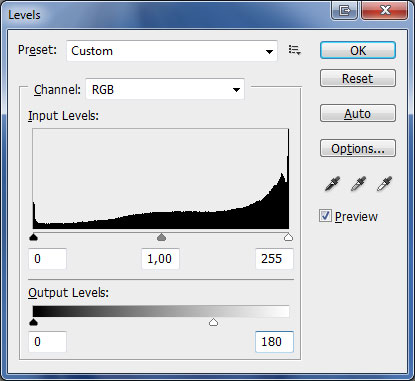
Background is too white so we need to reduce brightness of whole photo by going to Image > Adjustments > Levels.

Step 3
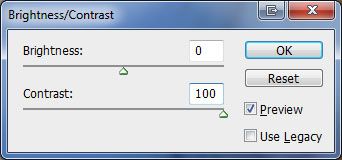
We need to increase contrast by going to Image > Adjustments > Brightness/Contrast.

Step 4
Go to Window > Channels and create a new channel there. This new channel will be filled with black color on channels thumbnails. Make sure you have all channels visible and your photo will look like mine.
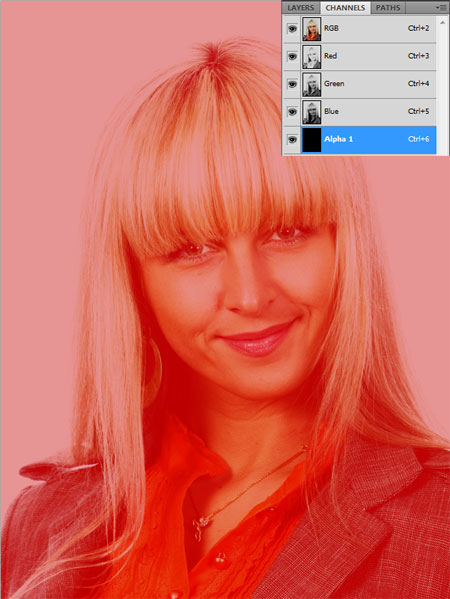
Select Elliptical Marquee Tool to make selection similar to mine.

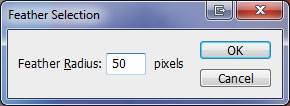
After that feather selection with Select > Modify > Feather Selection.
Select Paint Bucket Tool to fill selected area on newly created channel with white color (#ffffff). Deselect selection with Ctrl+D.

Step 5
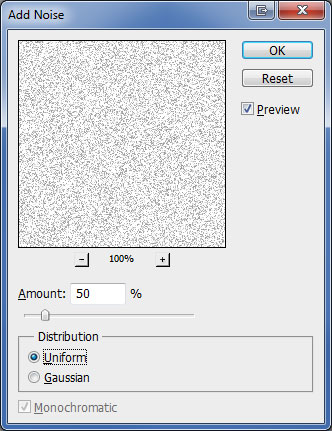
Go to Filter > Noise > Add Noise.

Step 6
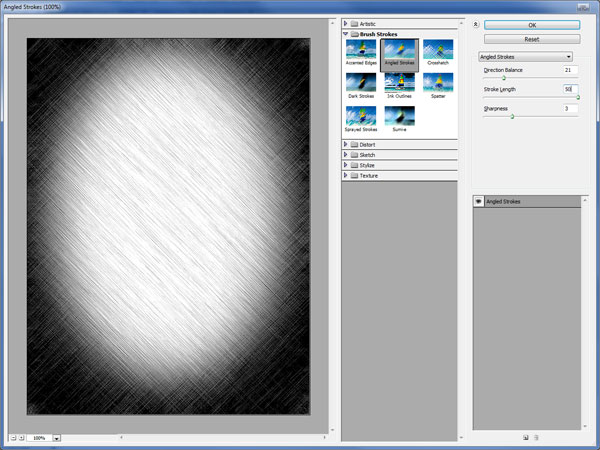
Apply Filter > Brush Strokes > Angled Strokes.

Step 7
Hold Ctrl button and click on Alpha 1 channel thumbnail on Channels palette to load selection of this channel.

Apply Select > Inverse to invert selection.

Create a new layer above photo layer and fill selected area with white color.

Final Image
Remove selection with Select > Deselect and this tutorial is complete.

