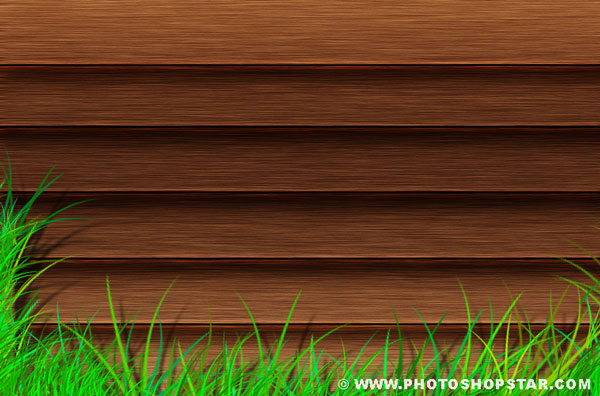
On this tutorial you will learn to create a realistic wood roller shutter texture using only Photoshop Tools.
Final Image Preview

Step 1
Create a new document with 800px width and 500px height. Fill background with linear gradient using Gradient Tool.
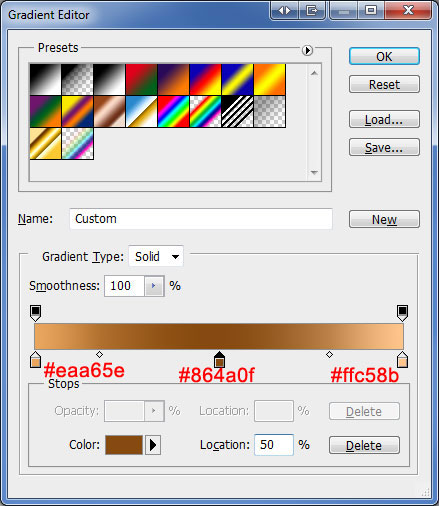

Step 2
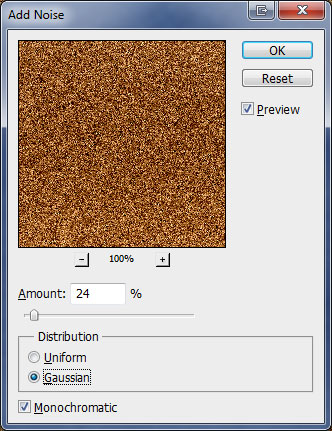
Apply Filter > Noise > Add Noise with following settings:
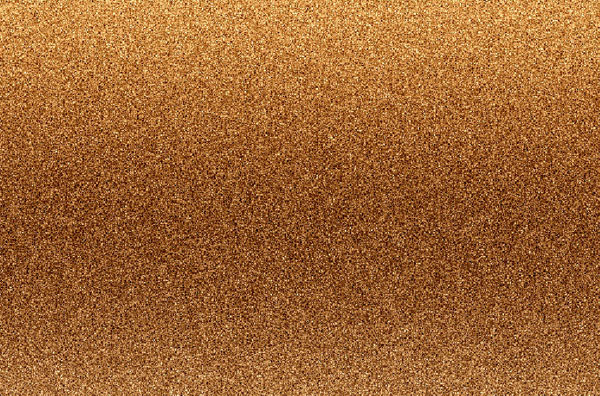
Step 3
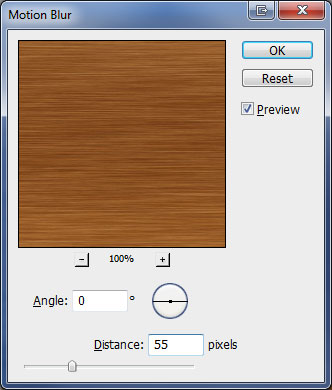
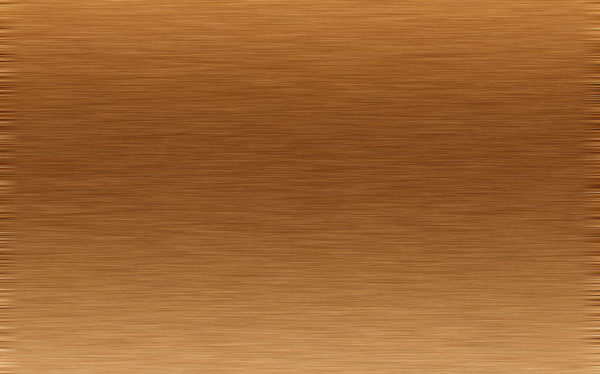
Apply Filter > Blur > Motion Blur with following settings:
Step 4
Select Crop Tool and remove borders of our background texture by cropping each side.
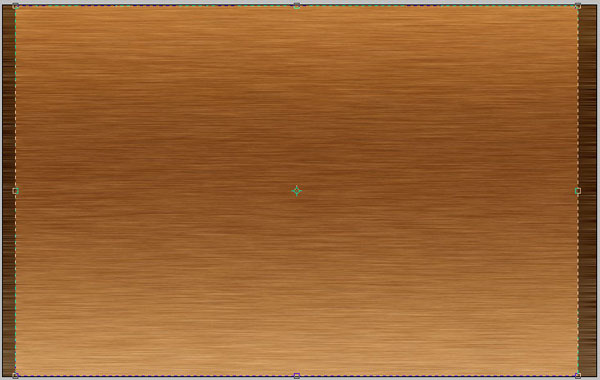
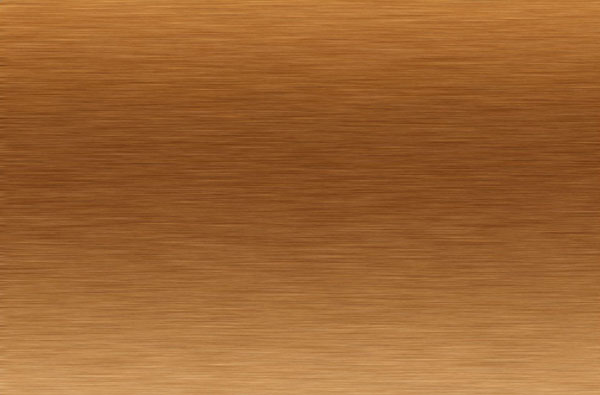
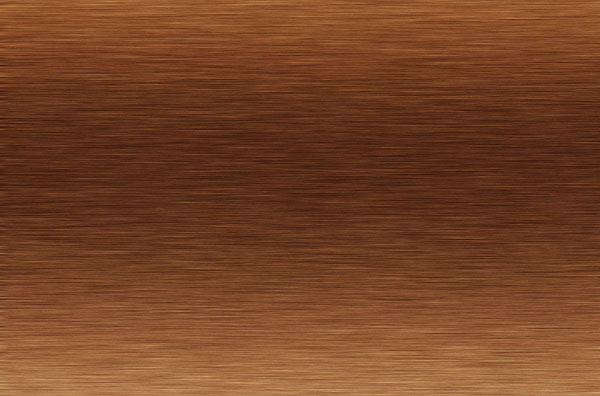
After cropping your image should look like mine:
Step 5
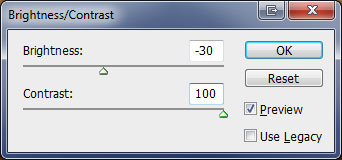
Now we are going to increase constrat. Go to Image > Adjustments > Brightness/Contrast:
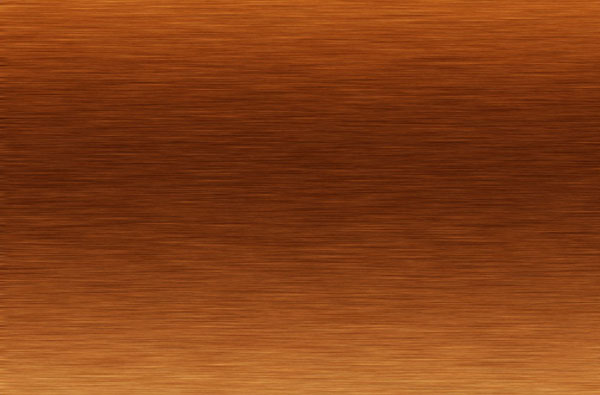
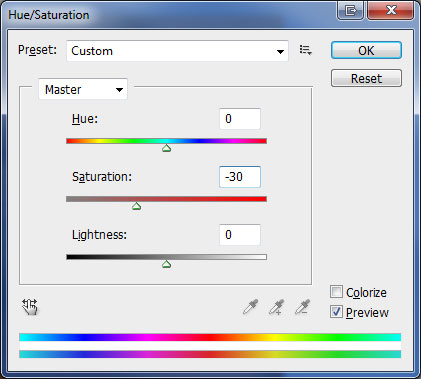
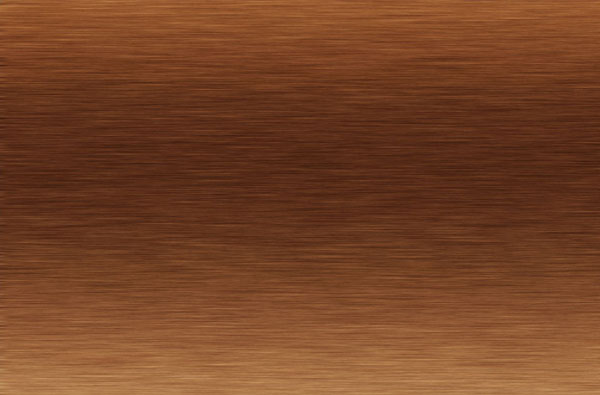
We need to reduce light intensity so go to Image > Adjustments > Hue/Saturation.
Step 6
Apply Filter > Sharpen > Sharpen.
Step 7
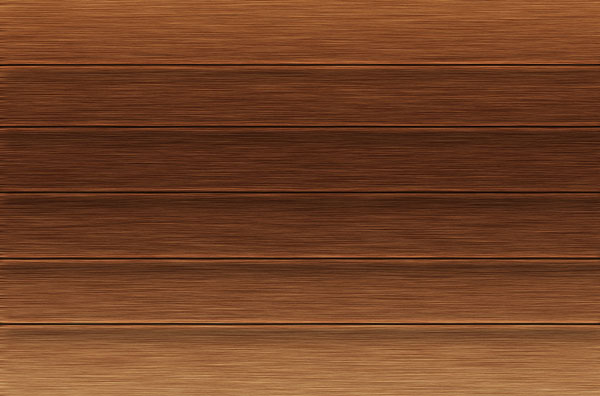
Select one Hard Round Brush, 3 pixels and set foregound color to black color (#000000). Draw several lines and when drawing hold Shift key to make them straight.
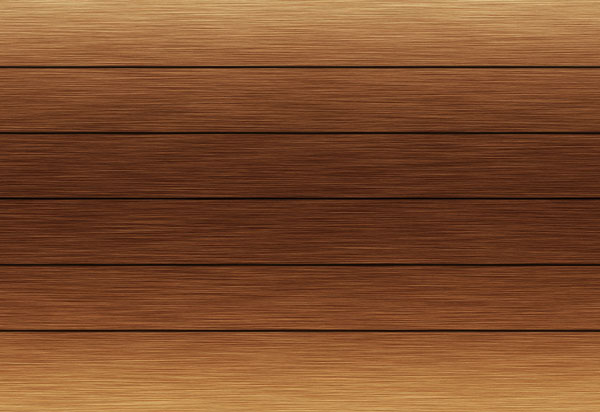
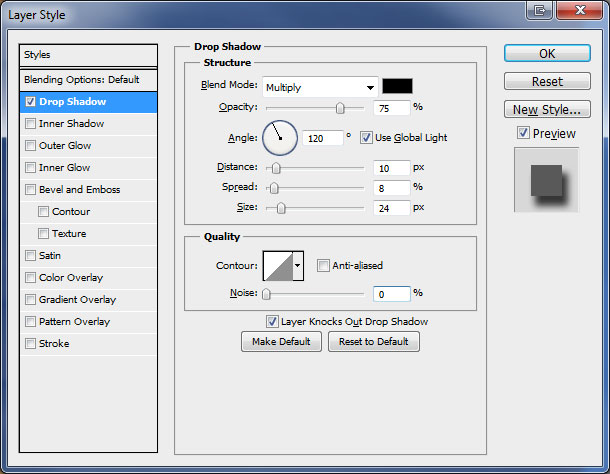
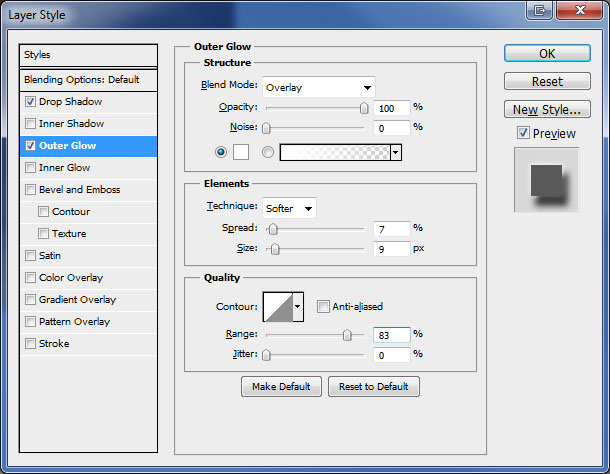
Go to Layer > Blending Options and apply following styles:
Step 8
Select Rectangular Marquee Tool and select area as shown below.
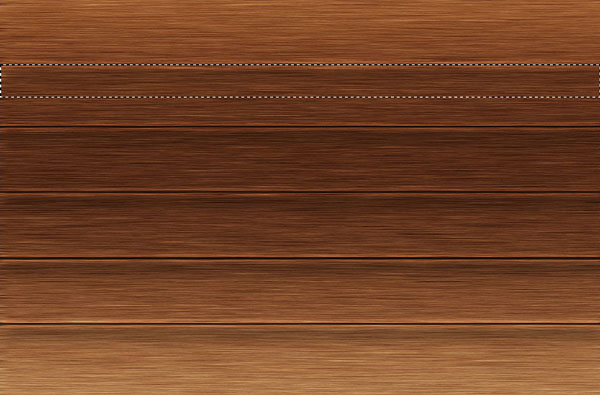
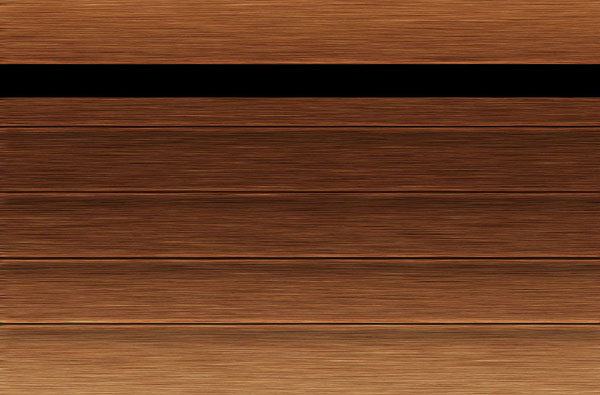
Create new layer and fill selected area with black color (#000000).
Step 8
Select a soft-edged brush with 80 pixels and opacity 70%. With Eraser Tool selected clean up lower edge of the black area.
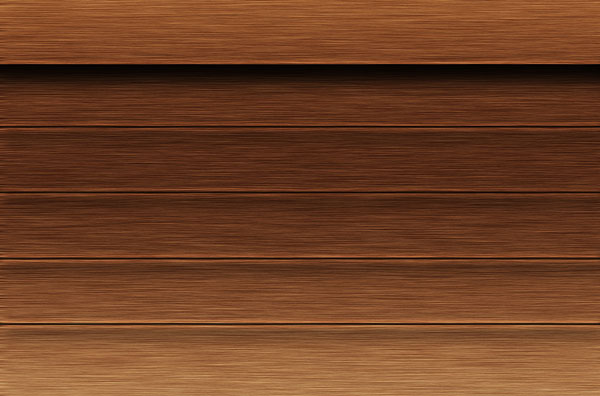
Change Layer Blending Mode to Soft Light and we get a deep shadow.
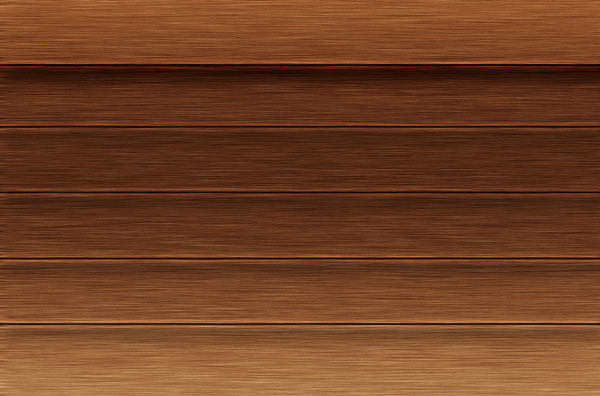
Copy layer with Ctrl+J and move it to next line. Repeat process till you have all lines with shadow.
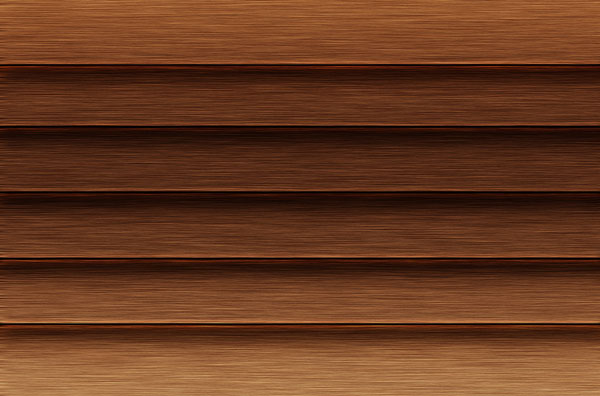
Step 9
Create new layer on top. Select Brush Tool and Grass Brush (it is one of standard brushes that comes with Photoshop). Change foreground color to green (#00ed00) and draw some grass.
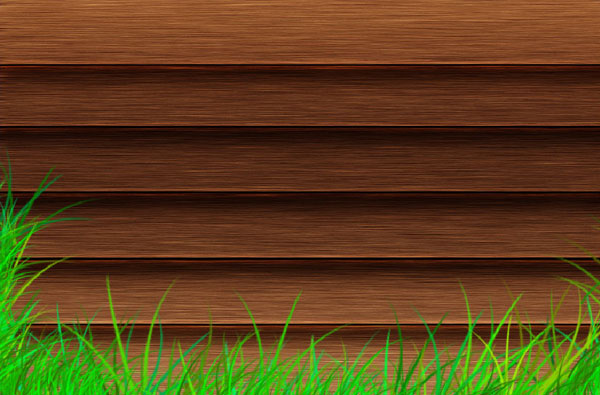
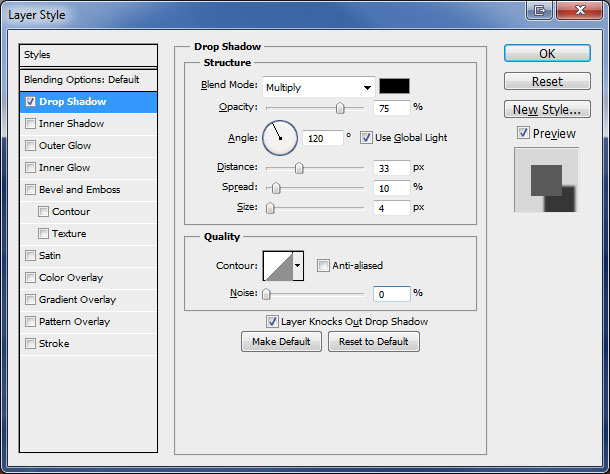
Apply Drop Shadow by going to Layer > Layer Style > Drop Shadow.
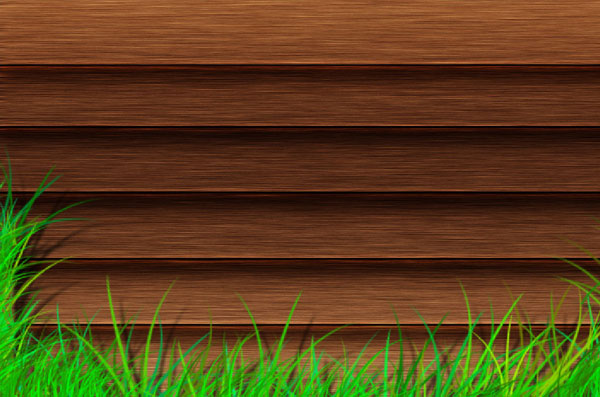
Final Image
Apply Filter > Sharpen > Sharpen and this tutorial is over and we got a realistic wood roller shutter.
