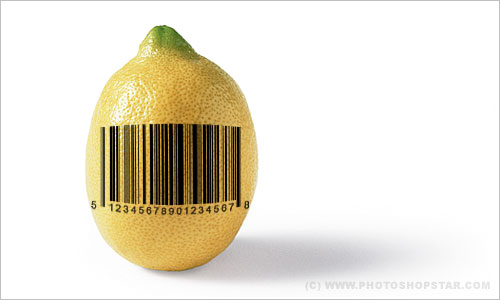
In this tutorial I will show you how to create such a simple thing as a bar code in a few steps.
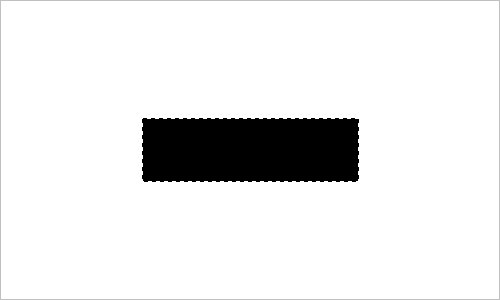
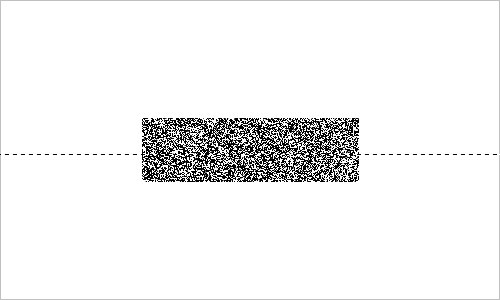
Create a new document sized 500×300 pixels and fill it with white color. Then use the Rectangular Marquee Tool to create selection similar to mine on the picture below and fill it with black color on the new layer.
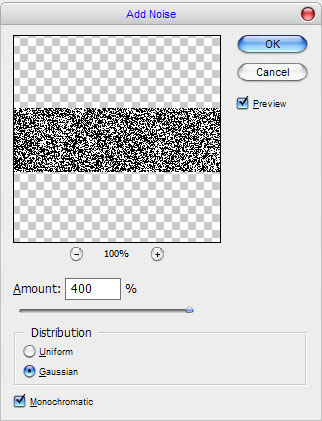
Press Ctrl+D to deselect chosen area, then apply Filter > Noise > Add Noise with similar settings to these:
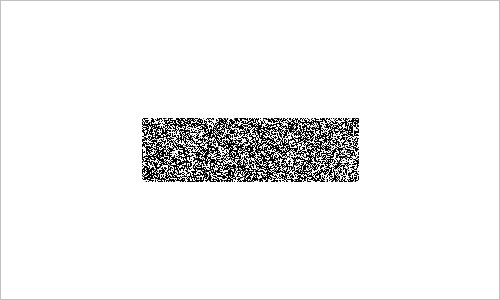
Now we have effect like this:
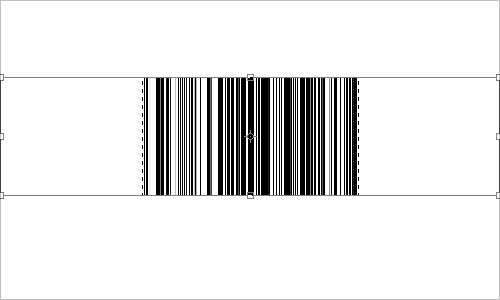
After that select Single Row Marque Tool to create selection about 1 pixel height.
Press Ctrl+T to transform selected area like on my screenshot which you can see below.
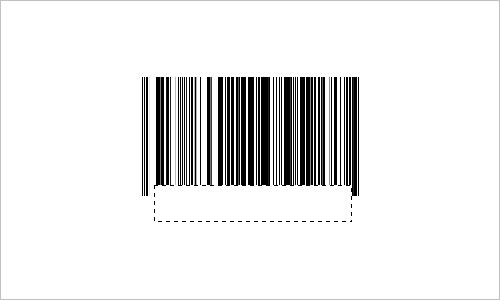
Remove selection with Ctrl+D again and move to the next step. Now we need to cut off some lines on the bottom to add the numbers. Use Rectangular Marquee Tool to create selection again and press Delete button to clean selected area.
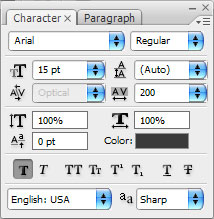
Remove selection with Select > Deselect. Get out the Horizontal Type Tool to add the numbers with black color to our bar code area. Before you start typing the numbers just go to Window > Character and set up following presets for the text:
After that type your text line:
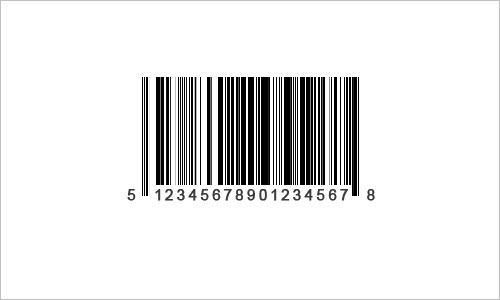
Merge text layer with previous one with Ctrl+E. We are done with creating bar code. Now we can add it to some goods. I found this picture to work with. Open up it and copy to our main canvas under the layer with bar code. Go to bar code layer again and apply Edit > Free Transform to reduce code a little bit and rotate it.
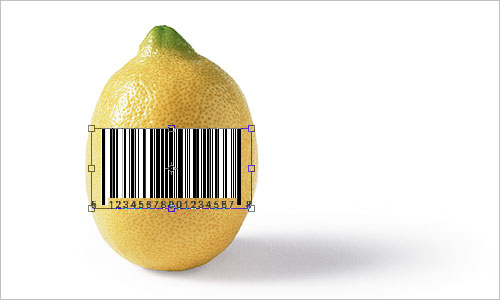
Then apply Edit > Transform > Warp to make right perspective for code on the lemon surface.
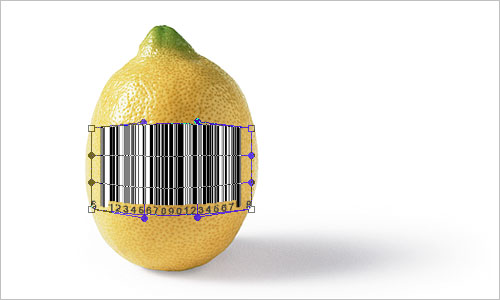
Then change layer mode to Multiply for current layer and apply Sharpen Tool a little bit:

We are done on this step. It was easy but very useful, isn’t it? Hope, you have the same good results as me. If you have done similar technique with this post, feel free to post the link in the comment form.

