Are you big Apple Macintosh fan like me? If yes, than I have one very interesting tutorial for you how to recreate the Apple logo.
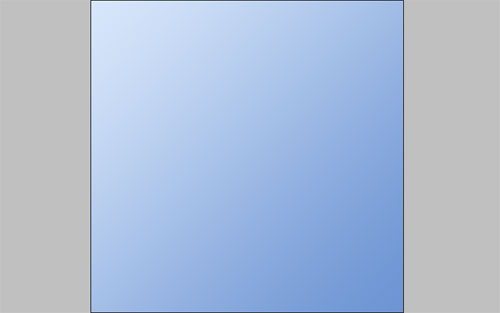
Ok, let’s start! Create a new document sized 500×500 pixels. Drag a linear gradient with colors of #d7e6fa and #6e94d3 as shown on a picture below.
Now, we need to find some logo of Apple, to take the path. You can use Google Images to find the picture. I prefer to use this one picture. Open up this logo and copy it to our main canvas.
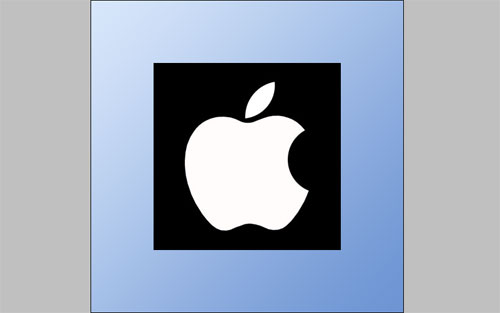
After that get out the Polygonal Lasso Tool and select the apple path.

Press Ctrl+Shift+I to invert selection and then press Delete to clear selected area. Remove the selection with Ctrl+D. See the result on the picture below.

Pretty good apple isn’t it? Time to stylize the apple. Duplicate current layer with Ctrl+J and apply the next layer style:
• Gradient Overlay
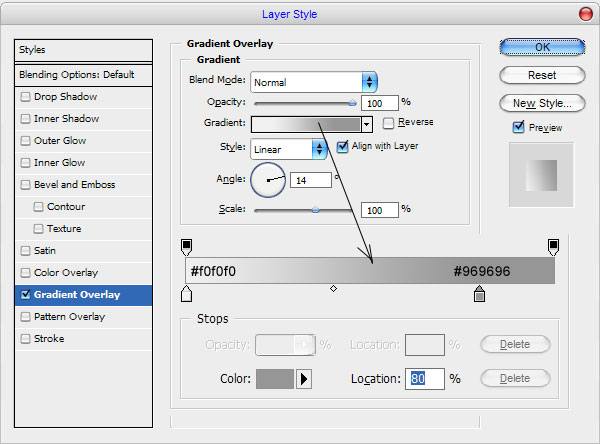
Now we have something like this.

Ok, go on to stylize the logo. Use Edit > Transform > Warp to transform the layer with gradient.
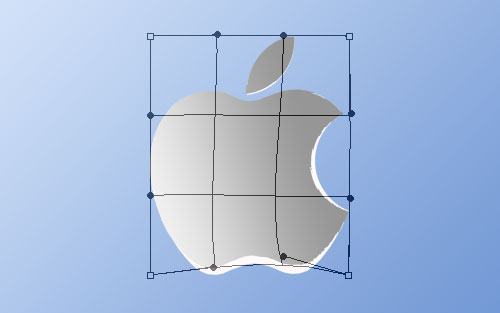
After that create a new layer and merge it with previous to get all layer styles in one layer. Then select the Dodge Tool (Brush: 100 px, Range: Midtones, Exposure: 30%) to do a little dodge-work. Your picture should look as mine.

Select the apple path (Ctrl+ left click on the text layer in layer palette thumbnail), after that get out the Elliptical Marquee Tool and press Alt, then cut away a part of the shape as on my picture below.

Create a new layer and fill selected area with color of #e8e8e8, then remove selection using Select > Deselect. Select the Elliptical Marquee Tool again and create a round selection like on my picture what you can see below.

After that invert the selection with Select > Inverse (or press Ctrl+Shift+I) and then get out the Eraser Tool to cut away a part of the leaf.

Remove selection with Ctrl+D and get out the Dodge Tool (Brush: 100 px, Range: Highlights, Exposure: 10%) to make a little dodge-work again. The result should be next:

Now, apply the next layer style:
• Drop Shadow
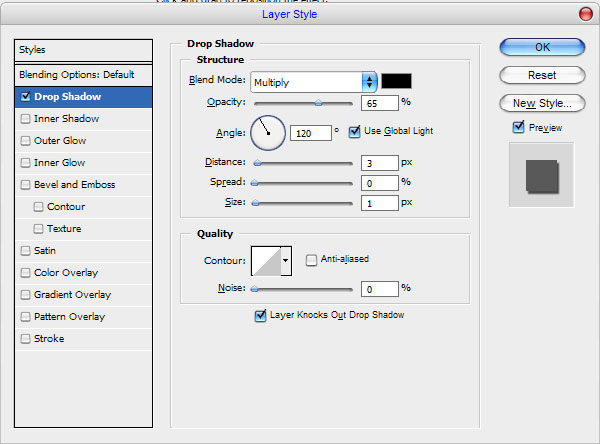

Looks pretty good, but not finished now. Use Layer > Layer Style > Create Layer to separate layer style from the layer. Go to the layer with shadow and transform it a little bit with Edit > Transform > Distort like on my picture below.
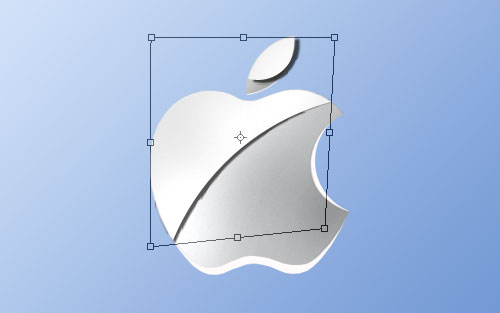
Ok, now use the Eraser Tool and a soft round brush to cut away unnecessary parts of the shadow.

Ok, looks good. Go on! Now, merge all layer of logo in one and apply the next layer styles:
• Drop Shadow
• Inner Shadow
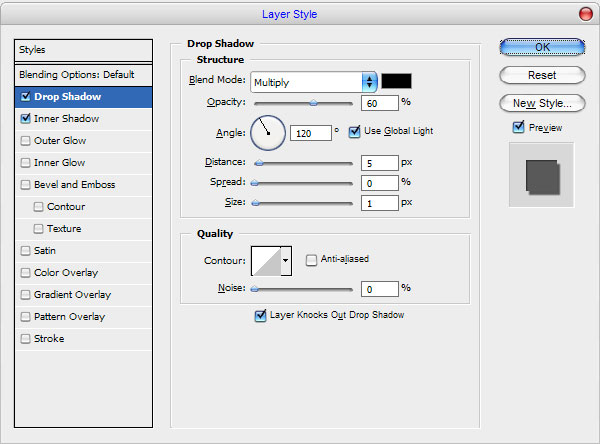
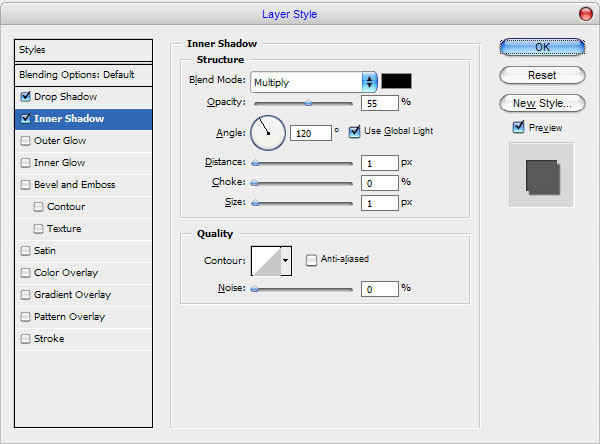
We received the next picture as the result.

Now we have a great Apple logo. I think we are done for this tutorial! I hope you are happy now!

