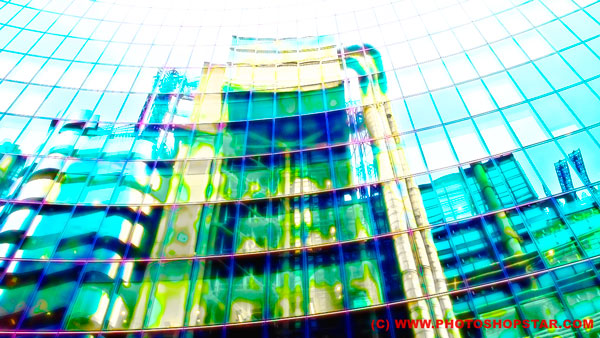
This is a very detailed step by step tutorial where I will show you how to make rainbow effect on a photo.
Final Image Preview
Resources
Step 1
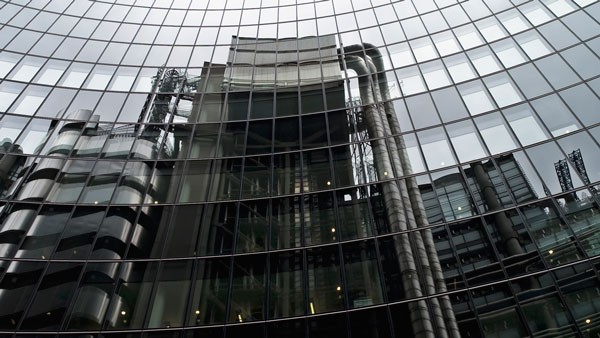
First, start by downloading stock photo that i selected for this tutorial. Open up the photo and use Image > Image size to set up width with 1200px and height with 675px.
Step 2
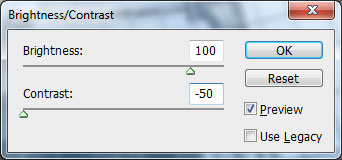
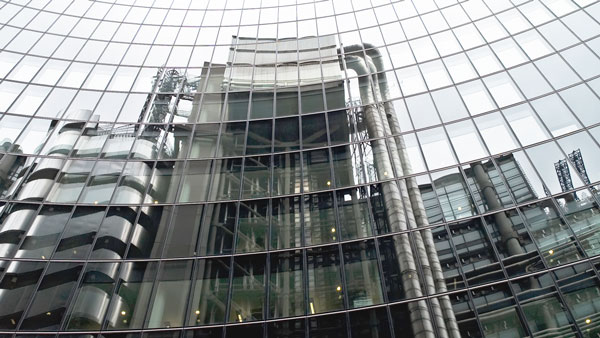
To obtain the desired effect, we need to lighten the photo so we can see every small detail on it, as well as to reduce the contrast of the photo. Double click on current layer thumbnail on Layers palette to unlock this layer, then apply Image > Adjustments > Brightness/Contrast with similar settings to these:
Step 3
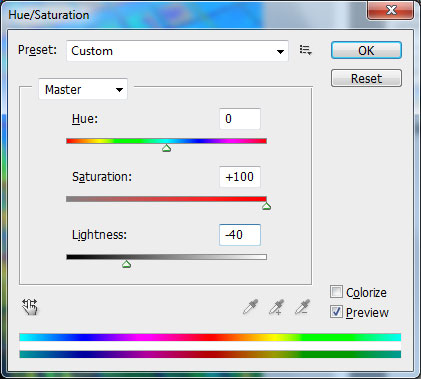
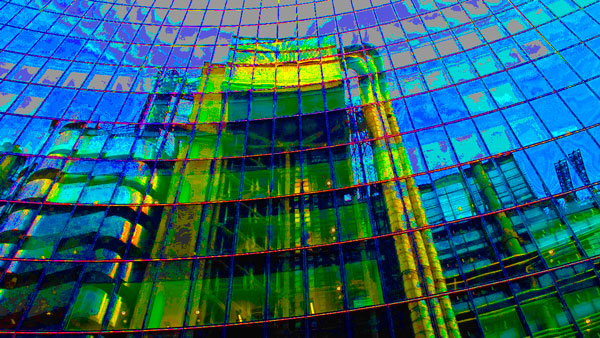
Duplicate this layer with Ctrl+J and apply Image > Adjustments > Hue/Saturation for copied layer:
Step 4
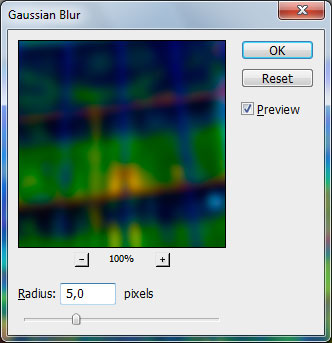
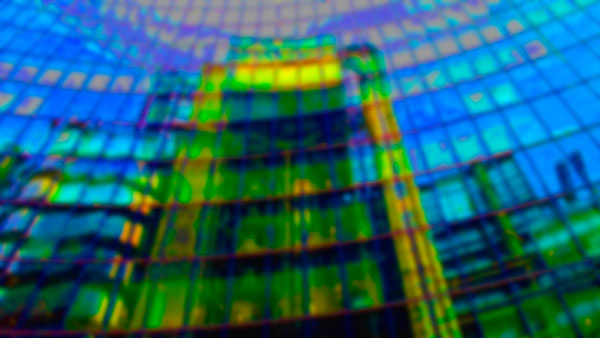
Apply Filter > Blur > Gaussian Blur with following parameters:
Step 5
Change layer mode to Overlay for this layer.
Step 6
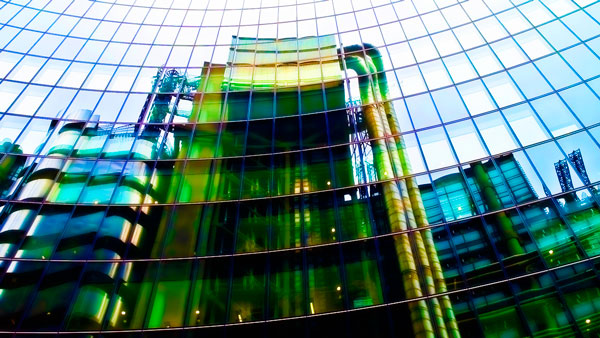
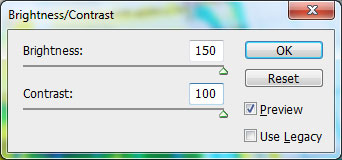
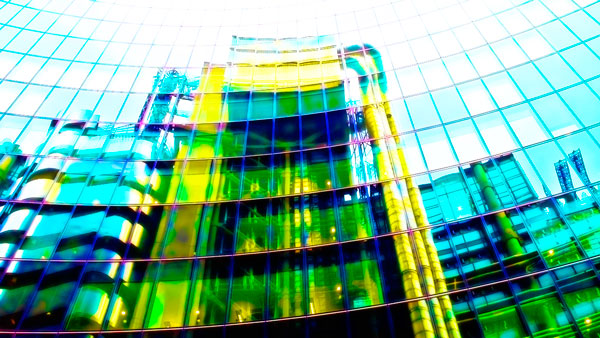
To increase brightness of the picture apply Image > Adjustments > Brightness/Contrast for copied layer.
Step 7
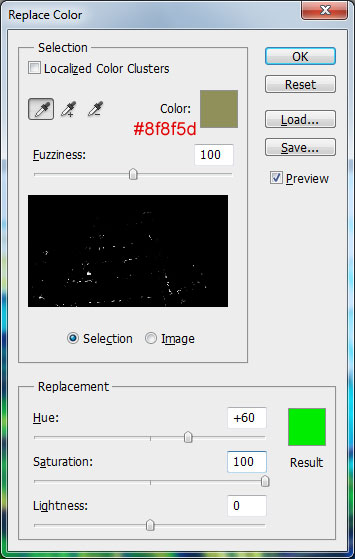
Let´s work on color correction. To get rid of some type of colors or too bright colors just use Image > Adjustments > Replace Color. We are going to replace khaki color with green color.

Step 8
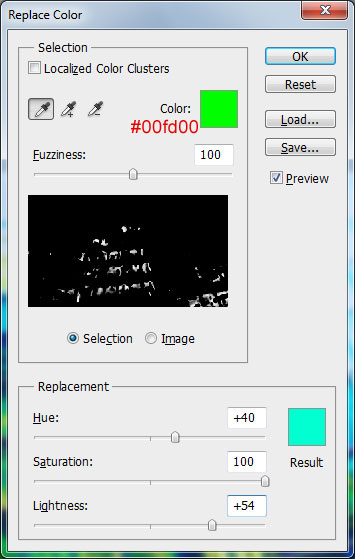
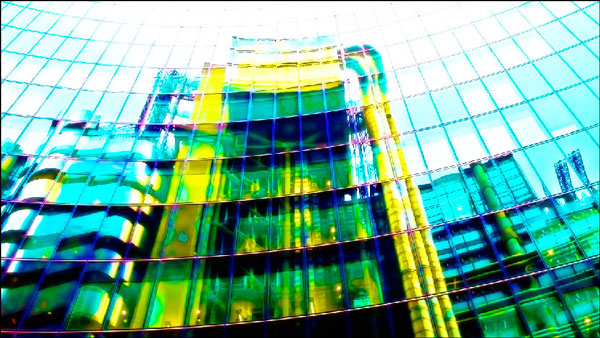
Now we are going to replace bright green color with blue one.
Step 9
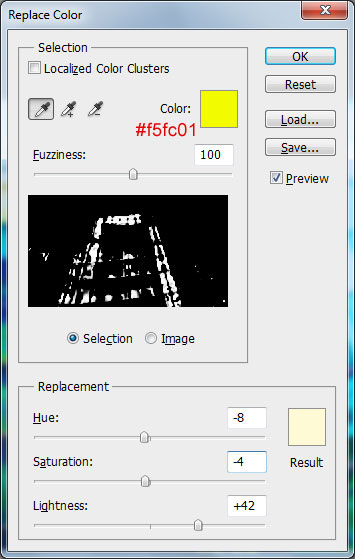
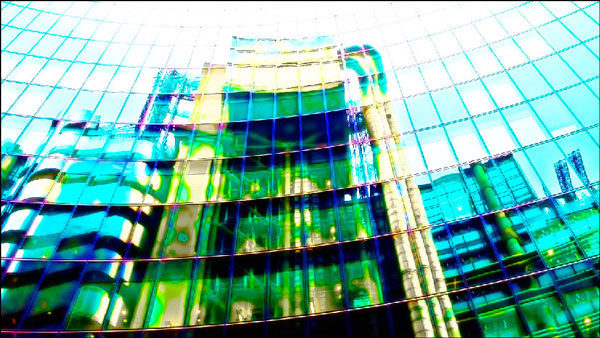
Let´s replace also bright yellow color on the photo.
Final Image
Now I would like to make whole photo lighter. For this purpose create a new one layer and change layer mode to Soft Light for new layer. For now you don’t see any changes on the photo because current layer is empty. After that select the Brush Tool (Opacity: 100%) and a soft round brush about 80px and color and paint over all the dark areas on the picture with white (#000000) color.

Photo looks much better now and this tutorial is now complete.
