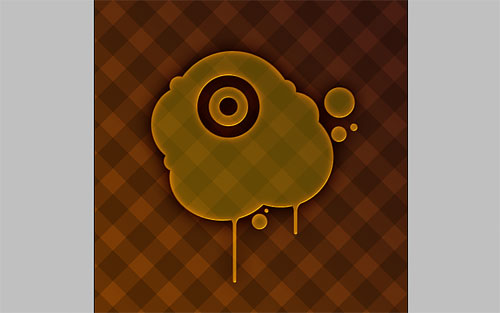
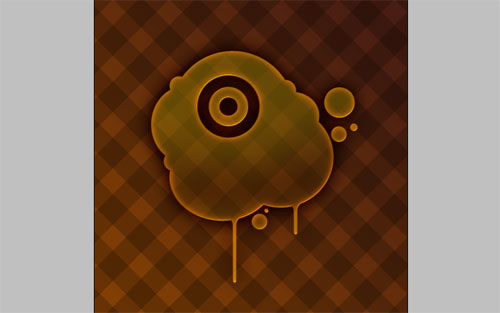
In this tutorial, I’ll tell you how to create a pseudo surround effect using just Photoshop tools.
Ok, lets’ go! Start with creating new document 500×500 pixels. Fill the background with a linear gradient using the color #2d120b and #532803.
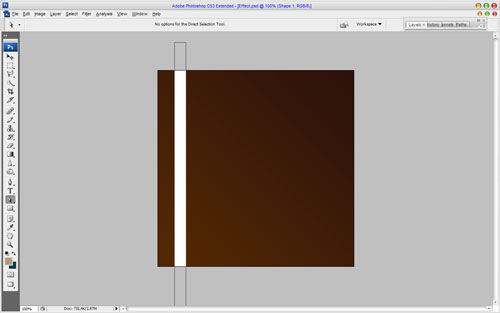
After that I would like to add some pattern to the background to make the text effect more evident. Get out the Rectangle Tool and create white line as on my picture you can see below.
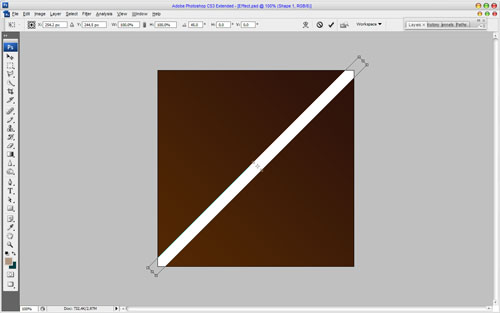
Use Ctrl+T to rotate this line. Hold the Shift button to rotate the line exactly 45 degrees.
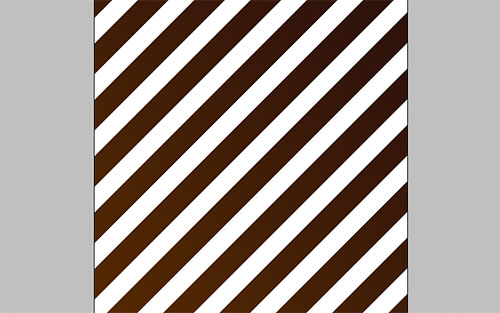
After that duplicate this layer more times and move left and right to create the same grid as on my screenshot.
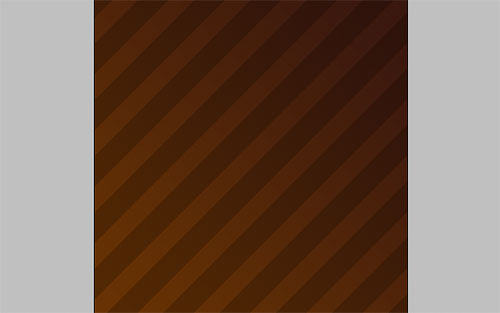
Then mess with the layer mode & opacity/fill. I tried Overlay with opacity of 25%.
Duplicate this layer with Ctrl+J and flip horizontal with Edit > Transform > Flip Horizontal.
Now, start with creating pseudo surround effect. Get out the Custom Shape Tool and find some appropriate shape from the palette:
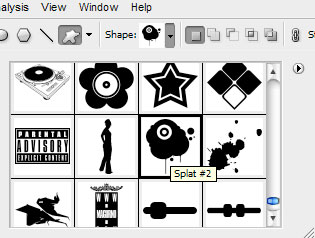
You can download this shape from here if you don’t have it. Use the color #998900.
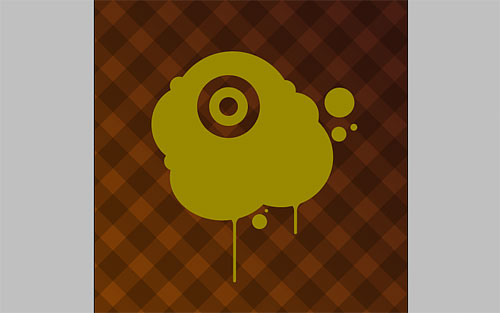
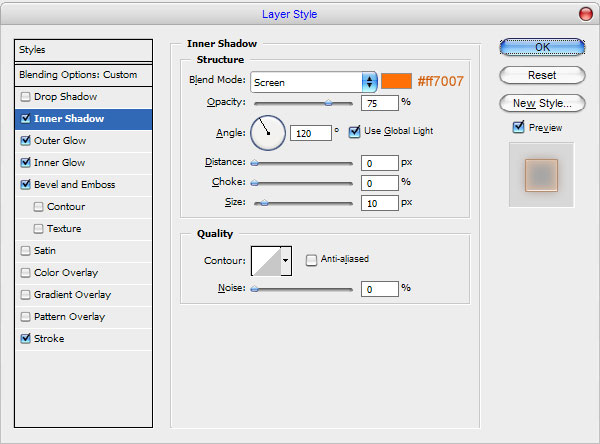
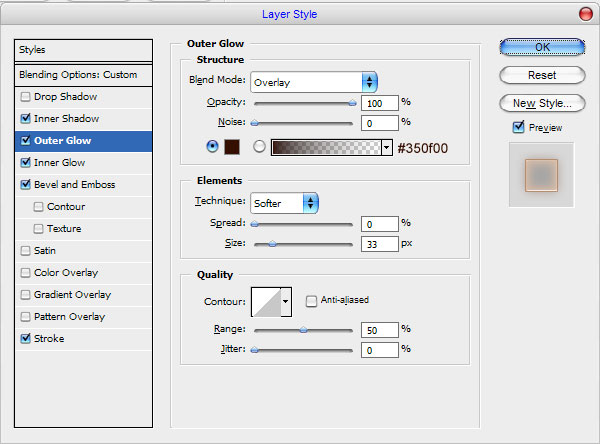
After that rasterize shape with Layer > Rasterize > Shape and set fill opacity up to 40%. Then apply Inner Shadow, Outer Glow, Inner Glow, Bevel and Emboss, and Stroke layer styles to this layer:
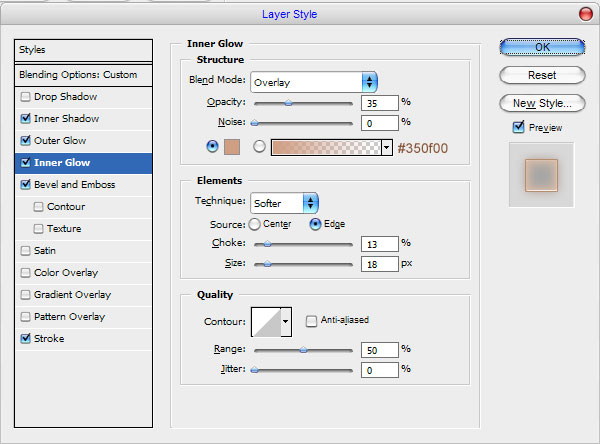
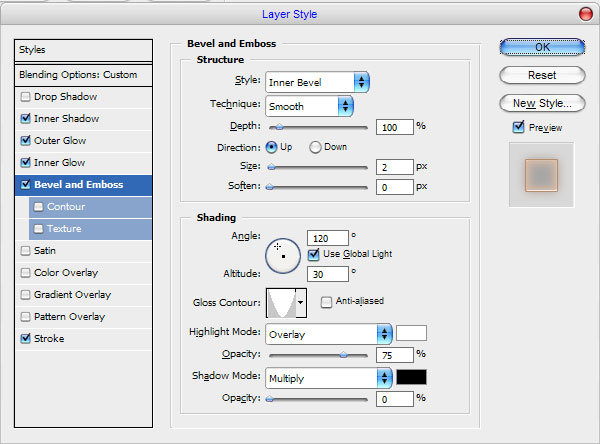
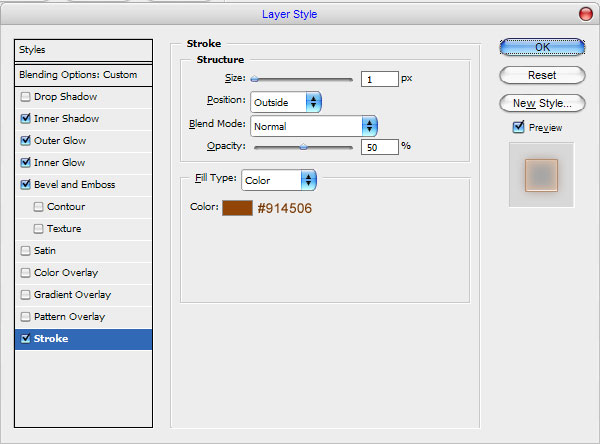
Ok, select the Burn Tool (Brush: 200 px, Range: Shadows, Exposure: 50%) and make a little burn work in the bottom of the shape.
Looks better then before, isn’t it? Next up is the shine effect. Use Select > Load Selection to select the shape and then apply Select > Modify > Contract to reduce selected area about 2 pixels.

Ok, now I would like to cut away unnecessary part of selection. For this use Elliptical Marquee Tool, hold Alt+Shift and cut away the part of selection.

Then fill selected area with white to transparent gradient on the new layer.

Remove selection with Ctrl+D and change opacity to 50% for this layer.

Add more glares to other parts of shape in the same way.

Move to the last step of the tutorial. Move under the shape layer and let’s add some text to demonstrate our effect more. Get out the Horizontal Type Tool and write out something like ‘Splatter World’ using color of #d2af72. The font that I’ll just be using for this tutorial called BellCent BdList BT.

I’m sorry but this tutorial is done! Feel free to experiment and you will get the best results!

