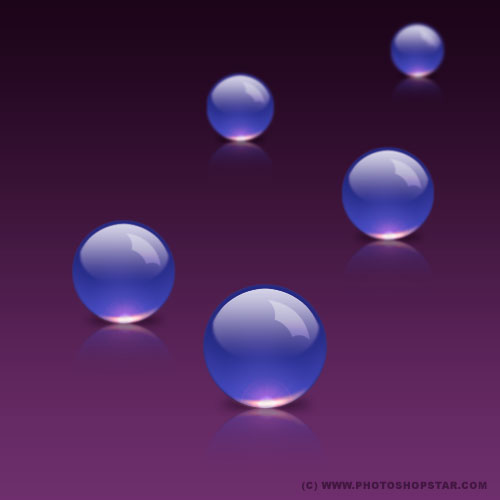
A quick Photoshop tutorial on the making of a pseudo 3D sphere.
So let’s get started! Create a new one document of 500×500 pixels and 72dpi. Fill it with the colors of #6c256d and #21081f.
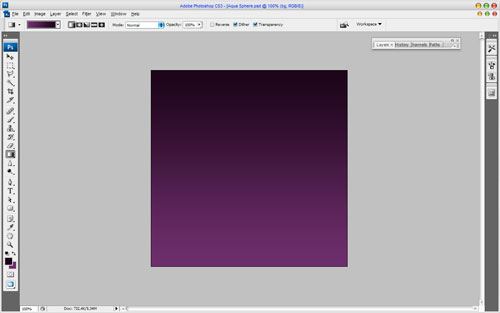
Select Ellipse Tool and make a new one round shape similar to this one below:

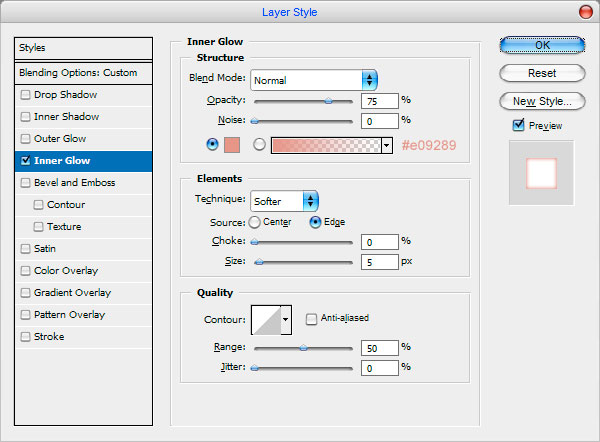
Now apply the Inner Glow and Gradient Overlay layer styles to this shape.
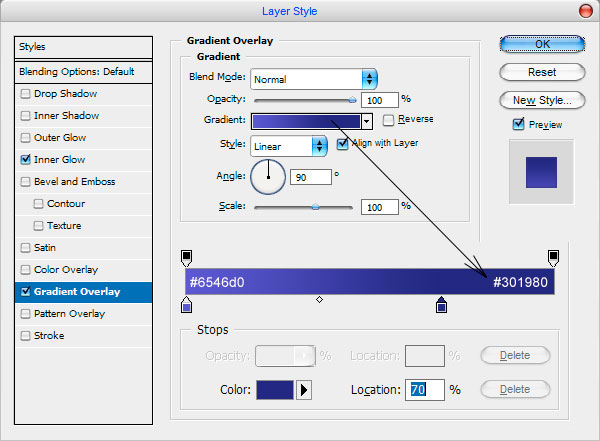
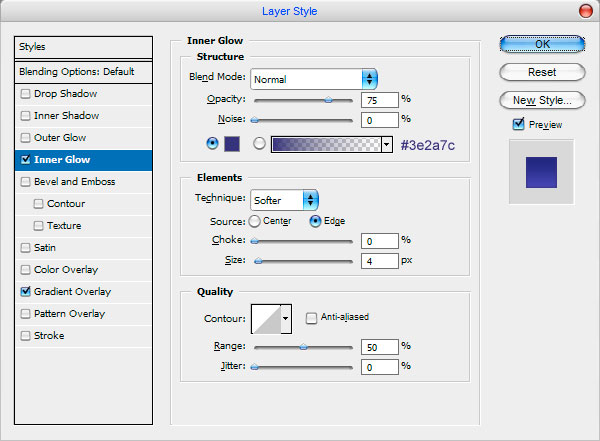
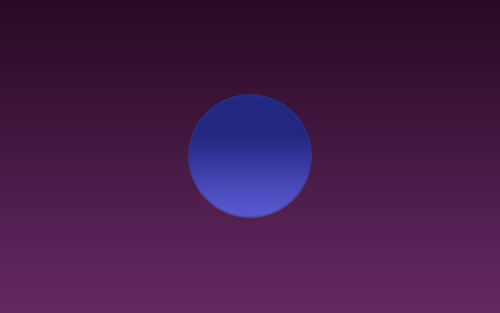
Ok, create another new layer and merge it with previous layer to get all layers styles in one. Then using the Burn Tool (Midtones, 30%) make a brownout on left and right parts of sphere.
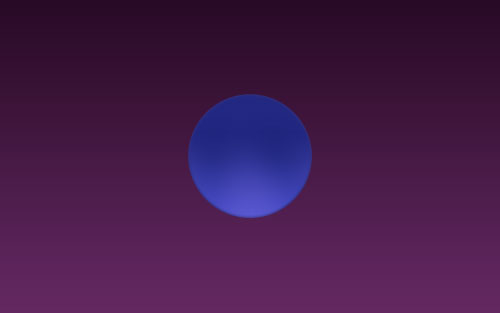
Now, time to add a glossy shine to the sphere. Go to Select > Load Selection, then Select > Contract and contract your selection about 4 pixels. Create another new layer. Activate the Gradient Tool and a white to transparent linear gradient; fill in the work area as below.
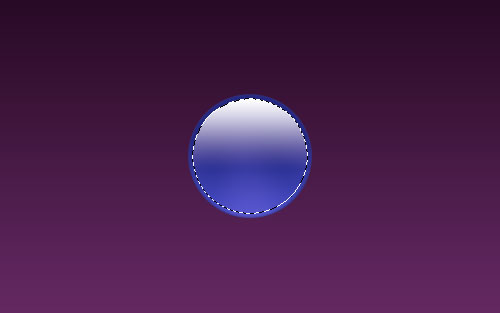
Make a new one selection to cut the lower part of gradient.
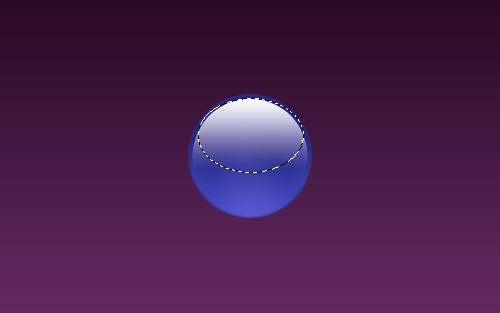
Using Ctrl+Shift+I invert the selection and press Delete to make it clear. Deselect your image with Select > Deselect.
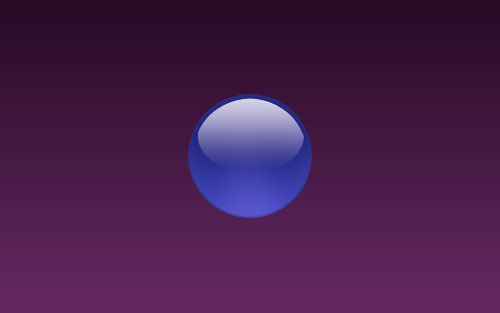
Ok, we are doing all things right! Now apply Blur Tool (Mode: Normal, Strength: 50%) to the left and write parts of the shine. Your sphere header should look like this one:
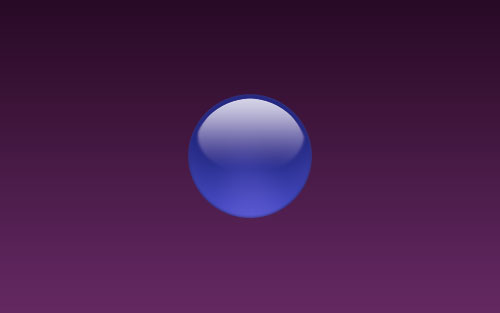
I would like to add one more shine to the sphere. Create a new one layer and make selection as shown on a picture below by using the Elliptical Marquee Tool. Fill it with the white color.

Now using the Elliptical Marquee Tool again make another selection and make it clear inside.

Make the same things three of times.


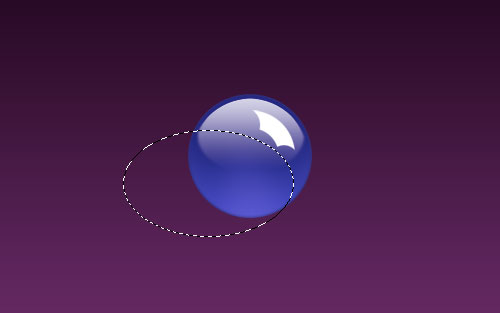
Remove the selection with Select > Deselect and mess with the layer mode & opacity/fill. I tried Overlay with opacity of 35%.
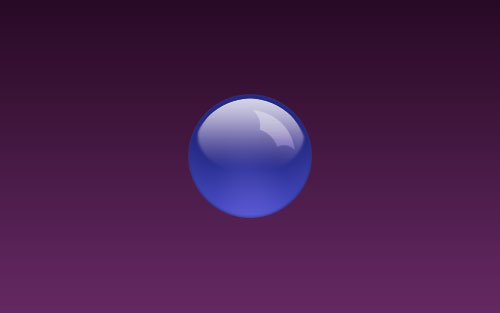
I think we should add some flare in the bottom to make 3D effect more real. Select Elliptical Marquee Tool and create a new one selection, then fill it with the black color.
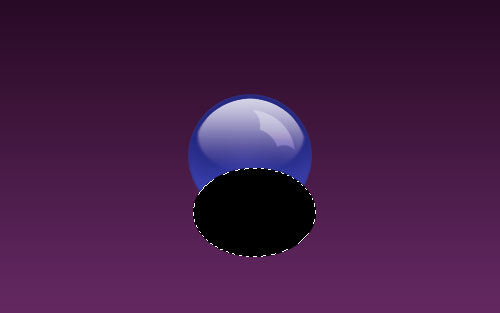
Now you need to cut away part of black oval. Press Ctrl and click the Layer Thumbnail in the Layers Palette to make the selection, then using Select > Inverse invert the selection and cut away part of oval which is out the sphere area.
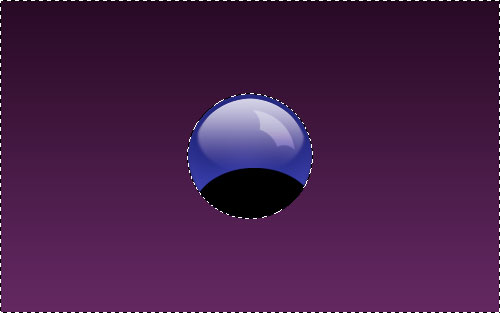
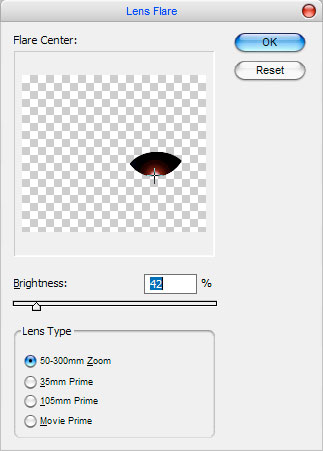
Remove the selection. Apply Filter > Render > Lens Flare using the following presets:
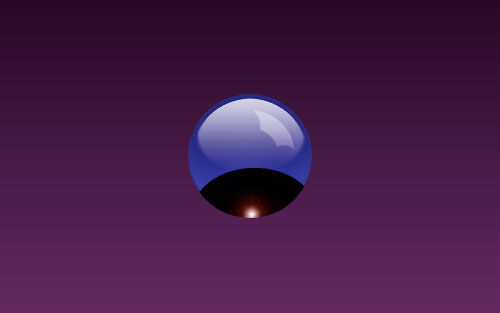
Make edge of surface almost invisible using the Eraser Tool and a soft round brush with opacity about 50%.
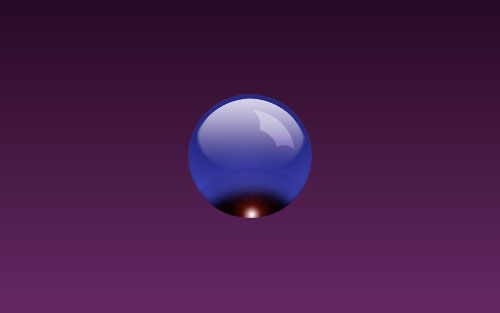
Change layer style to Linear Dodge (Add).
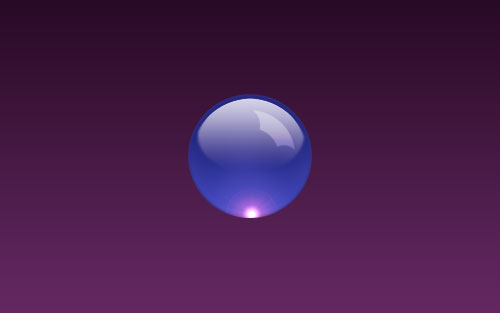
Ok, now to finish off with the sphere I think we should add one more glare on the bottom. Get out the Elliptical Marquee Tool, then select an area and fill it with the white color.
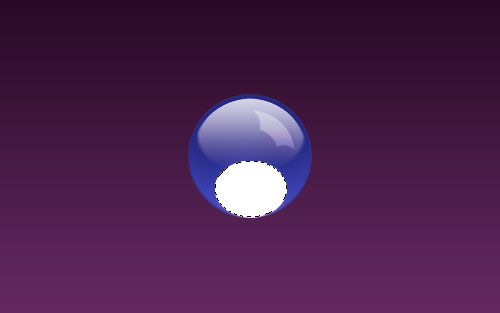
Make a new one selection as shown below and clear the selection:
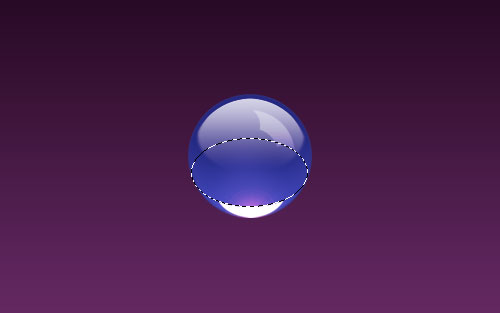
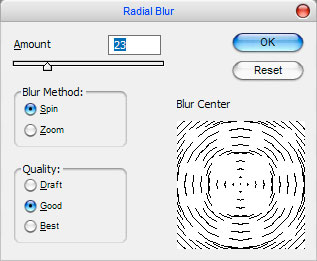
Remove the selection and apply Filter > Blur > Radial Blur with similar settings to these:
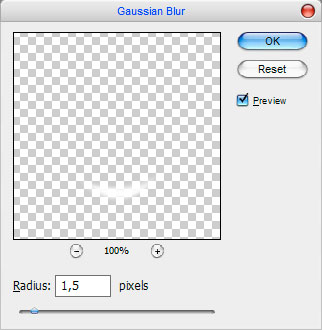
After that apply Filter > Blur > Gaussian Blur with the next presets:
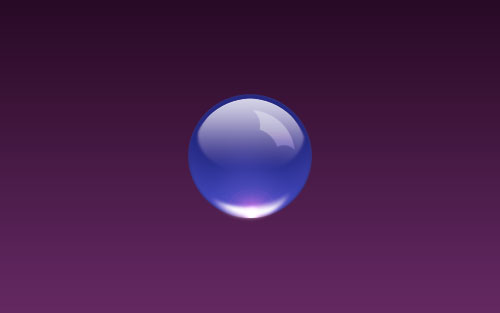
Now we have a picture like this:
Use Edit > Free Transform to convert image as below:
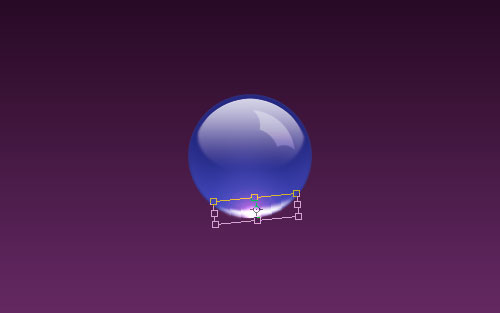
Apply the Inner Shadow layer style to this layer and put it under the layer with the flare.
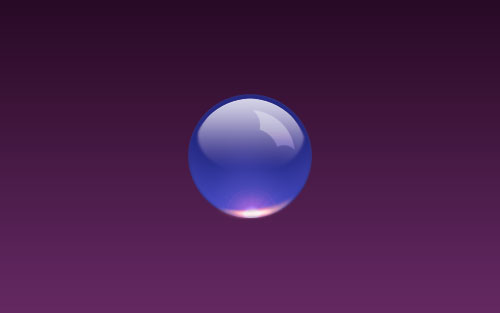
Now I’m gonna make the sphere reflection. Merge all layers of sphere in one and make a copy. Use Edit > Transform > Flip Vertical to flip copied layer vertical and move it down to get something like this:
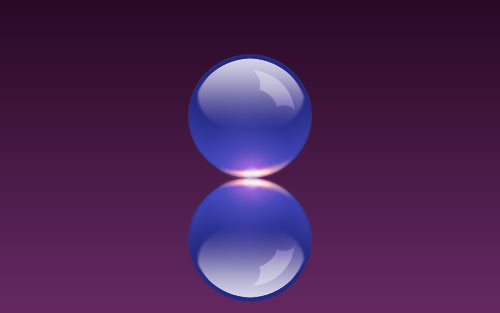
After that apply Quick Mask Mode with gradient as below:
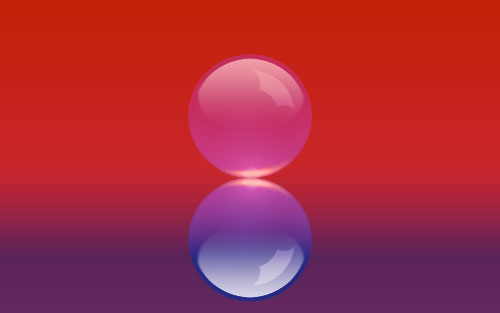
Then go back to Standard Mode. Now we have some selected area.
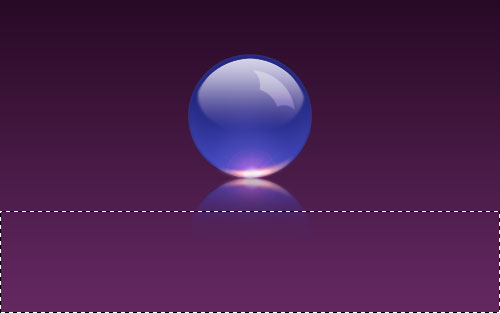
Press Delete to clear the selected area smoothly as on image above and remove the selection. Set layer opacity to 50% up.
I would like to add a little bit shadow to surface. Use the Elliptical Marquee Tool and make the selection. Fill it with the black color.
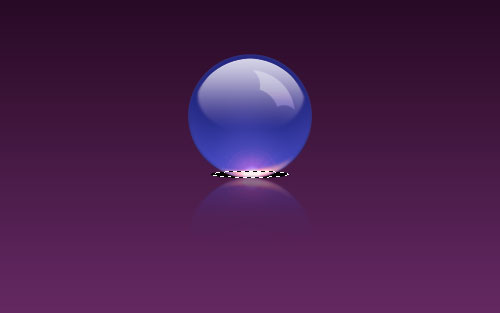
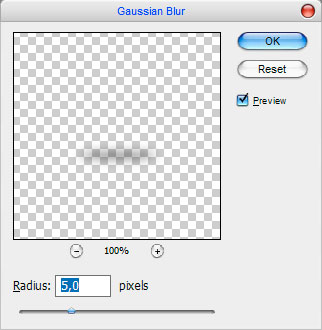
Deselect the oval and set up opacity to 70% for this layer. Apply Filter > Blur > Gaussian Blur:
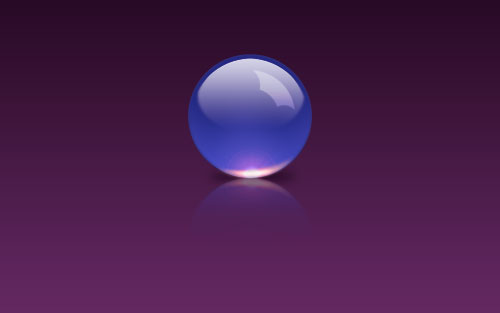
Pseudo 3D Sphere is finished! Looking pretty good! Don’t you think?
