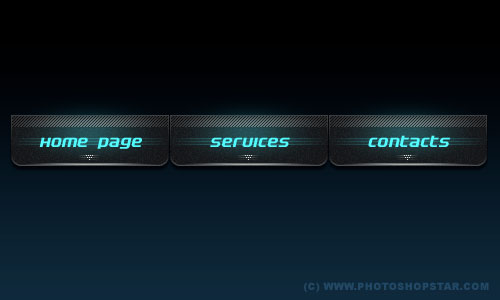
In this easy, step-by-step tutorial I’m going to show you how to design an interesting professional menu button by using some simple filters, for example Gaussian Blur & Motion Blur.
Â
So, the first step what you need to do is create a new document sized 500×300 pixels and fill the background with a gradient. For this select some appropriate colors, for example colors of #000000 and #1b2c3e.

Now, select the Rounded Rectangle Tool (Radius: 10 px) and draw out your button onto the canvas in whatever color you want (it doesn’t matter what color you use).
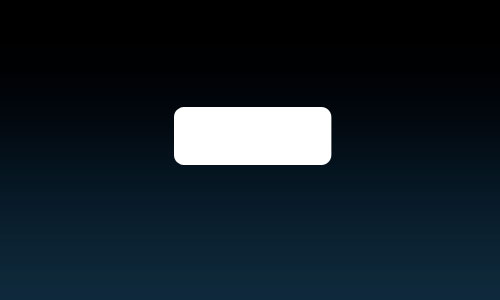
Then rasterize this layer with Layer > Rasterize > Shape and apply the following layer styles:
Â
Â
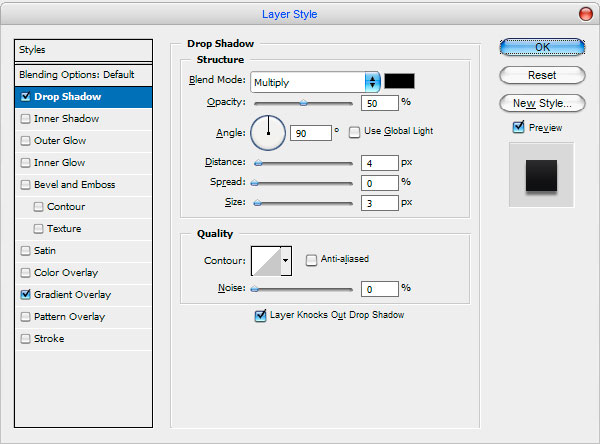
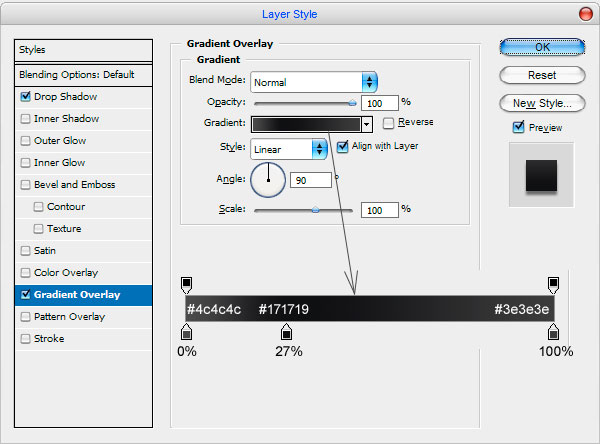
Your button should look like this:
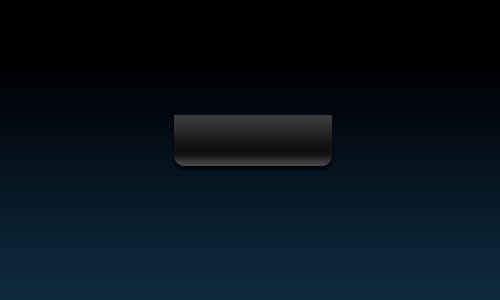
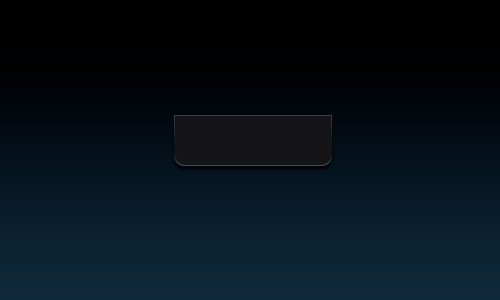
Now, start by making a selection around your button (Select > Load Selection) then contract your selection by about 1 px (Select > Modify > Contract) now you should be left with a selection like this one below. After that create a new layer and fill it with color of #1b1b1d. Then remove selection with Ctrl+D.
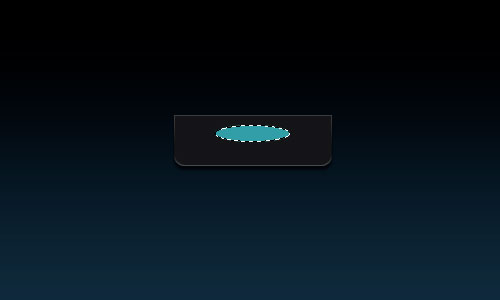
Time to add shining inside the button. Create a new one layer, then select the Elliptical Marquee Tool and create selection as on picture below. Fill it with blue color (#479ea5):
Deselect chosen area with Ctrl+D and then apply Filter > Blur > Gaussian Blur with next presets:
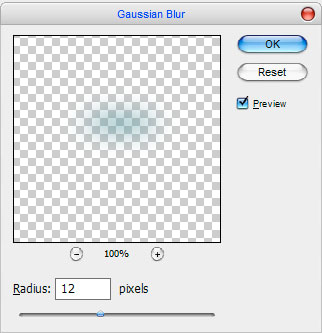
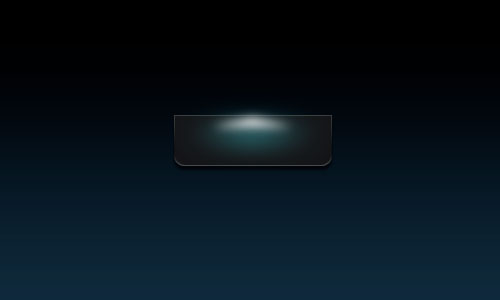
Now we have a blurred spot like on picture below:
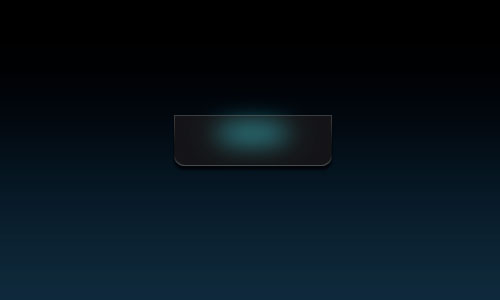
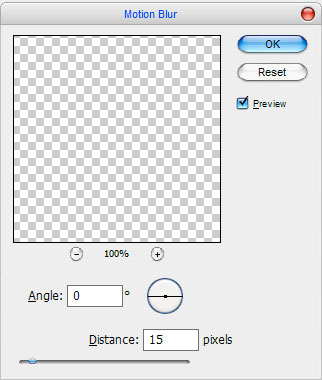
After that apply Filter > Blur > Motion Blur with similar settings to these:
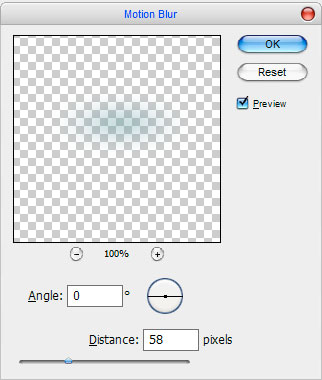
Look at your picture now:
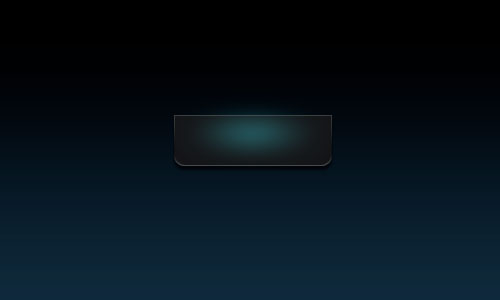
Now, use the Polygonal Lasso Tool to create a new one selection similar to this and fill it with white color.
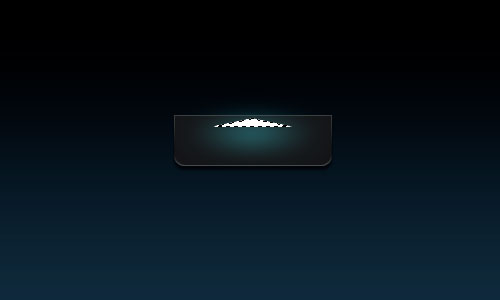
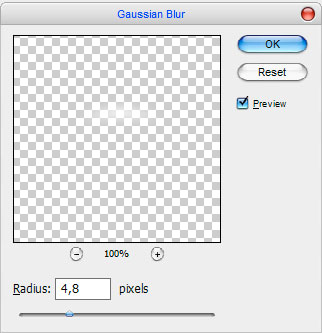
Remove selection with Ctrl+D and apply Filter > Blur > Gaussian Blur:
See the difference now:
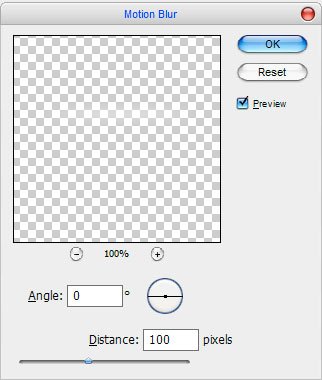
Ok, the next step: apply another one Filter > Blur > Motion Blur with next settings:
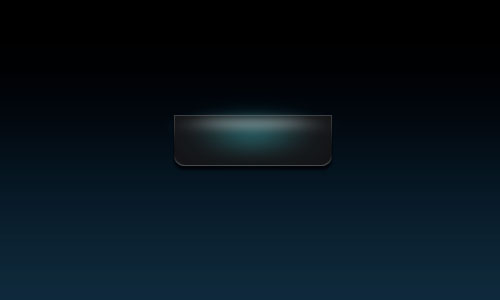
Then create a new one selection with Rectangular Marquee Tool:
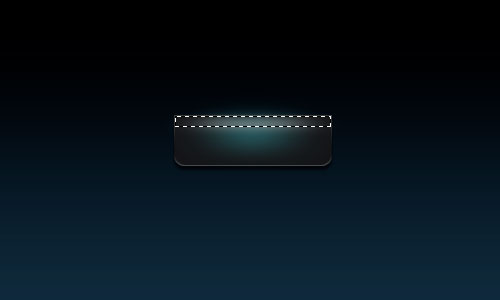
After that invert selection with Ctrl+Shift+I and press Delete to clear selected area. Remove selection with Ctrl+D.
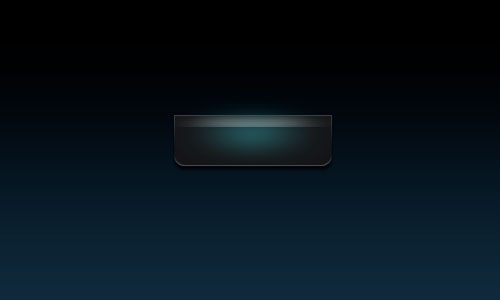
Now, I would like to add texture to the button. Create a new document sized 3×3 px, then select the Pencil Tool and draw a black grid like mine below:

After that use Edit > Define Pattern to save this picture as pattern. Then close this document without savings and go back to your main document. Make a new selection with Rectangular Marquee Tool and fill it with white color.
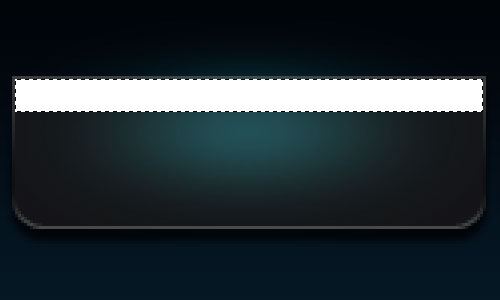
Remove the selection with Ctrl+D and apply the following blending options:
Â
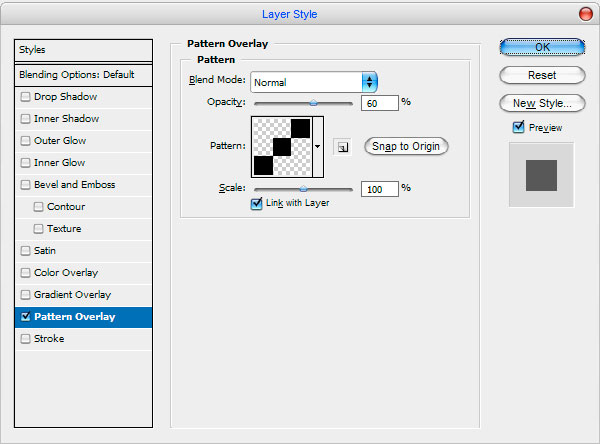
Set fill opacity to 7% up and you will see the result.
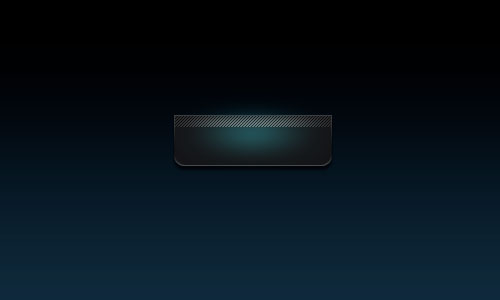
Good designed button, but not finished yet. Now you need to create a new layer, then use the Polygonal Lasso Tool to create selection like on picture below and fill it with white color.
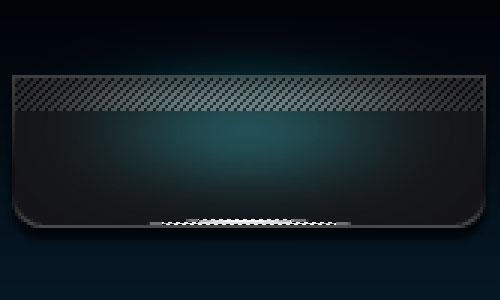
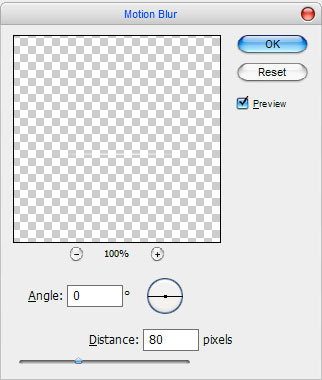
Remove the selection with Ctrl+D and apply again Filter > Blur > Motion Blur with similar settings to these:
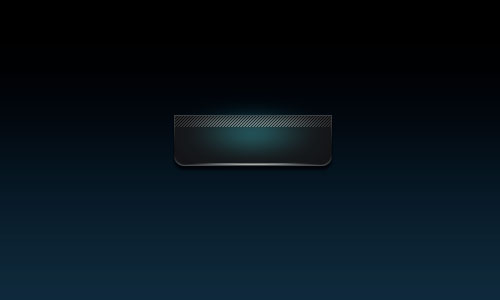
See the result:
Ok, we are almost done with button design. Now, I think we should add some design elements to our button. Ok, create a new layer, after that use the Pencil Tool to make a couple of dots using color of #e2dedf like on picture below:
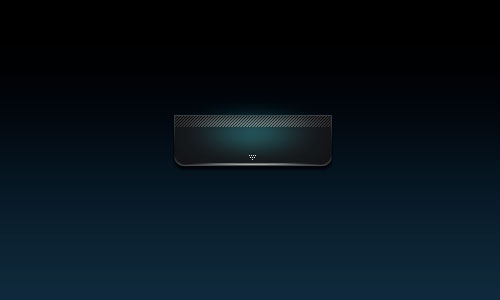
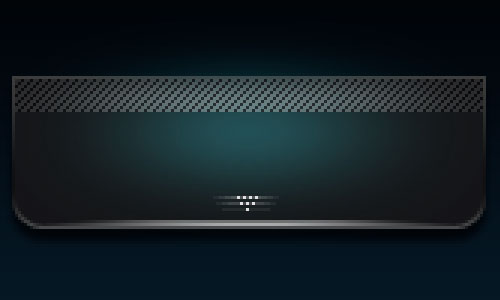
Duplicate layer with Ctrl+J and apply Filter > Blur > Motion Blur to the copied layer:
Now we have something like this:
Now create a new one layer again and draw three lines by Pencil Tool using color of #479ea5:
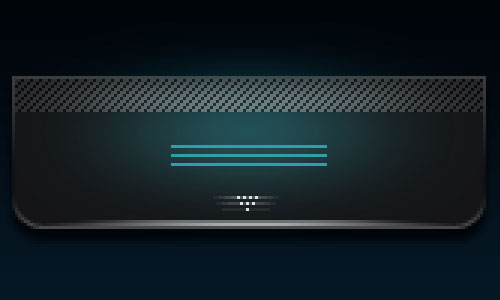
Create one more layers and make a selection with Rectangular Marquee Tool and fill it with the same color.
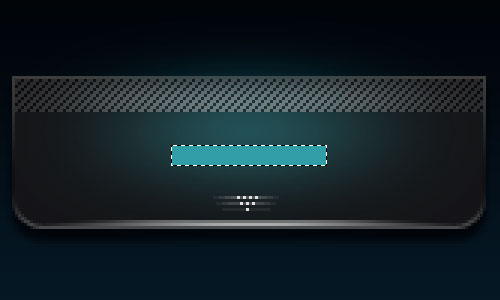
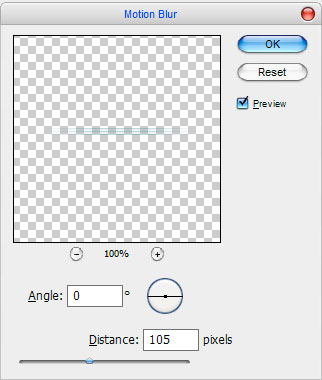
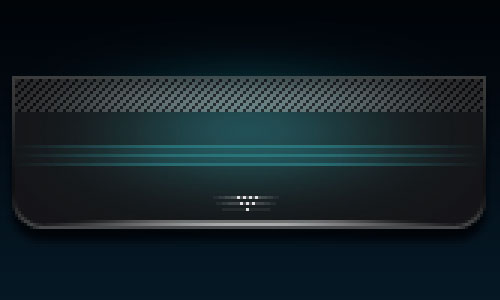
Remove the selection with Ctrl+D, then set opacity up to 30% and merge this layer with previous. After that apply Filter > Blur > Motion Blur with similar settings to these:
Now we have something like on picture below:
Ok, select the button (Ctrl+left click the first button Layer Thumbnail in the Layers Palette), then create a new layer and fill it with black color.
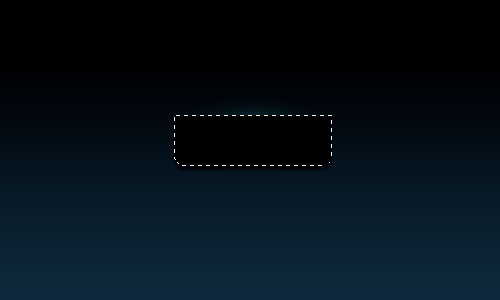
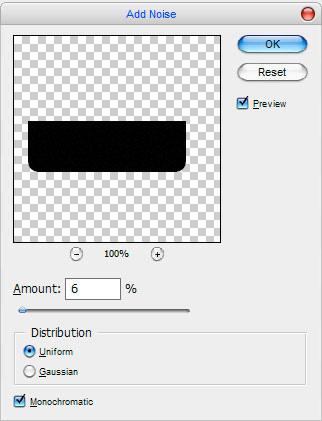
Deselect chosen area with Ctrl+D and apply Filter > Noise > Add Noise:
Now, time to mess with some layer modes. For this layer I used Screen with 60% opacity.
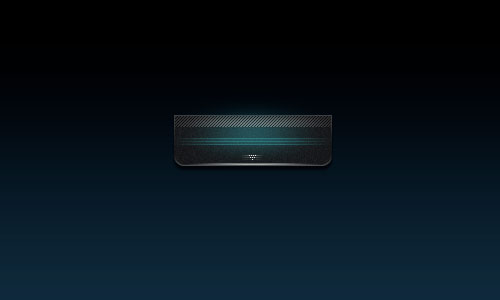
Now it’s time to add your text to the button! Start by getting out the Horizontal Type Tool, then write out your text using color of #70ffff:
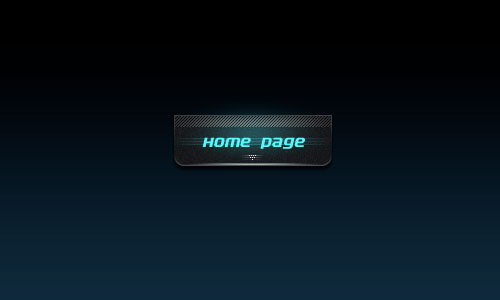
The font I’ve used above is called Electrofied (14 pt, Crisp). And that’s pretty much it. I also created a little menu from the buttons. You also can use your own styles and presets. Good luck!
