In this photo manipulation tutorial I’ll show you how to create a sunrise mountain landscape with Photoshop.
You’ll learn how to combine several stock images, adjust color, create lighting, enhance the atmosphere and more.
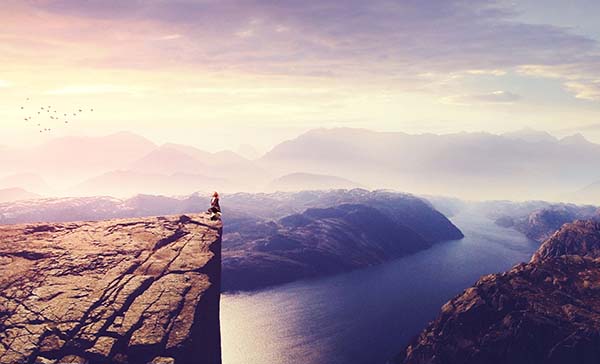
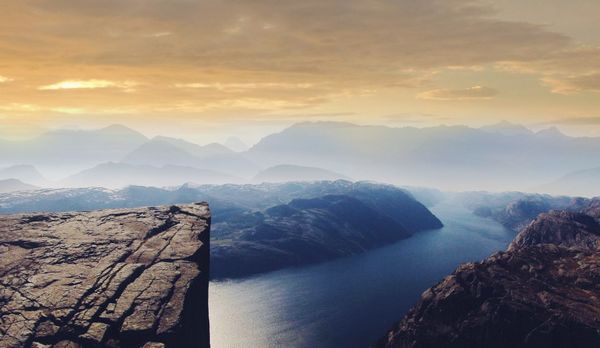
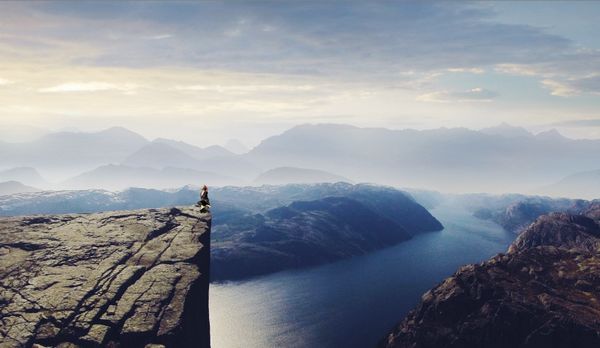
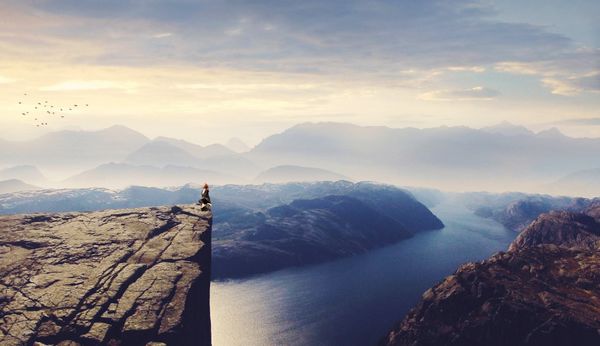
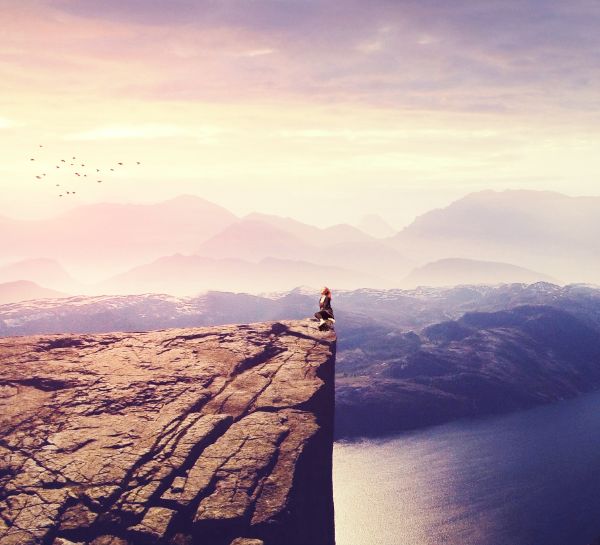
Final Image
Tutorial Details
- Program : Photoshop CS3+
- Estimated Completion Time : 60 minutes
- Difficulty : Intermediate
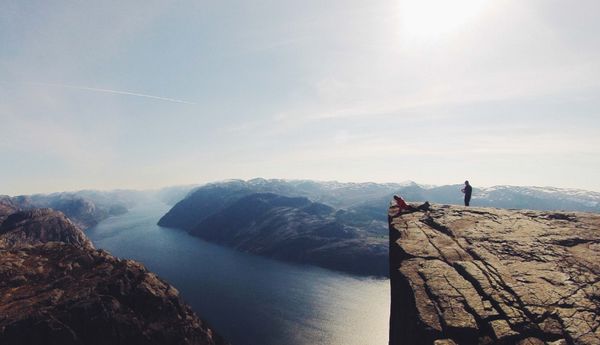
Resources
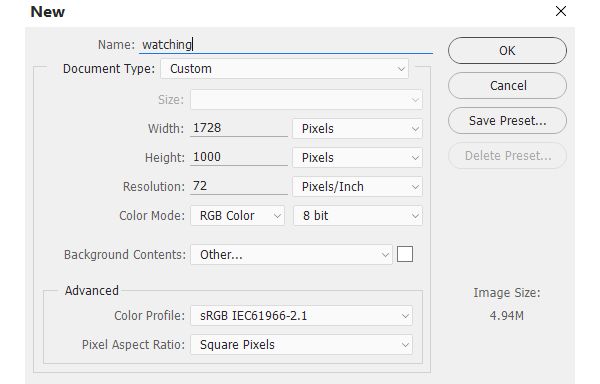
Step 1
Create a new 1728×1000 px document in Photoshop with the settings below:
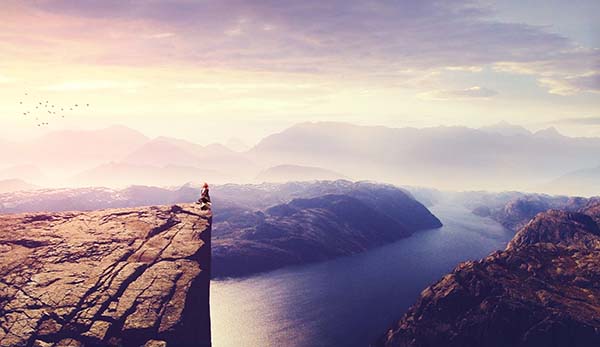
Step 2
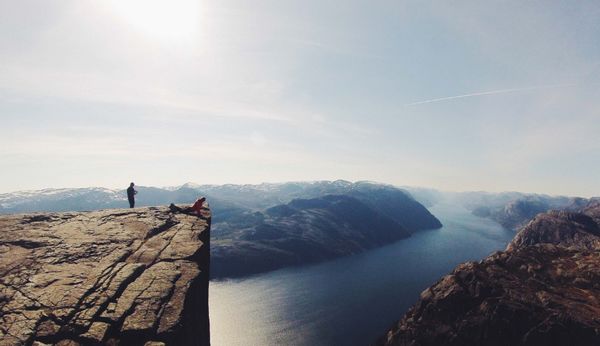
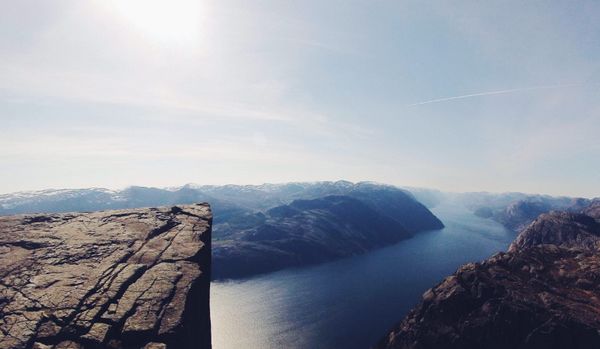
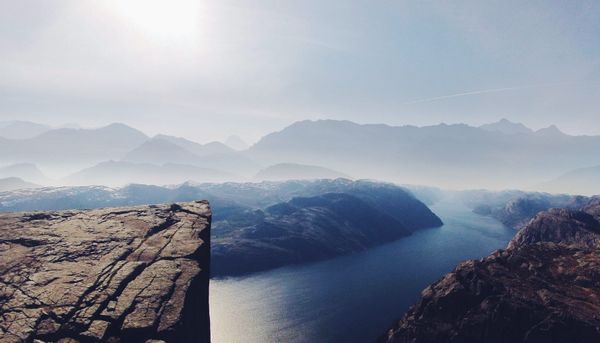
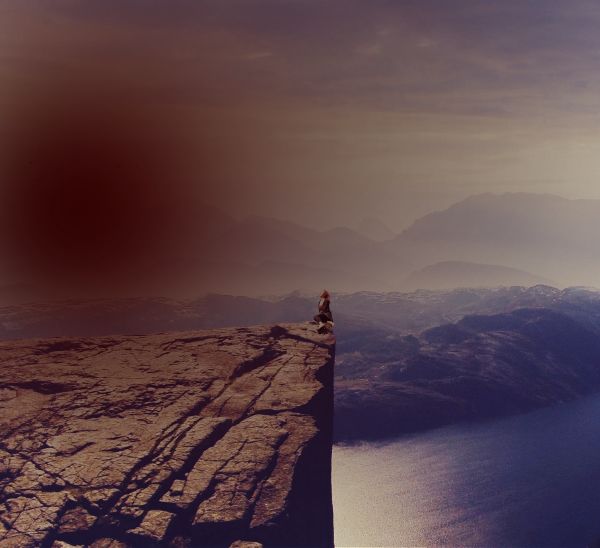
Open the landscape image. Drag this image into the white canvas using the Move Tool (V) .
Step 3
Go to Edit > Transform > Flip Horizontal :
Step 4
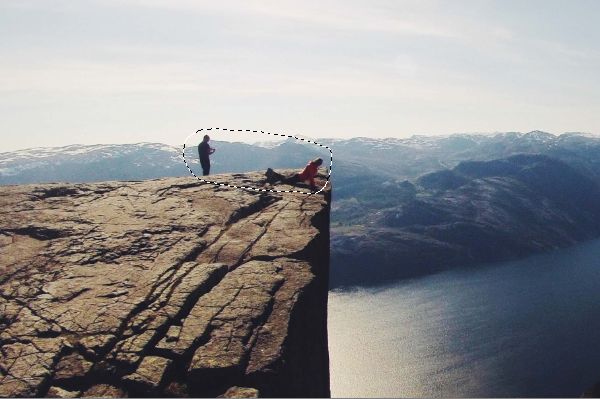
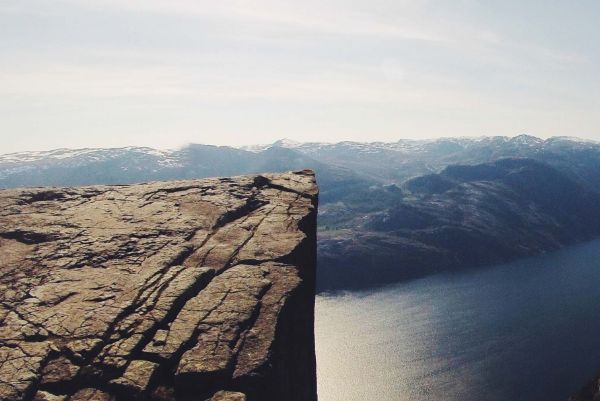
There are unwanted people on the cliff. Hit Ctrl+Shift+N to make a new layer. Activate the Clone Tool (S) and use this tool to remove the indicated people.
Step 5
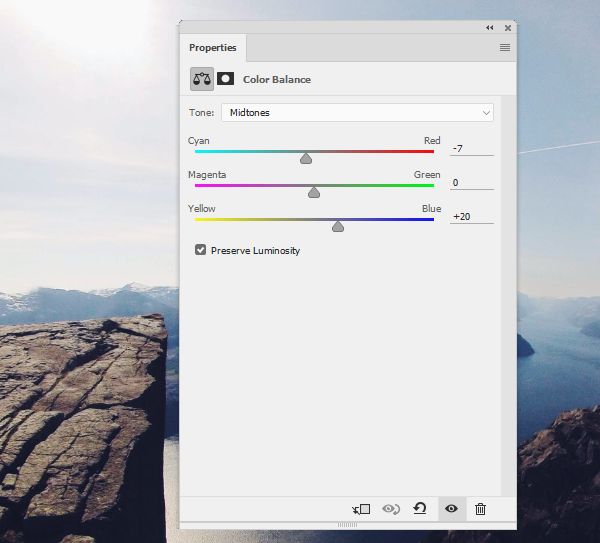
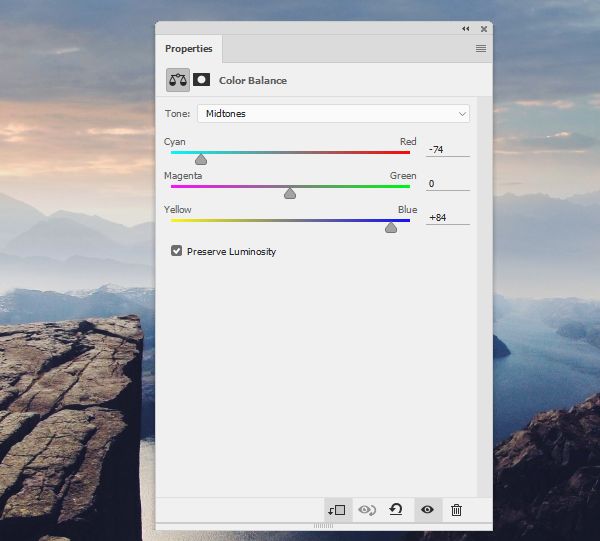
Go to Layer > New Adjustment Layer > Color Balance and change the Midtones settings.
Step 6
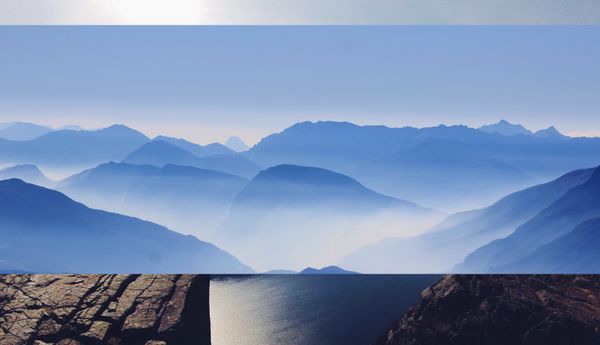
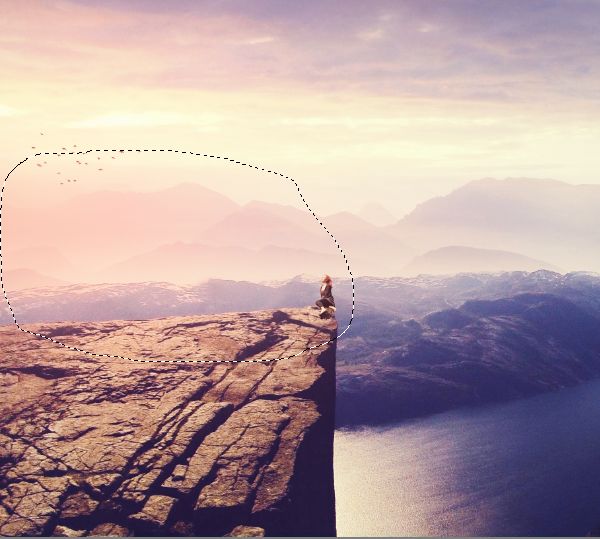
Open the mountains image. Place this image over the middle section of the canvas.
Step 7
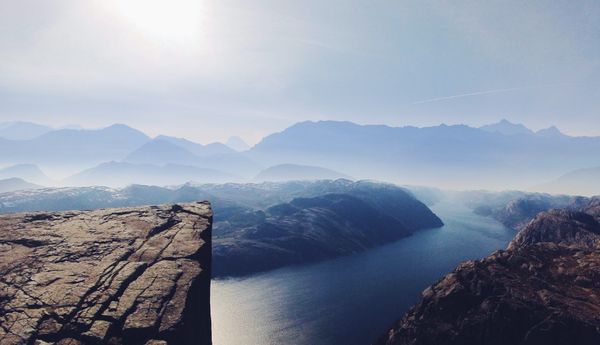
Click the second icon at the bottom of the Layers panel to add a mask to this layer. Use a soft black brush to remove the hard edges, reduce the mountains’ opacity to help blend them with the background.
Step 8
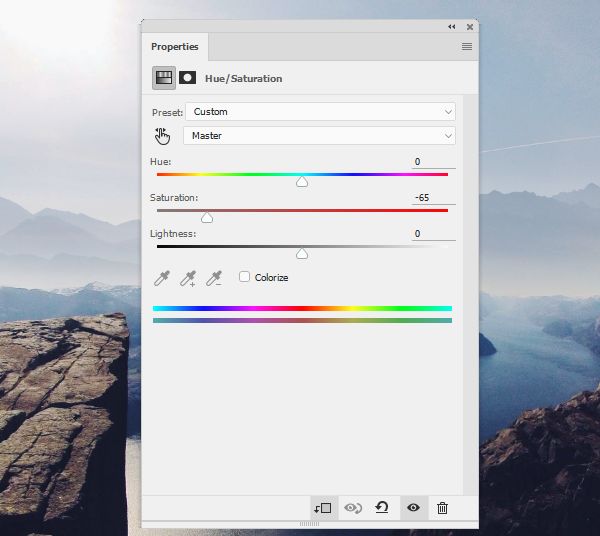
Create a Hue/Saturation adjustment layer and set it as Clipping Mask . Bring the Saturation value down to -65 :
Step 9
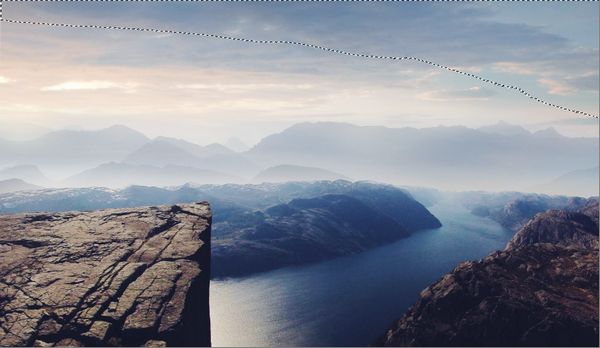
Open the sky image. Use the Rectangular Marquee Tool (M) to select the sky only and place it over the top of the scene.
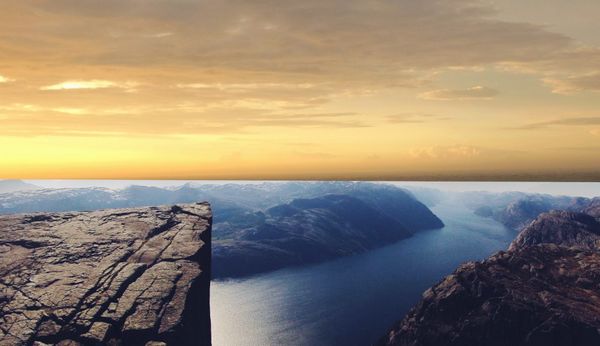
Add a mask to this layer and use a soft black brush to blend the sky with the background.
Step 10
Create a Color Balance adjustment layer (set as Clipping Mask ) to match the color of the sky with the rest.
Step 11
Make a Curves adjustment layer to brighten the sky. On this layer mask, use a soft black brush to erase the top and leave the bright effect visible on the lower left.
Step 12
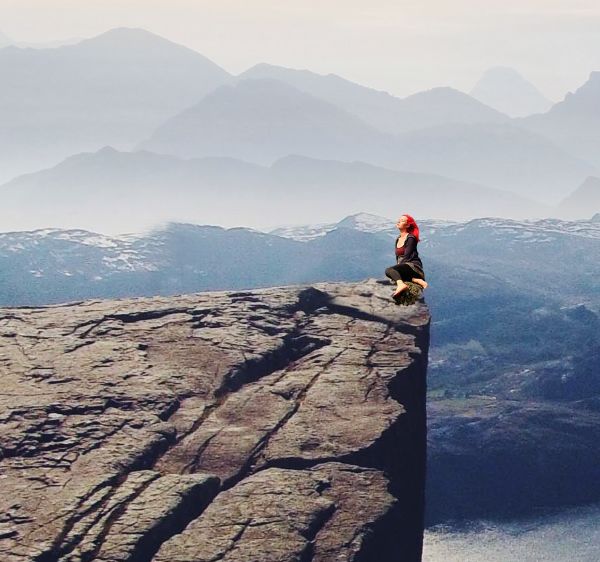
Open the woman image. Isolate the woman from the background and add her to the top of the cliff.
Step 13
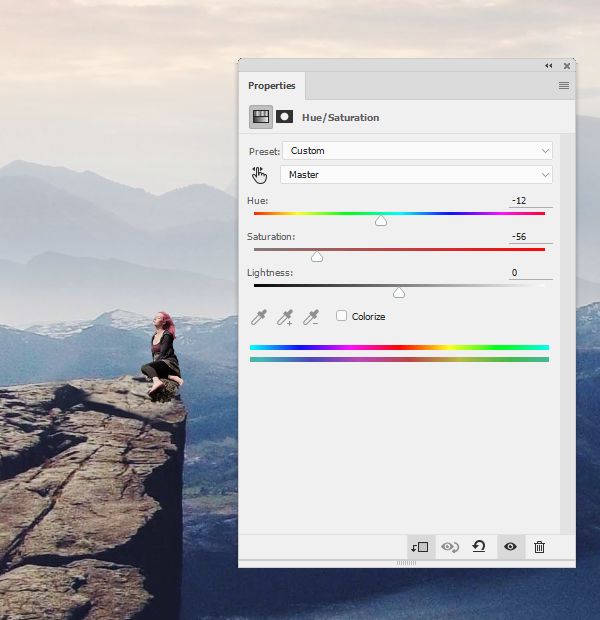
Use a Hue/Saturation adjustment layer to change the woman’s color:
Step 14
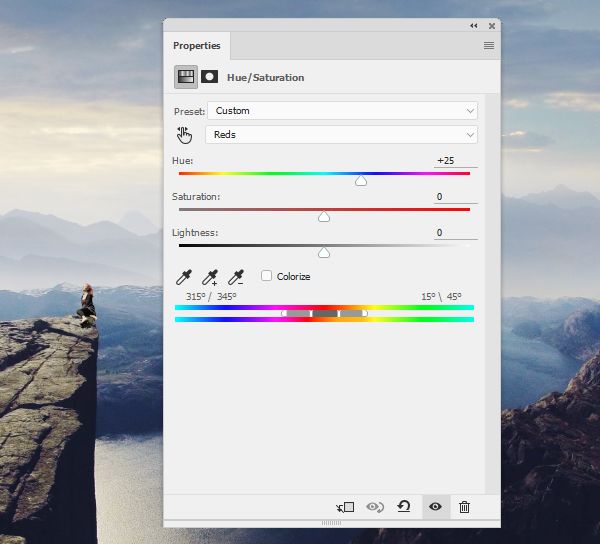
Make a Hue/Saturation adjustment layer on top of the layers and alter the Reds values.
Step 15
Create several layers and use the bird brushes to paint on the horizon. Remember to turn the foreground to black.
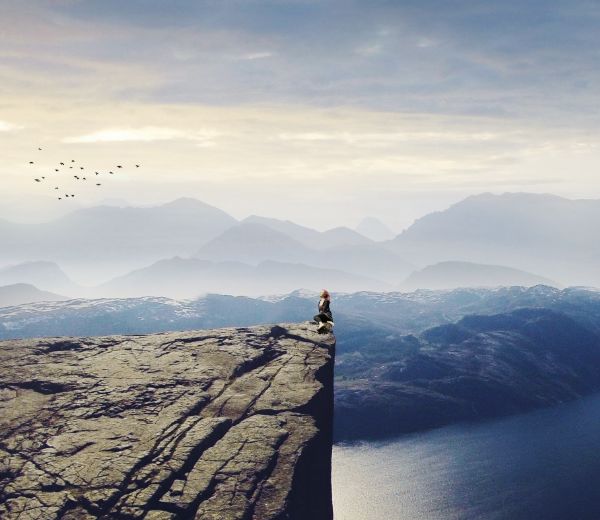
Step 16
Select all the bird layers and press Ctrl+G to make a group for them. Lower the opacity of this group to 70% to make the birds blend better with the background.
Step 17
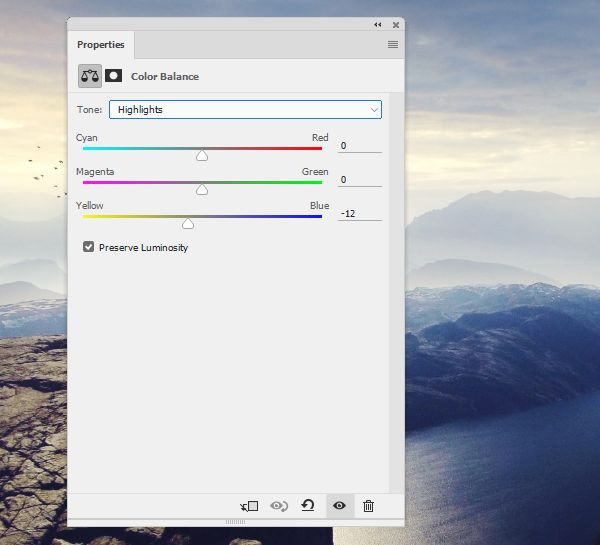
Make a Color Balance adjustment layer on top of the layer and change the Midtones and Highlights settings.


Step 18
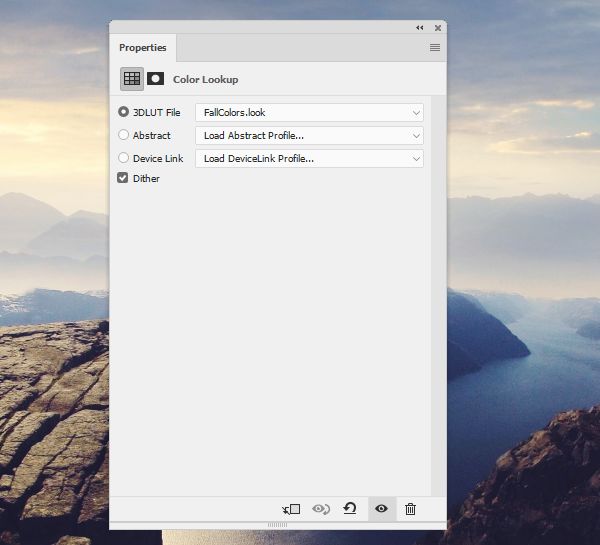
Create a Color Lookup adjustment layer and lower the opacity of this layer to 50% .
Step 19
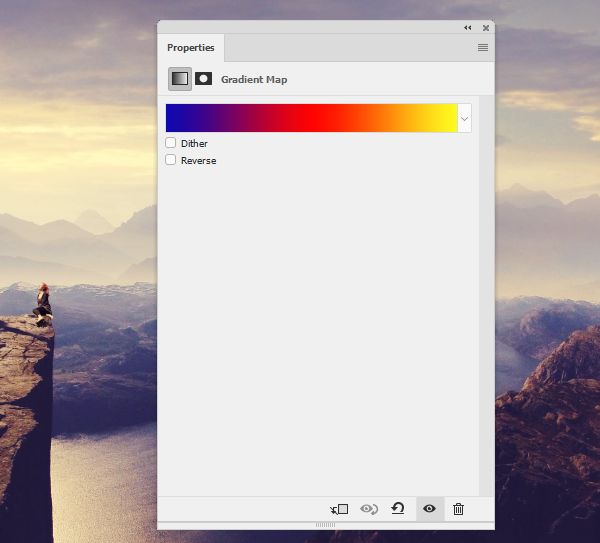
Make a Gradient Map adjustment layer and pick the one with Red, Blue and Yellow (one of the default gradient settings). Lower the opacity of this layer to 10% .

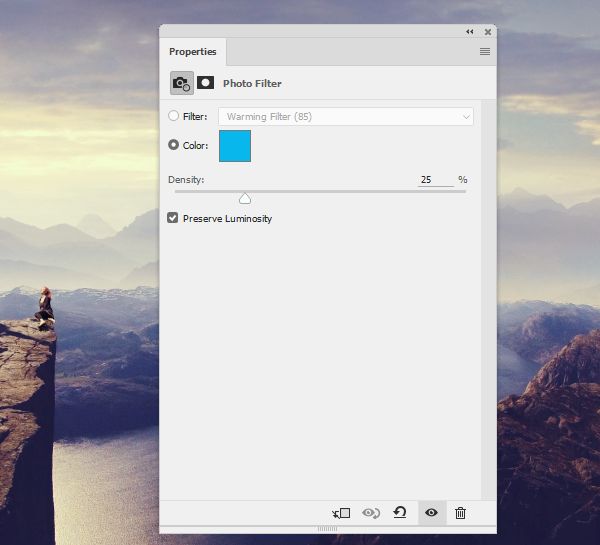
Step 20
Use a Photo Filter adjustment layer and pick the color #00b7ec :
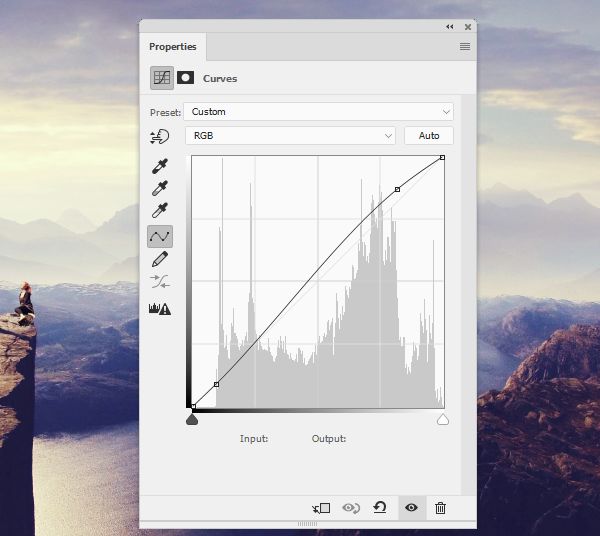
Step 21
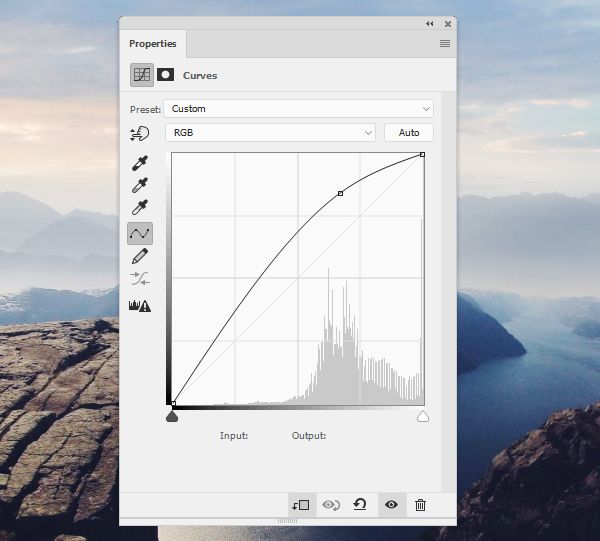
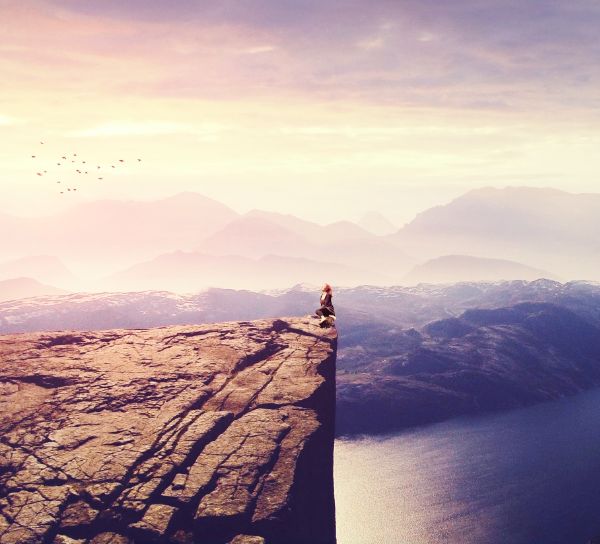
Make a Curves adjustment layer to increase the light for the scene.
Step 22
Create a new layer and use a soft brush with the color #240202 to paint on the horizon. Change the mode of this layer to Linear Dodge 100% .
Step 23
Make a new layer and use a soft brush with the color #fdbfa7 to paint more light on the horizon. Alter the mode of this layer to Overlay 100% .
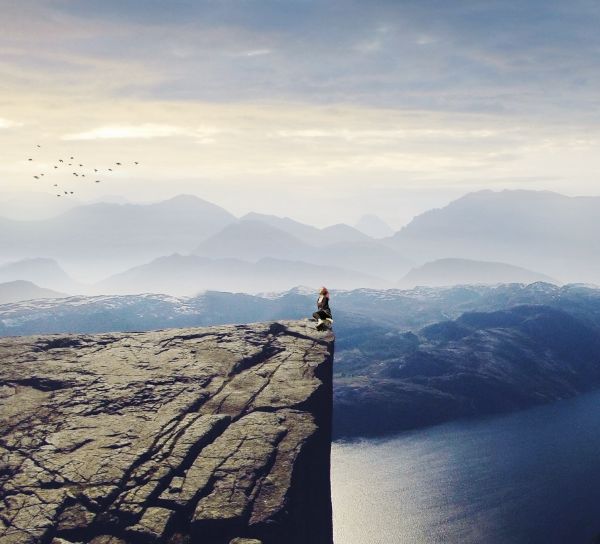
And We’re Done!
I hope that you enjoyed the tutorial.