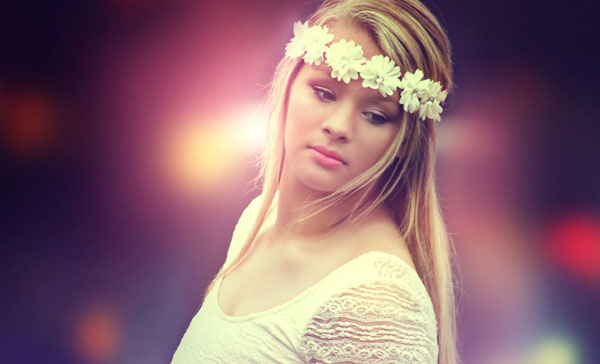
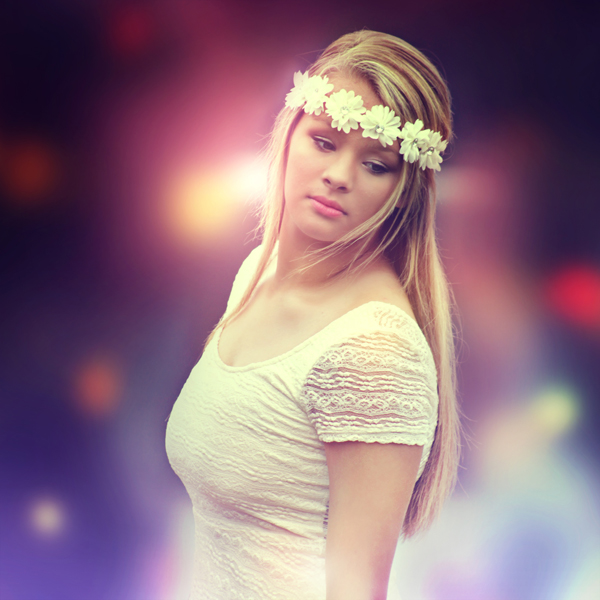
In this tutorial I’ll show you how to create a dreamy woman portrait using adjustment layers, masking and colors.
Final Image
Tutorial Details
- Program : Photoshop CS3 +
- Estimated Completion Time : 60 minutes
- Difficulty : Intermediate
Resources
Step 1
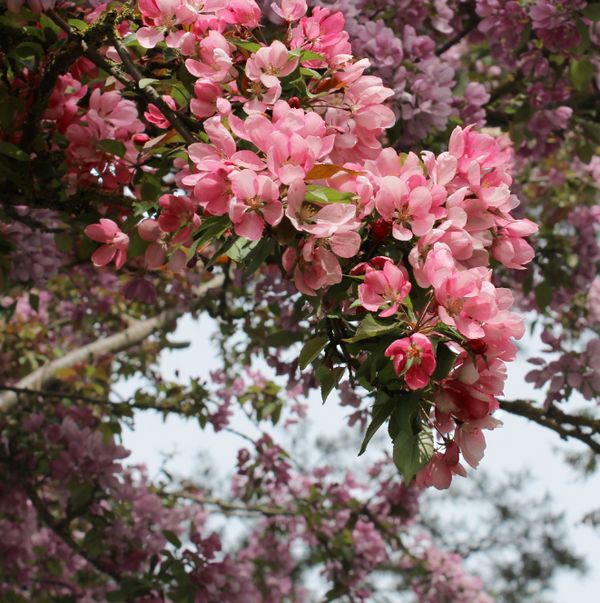
Create a new 1500×1500 px document in Photoshop and fill it with white. Browse the flower background and add it to the white canvas as shown below:
Step 2
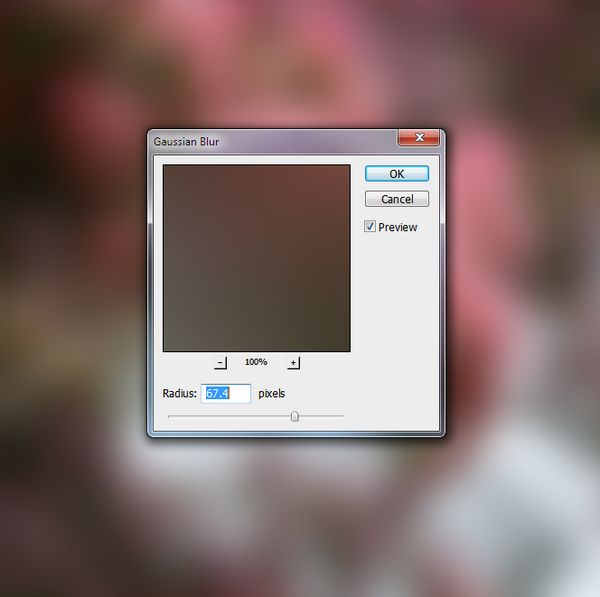
Go to Filter > Blur > Gaussian Blur and change the radius to 67.4 or any similar values to make the background much blurred.
Step 3
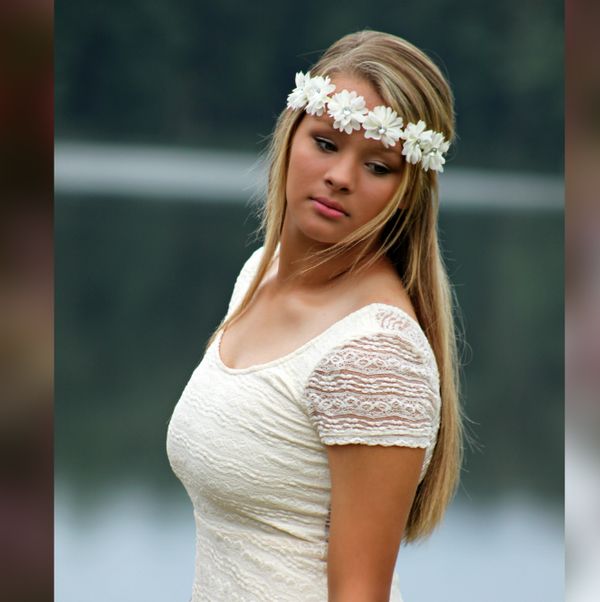
Open the model image. Drag this image into our main canvas using the Move Tool (V) and resize it to fit the size of the existing document.
Step 4
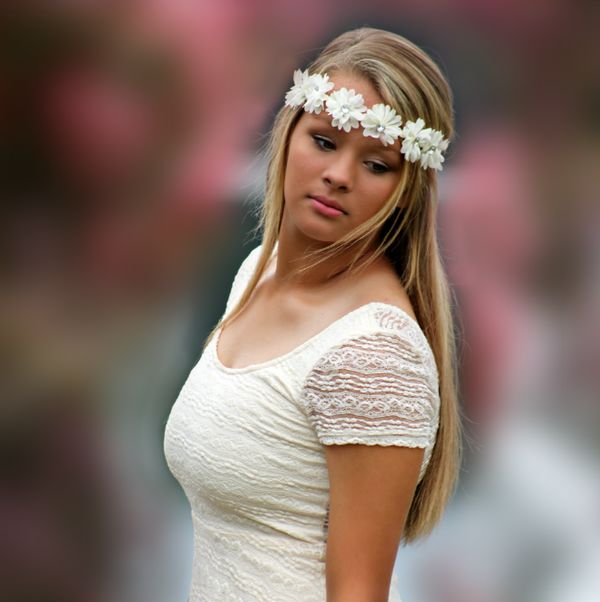
Click the second icon at the bottom of the Layers panel to add a mask to this layer. Use a soft black brush to remove the background around the model image. The remaining background will be blended later.
Step 5
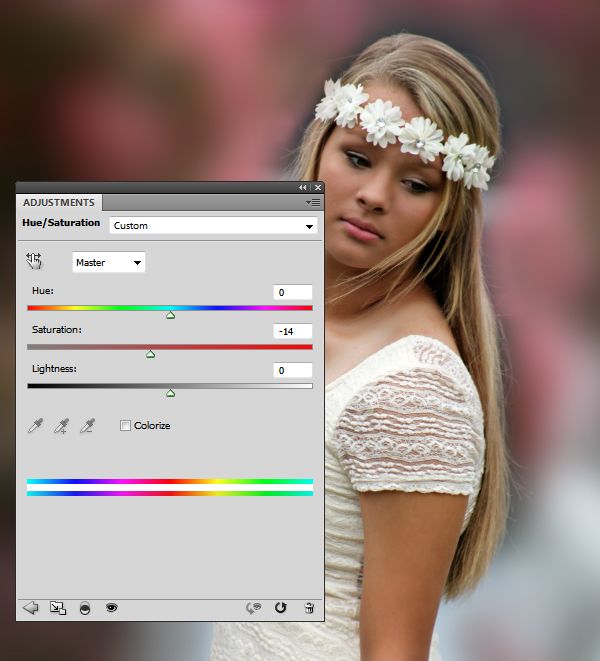
Go to Layer > New Adjustment Layer > Hue/Saturation and set it to Clipping Mask . Change the Saturation value to -14 :
Step 6
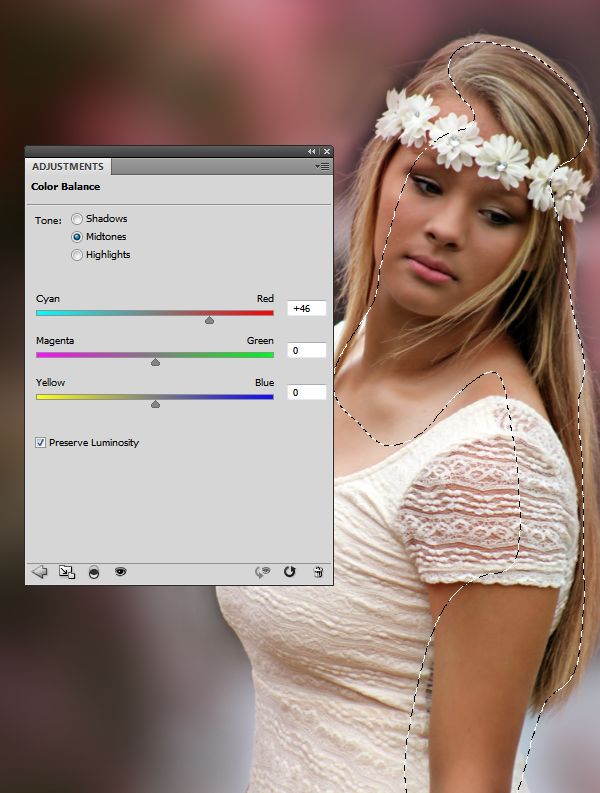
Create a Color Balance adjustment layer and change the Midtones settings. On this layer mask, use a soft black brush to erase the model’s skin not to make it too red.
Step 7
Make a Curves adjustment layer to brighten the model. Paint on the front of the model as we aim to make the main light from behind her.
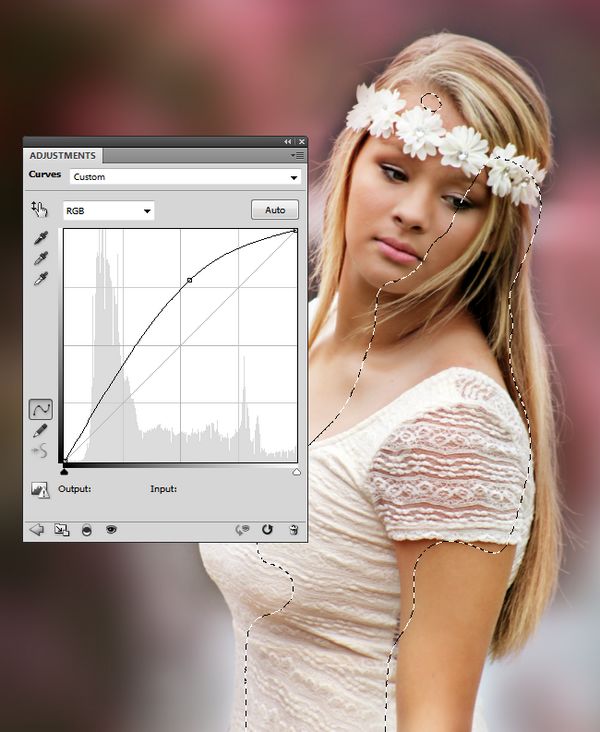
Step 8
Create another layer and use a soft brush with the color #ab4859 to paint on the lips to make them more vibrant. Change this layer mode to Soft Light 100% .

Step 9
Use a Curves adjustment layer on top of the layers and reduce the lightness. On this layer mask, paint around the model so she is not affected by this adjustment layer.
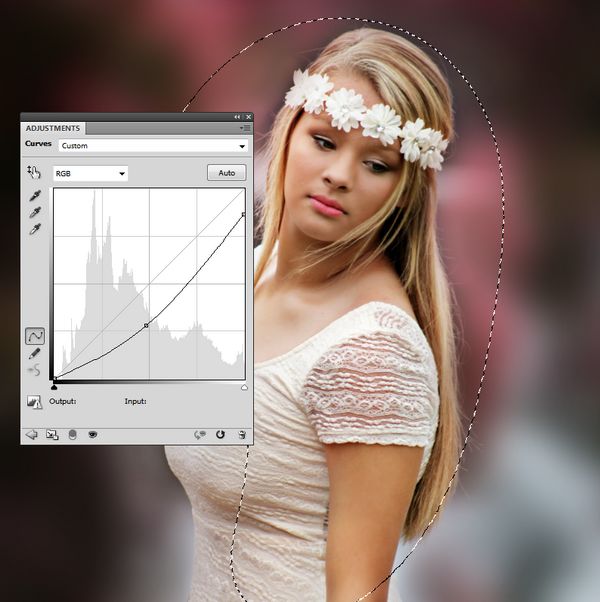
Step 10
Make a Color Fill layer on top of the layers and pick the color #170834 . Change this layer mode to Exclusion 100% :
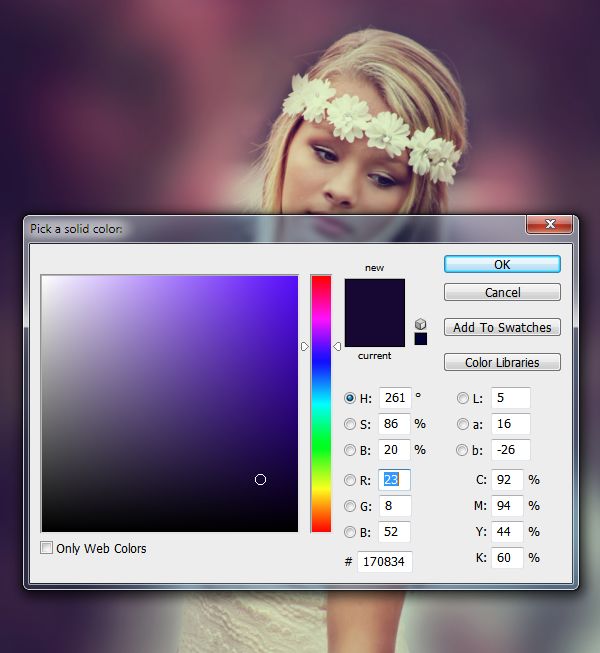
Step 11
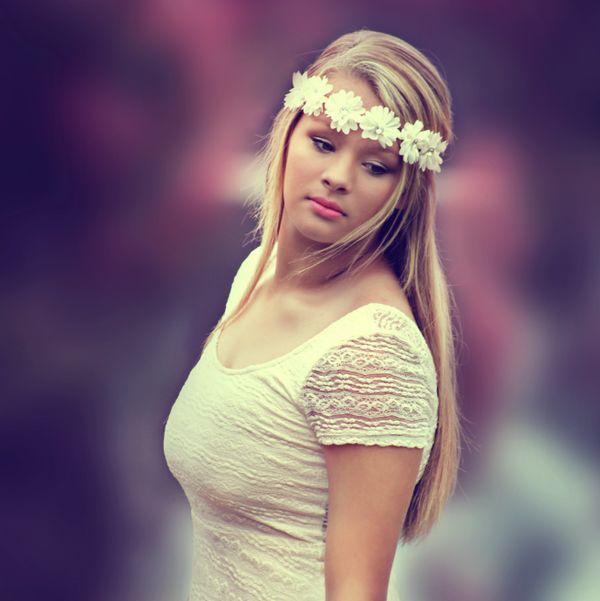
Create a Color Balance adjustment layer and change the Midtones and Highlights settings:
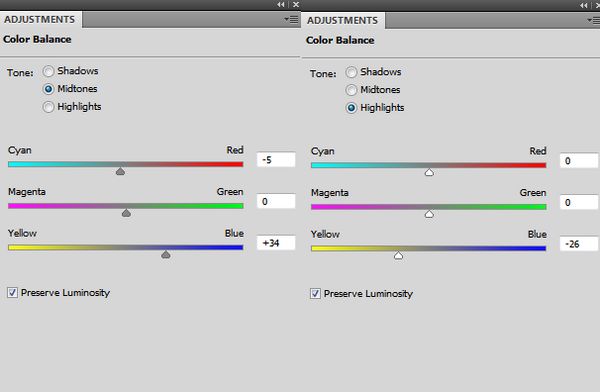
Step 12
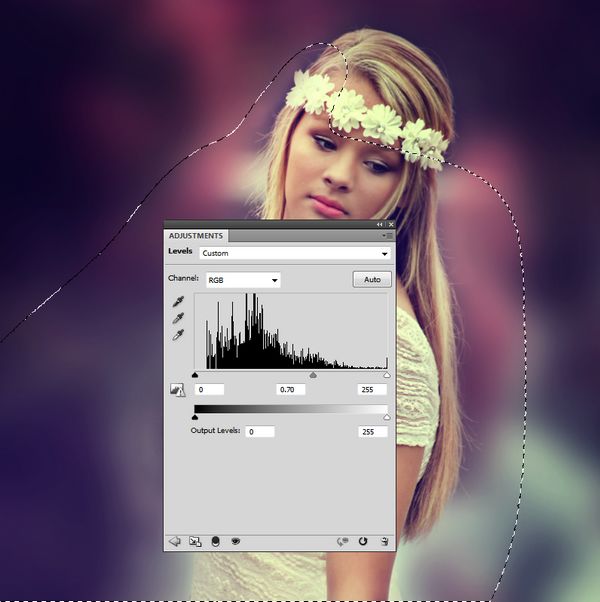
Add a Levels adjustment layer to make the top of the background a bit darker. Use a soft black brush to keep the brightness of the rest.
Step 13
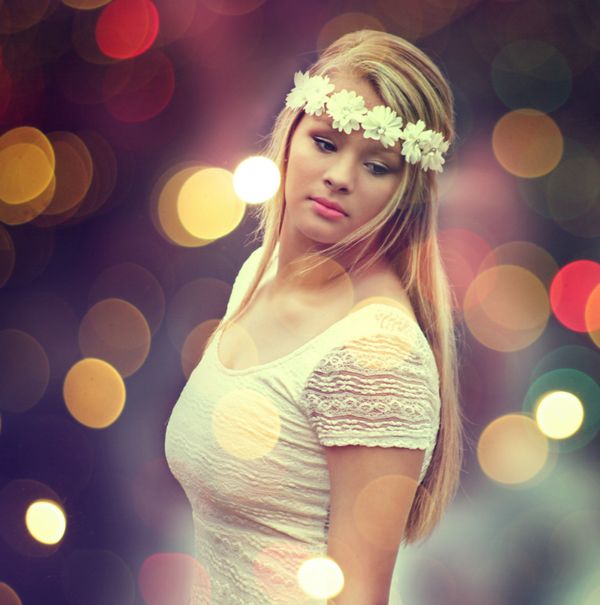
Place the bokeh image onto the main document and change the mode to Screen 100% .
Step 14
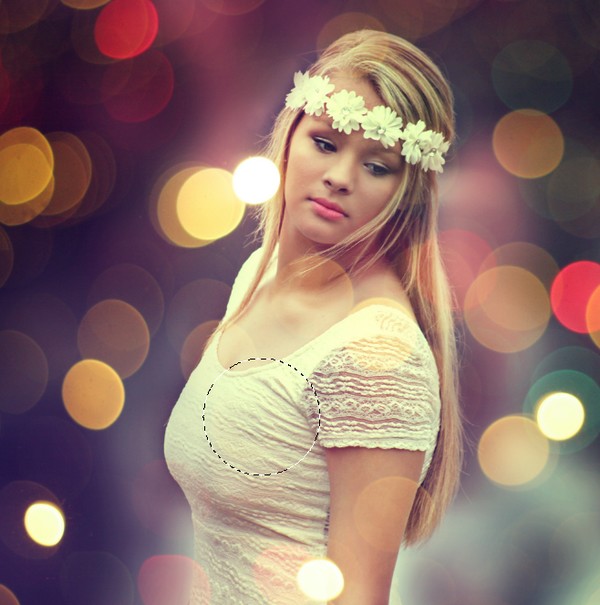
Add a mask to this layer and use a soft black brush to remove the bokeh on the model’s chest.
Step 15
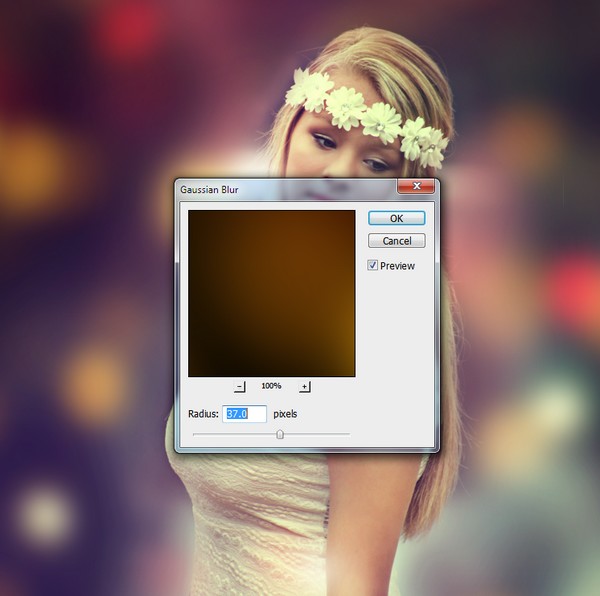
Apply a Gaussian Blur of 37 px to this layer.
Step 16
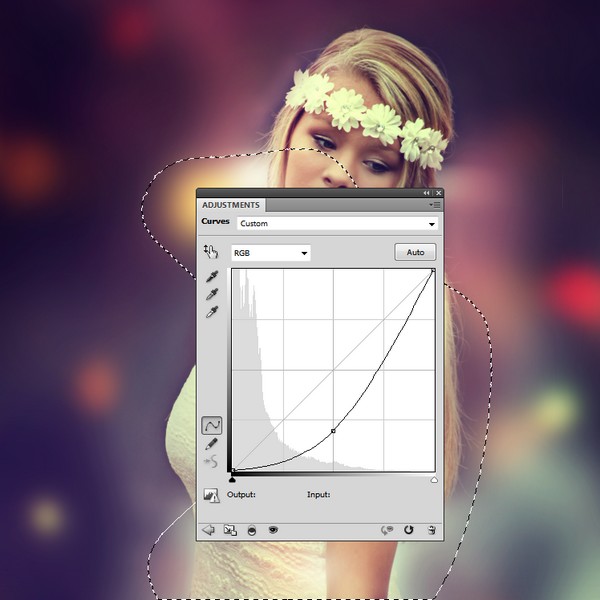
Make a Curves adjustment layer to darken the effect. On the layer mask, erase the model area as shown below:
Step 17
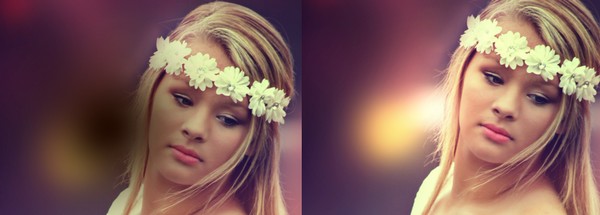
Create a new layer and paint on the area beside the model’s head with a soft brush and the color #230c01 to create more light. Change the layer mode to Linear Dodge 100%.
Step 18
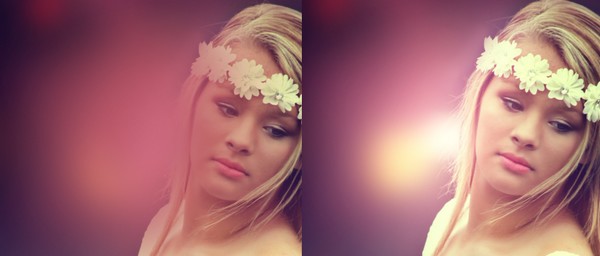
To make the light stronger, create a new layer and paint with the color #ab4859 and alter its mode to Screen 100%:
Step 19
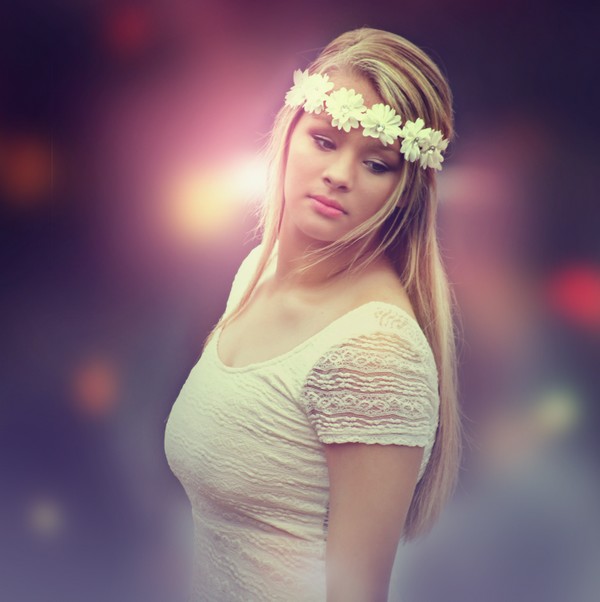
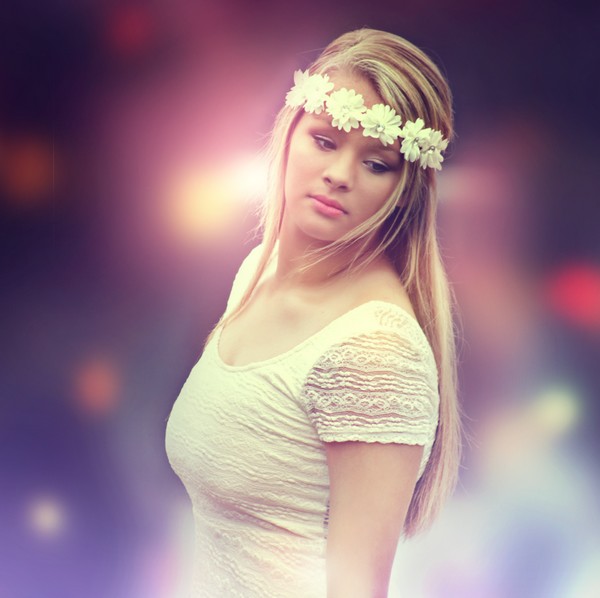
Use another layer and a soft brush with the color #6c6989 to change the light at the bottom of the image. Change the layer mode to Linear Dodge 100%.
Step 20
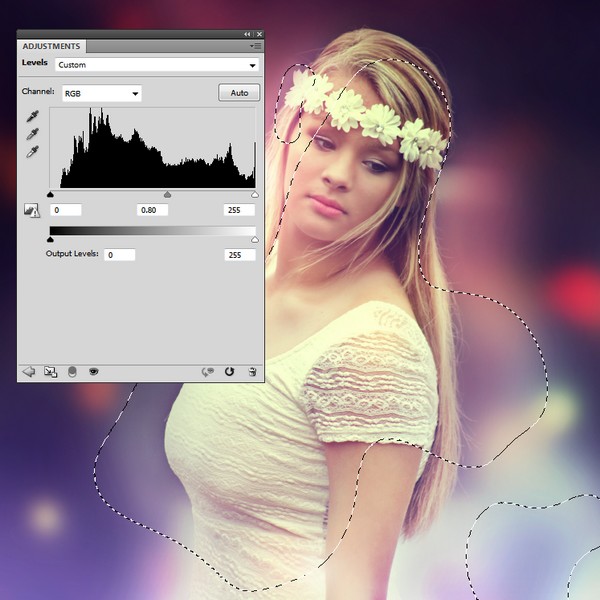
Add a Levels adjustment layer to darken the background. Use a soft black brush to erase the effect on the model.
Step 21
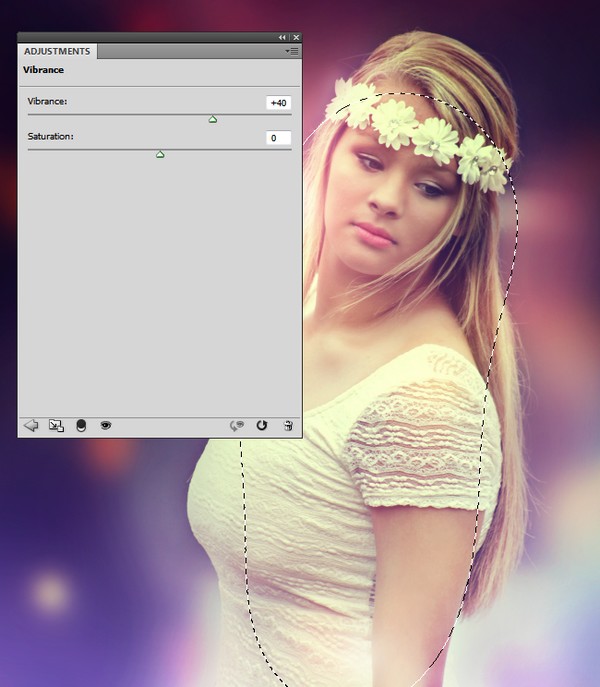
Make a Vibrance adjustment layer to enhance the background. Paint on the model area so it’s not affected by this adjustment layer.
And We’re Done!
I hope that you enjoyed this tutorial.


