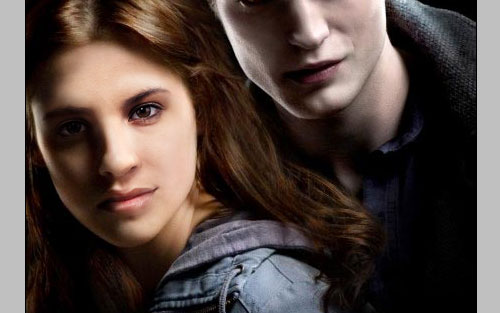
You can find a lot of tutorials how to paste another face to the picture. Here I’m planning to show you my own way how to do this step by step and explain how to process every small detail in this design. You will look as a real real star!
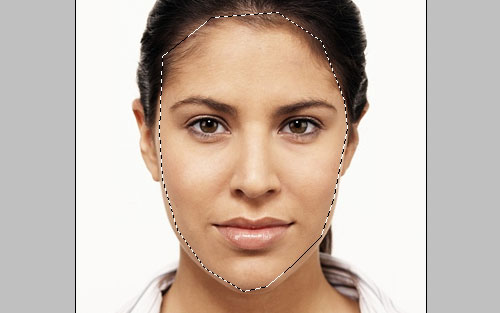
Let’s start by finding the poster where you wanna be main actress or actor. For example, I will use Twilight movie poster (download here) or also feel free to use another posters from another movies what you like. Ok, then I need to put our picture on it. As for me, I just decided to use a picture of serious young lady (download here). Open up your photo and use Polygonal Lasso Tool to select face on the picture.
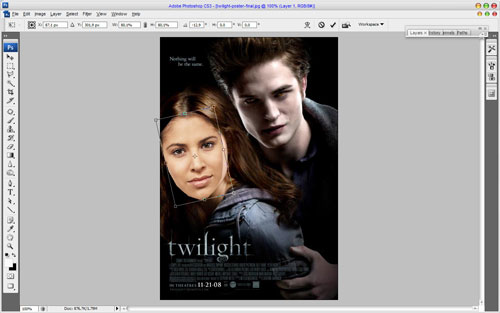
Press Ctrl+C to copy selected area, then open up canvas with movie poster and paste (Press Ctrl+D) there copied part of image from you picture. If you need to rotate your face to find suitable position and size for it, just use Ctrl+T for free transform.
After that we can move to next step. For now use the Eraser Tool and a soft round brush about 50 px to remove hard edges from face fragment layer.
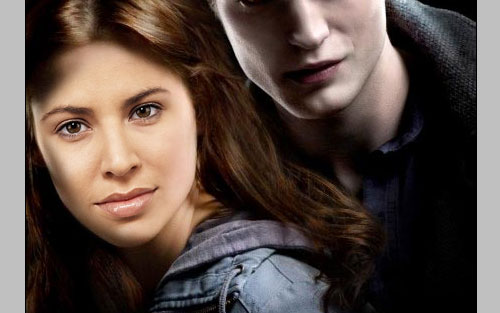
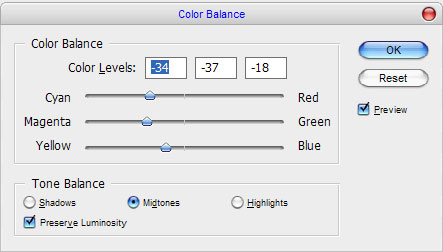
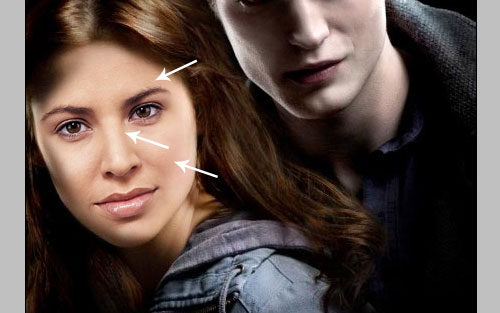
As we can see, skin color of face fragment is bit different from original color face on the movie poster. How we can resolve this problem? Very easy! Just apply Image > Adjustments > Color Balance with similar presets to these:
Now the result looks better as before. We got much correct saturation for face skin.
Ok, now use Dodge Tool (Brush: 30px, Range: Midtones, Exposure: 30%) to make some parts of face a little bit lighter.
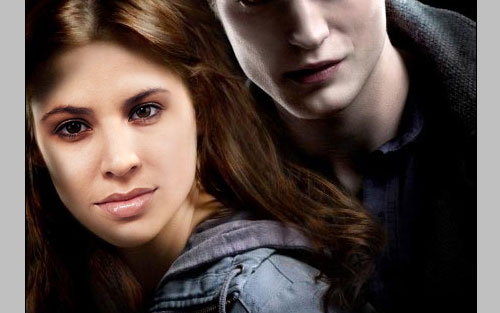
See the difference now:
After that we have to make some burn work with the opposite side of the face. Select the Burn Tool (Brush: 25px, Range: Midtones, Exposure: 40%) and process eyes area with it.
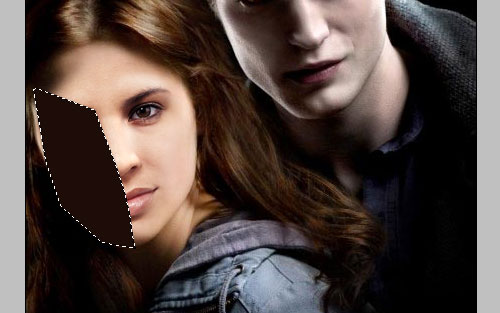
Move to the next step. Now we need to add global shadow to the left part of face. Create new layer, after that use the Polygonal Lasso Tool to create selection and fill it with color of #1d0d08 on the new layer.
Remove selection with Ctrl+D and Apply Filter > Blur > Gaussian Blur to blur current layer content about 3,8 pixels and change layer mode to Multiply.
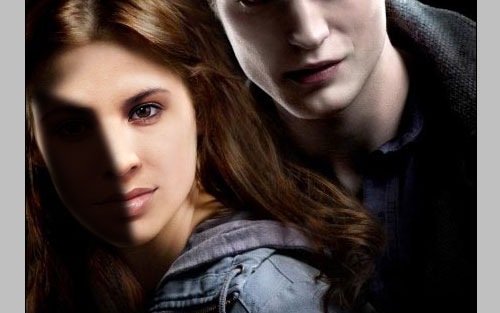
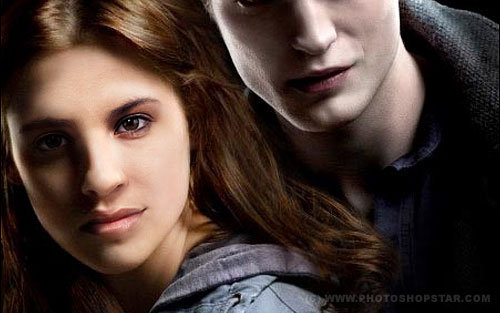
Now will be the hardest part of doing this tutorial. We need to clear shadow layer with Eraser Tool and soft round brush with different sizes to get realistic view of shadow presence. I think, for the beginners in Photoshop it will be a little bit harder to get realistic result, but you have to try anyway. I got something like this:
We are finished with our tutorial! Now you’re looking like a great actress on that movie poster!


