Today I prepared for you one interesting tutorial about old style photo retouching. This effect will be interesting for experts in photo retouching and photo effects.
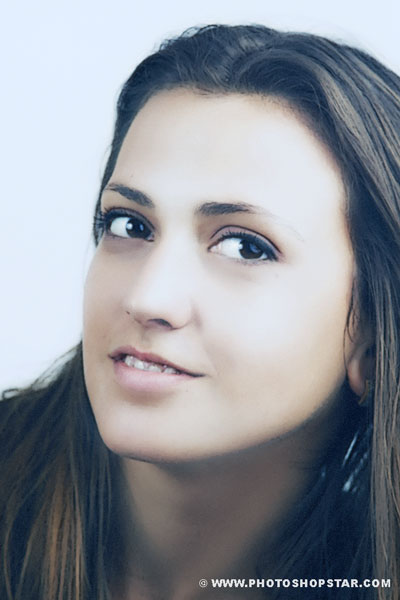
Final Image Preview
Resources
Step 1
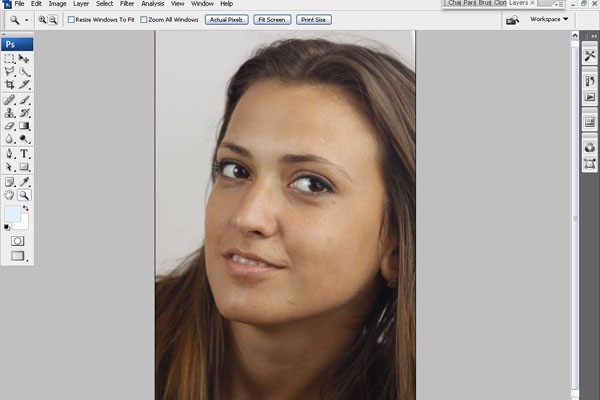
Open photo and resize it by using Image > Image Size to 667 px width and 1000px height.
Step 2
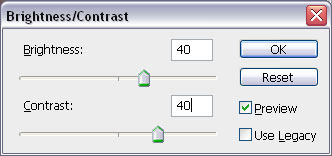
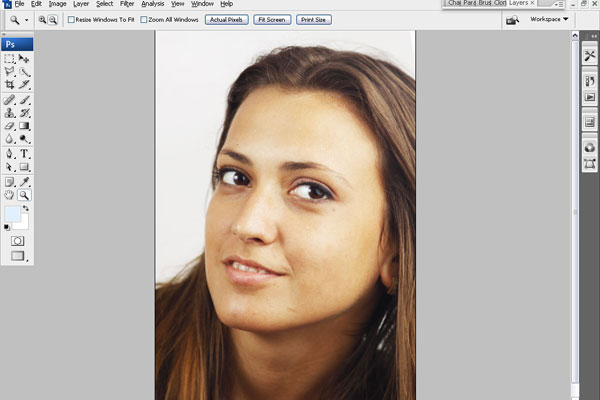
Before we start face retouching, I would like to increase brightness and contrast of the photo by using Image > Adjustments > Brightness/Contrast with similar settings to these:
Step 3
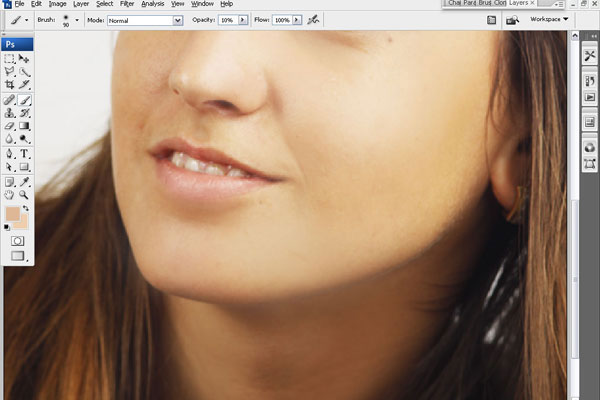
Then we have to remove all the skin defects from the face. We have to process every small area with different color. In the beginning select the Eyedropper Tool to take color sample of some certain area on the face and then use the Brush Tool (Opacity: 10%) to paint this area with sample color.
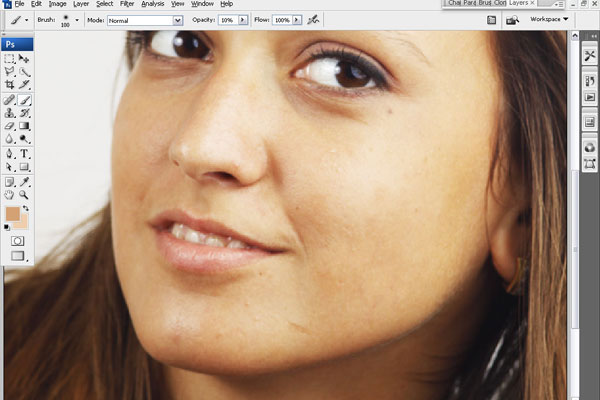
Repeat same action a few more times to remove all visible defects on the skin.
Step 4
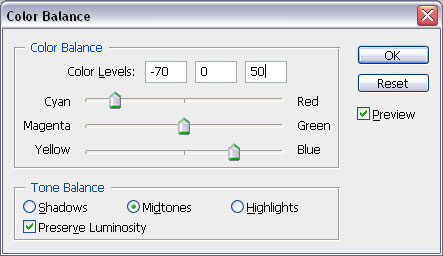
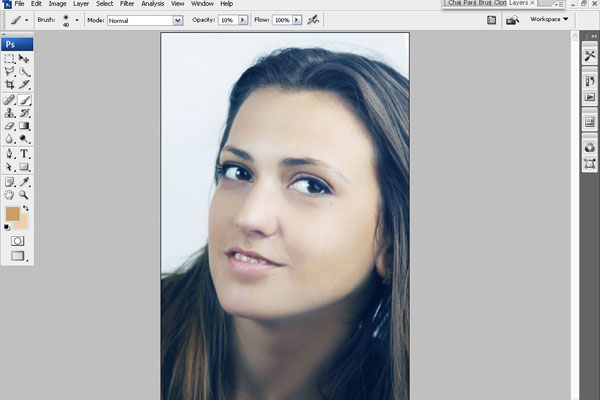
Now we have to change color of photo color by going to Image > Adjustments > Color Balance:
Step 5
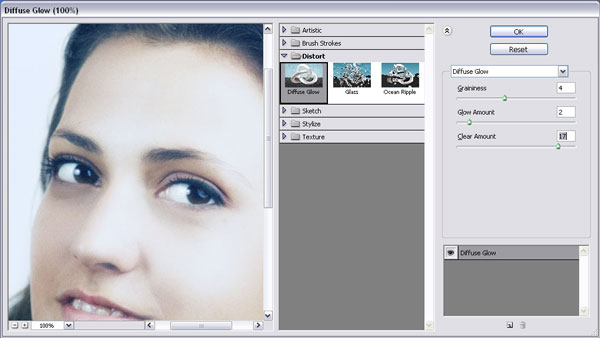
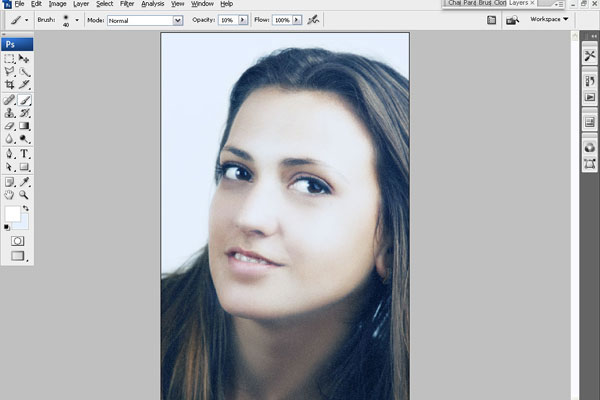
We need to add some noise to the photo to remove this blur effect. For now set foreground and background colors as #ffffff and #e5f0ff and then apply Filter > Distort > Diffuse Glow.
Step 5
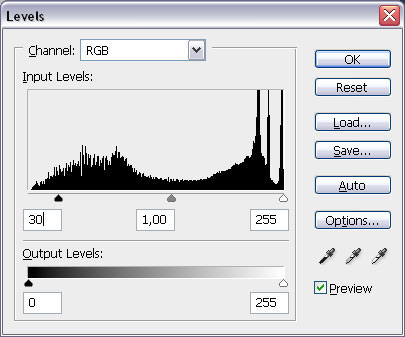
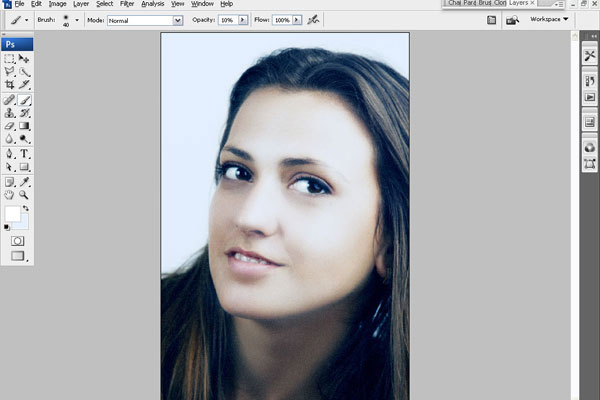
On this step we are going to reduce brightness. Go to use Image > Adjustments > Levels and after photo will become a little darker.
Step 6
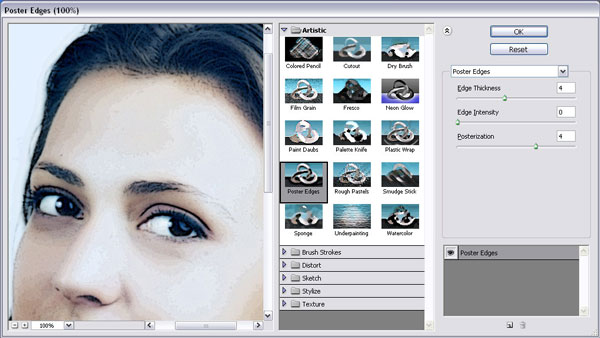
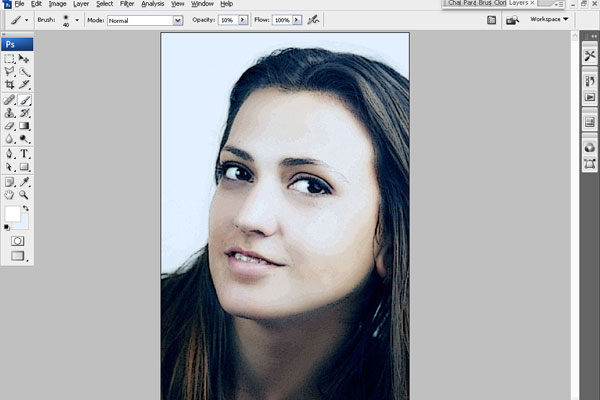
Now we are going to apply filters for stylizing photo. Duplicate layer with photo by using Ctrl+J. On new layer apply Filter > Artistic > Poster Edges with these settings:
Step 7
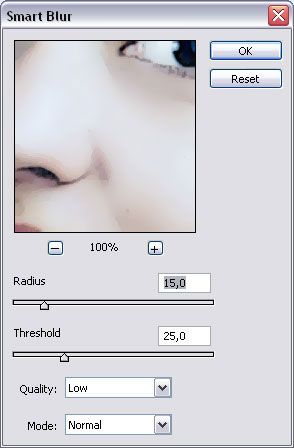
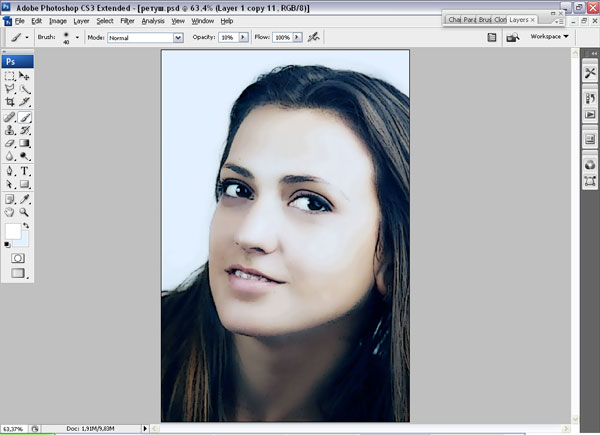
Now apply Filter > Blur > Smart Blur.
Step 8
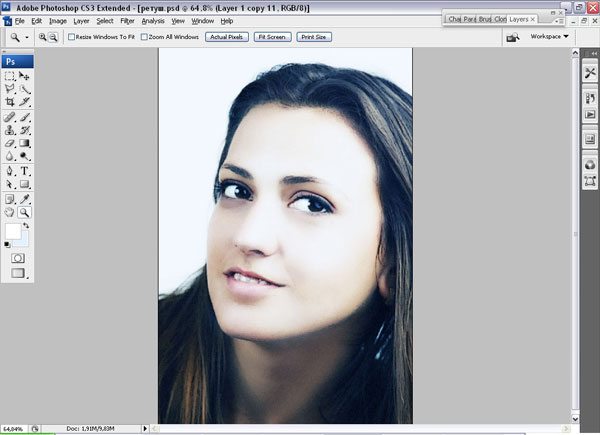
Update layer mode to Hard Light and layer opacity to 60%.
Step 9
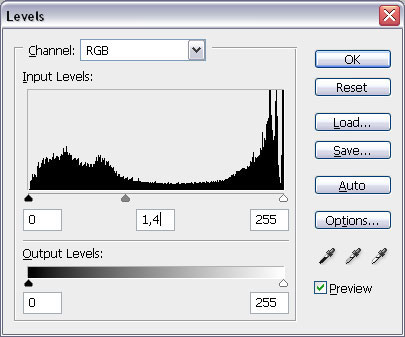
Use Layer > New Adjustment Layer > Levels to create adjustment layer with next presets above all the layers.
Step 10
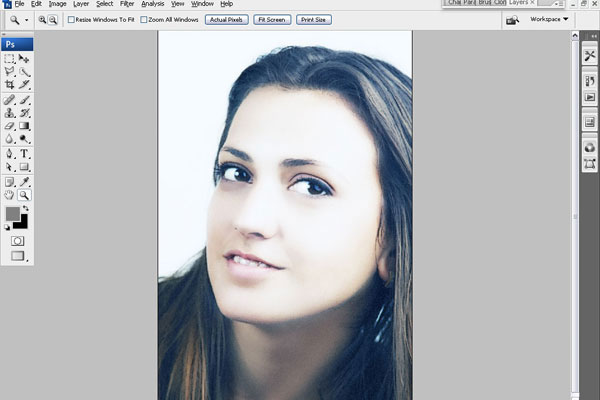
Create another adjustment layer with different presets by using Layer > New Adjustment Layer > Brightness/Contrast.

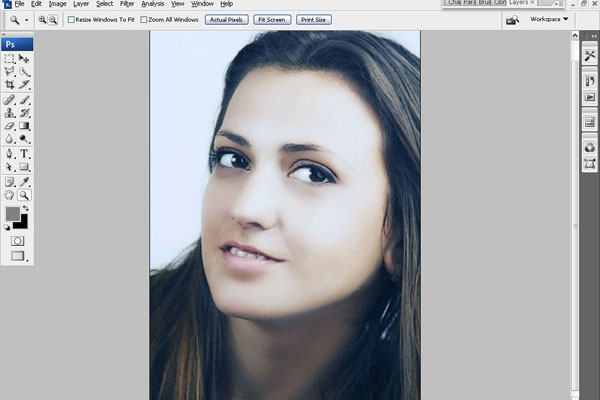
Final Image

We got very interesting photo retouching effect. Also you can use different colors and experiment with other techniques. Hope you will get the same good results or even better!
