Learn how to create one mythical scenery with one interesting technique of unusual scenery processing adding rays of light.
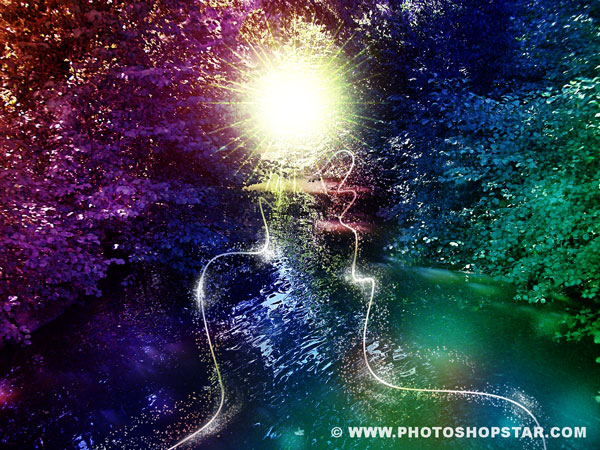
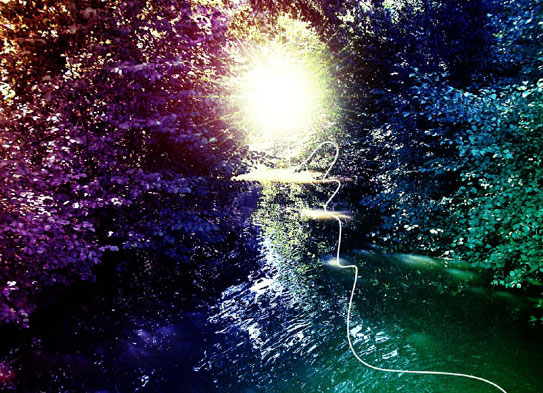
Final Image Preview
Resources
Step 1
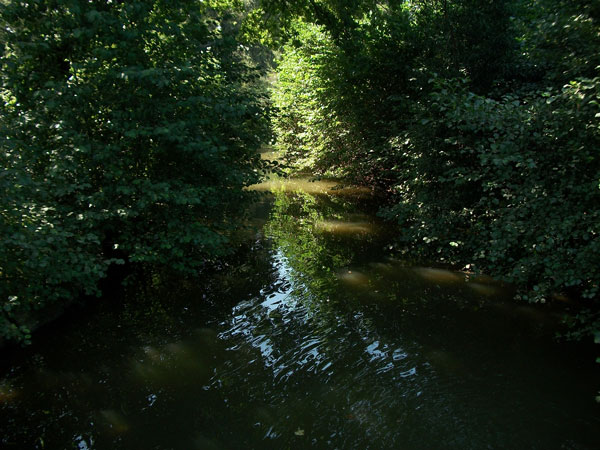
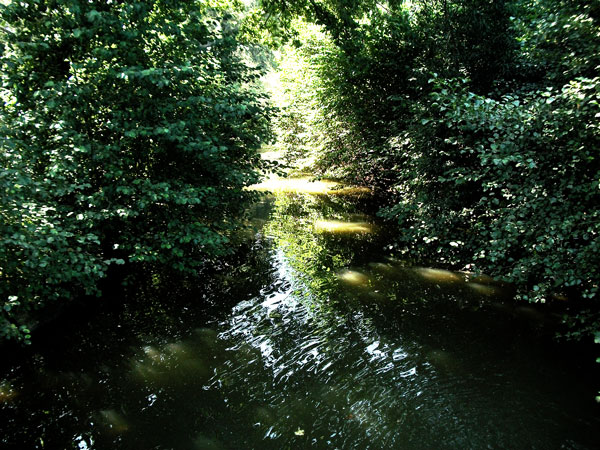
Open photo in Photoshop. This photo is good to use on this tutorial because has dark tones. Go to Image > Image Size and update to Width 1500px and Height 1125px.
Step 2
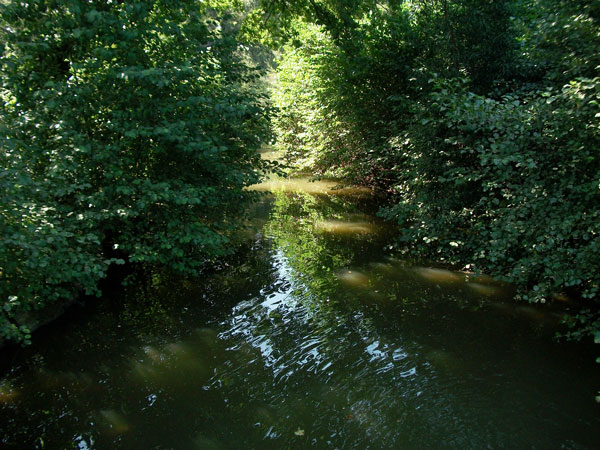
We need to add brightness to the photo. Duplicate layer with Ctrl+J and on copied layer update layer blending mode to Screen and Opacity to 70%.
Step 3
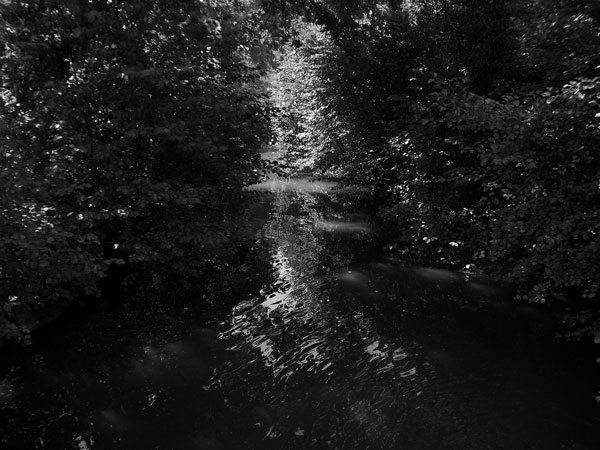
Go back to original layer and duplicate it on more (Ctrl+J). Place this new layer above all other layers and desaturate it using Image > Adjustments > Desaturate.
Step 4
Change Brightness and Contrast for this layer using Image > Adjustments > Brightness/Contrast:
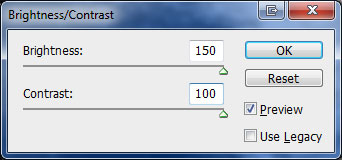
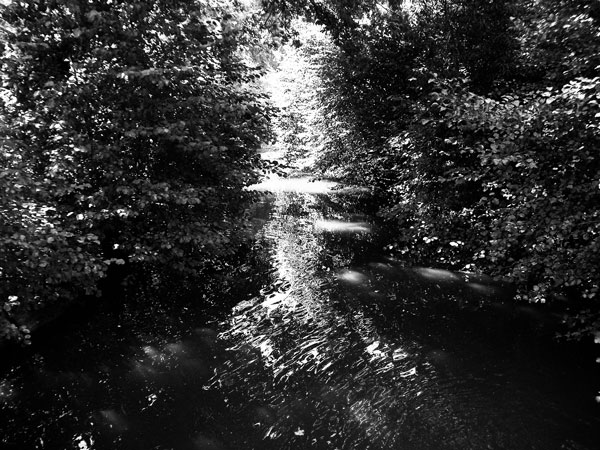
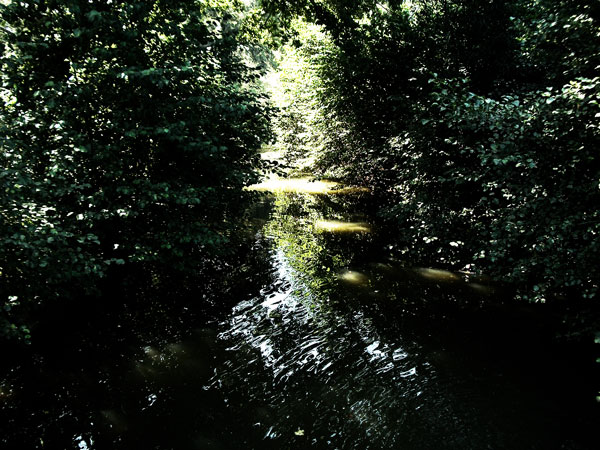
Change layer blending mode for this layer to Overlay.
Step 5
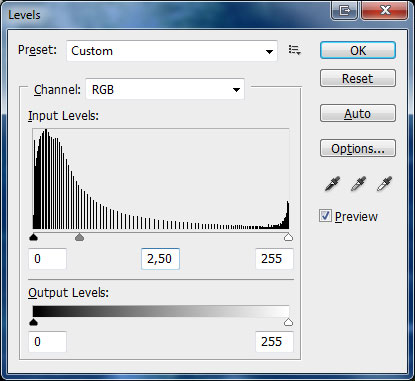
Now we need to brighten photo. Go to Image > Adjustments > Levels.
Step 6
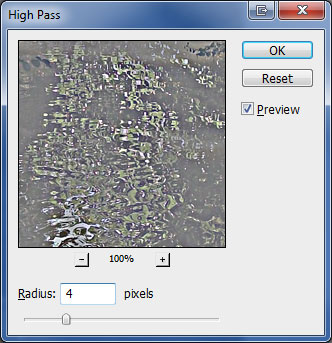
Duplicate again layer with original photo using Ctrl+J and move it above all layers. Apply Filter > Other > High Pass to this layer.
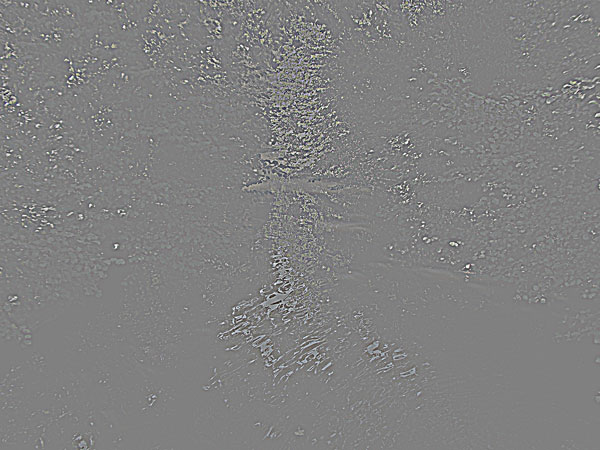
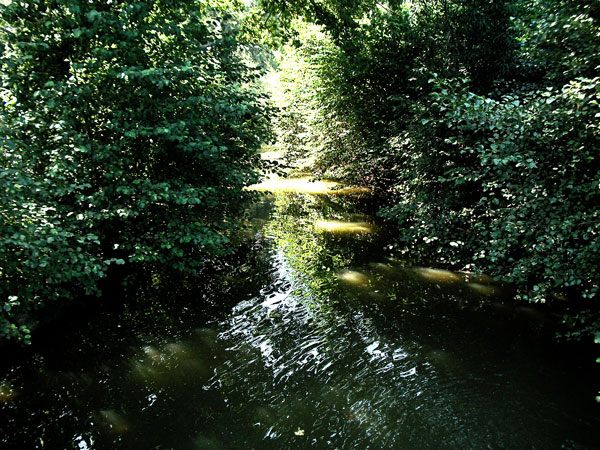
Update layer blending mode to Overlay.
Step 7
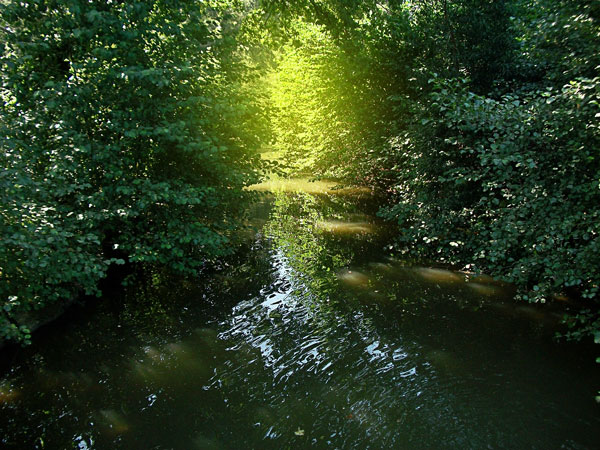
We are going to add shining to the photo in the same place where the source of light is located. On this photo the source of light is obvious, it’s located in the middle of the landscape. Create a new layer, select Brush Tool (opacity: 50%, soft-edged brush with 50px, color #f0ff00) and create the shining.
Step 8
Now we are going to create the rays. Create a new layer, select Brush Tool (opacity: 100%, soft brush, 4px in diameter, color: #ffffff) and holding Shift button make a line as shown on image below:
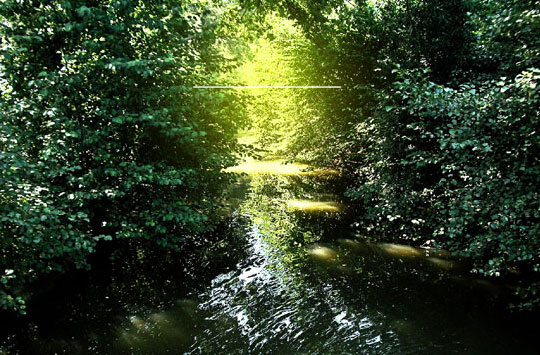
The edges of the line shouldn’t be sharp. Select Eraser Tool and a soft brush with 100% opacity, diameter 100px and erase the edges of the line.
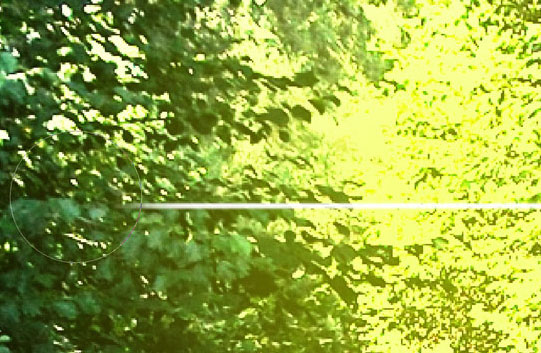
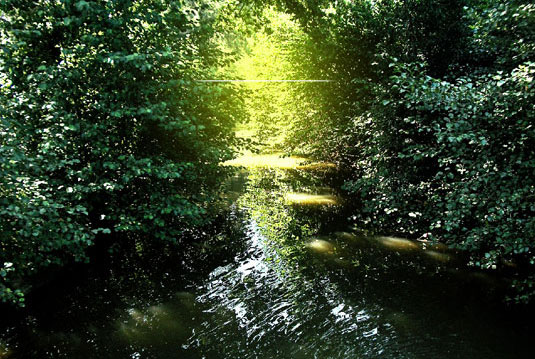
Duplicate layer with line using Ctrl+J and apply Edit > Transformer > Rotate 90 CW.
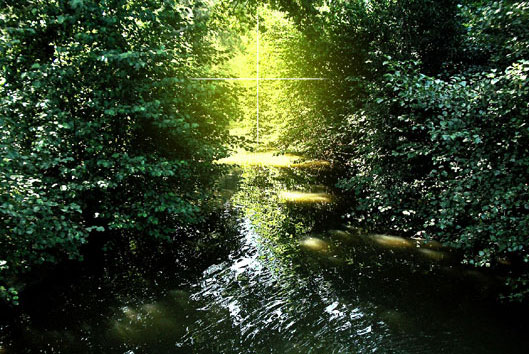
Merge both layers with lines by selecting them first and pressing Ctrl+E. Duplicate layer once again and rotate it using Edit > Transformer > Rotate as shown on image below.
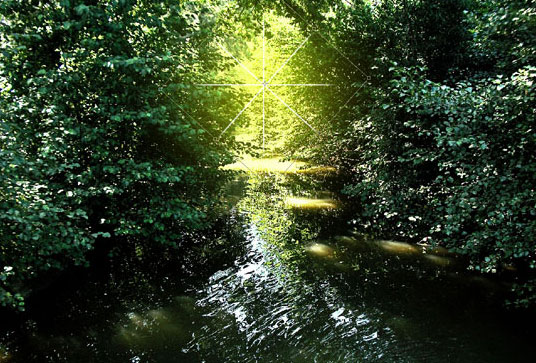
Merge both layers with lines by selecting them first and pressing Ctrl+E.
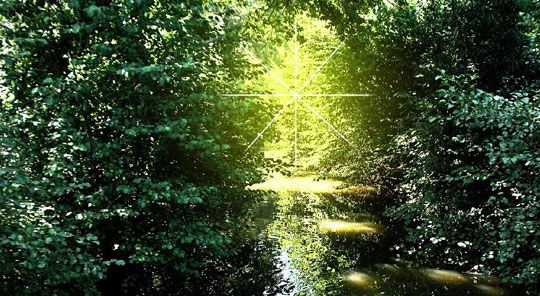
Duplicate layer once again and rotate it using Edit > Transformer > Rotate as shown on image below.
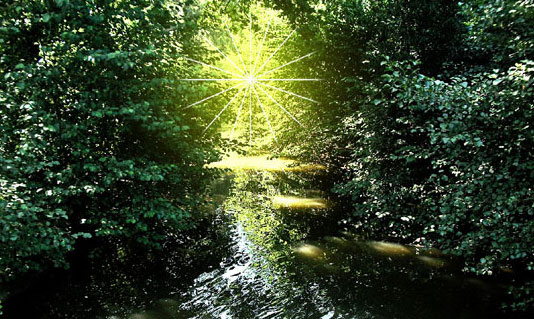
Merge both layers with lines by selecting them first and pressing Ctrl+E. Duplicate layer once again and rotate it using Edit > Transformer > Rotate as shown on image below.
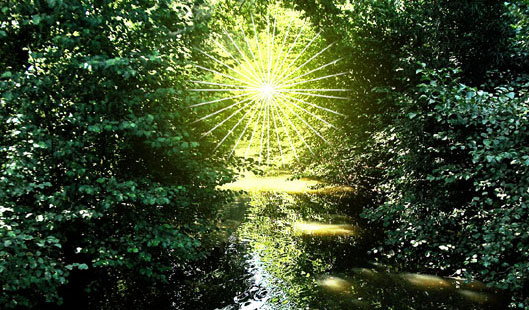
Merge both layers with lines by selecting them first and pressing Ctrl+E. Duplicate layer once again and rotate it using Edit > Transformer > Rotate as shown on image below.
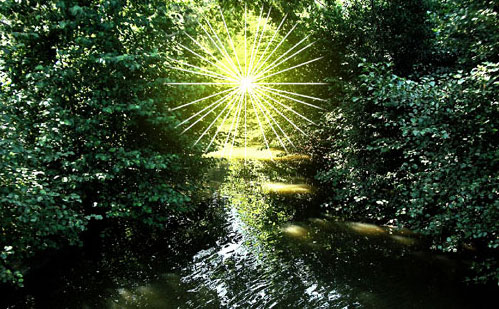
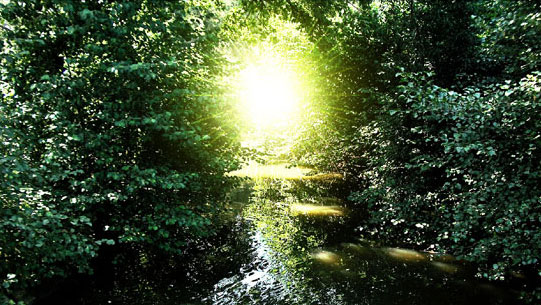
To make rays look more natural let’s add shining in the center of landscape. Create a new layer, select Brush Tool (soft brush, diameter 400px, color: #ffffff) and create shining like you see on image below.
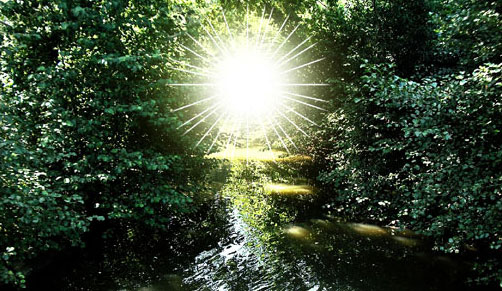
Merge white shining layer with rays layer into one and update layer blending mode to Overlay on this layer.
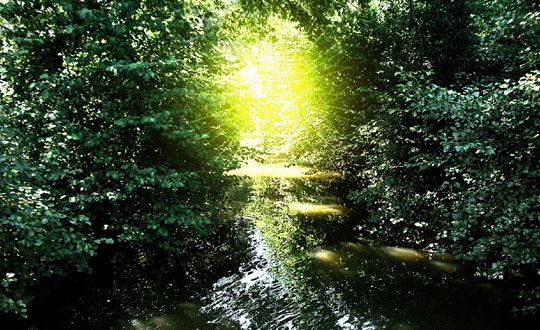
Create a new layer and with Brush Tool selected (soft brush with 400px in diameter and color #ffffff), create shining and we have finished this step.
Step 9
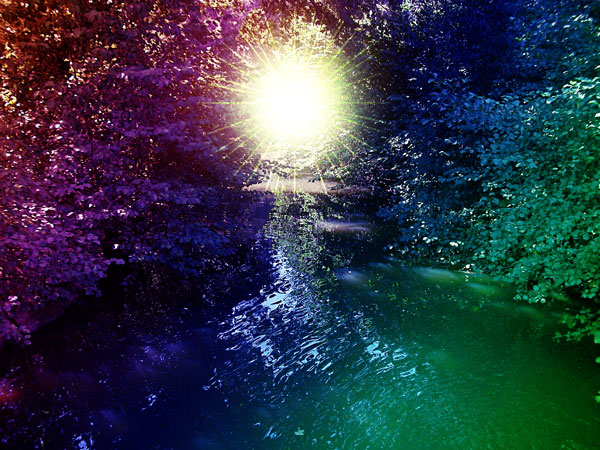
Create a new layer, select Gradient Tool and Spectrum gradient from Presets and fill new layer.

Update layer blending mode to Soft Light.
Step 10
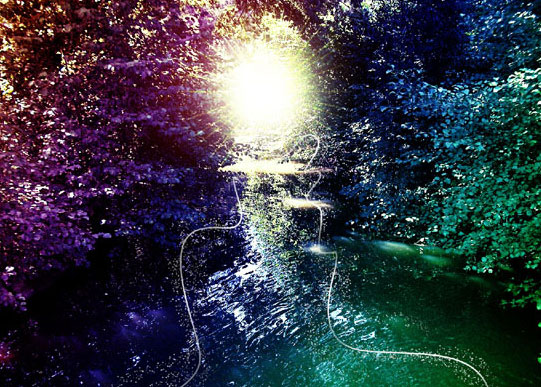
Now we need to add magical rays. Select Brush Tool, hard-edged brush with 4px in diameter, white color (#ffffff) and opacity 100%. Create a new layer, select Pen Tool and make sure that you are working with Paths instead of Shape Layers. Draw curve with paths like i have on image below.
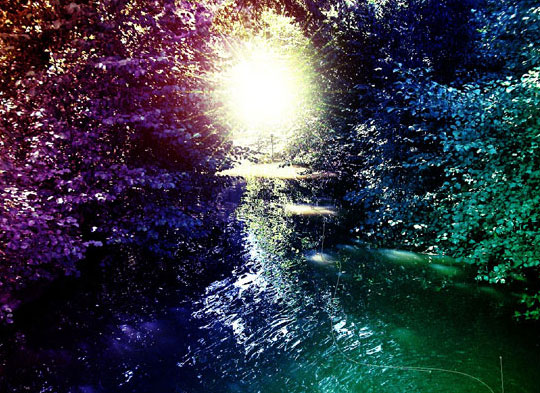
Right click mouse above path create and select Stroke Path in the menu. Choose Brush as a source on dialog box that appears.
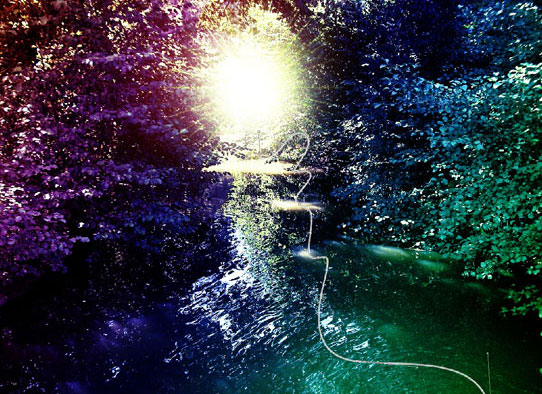
Click again and select Delete Path.
Select Brush Tool and select brush Hard Mechanical 1 pixel which is located on Basic Brushes set that comes with Photoshop. Go to Window > Brush Presets and use following parameters:
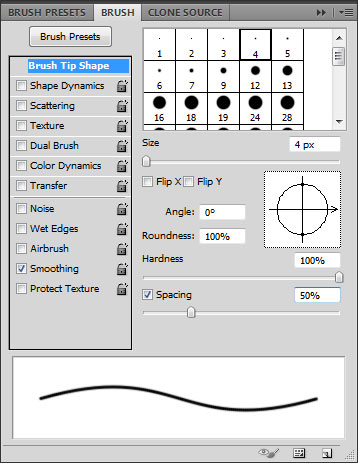
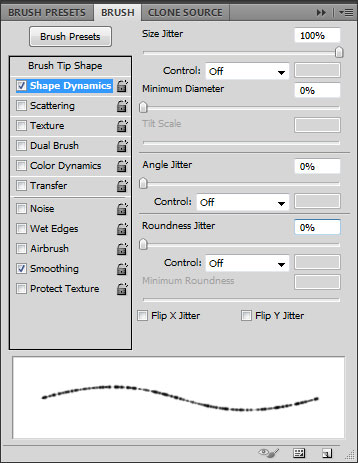
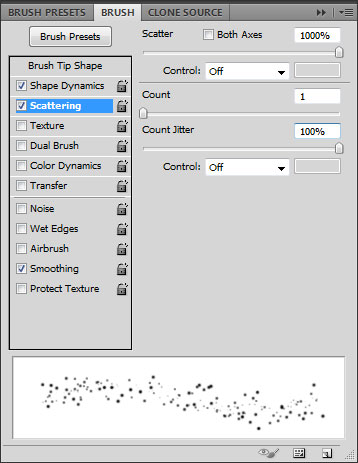
Select Pen Tool and create curves same way as before.
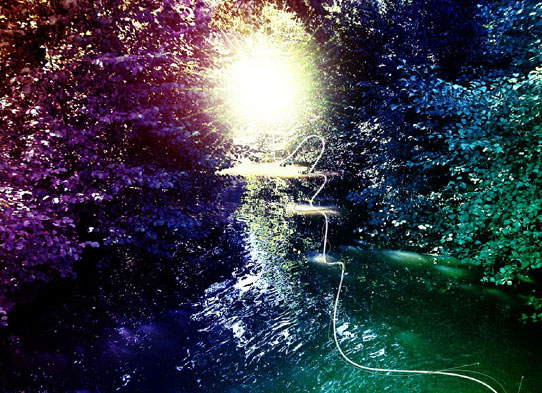
Right click mouse and select Stroke Path.
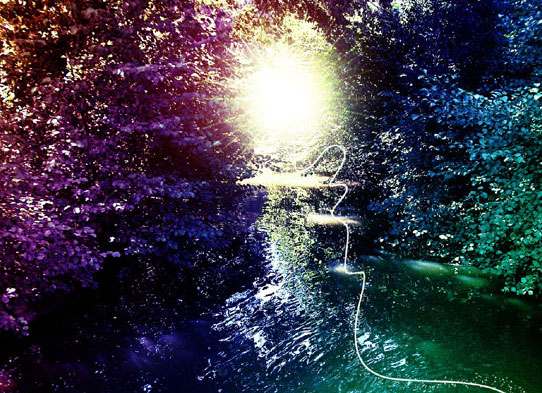
Repeat this action several times.
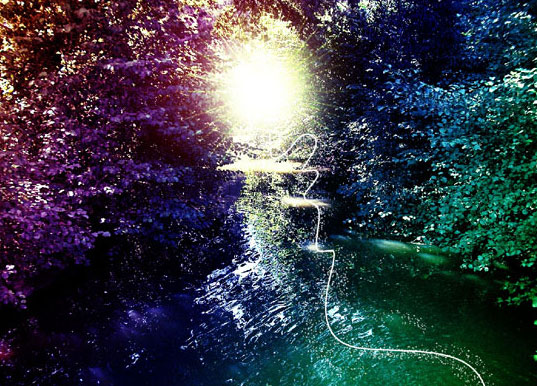
Create second ray also on same layer with same process.
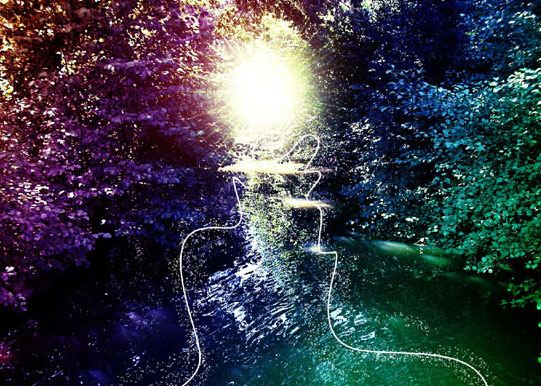
Select Eraser Tool (Opacity: 30%, soft brush with 100px) and make rays transparent in some areas and with this we will add the feeling of lightness.
Step 11
Create a new layer. Select Brush Tool (Opacity: 100% and a soft round brush) and choosing different sizes and colors, paing the fragments of the rays.
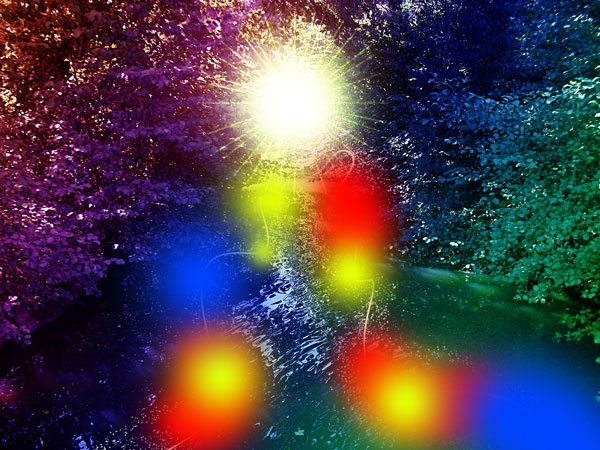
Change layer blending mode to Color.
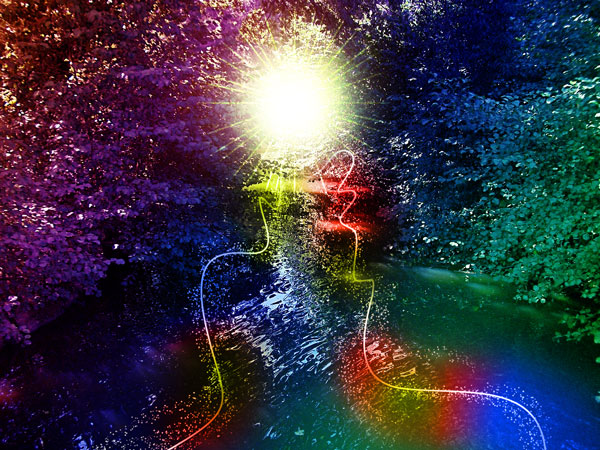
Set layer opacity to 40% for this layer.
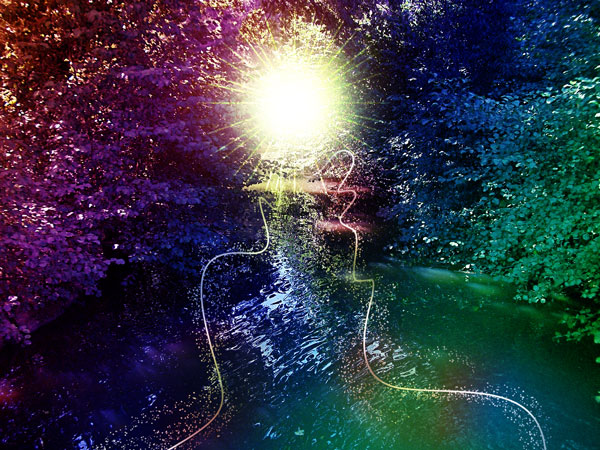
Select layer with the rays and with Brush Tool (soft brush, white color) backlight the rays on a new layer.

Step 12
Create new layer on top. With Brush Tool create spots of light with white color.

Set layer blending mode to Soft Light and tutorial is finished.
Final Image

We got an unusual colored mythical landscape. Hope you liked it.
