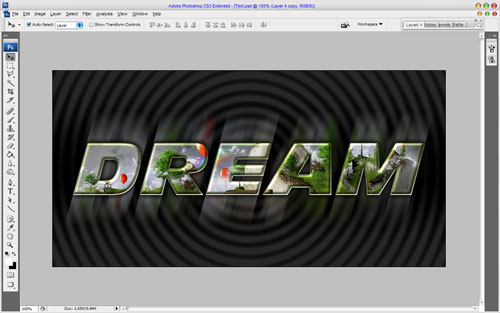
I’m going to share with you about how to make modern designed text effect by using some layer styles. Is it interesting for you? If yes, let’s start to read and make!
First of all, make a new document in Photoshop. I created a new document sized 1000×500 pixels with all the default settings, RGB, 72 dpi and fill it with gradient by using colors of #8f9290, #303231 and #8f9290.
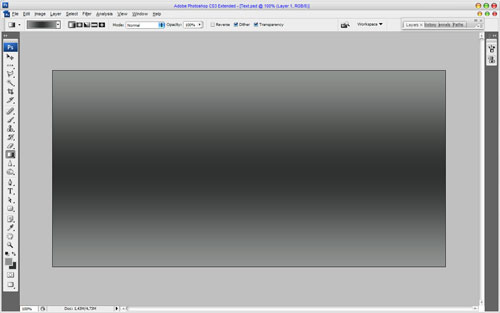
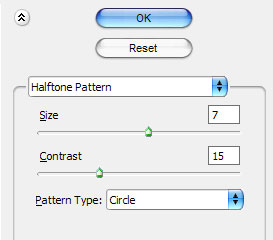
Then press D to set up standard colors for foreground and background (as black and white). After that apply Filter > Sketch > Halftone > Pattern with similar settings to these:
Now you should have some pattern like this:
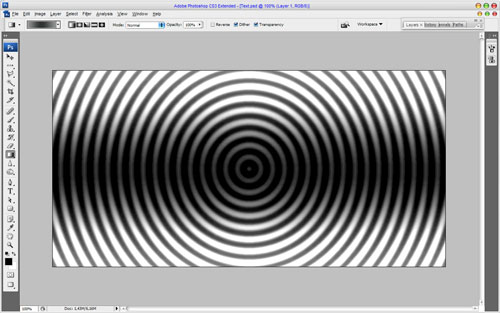
Create one more layer above and fill it with black color. Then change opacity to 85% for this layer.
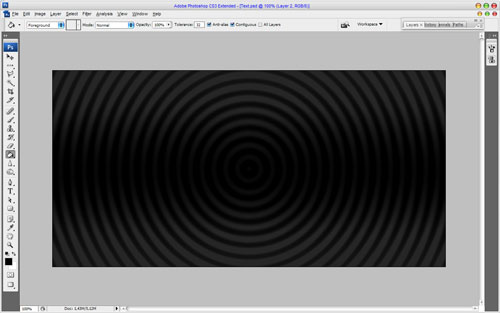
Now, start with creating text effect directly. Get out the Horizontal Type Tool and write out your text, for example ‘DREAMD’ in whatever color you want.
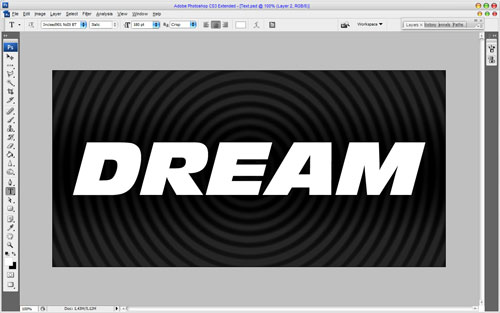
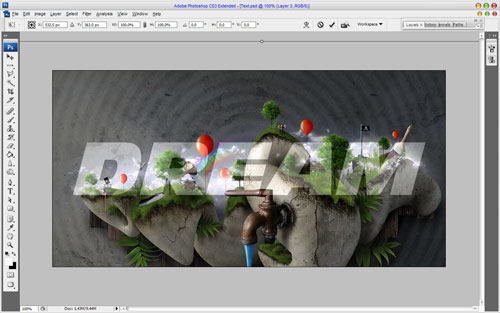
In the above image I’ve used a font called Incised901, which is one of standard Windows fonts. After that you should find some appropriate picture whish u can add to the text. It would be better if this is a picture with small elements. You can use some pics on Google Images or also feel free to use mine picture. Open up the file and copy it to the main canvas above the text layer. Change opacity to 70% for current layer and apply Edit > Free Transform to reduce the picture a little bit. Hold Shift button to reduce it pro rata.
Go to the text layer and use Select > Load Selection to select text area. Remove this layer, we don’t need it more.
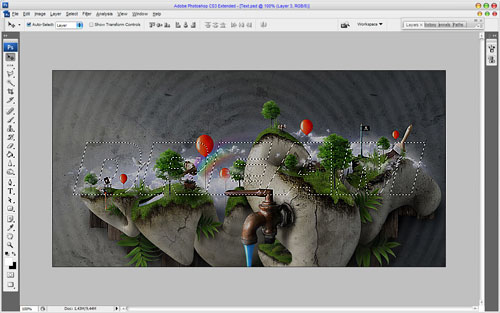
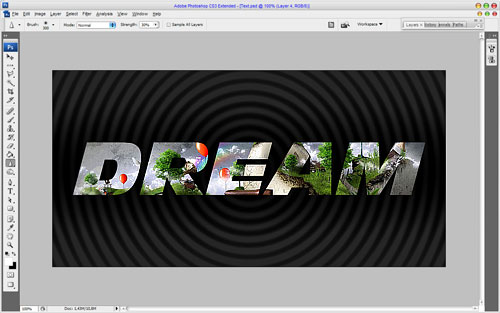
Go to the layer with picture and press Ctrl+Shift+J to cut selected area to the new layer. Set up opacity to 100% for current layer again and remove the layer under also.
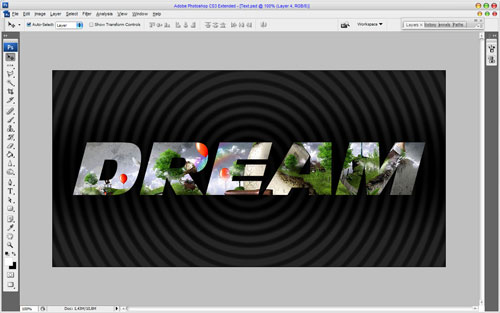
Use the Sharpen Tool to sharpen the text.
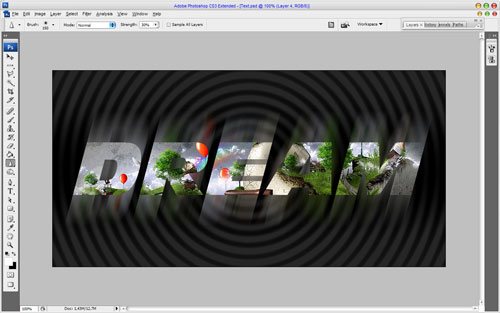
Duplicate current layer with Ctrl+J. Then go to previous layer and apply Filter > Blur > Motion Blur with similar settings to these:
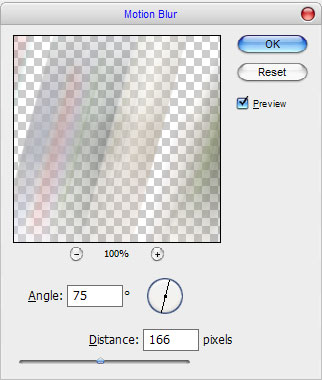
Now we have interesting effect.
Go to the upper layer again and apply the following layer styles to the text layer:
• Drop Shadow
• Inner Shadow
• Outer Glow
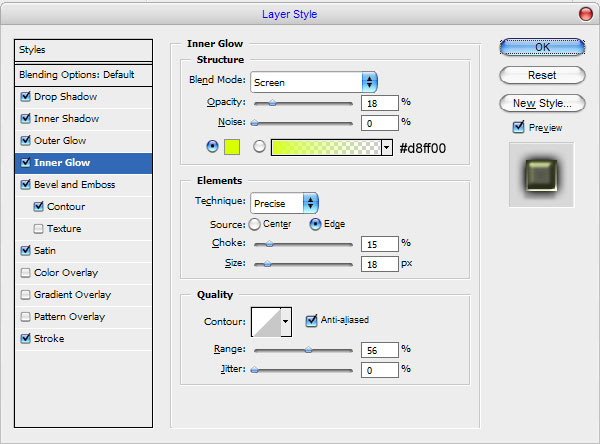
• Inner Glow
• Bevel and Emboss
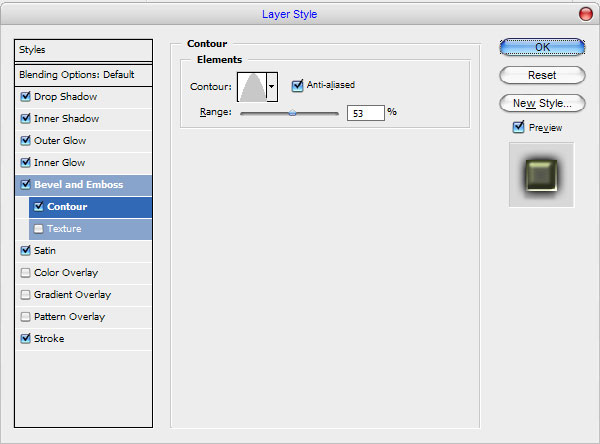
• Contour
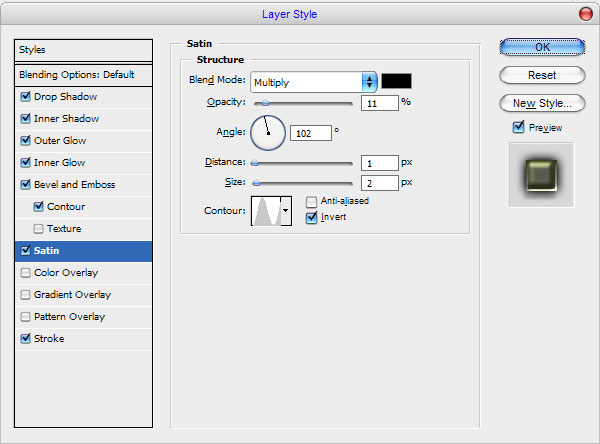
• Satin
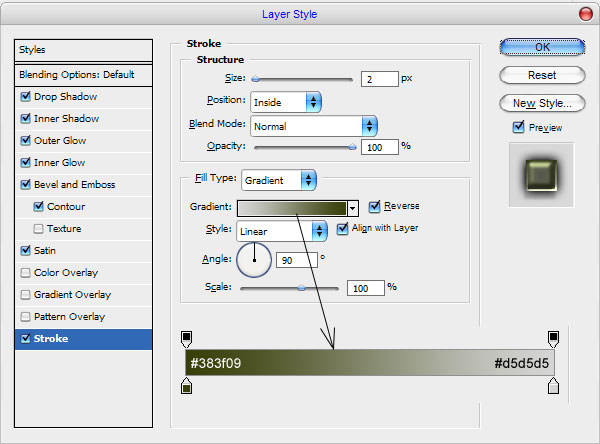
• Stroke
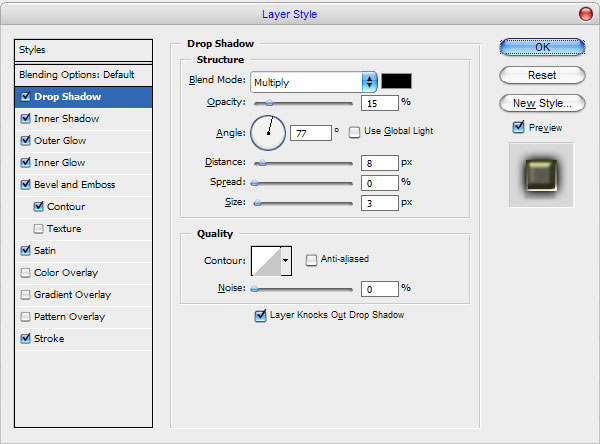
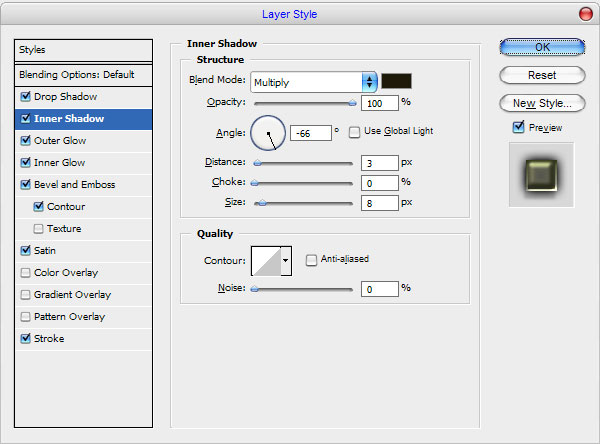
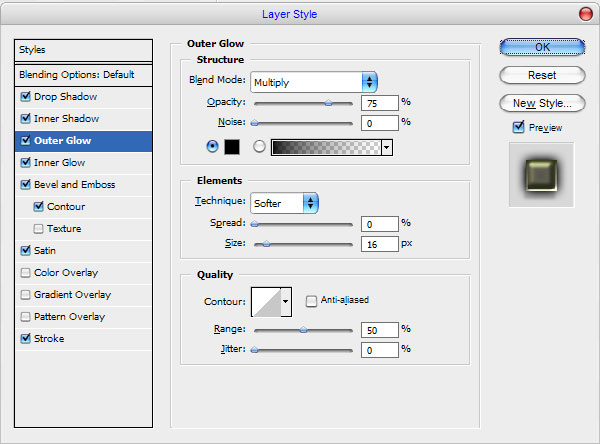

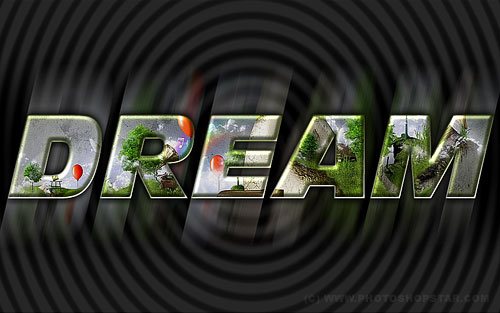
Now your image should look like the image shown below:
Well, thank you for reading this tutorial everyone! We got modern designed text effect.

