The 3D environment in Photoshop CS6+ provides a variety of options and settings to help you create amazing 3D text effects easily. This tutorial will show you how you can play around with the different settings to create a simple, yet sophisticated, metallic text effect.
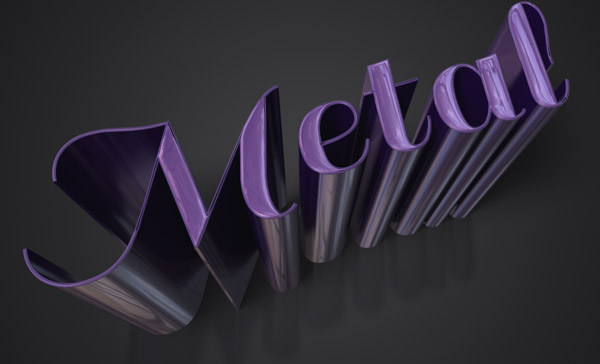
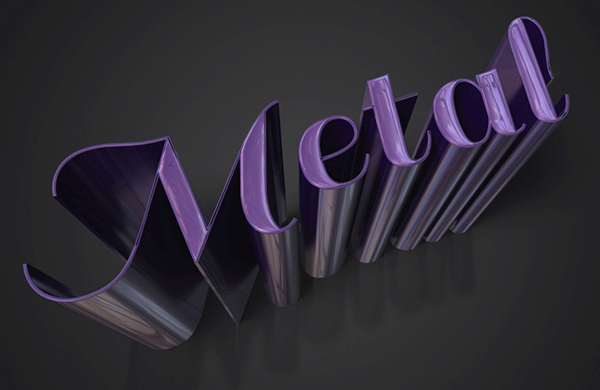
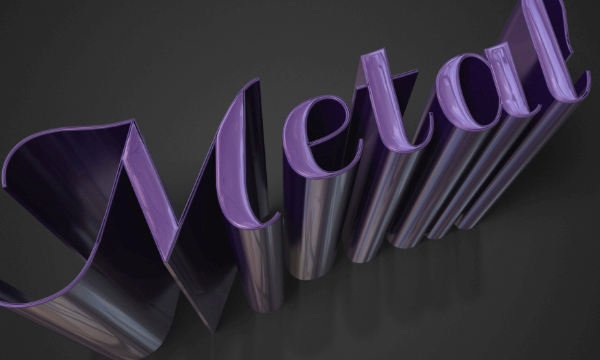
Final Image
Tutorial Details
- Program: Adobe Photoshop CS6 Extended
- Estimated Completion Time: 45 minutes
- Difficulty: Beginner
Resources
- Sail font.
- Malleable Metal Patterns by WebTreatsETC.
Step 1
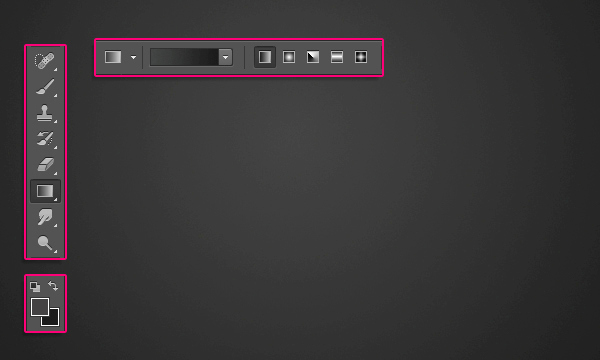
Create a new 1000 × 1000 px document. Set the Foreground color to #444343 and the Background color to #1c1c1c. Pick the Gradient Tool, choose the Foreground to Background gradient fill, and click the Radial Gradient icon.
Then, click and drag from the center of the document to one of the corners to create the background gradient.
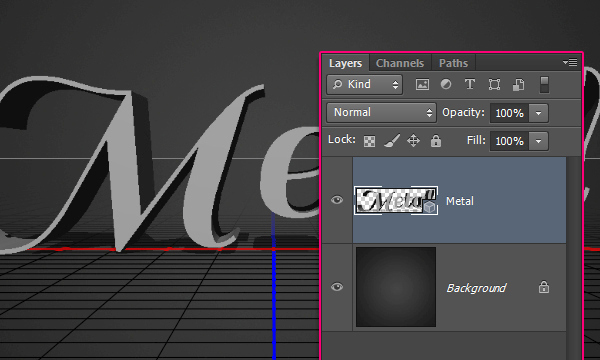
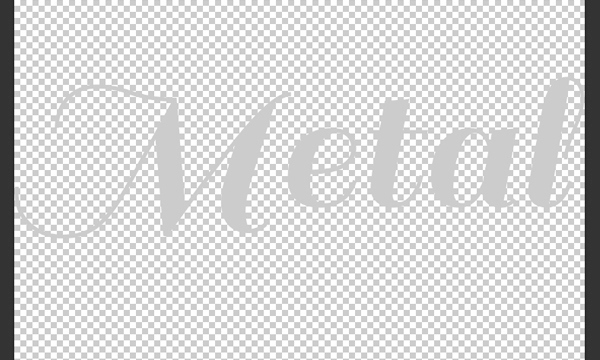
Create the text in the color #cccccc. The font used is Sail and the Size is 330 pt.

Go to 3D > New 3D Extrusion from Selected Layer. This will convert the Type layer into a 3D layer.
The cool thing about this is that the 3D text mesh will still be editable. We will get to this later in the tutorial.
Step 2
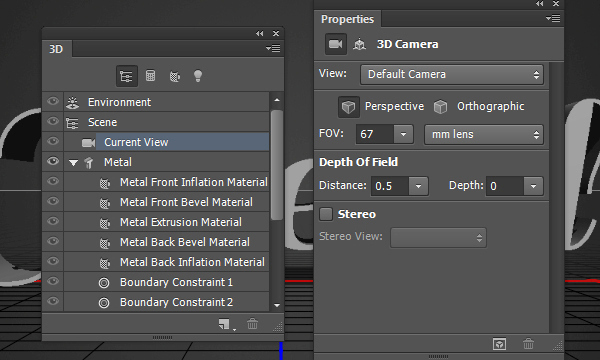
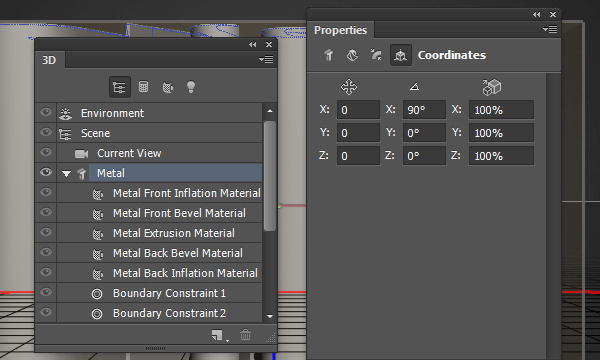
To access the 3D mesh settings and properties, you’ll need to open two panels: The 3D panel, and the Properties panel (both found under the Window menu).
The 3D panel has all the components of the 3D scene, and when you click the name of any of those, you’ll be able to access its settings in the Properties panel. So make sure to always select the name of the element you want to modify in the 3D panel before you change its settings in the Properties panel.
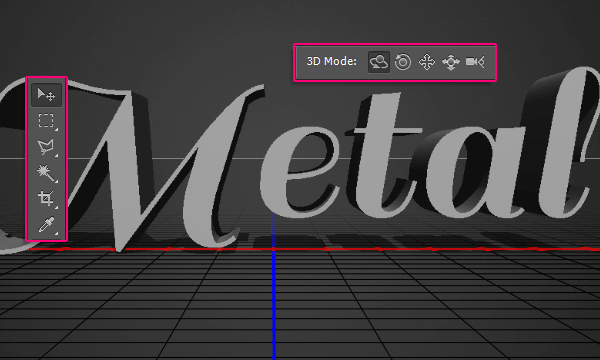
Select the Move Tool and check its Options bar. You’ll find a set of 3D Modes for the tool to the right of the bar. When you choose one of those, you can then click and drag to perform any changes (on the selected element in the 3D panel).
Step 3
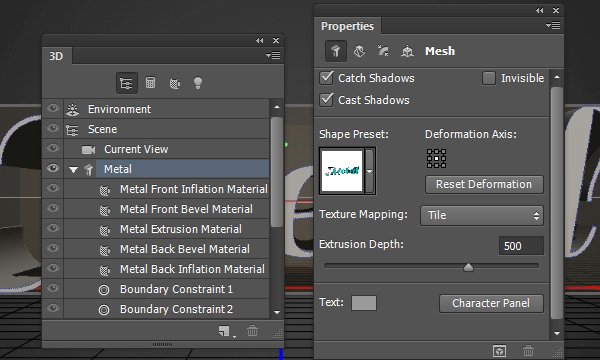
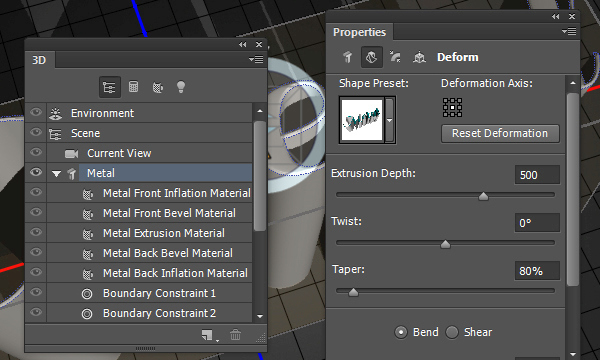
Select the text mesh name tab in the 3D panel, then, in the Properties panel, change the Texture Mapping to Tile, and the Extrusion Depth to 500.
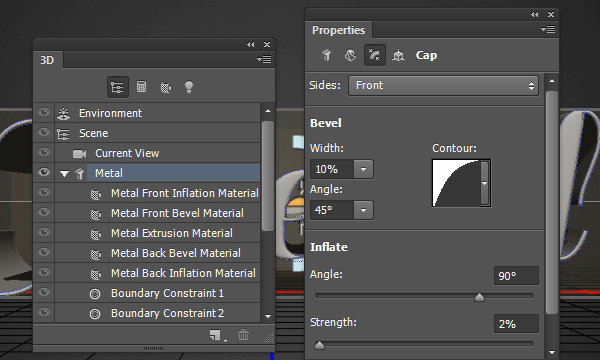
Click the Cap icon at the top of the Properties panel, then change the Bevel Width to 10, the Contour to Half Round, the Inflate Angle to 90, and the Strength to 2. This will help inflate the text a little bit, and create a simple stroke as well.
Click the Coordinates icon, and change the X Rotation Angle to 90. This will make the text perpendicular to the Ground Plane.
Go to 3D > Snap Object to Ground Plane, to make sure that the text isn’t inside the Ground Plane or floating over it.
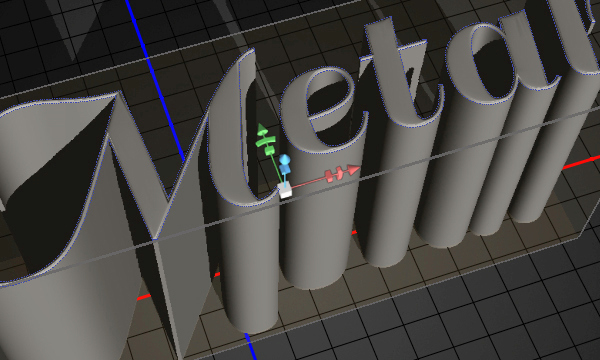
Next, select the Current View tab in the 3D panel, and use the different Move Tool’s 3D Modes to move the camera so that it points to the text from above.
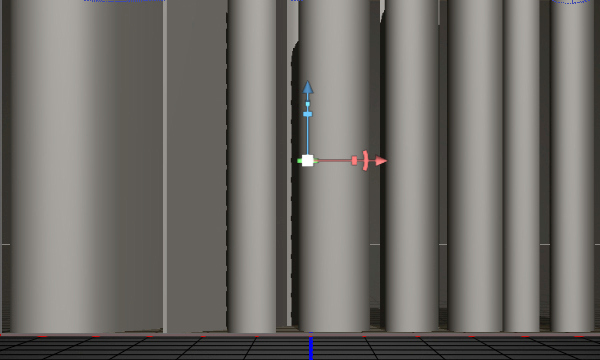
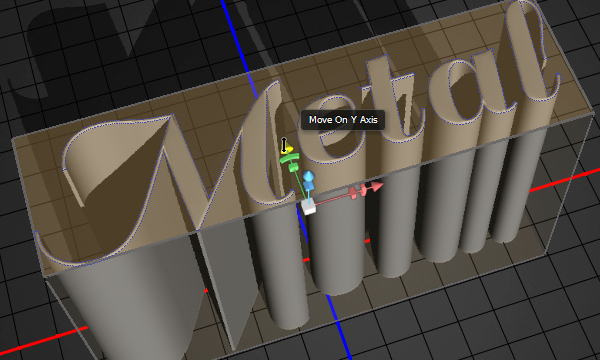
You can also use the 3D Axis to move the text around if needed (with the Move Tool selected). The arrows at the ends of the 3D Axis move the mesh, the part below them is used for rotation, and the cubes are used for scaling. The cube in the center is used to scale the object uniformly. All you need to do is click and drag the part you need to perform the changes.
Step 4
If, at any point, you need to change or modify the text, then you can simply click its name tab in the 3D panel, and click the Edit Source button down the Properties panel.
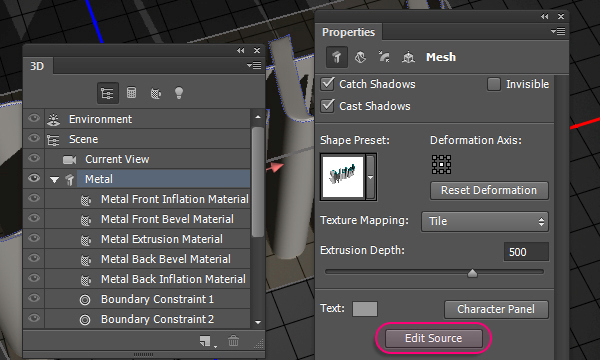
This will open a document that has the text layer, you can then make any changes to the text.
Here, the font Size is changed to 392.5 pt. Sometimes, when you change the text itself, or its size value, it might extend outside the document’s edges.
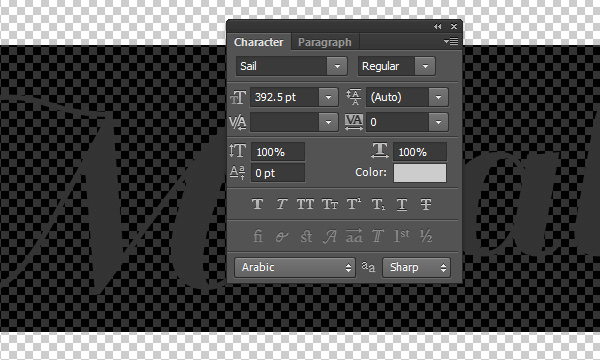
To fix that issue, accept the changes you made, then go to Image > Reveal All.
Once you’re done, save the document (File > Save) then close it (File > Close) to go back to the original one.
Step 5
To add more perspective to the text, select the mesh name, then click the Deform icon and change the Taper value to 80%.
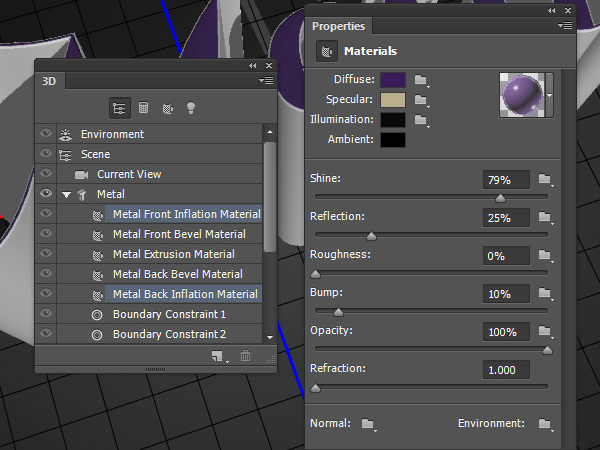
Select the Front and Back Inflation Material tabs (Ctrl/Cmd + click each one), then modify their settings as shown below:
The colors used are:
- Diffuse : #391d5b
- Specular : #bbb08c
- Illumination : #080808
- Ambient : #000000
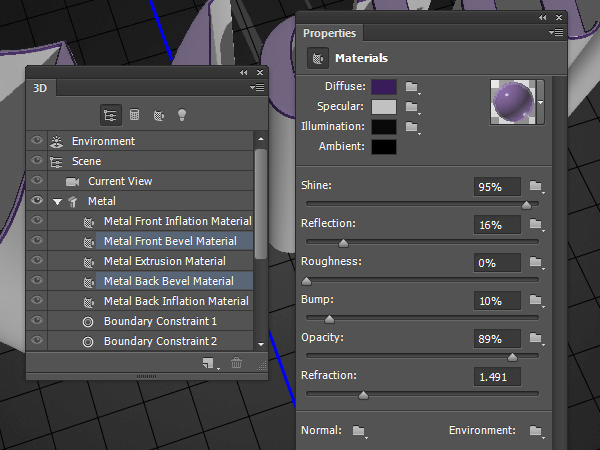
Select the Front and Back Bevel Material tabs, then modify their settings as shown below:
- Diffuse : #391d5b
- Specular : #c1c1c1
- Illumination : #080808
- Ambient : #000000
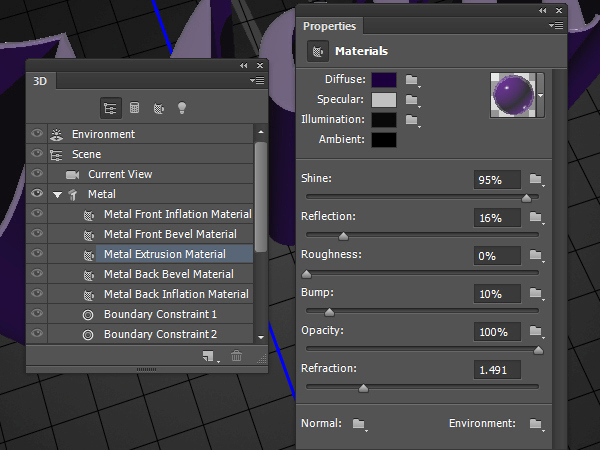
Finally, select the Extrusion material tab and change its settings as shown below as well:
- Diffuse : #1b003d
- Specular : #c1c1c1
- Illumination : #080808
- Ambient : #000000
Step 6
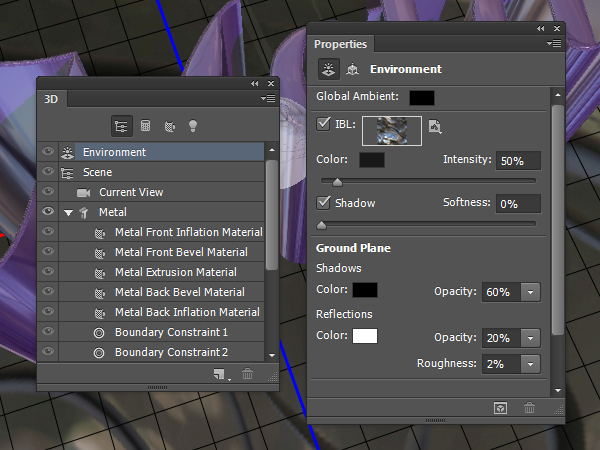
Click the Environment tab in the 3D panel, then click its IBL folder icon in the Properties panel and choose Load Texture.
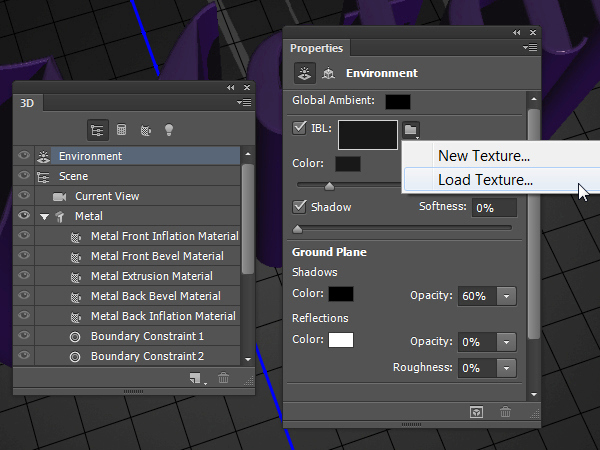
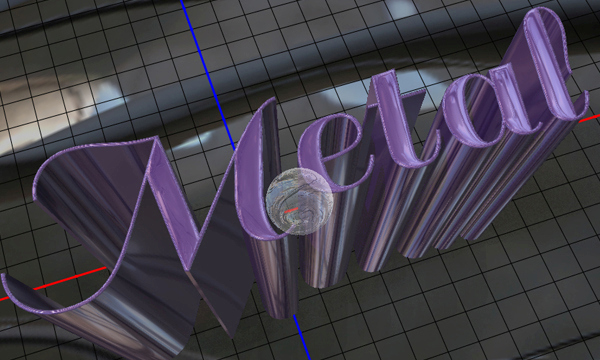
Load the “ghghghhj.jpg” image form the “Malleable Metal Patterns” pack. Then, change the Intensity to 50%, the Ground Plane Shadows Opacity to 60%, the Reflection Opacity to 20%, and the Roughness to 2%.
You can use the Move Tool to click and drag the Environment Light’s sphere and move it around until you like how it looks.

Step 7
Click the Infinite Light 1 tab, then change its Intensity to 90% and its Shadow Softness to 60%.
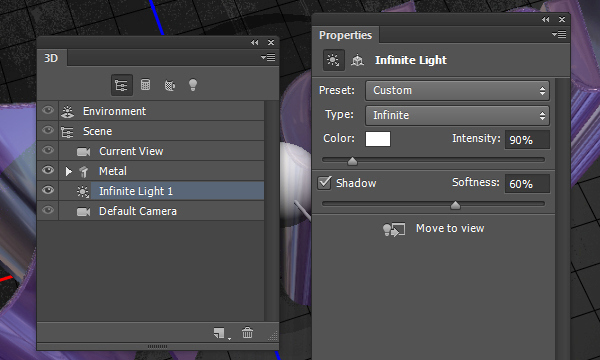
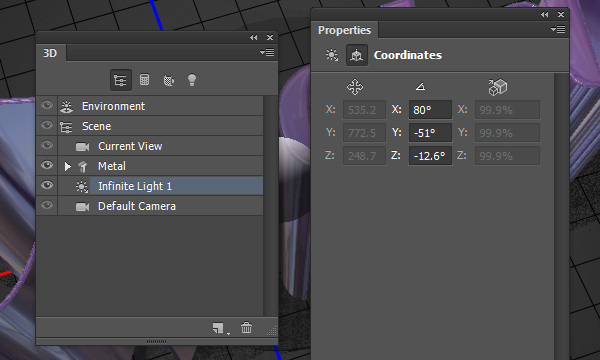
You can either move this light as you like, or use the Coordinates values below.
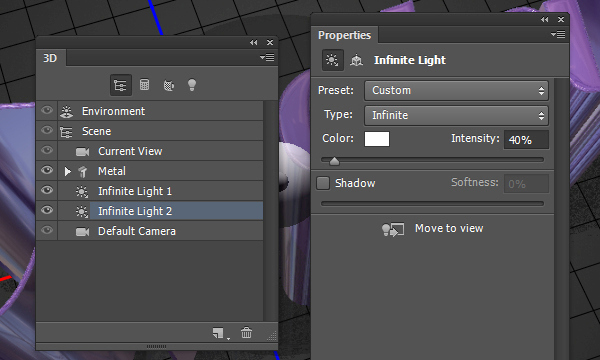
Click the Add new Light to Scene icon down the 3D panel and choose New Infinite Light.
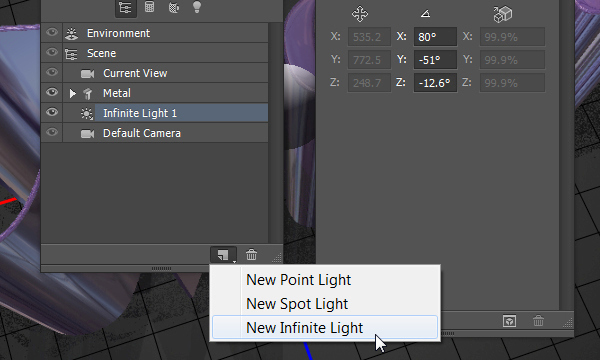
Change the Infinite Light 2 Intensity value to 40% and un-check its Shadow box.
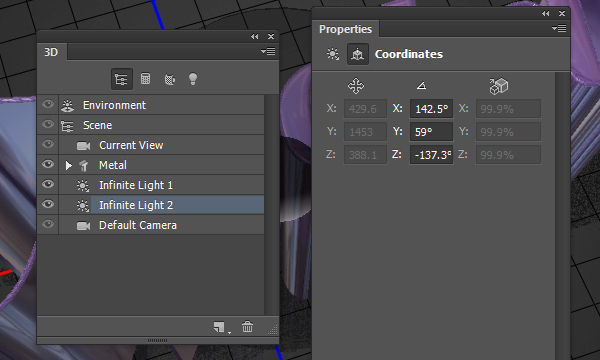
Move the light or use the Coordinates values below.
Step 8
Make any other changes you want to the scene until you like the result.
When you’re done, render the scene (3D > Render). The rendering might take some time, but you can stop it anytime by pressing the Esc key.
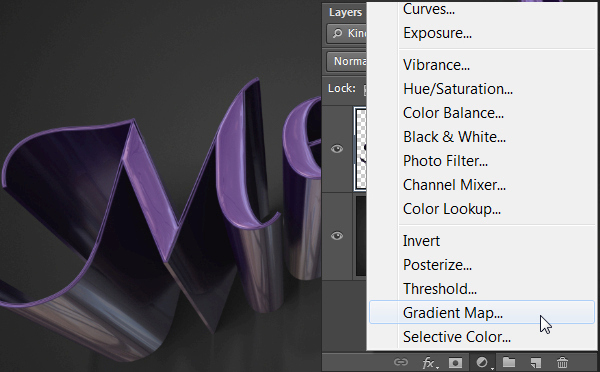
Once the rendering is finished, click the ‘Create new fill or adjustment layer’ icon down the Layers panel, and choose Gradient Map.
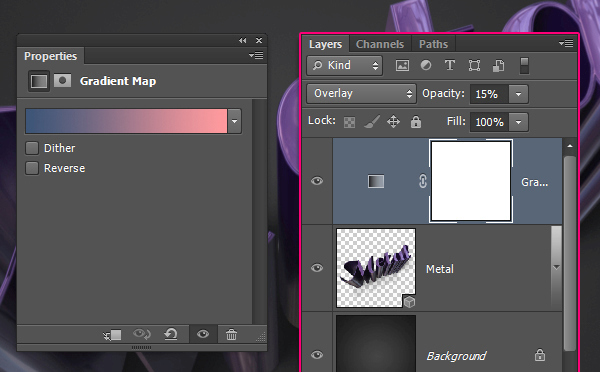
Create the gradient using the colors #3e5678 to the left and #ff9a9e to the right. Change the adjustment layer’s Blend Mode to Overlay and its Opacity to 15%. This will help enhance the coloring of the final result.
And We’re Done!
Hope you enjoyed this simple 3D tutorial and found it helpful. Please feel free to leave your comments below.