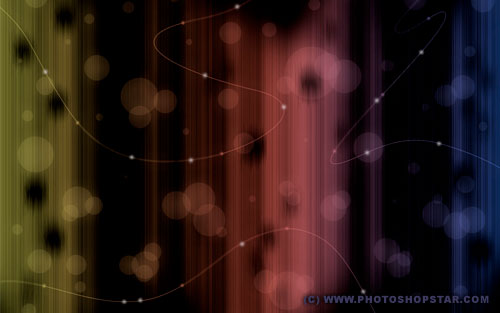
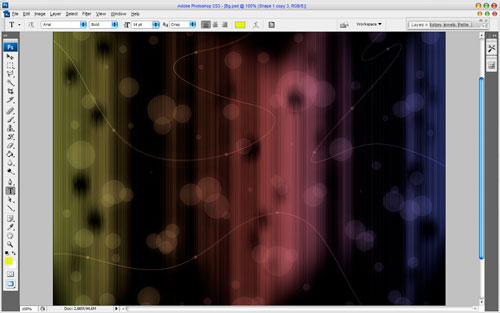
In this little Photoshop tutorial we’ll be designing funny disco style background, for your wallpapers, greeting cards, etc.
Let’s start with a new document. For this Photoshop tutorial I’m using a size of 1000×1000 pixels, 72 dpi and black color.
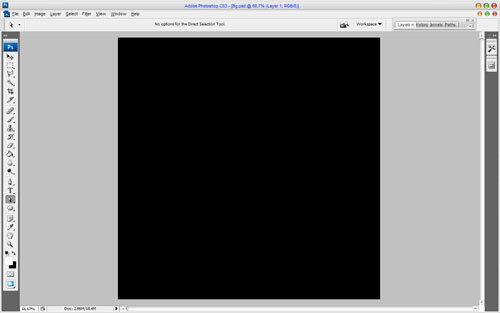
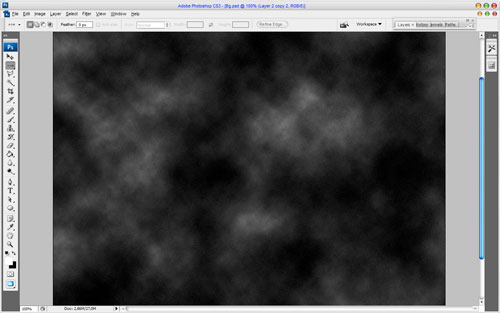
First of all press D to set up foreground and background colors black and white, then create a new layer and apply Filter > Render > Clouds:
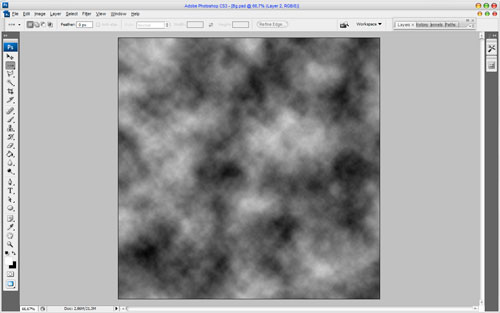
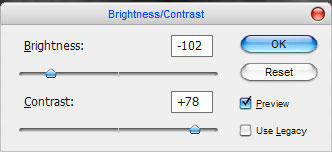
Now use Image > Adjustments > Brightness > Contrast to make clouds more contrast:
Now, we have picture like this one:
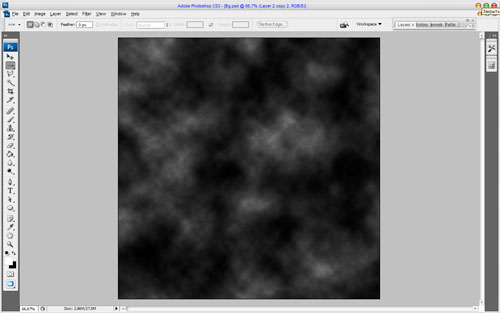
After that apply Filter > Noise > Add Noise with similar settings to these:
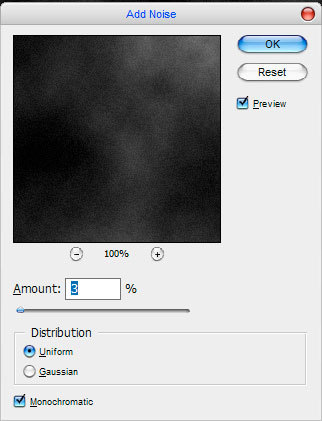
Your picture should look as mine:
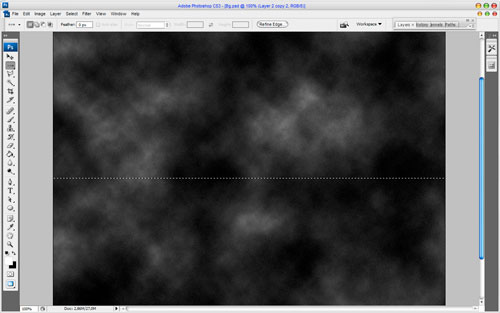
Then select Single Row Marquee Tool and make selection as below:
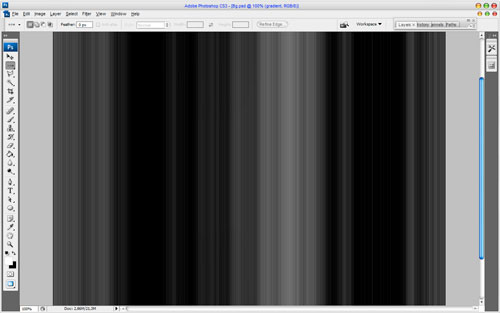
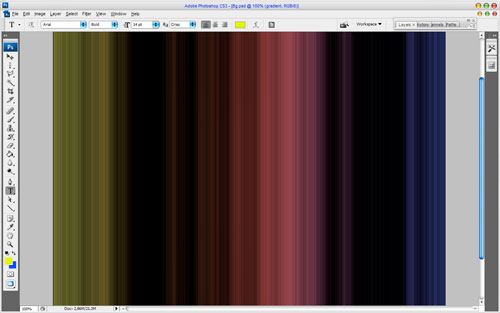
Press Ctrl+T to transform the selection and move it up and down. Now your have a picture like this:
Deselect chosen area with Ctrl+D and apply the following layer style:
• Gradient Overlay
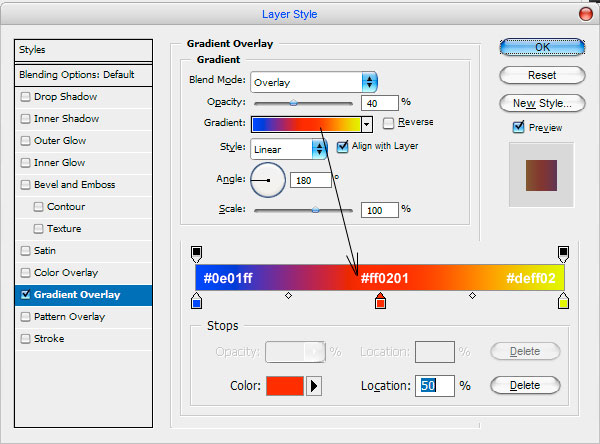
See the difference now:
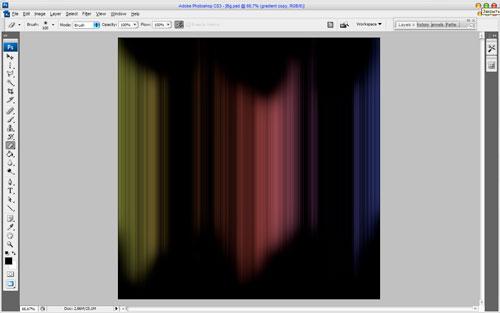
Then continue with selection the Eraser Tool and soft round brush and clear some upper and lower parts of image as shown on a picture below:
Then chose another one brush with presets similar to these (it is also standard Photoshop brush):
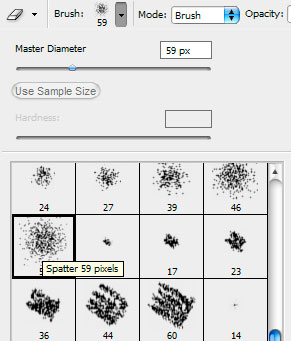
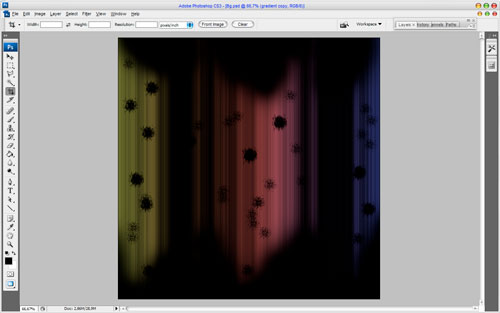
And make holes in this layer:
Ok, now apply Filter > Blur > Motion Blur with the next presets:
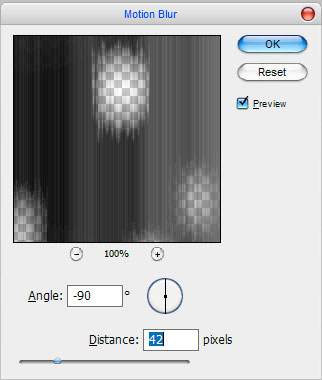
To get the next picture:
Looks not good yet! Ok, next we’ll add cool white lines to the background. Now before we can start making our lines, I would like to note you that you need to get out the Brush Tool before and set up with the following settings:
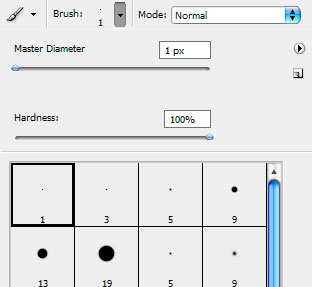
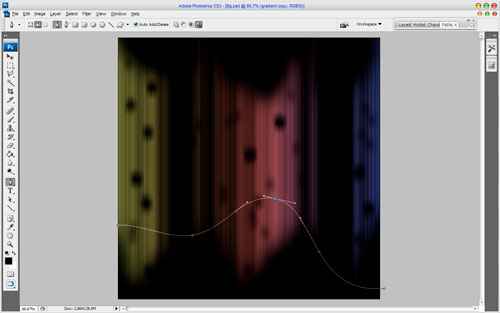
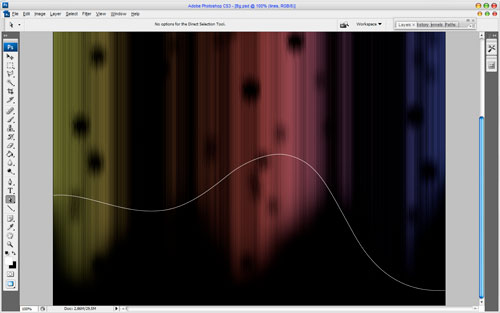
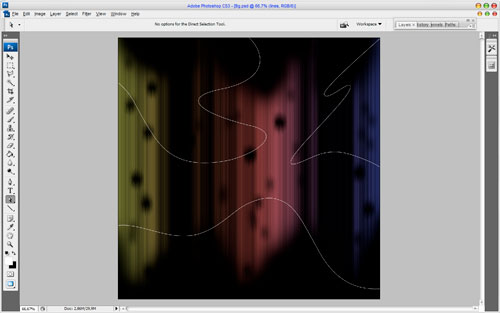
Also set foreground color as white. Get out the Pen Tool (you need to make sure that you’re working with Paths instead of Shape Layers) and drag the first line onto your canvas like I’ve done in the below screenshot:
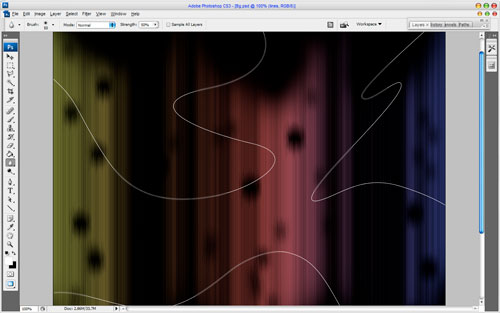
Create a new layer, then right-click and select Stroke Path.
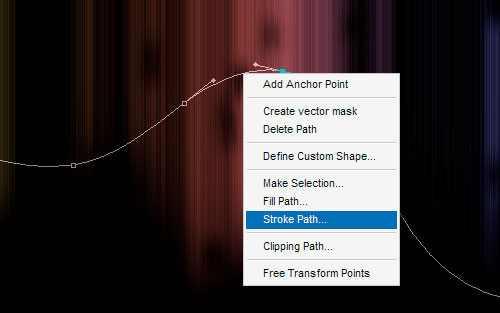
A little dialog box will appear as in the screenshot. Choose the Brush from stroke path resources and press OK. The picture use to look as mine:
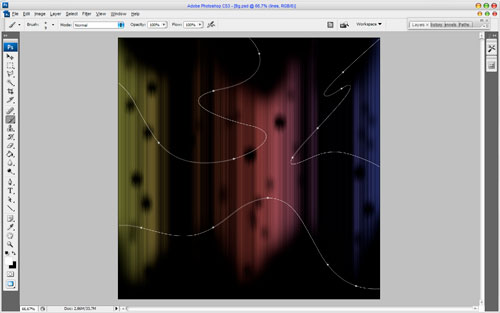
Next right click again and select Delete Path. Add two more lines, making the same things two more times:
Now select the Polygonal Lasso Tool to make selection of small part of line as below:
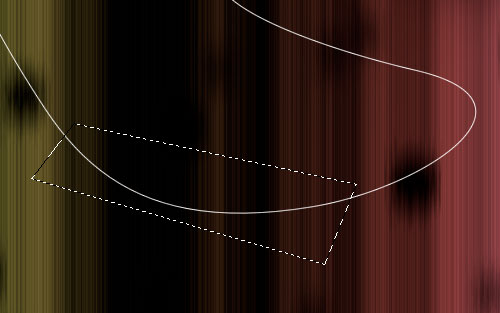
Then select the Blur Tool (Strength: 50%) and blur the selected part of line. Press Ctrl+D to deselect it. You can see the result below:
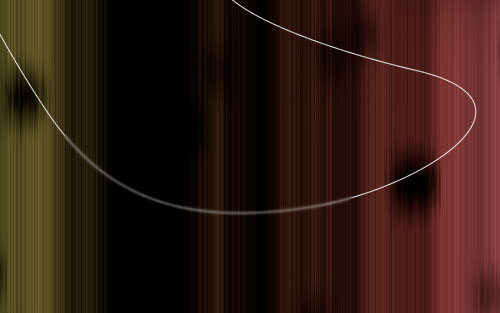
Also you can blur more parts of different lines:
Now get out the Brush Tool and a soft round brush (size of 9 px) to make little white dots on the blurred and normal lines boundary.
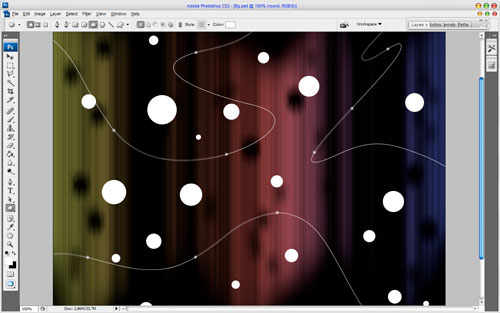
Ok, let’s move onto the next step. Create a new one layer, then select the Ellipse Tool and make different white rounds as on picture below (Note: every time pres Shift to make all the rounds on the same layer):
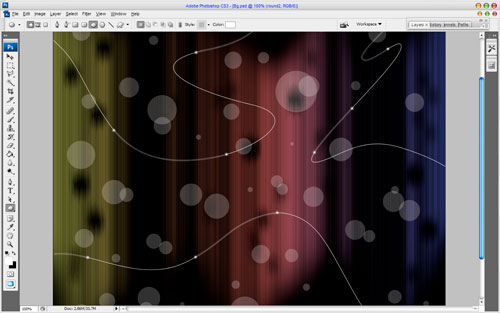
Set opacity up to 20% for this layer. Then create a new layer and create new white rounds on it and set opacity up to 20% for this layer too.
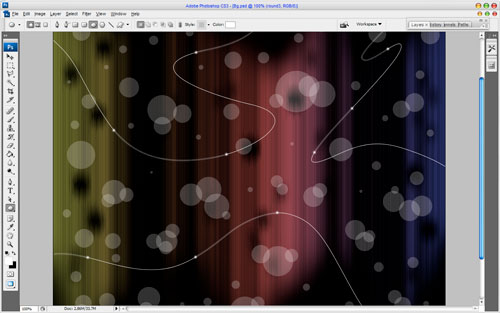
Make the last one layer for white rounds. Do the same things again.
Ok, merge all layers with white rounds and lines in one and apply the following layer style:
• Gradient Overlay
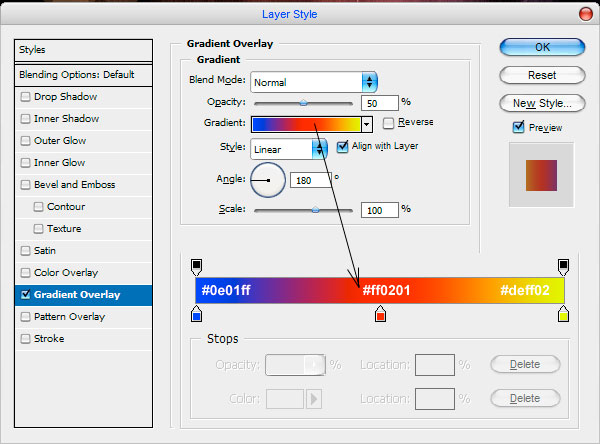
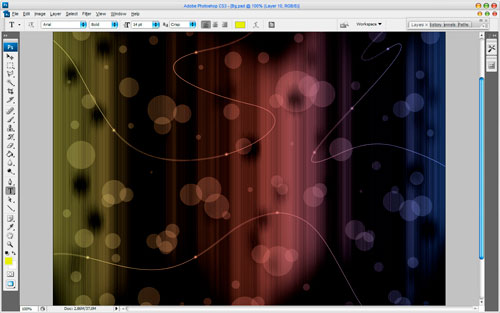
Now your canvas should look as mine:
After that things set opacity to 50% up and press Ctrl+J to duplicate layer, then apply Filter > Blur > Box Blur with similar settings to these:
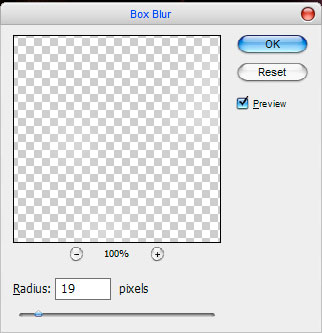
See the difference:
Ok, to finish off the background I think we should add some white dots on it to make it funnier and more contrast. Get out the Brush Tool and a soft round brush (size of 9 pixels) and put some dots on the new layer as below. Set opacity up to 50% for this layer.
Well, I think I’ve pretty much explained all I can for this tutorial!

