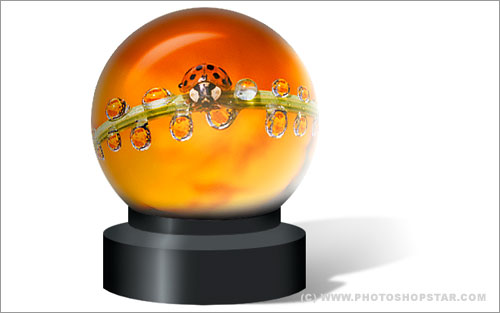
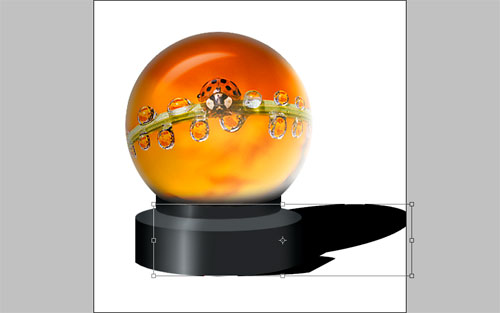
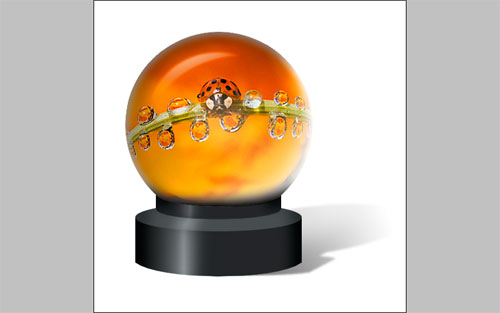
Well, in this Photoshop tutorial I’m going to be teaching you how to make a nice magic sphere with picture inside. You can see the picture I’ve made using this tutorial below.
Alright, let’s start by creating a new document. For this tutorial I’ve used a document size of 500×500 pixels.
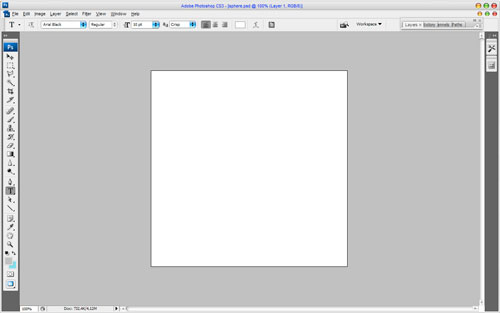
Now I would like to begin create stand for the ball. Get out the Rectangular Marquee Tool and make selection as shown below, then fill it with color of #282a2b.
Deselect image with Ctrl+D and apply Edit > Transform > Warp to transform image as below:
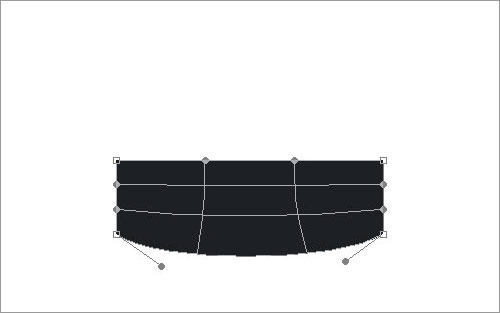
Then create one new layer, then get out the Elliptical Marquee Tool to create selection as on my picture and fill it with color of #4a4e50.
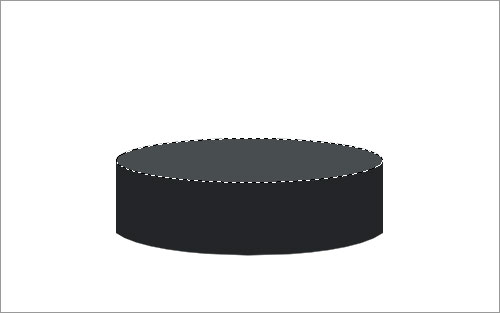
After that select the Rectangular Marquee Tool again and make one new selection. Then fill it with color of #282a2b and press Ctrl+D to deselect chosen area.
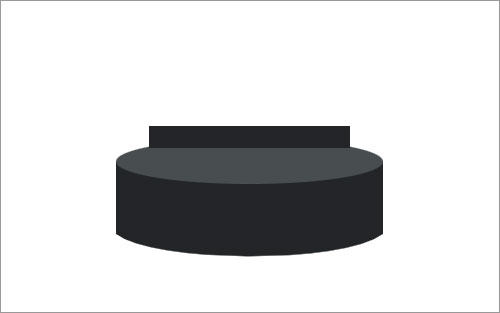
Apply Edit > Transform > Warp to transform this shape.
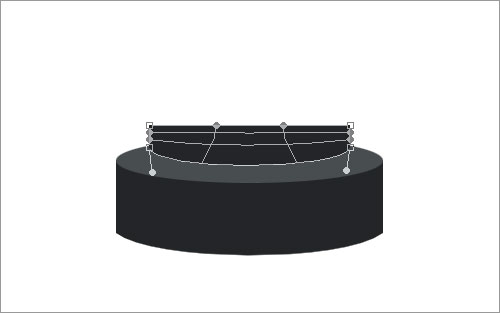
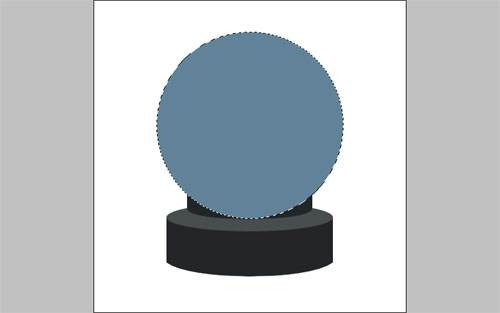
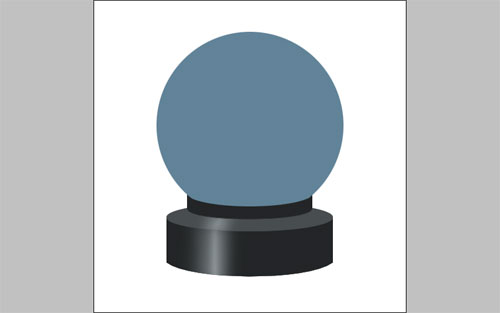
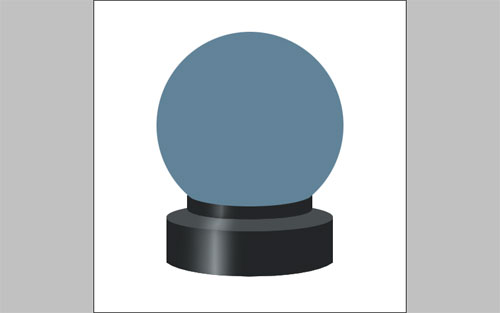
Time to add sphere to the picture. Select the Elliptical Marquee Tool and create new selection as shown below. Fill it with any color, it doesn’t matter for now.
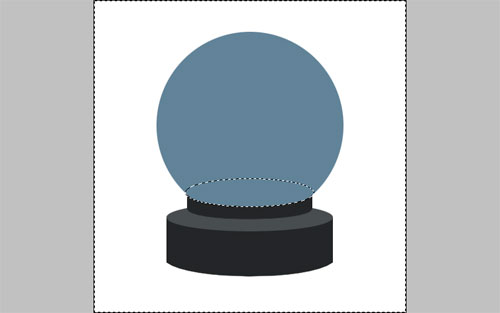
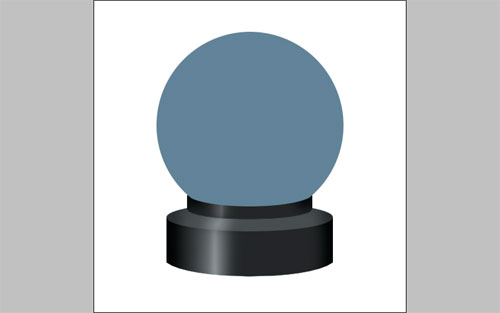
To cut away unnecessary lower part of sphere to give a realistic appearance get out the Elliptical Marquee Tool and create a new selection, press Ctrl+Shift+I to invert selection. Then use the Eraser Tool to clear image out the selection as on picture below.
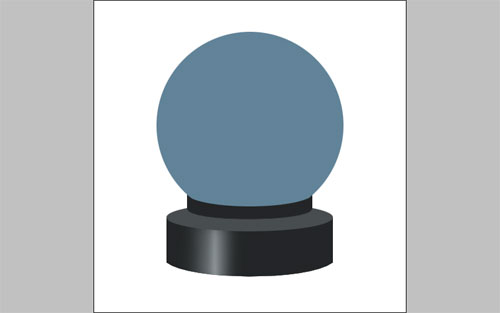
Ok, now I would like to bring some glares to the stand. Go back to the first layer with dark shape and make a little dodge work by using Dodge Tool (Hightlights, 35%).
The same things we make with other two parts of the stand.
Now merge all three parts in one, then select the Burn Tool (Shadows, 30%) and make stand edges darken.
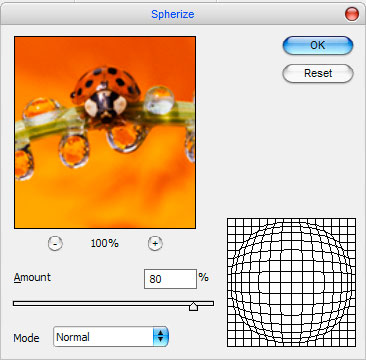
Ok, we are done with sphere shapes. Now let’s start with creating image in it. First of all you should find some appropriate image what you will bring to sphere. You can find it using Google Images or feel free to use mine. So, bring our image to canvas, then diminish it a little bit. Go to the previous layer with sphere shape and apply Select > Load Selection, press Ctrl+Shift+I to invert the selection, go back to the layer with picture and press Delete to cut away selected part of image. After that press Ctrl+Shift+I to invert selection back and apply Filter > Distort > Spherize with similar settings to these:
You can see the result below:
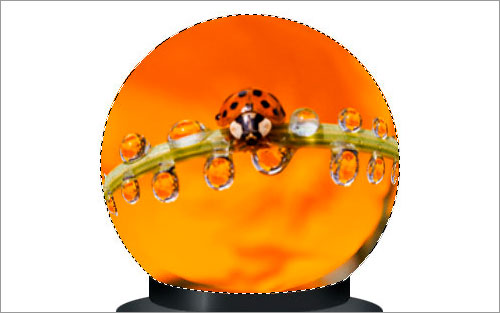
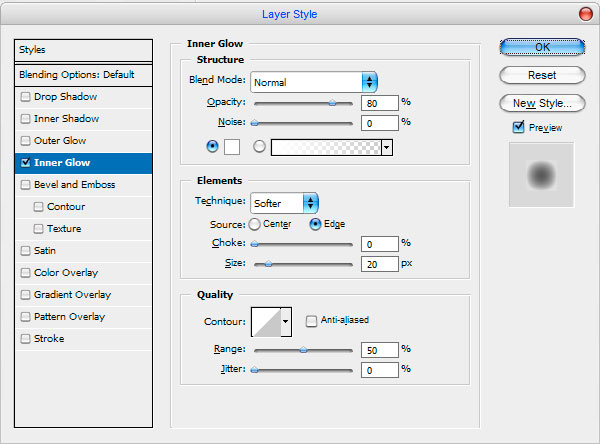
Now time to bring some glass view to our sphere. For this effect apply the Inner Glow layer style to the current layer.
Now we have something like this:
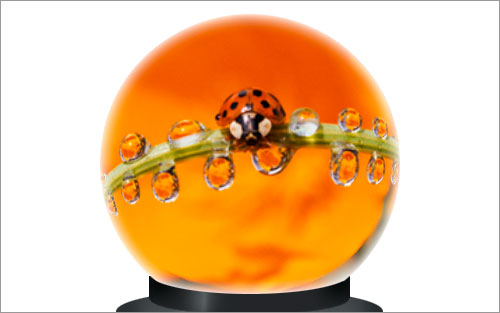
After that use Select > Load Selection to make selection of chosen layer, then create new layer and fill selected area with color of #d6d3c0:
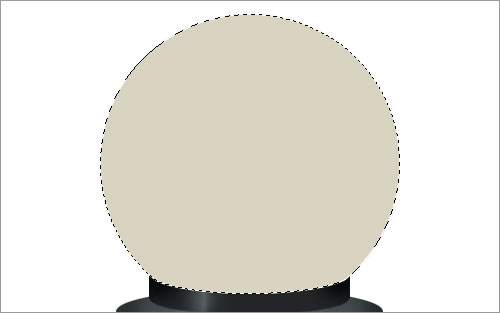
Now apply the Inner Glow layer style to the new layer:
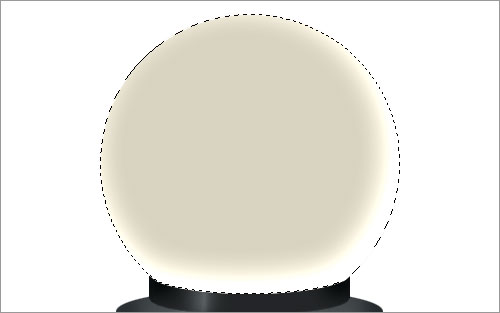
Create one new layer, after that activate the Gradient Tool and a grey (#666460) to transparent gradient, fill in the work area as on picture below.
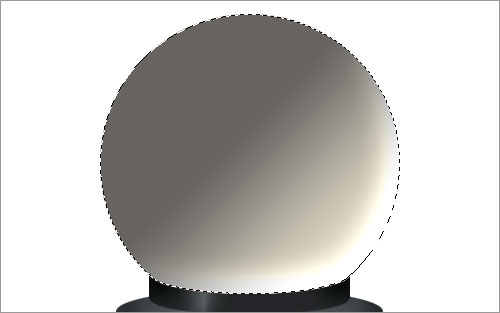
Then press Ctrl+D to remove the selection and now select the Eraser Tool and a soft round brush (Opacity: 50%) to make a little clean work inside the sphere. Now your image should look as mine:
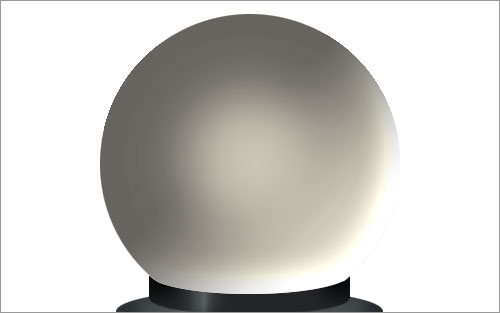
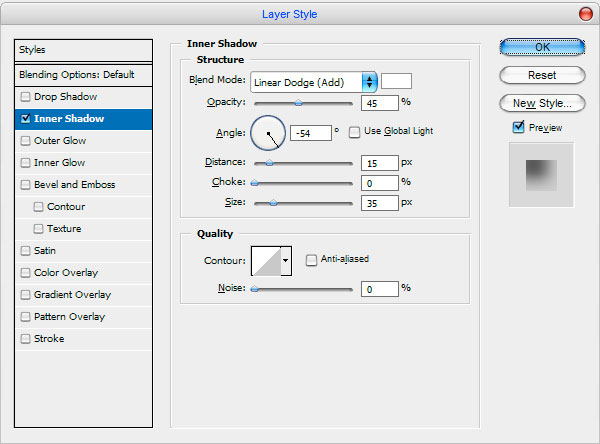
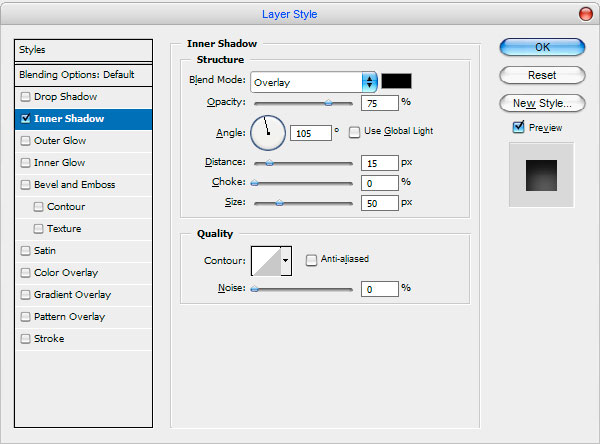
After that apply the Inner Shadow layer style to this layer:
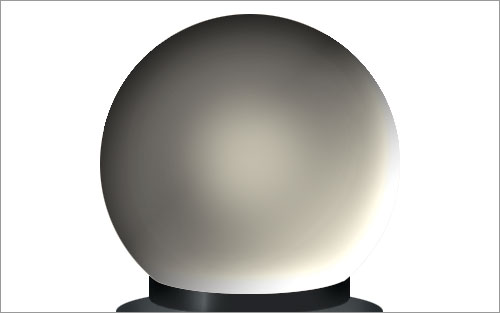
The next step what we need to do to add glare to the sphere. Create a new layer, then select the Elliptical Marquee Tool and make selection as on picture below. Then activate the Gradient Tool and a white to transparent gradient, fill in the work area.
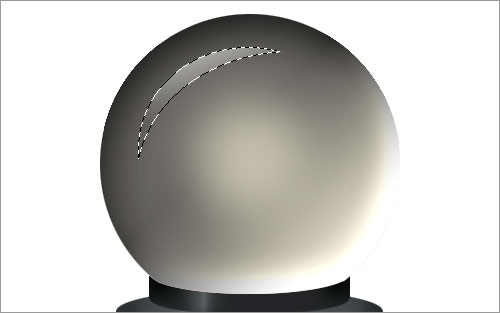
Press Ctrl+D to deselect chosen area and blur this glare a little bit with Blur Tool. Merge all layers to the layer with image (but don’t include it), then change layer mode for new layer to Hard Light and set opacity up to 70%.
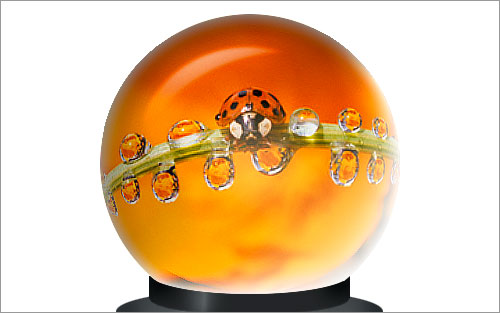
To finish off the glass effect on image I think we should add a little shadow on the bottom of the sphere. Apply Select > Load Selection to make selection of chosen layer, then get out the Brush Tool and a soft round brush and draw a shadow with black color as on picture below:
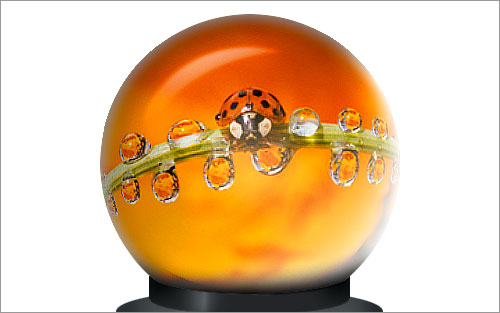
After that merge all layer of sphere in one. Now I would bring some shadow from the magic sphere. For this effect duplicate layer with Ctrl+J and fill the previous letter with black color. Then transform this dark form with Ctrl+T like this:
To finish off this tutorial select the Eraser Tool and a soft round brush (Opacity: 50%, size of 200 pixels) and cut away upper part of shadow.
Ok, that is it for now! Anyway, I hope that you enjoyed this Photoshop tutorial! Thanks very much for reading, and I hope you were able to follow this tutorial through easily.

