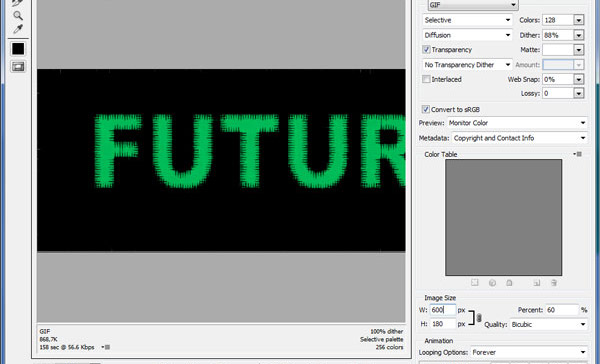
I received several requests for a simple animation tutorial so this Photoshop tutorial is here. Learn to create a small text animation using Photoshop.
Final Image Preview

Step 1
Start by creating a new document with 1000×300 pixels. Set foreground color to #000000 and background color to #00ae0f. Select Gradient Tool and create a linear gradient.

Step 2
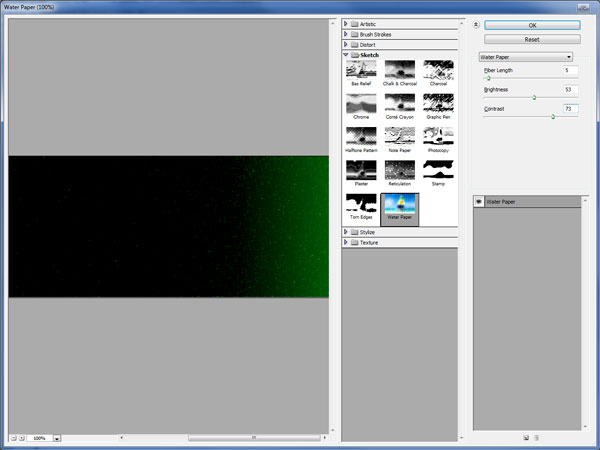
Apply Filter > Sketch > Water Paper with following settings (Fiber Length: 5, Brightness: 53, Contrast: 73):

Step 3
Select Horizontal Type Tool, font Arial Black with 170 pt and update foreground color to #00b75a. Write something like I did.

Step 4
Merge all layers (Layer > Merge Layers). Rename layer name to “Original”. Duplicate layer using Ctrl+J and apply Filter > Sketch > Water Paper on duplicated layer (Fiber Length: 50, Brightness: 0, Contrast: 73).


Rename duplicated layer as “1”. This layer will be our first frame of the animation. Duplicate layer “Original”, move it on top of all layers and rename it to “2”. Apply Filter > Sketch > Water Paper on this layer (Fiber Length: 50, Brightness: 20, Contrast: 73).


Duplicate layer “Original”, move it on top of all layers and rename it to “3”. Apply Filter > Sketch > Water Paper on this layer (Fiber Length: 50, Brightness: 30, Contrast: 73).
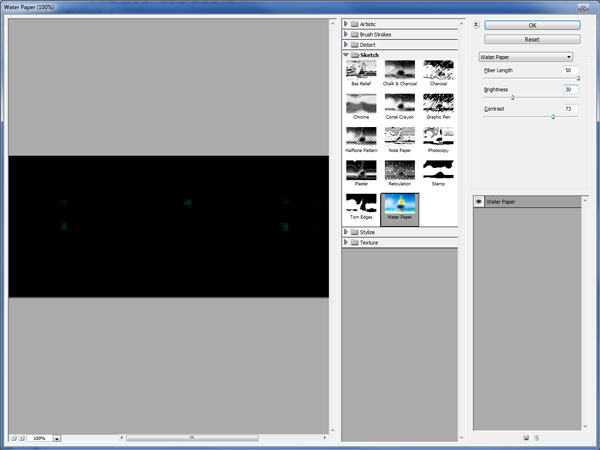

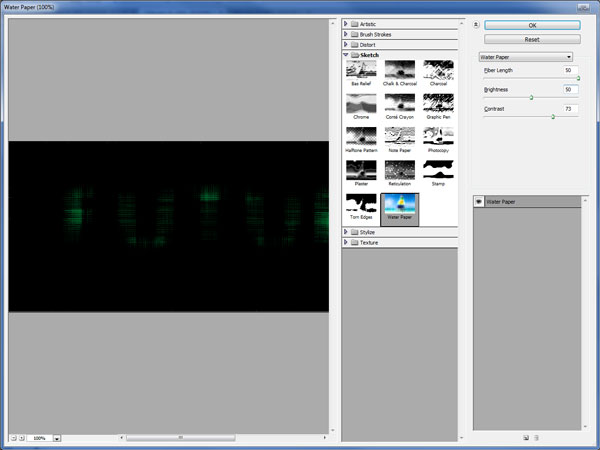
Duplicate layer “Original”, move it on top of all layers and rename it to “4”. Apply Filter > Sketch > Water Paper on this layer (Fiber Length: 50, Brightness: 40, Contrast: 73). Duplicate layer “Original”, move it on top of all layers and rename it to “5”. Apply Filter > Sketch > Water Paper on this layer (Fiber Length: 50, Brightness: 50, Contrast: 73).

From now on we will work with Fiber Length. Duplicate layer “Original”, move it on top of all layers and rename it to “6”. Apply Filter > Sketch > Water Paper on this layer (Fiber Length: 40, Brightness: 50, Contrast: 73).
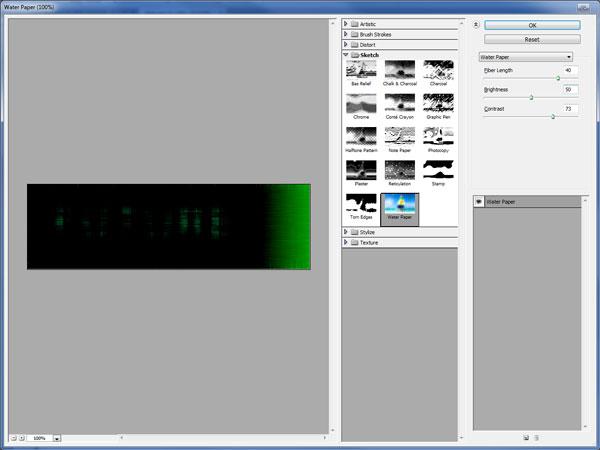

Duplicate layer “Original”, move it on top of all layers and rename it to “7”. Apply Filter > Sketch > Water Paper on this layer (Fiber Length: 30, Brightness: 50, Contrast: 73).
Duplicate layer “Original”, move it on top of all layers and rename it to “8”. Apply Filter > Sketch > Water Paper on this layer (Fiber Length: 20, Brightness: 50, Contrast: 73).
Duplicate layer “Original”, move it on top of all layers and rename it to “9”. Apply Filter > Sketch > Water Paper on this layer (Fiber Length: 10, Brightness: 50, Contrast: 73).
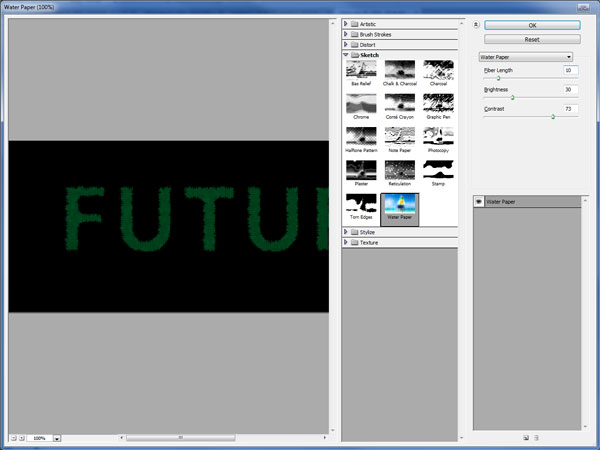

Duplicate layer “Original”, move it on top of all layers and rename it to “10”.

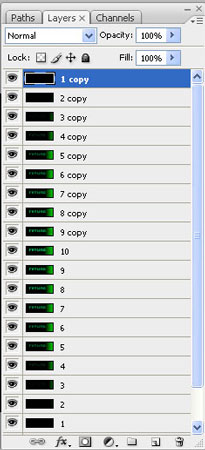
Duplicate layers “1” to “9” and place them as I did.
Step 5
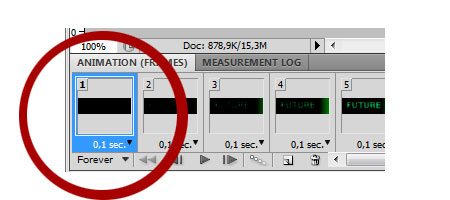
Turn off all layers visibility except layer “1”. Select Window > Animation to open animation panel. Click on button highlighted on screenshot below to convert the timeline to a frame animation.
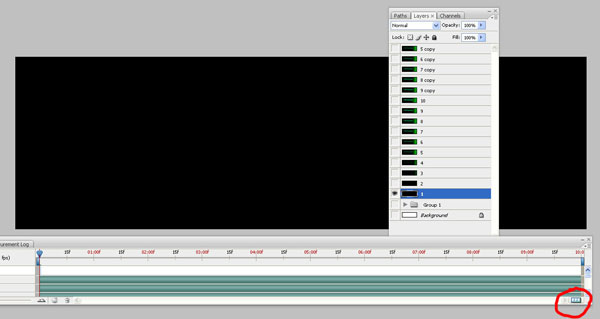
Update looping options to “Forever”.
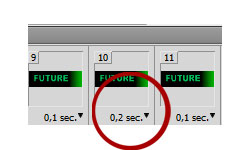
Increase delay to 0,2 on frame “10” of animation.
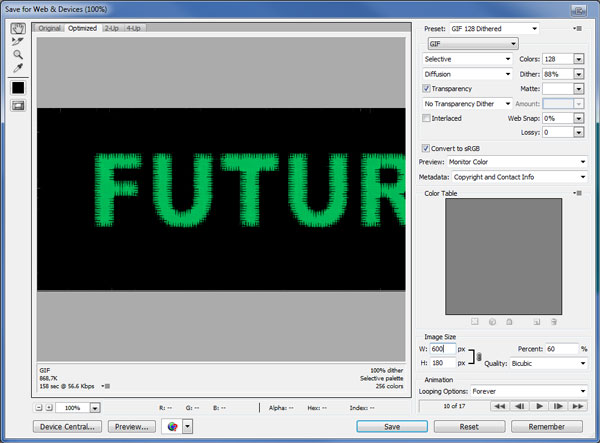
To complete tutorial save animation bu going to File > Safe for Web And Devices. Don’t forget that image must be a GIF.
Final Image


