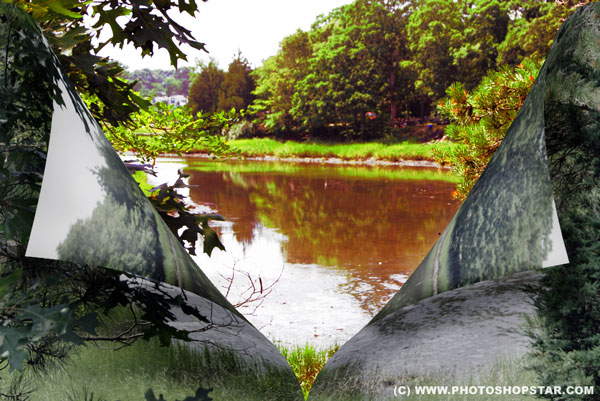
Today I decided to create one unusual tutorial about landscape change effect, which you can apply for any image that you want.
Final Image Preview

Resources
Step 1
Start by opening image. Go to Image > Image size to reduce photo size to 1000px width and 669px height.

Step 2
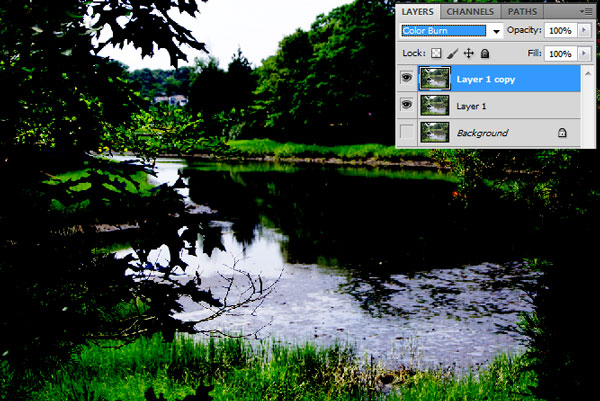
Copy background layer twice using Ctrl+J, turn off visibility of the background layer (click on the eye, which indicates layer visibility) and don’t touch it so far, work with the Layer 1 copy. Change blending mode on layer to Color Burn to increase saturation.
Step 3
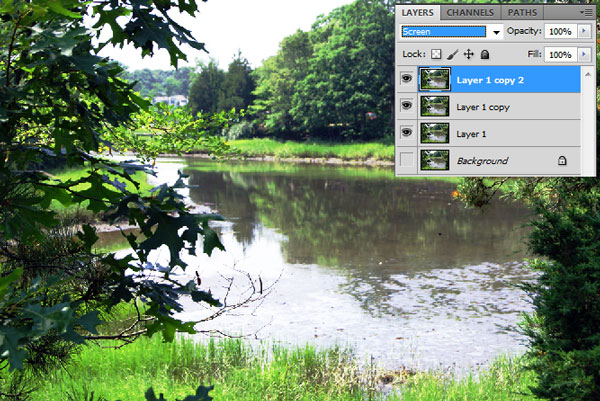
Copy the layer once again (Ctrl+J) and change blending mode to Screen on the second copied layer (it will be above all the layers).
Step 4
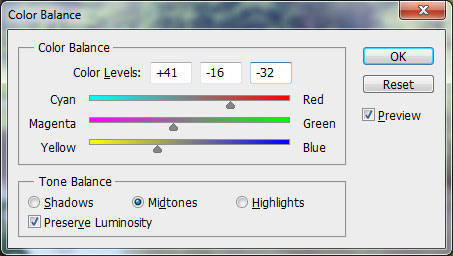
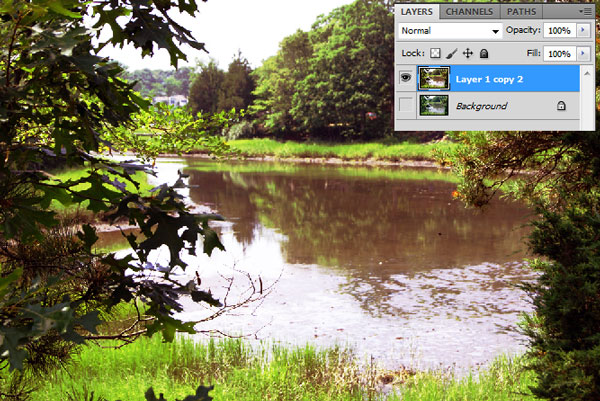
Merge all the visible layers into one using Layer > Merge Visible (or hit Ctrl+Shift+E). After merging layers, apply Image > Adjustments > Color Balance to the layer.
Step 5
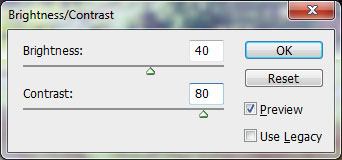
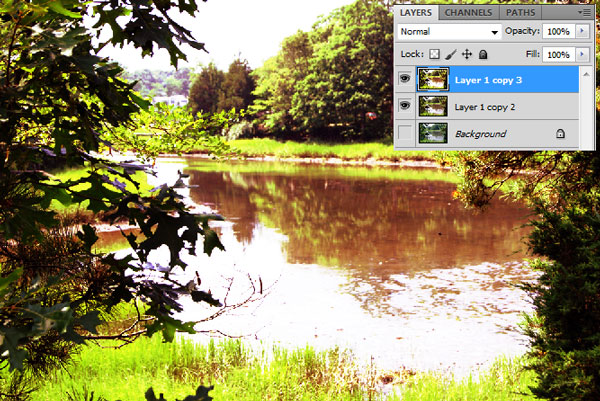
Copy this layer using Ctrl+J and apply Image > Adjustments > Brightness/Contrast to it.
Step 6
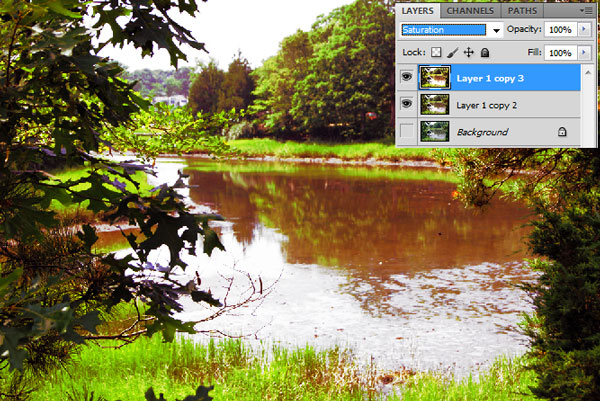
Change blending mode to Saturation to this layer.
Step 7
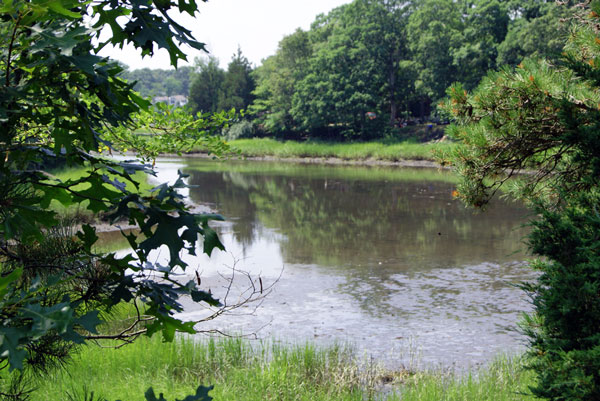
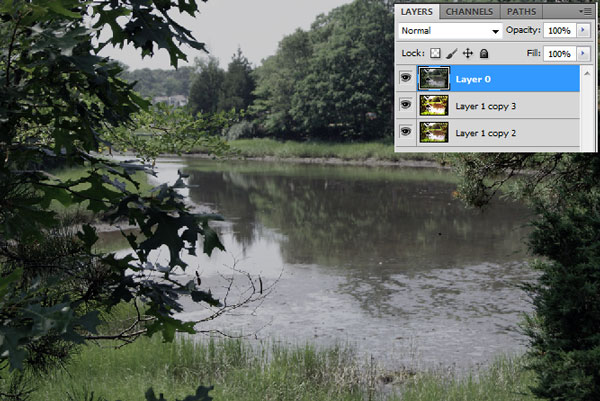
There should be three layers at the moment: background layer with the original image (with visibility turned off), the layer with edited image and the upper layer with very bright colors. Turn on visibility of the background layer and go to Layer > New > Layer from Background. Finally move it above all the layers.
Step 8
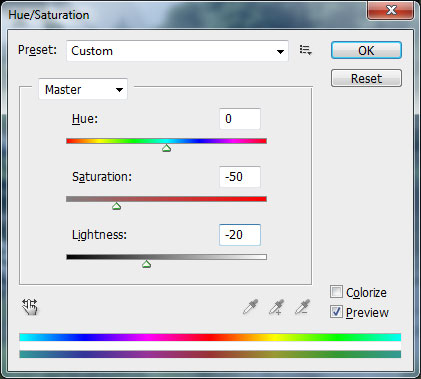
Apply to this layer Image > Adjustments > Hue/Saturation with the following settings:
Step 9
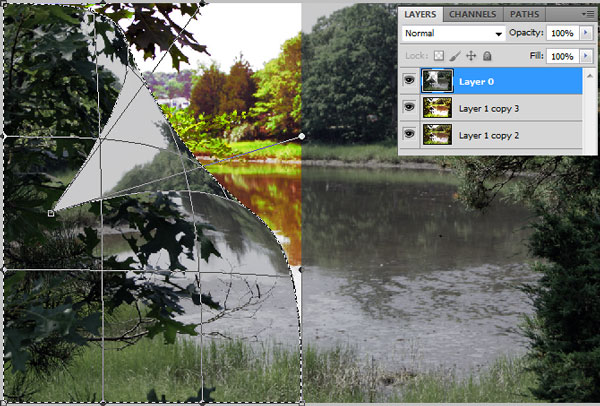
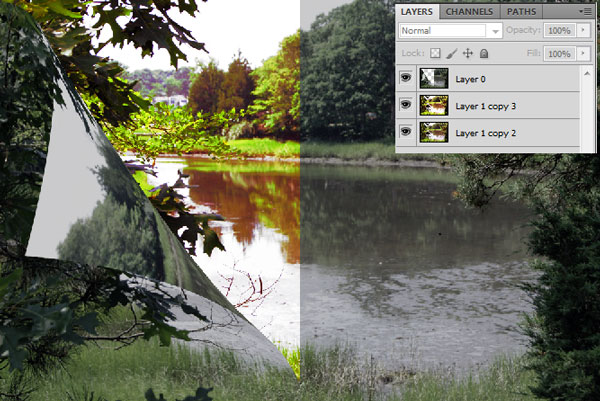
Using the Rectangular Marquee Tool select the left part of the picture like on image below.

Step 10
Apply transformation to this area using Edit > Transform > Warp.

Step 11
Then turn down the upper corner, like a page:
Step 12
Finally you should get a result similar to this one:
Step 13
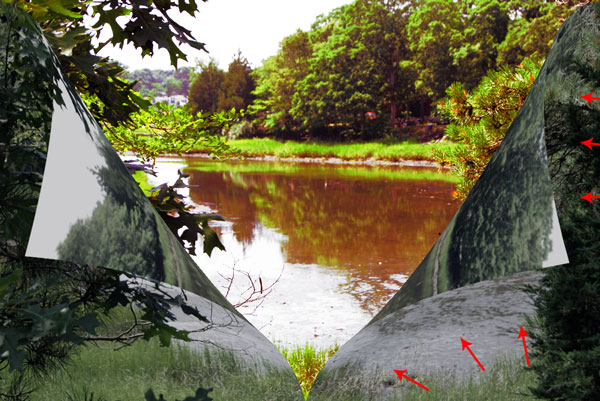
Do the same thing to the second part of the photo.

Step 14
Under the folded corners shade is needed, for this purpose we’ll create a new layer, assign Soft Light blending mode to it. Choose soft-edged brush, 80 px in diameter, black color (#000000), 50% opacity and with the help of Brush Tool darken the area under folded corners. At first work with one part (I worked with the right part at first).
Step 15
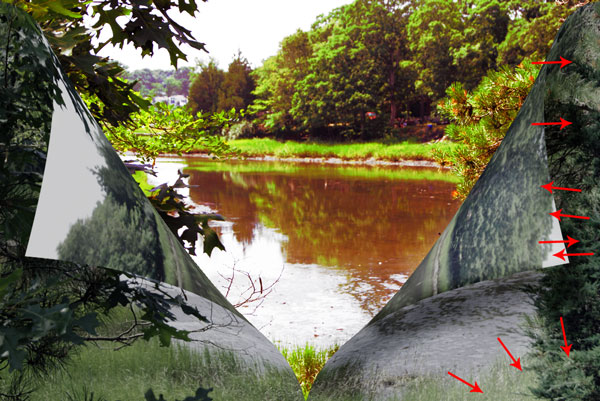
To increase contrast lighten edges and corners again with Brush Tool (while lightening we shift black color to white #ffffff) as you can see on next image.
Final Image
Apply Brush Tool again on the left part of the image and you finished this tutorial.
