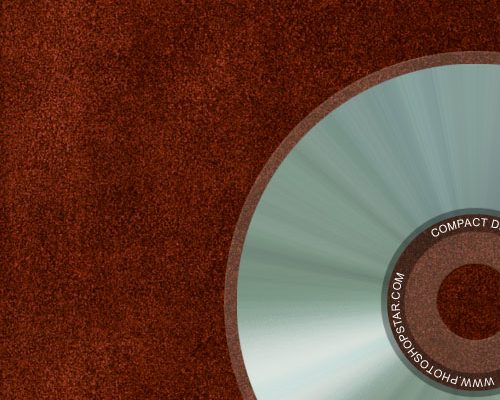
In this tutorial you will design real compact disc by yourself.
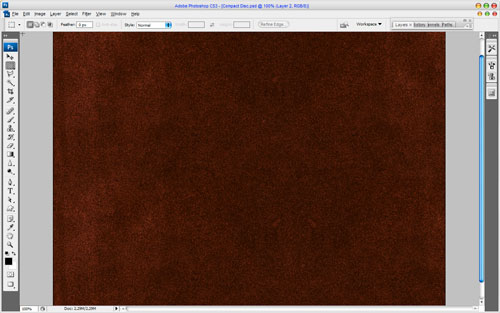
Create a new document with size of 1000×800 pixels and 72dpi. Then bring the texture to your canvas to put future compact disc on it. Actually, you can use different textures for this tutorial. I prefer to use this one. Move it as shown on a picture below and refine the edges using Eraser Tool and a hard round brush.
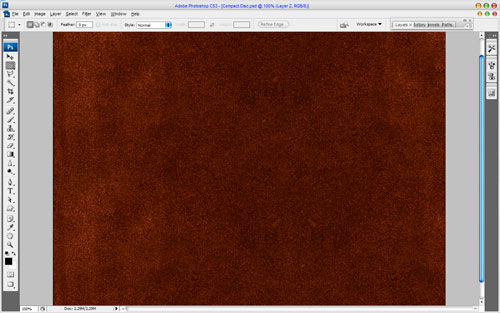
Press Ctrl+L to correct the levels of texture. Now you’d have something like this:
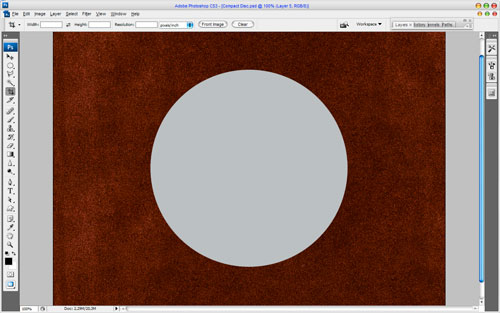
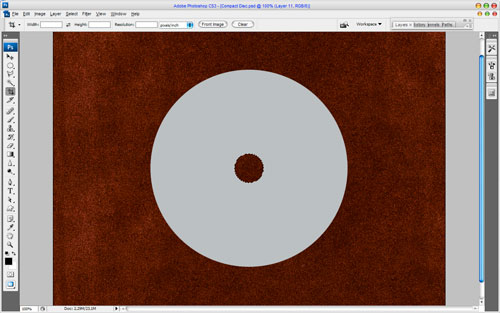
Ok, now let’s start with compact disc! Create a new layer, make selection using the Elliptical Marquee Tool and fill it with the color of #babfcf:
Use Select > Transform Selection to miniaturize selection to 15% horizontal and vertical and clear the selected area.
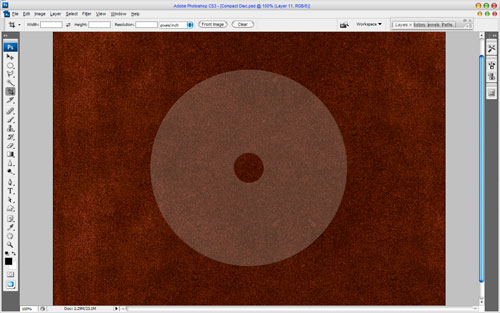
Press Ctrl+J to copy the layer and hide the copy (click on the eye, which indicates layer visibility). Go to lower layer and set opacity up to 25%. Then apply Bevel and Emboss layer style for it.
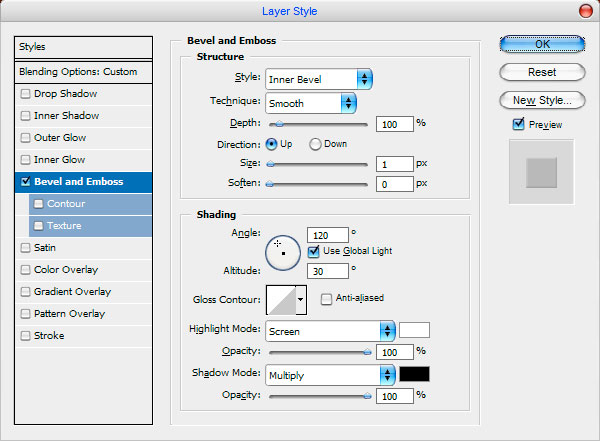
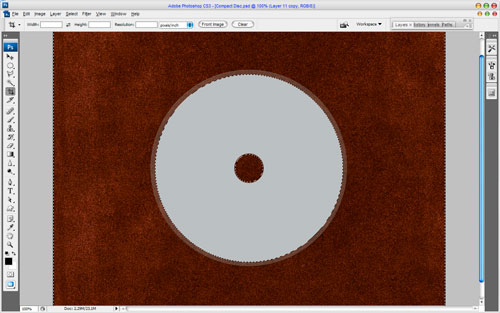
Go back to the hidden copy of layer and make it visible again. Press Ctrl and click the Layer Thumbnail in the Layers Palette to make the selection. After that use Select > Transform Selection to miniaturize selection again to 95% horizontal and vertical. Apply Select > Inverse and press Delete to clear image in selected area.
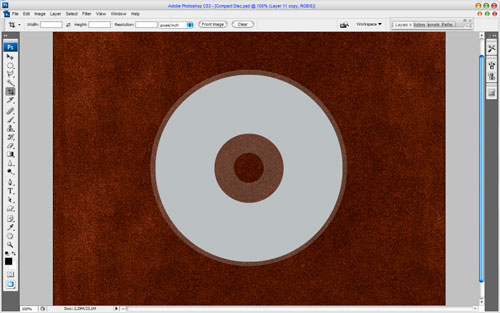
Use Select > Transform Selection to miniaturize selection again to 37% horizontal and vertical and clear chosen area. Then remove the selection using Ctrl+D.
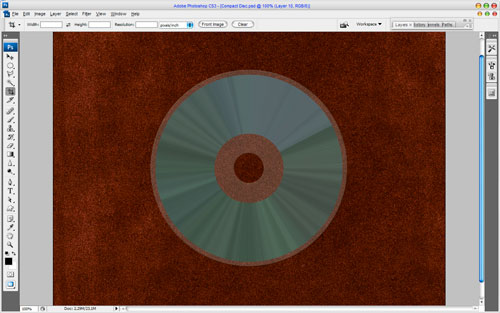
Alright, now we need to add reflective surface to our compact disc. To do this, first get out the Gradient Tool and set up gradient presets similar to these:
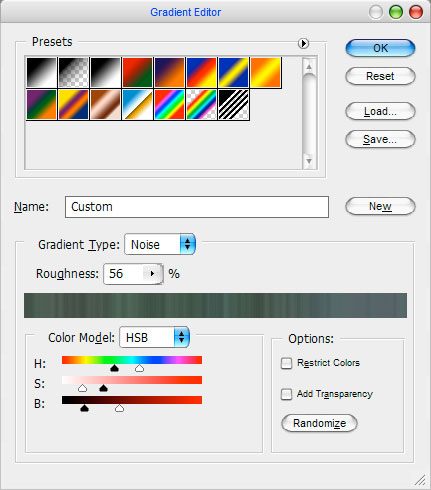
You can click on ‘Randomize’ to get more appropriate gradient for you. After that apply Select > Load Selection, then create a new one layer and fill it with angle gradient as shown on a picture below:
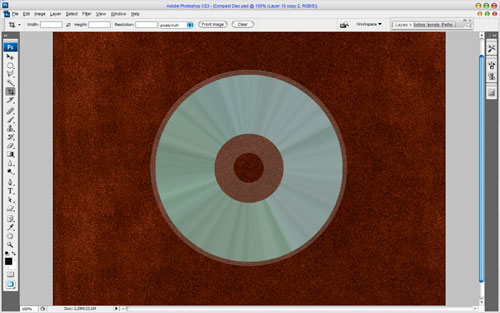
Duplicate the layer (Ctrl+J) and use Edit > Transform > Rotate 90ºCW. Change layer mode to Screen.
Looking good now! Don’t you think? Ok, now we need to add one more round line for the text. Go to Select> Load Selection to select the object, after that apply Select > Transform Selection and set up 107% vertical and horizontal. Press Ctrl+Shift+I to invert the selection. Create a new one layer and fill just the inner part of selection with the black color as below:
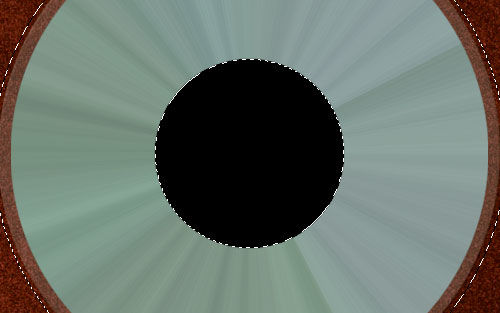
Ok, press Ctrl and click the Layer Thumbnail in the Layers Palette to make a new one selection, after that use Select > Transform Selection to miniaturize selection again to 75% horizontal and vertical. Press Delete to clear selected area. We received a picture like so:
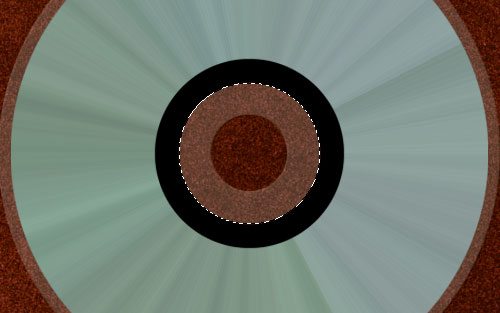
Remove the selection and set layer opacity to 35% up.
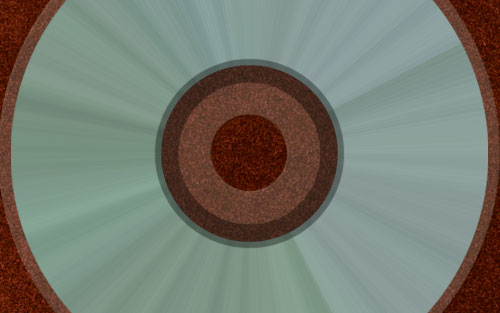
Now time to add text. Firstly, get out the Ellipse Tool, then set it up with the following settings: make sure that you’re working with Paths instead of Shape Layers. Create a new layer then make a path in your document. It would be good if you could make the path as centered inside of your disc as much as possible.
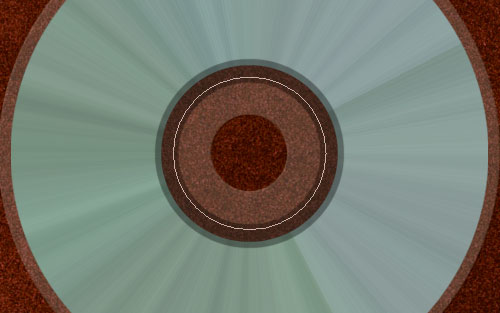
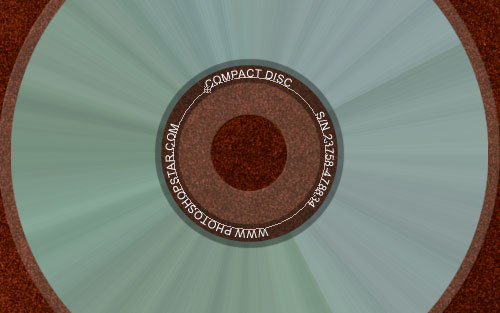
If you’ve got a path like the one shown above now, then great! Get out your Horizontal Type Tool and click on your path, this will put your text on the path you’ve just made. Write out your text like mine:
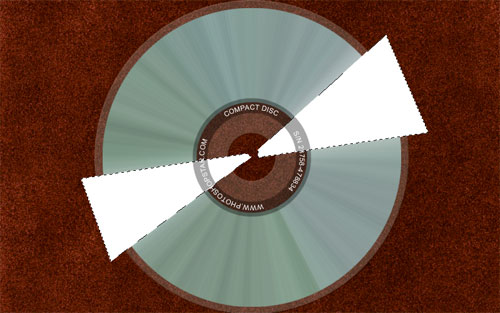
After that we should add some bright reflection on the reflective area. For this effect use Polygonal Lasso Tool and fill the selection with the white color. The picture use to look as below:
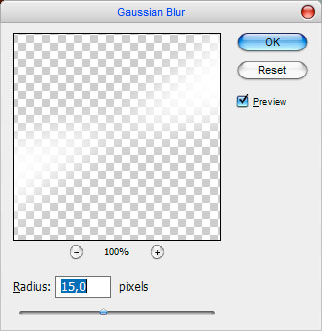
Remove the selection with Select > Deselect and apply Filter > Blur > Gaussian Blur with similar settings to these:
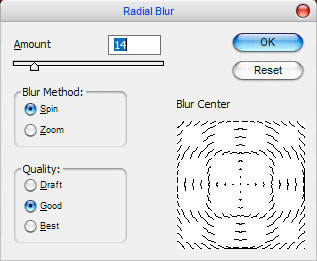
After that apply Filter > Blur > Radial Blur with the next presets:
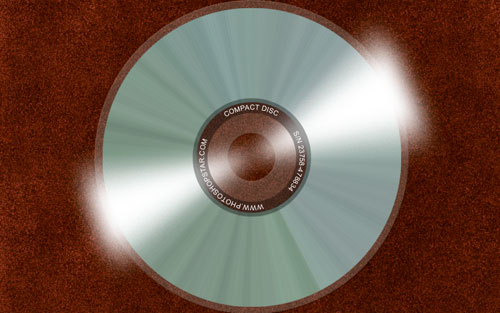
We received picture like so:
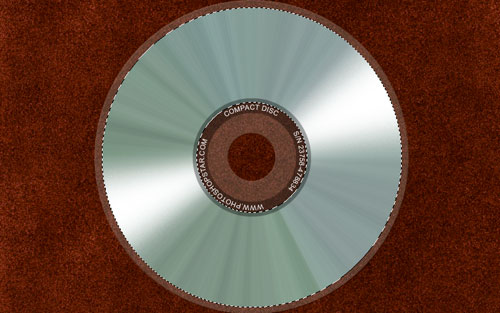
Now, press Ctrl and click the Layer Thumbnail in the Layers Palette on the layer with reflective surface to make the selection and use Ctrl+Shift+I to invert selection and press Delete to clear it.
Then mess with the layer mode & opacity/fill. I tried Overlay with opacity of 70%.
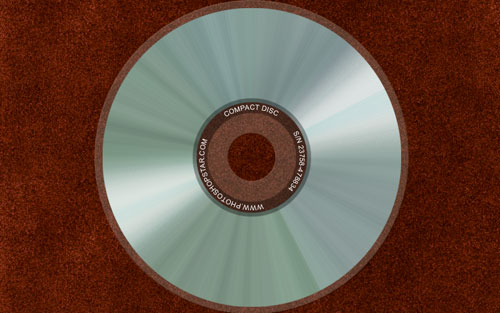
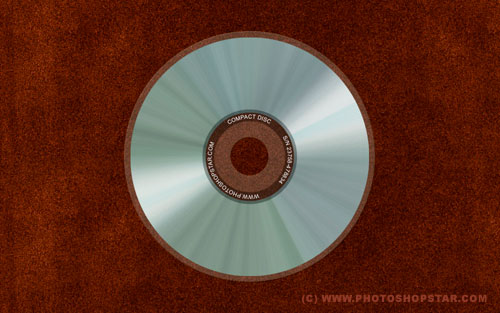
You are done! Here is what I got:

