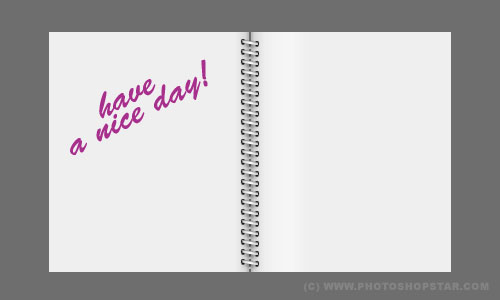
Want to create binding for exercise book but don’t know how? In this way this tutorial created especially for you!
First of all, create a new document sized 300×500 pixels and fill it with the colour of #6e6e6e.

Create a new layer, then use the Rectangular Marquee Tool to make selection as shown at the picture bellow and fill selected area with colour of #eeeeee.

Deselect this area by pressing Ctrl+D and copy the whole layer with Ctrl+J, move it to the right as you may see at the following picture:
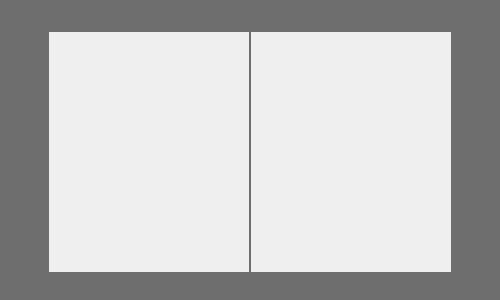
After this we need to add three-dimensionality for sheets in place where binding will be located. To do this select layer with Select > Load Selection, then create a new layer and fill it using black to transparent gradient to get the same result as it’s at the picture bellow:
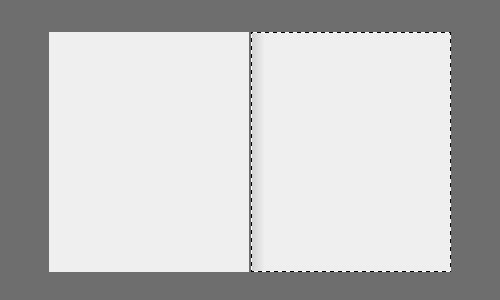
Deselect it by using Ctrl+D, then duplicate this layer by pressing Ctrl+J and make smaller the picture to get the same result as you may see at my screenshot bellow:
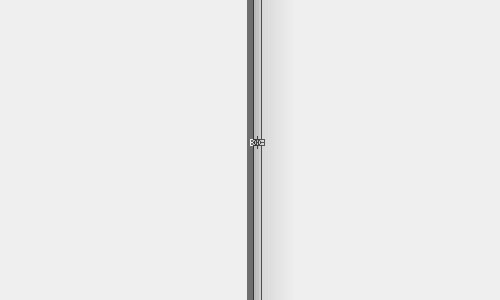
Merge this layer with the previous one with Ctrl+E, now duplicate it by pressing Ctrl+J and flip it horizontal using Edit > Transform > Flip Horizontal and move to the left to create a shadow on the second page:

Now, we can create a speck on one of the pages to get three-dimensionality for the book. To do this we need to create a new layer, after that create selection as shown at the picture bellow and fill it with white to transparent gradient from by using the Gradient Tool:
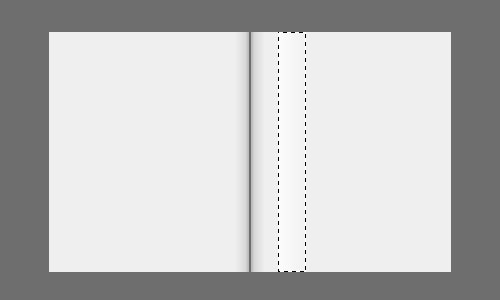
Deselect image with Ctrl+D and apply Filter > Blur > Motion Blur with next presets:
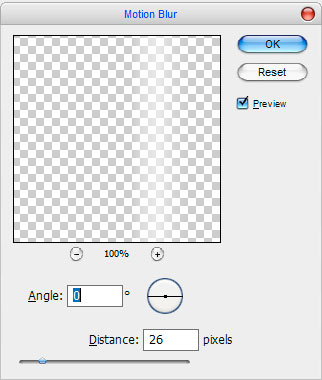
Get this one picture:

After that we start working on drawing just binding. Firstly, we use the Line Tool (Weight: 3 px) and draw the white line as shown at the picture bellow:
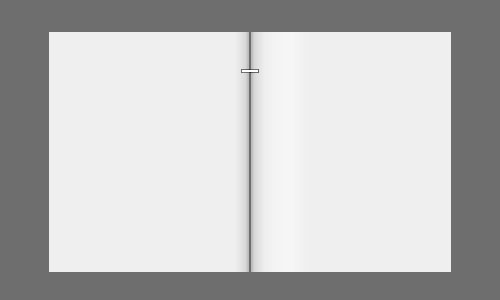
Rasterize this layer using Layer > Rasterize > Shape. Now, select it using Select > Load Selection, create a new layer and fill with black to transparent gradient on the sheet sides. Do these actions to bring the line three-dimensional view.
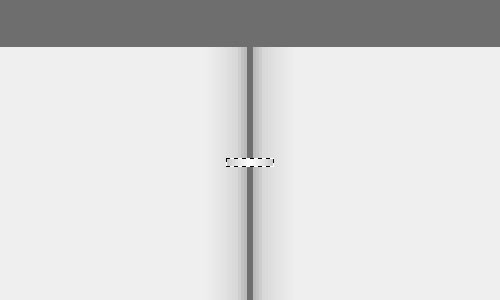
After this we deselect this line selection with Ctrl+D and tilt it a little bit to the right using Edit > Free Transform:
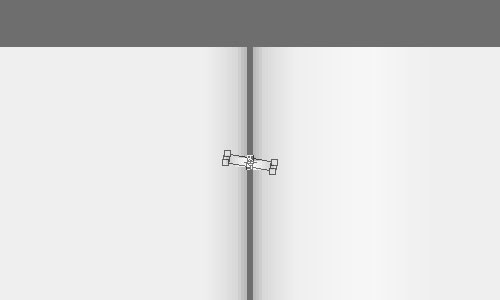
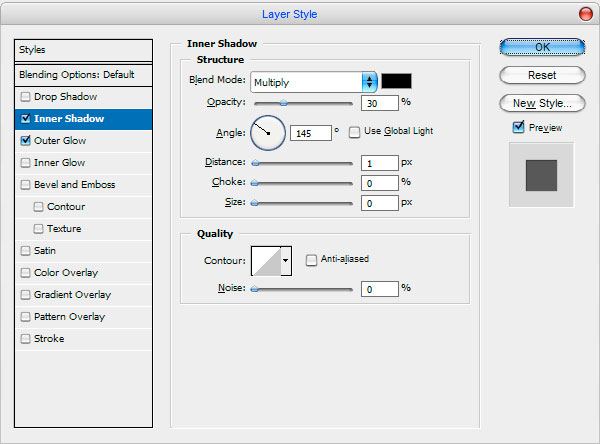
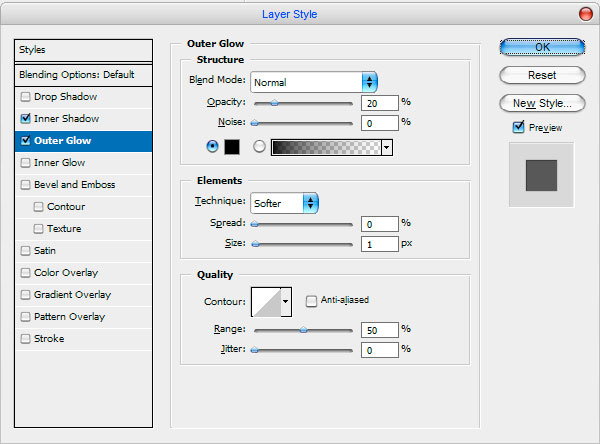
After that apply the Inner Shadow and Outer Glow layer styles for this layer:
Get the following result:
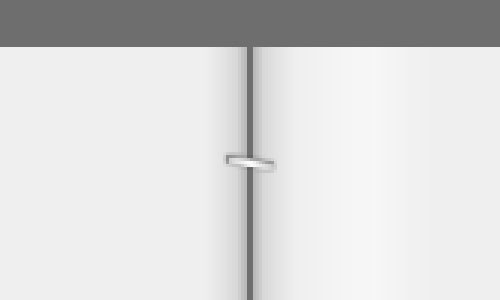
Now, we will work with the layer bellow, choose the Elliptical Marquee Tool and make selection as shown at the picture below. After that fill selected area with black colour. This black spot will be a hole in a paper.
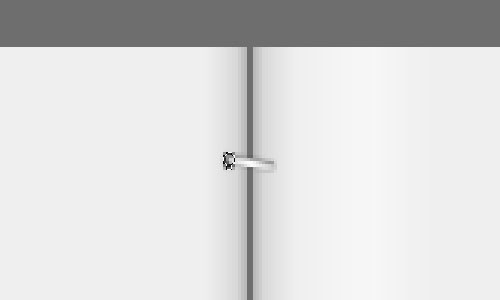
Deselect this hole by pressing Ctrl+D and duplicate with Ctrl+J, then move a little to the right as shown at my picture:
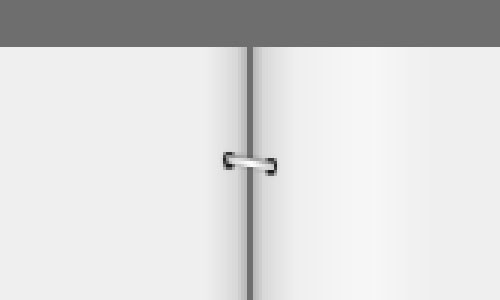
Now, we split two layers with black rectangles together with binding membrane and duplicate received layer few times to get binding, like mine:
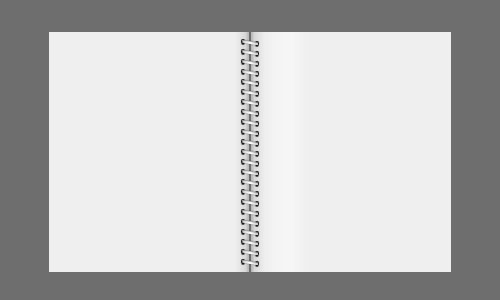
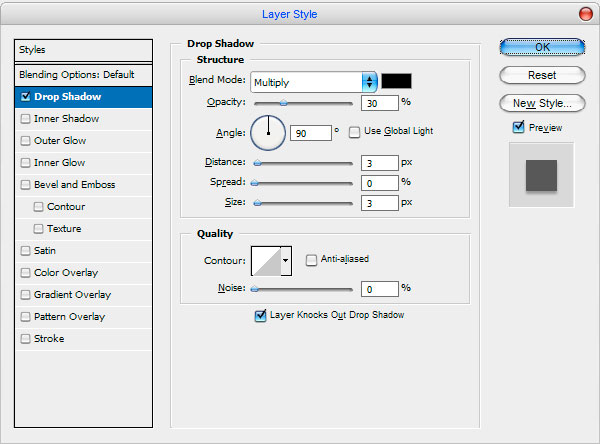
Merge all binding’s layers and apply Drop Shadow layer style for current layer:
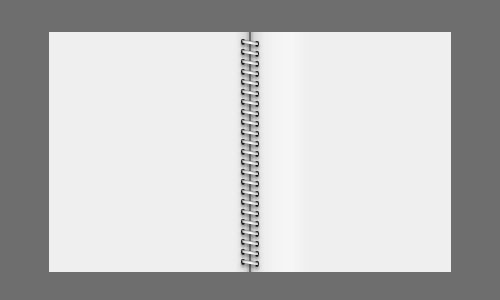
The result should be next:
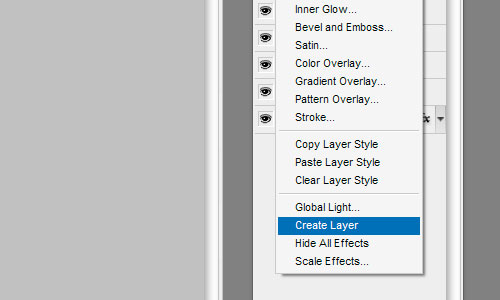
Click the right button of mouse on layer and choose Create Layer to get created layer’s style on the new layer.
Select the Eraser Tool and a soft round brush about 13 px and erase the shadow at the sides:

After that duplicate binding layer with Ctrl+J and move it under pages to add it at the bottom. Use Edit > Transform > Flip Horizontal and move a little bit to the bottom:

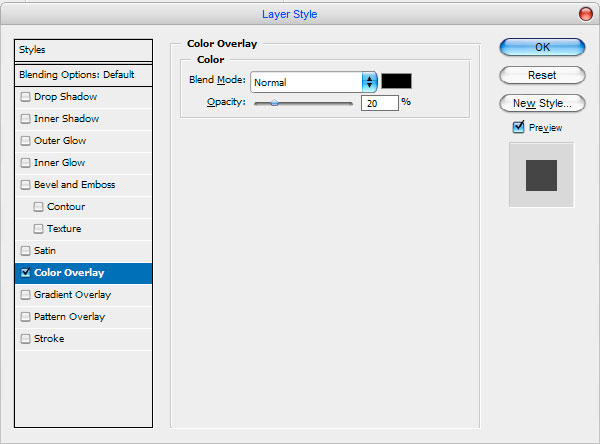
Then apply Color Overlay layer style to the lowest layer to get impression that this layer located at the bottom, that’s why it’s the darkest:
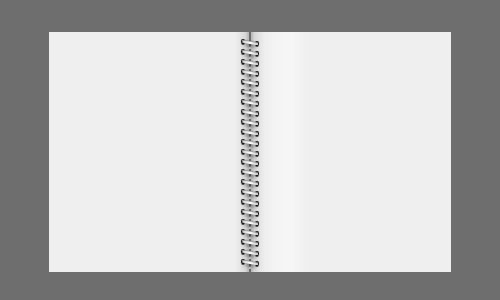
That’s all! At this point our tutorial is over! I hope it was useful for you!
