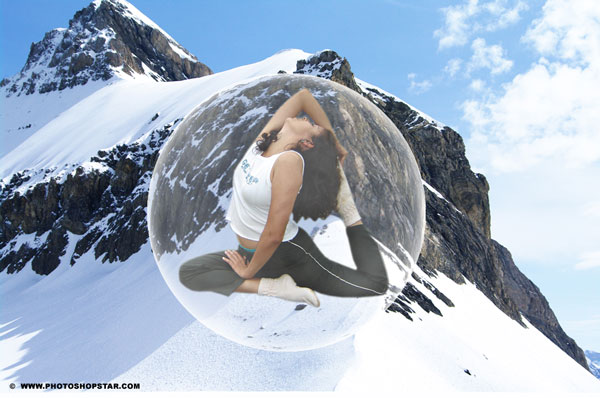
This Photoshop tutorial shows how to create mental sphere and get realistic reflection from environment to this sphere.
Final Image Preview
Resources
Step 1
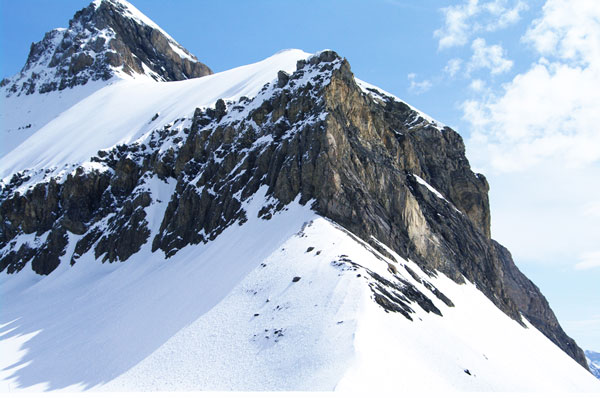
Open Mountain Photo on Photoshop. Go to Image > Image Size and change width to 1000px and height to 664px.
Step 2
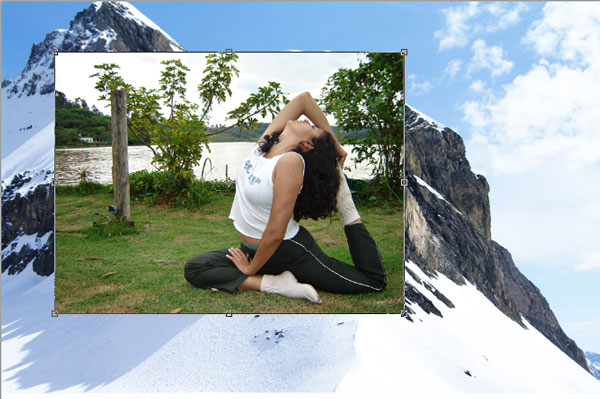
Open Yoga Photo and copy it to Mountain Photo. Select Yoga Layer and press Ctrl+T to reduce size of photo like shown below.
Step 3
With Yoga layer selected, use the Polygonal Lasso Tool (Feather: 0 px, Anti-alias selected) to select women.
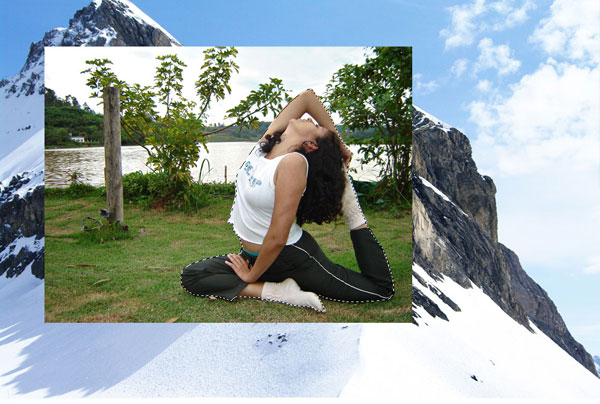
Don´t forget that we have some landscape areas inside of selection. Hold Alt button and using Polygonal Lasso Tool deselect those areas.
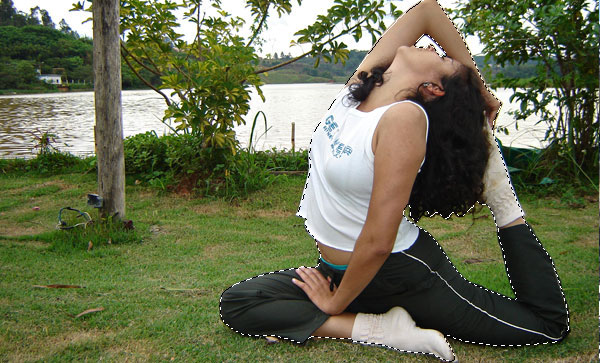
Press Ctrl+Shift+I to inver selection and press Delete button to clear selected area.

Step 4
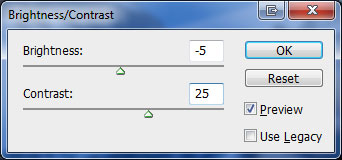
Remove selection with Select > Deselect, then correct brightness and contrast with Image > Adjustments > Brightness/Contrast:
Step 5
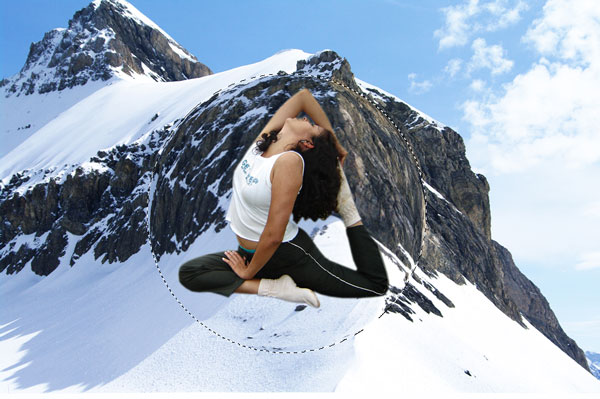
Select background layer (Mountain). Make round selection with Elliptical Marquee Tool on it.

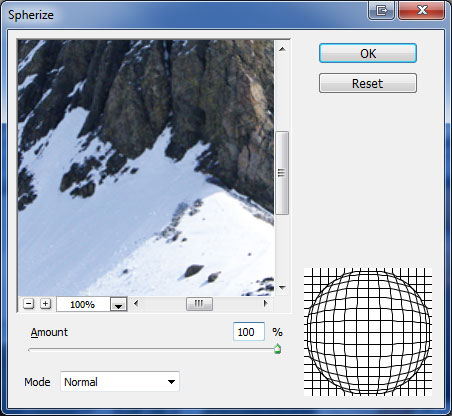
Press Ctrl+J to duplicate selected area to new layer. Select content layer by pressing Ctrl and clicking on thumbnail layer on layers. Load sphere selection by going to Select > Load Selection. Then apply Filter > Distort > Spherize:
Step 6
With selection still active, create new layer above all layers and fill it with black color.

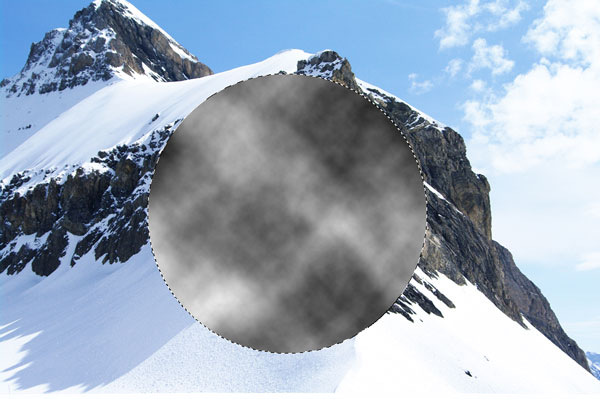
Apply Filter > Render > Clouds to this layer.
Step 7
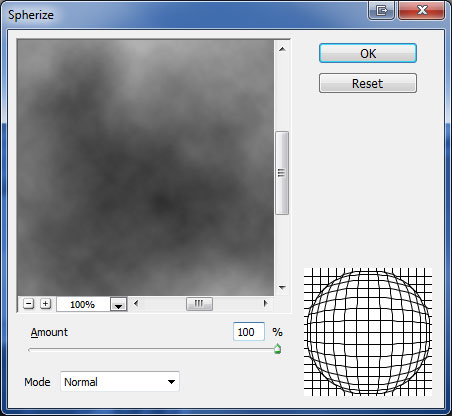
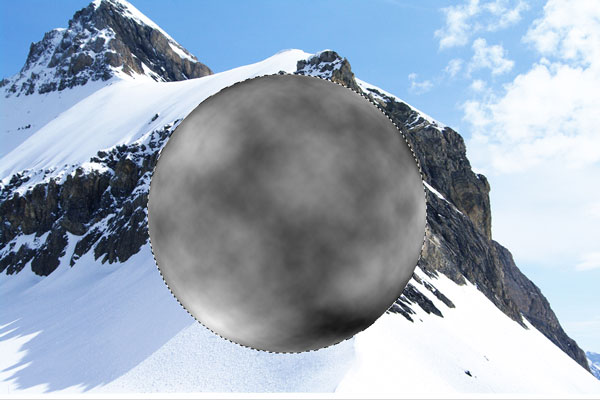
Apply Filter > Distort > Spherize.
Step 8
Change layer mode to Screen and lower opacity to 57%.

Step 9
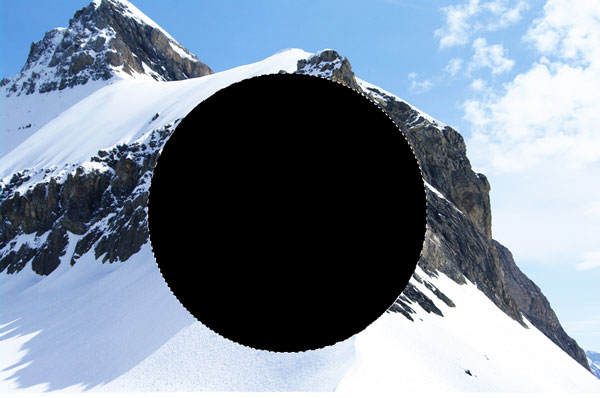
With selection still active, create new layer above all layers and fill it with black color.
Step 10
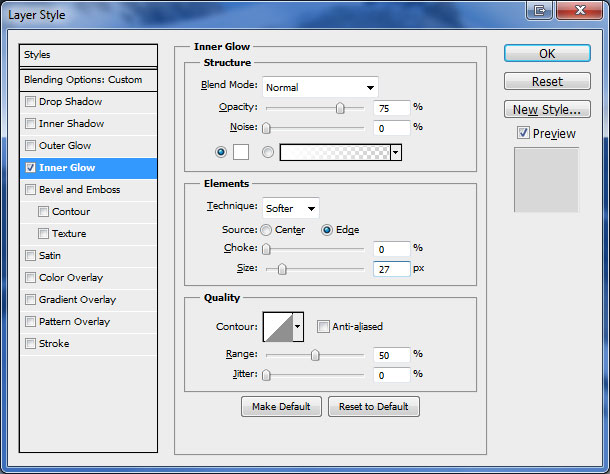
Deselect area with Ctrl+D an update layer opacity to 0%. After that go to Layer > Layer Style > Inner Glow and apply style with following settings:
Final Image

This tutorial is now complete. Hope you liked it!
