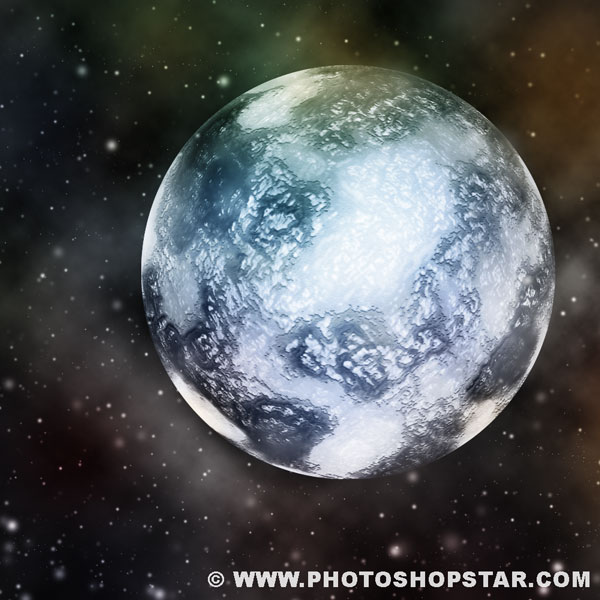
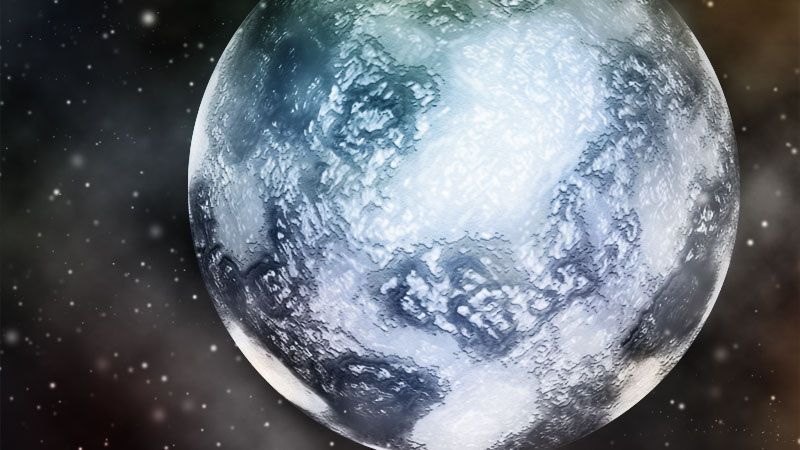
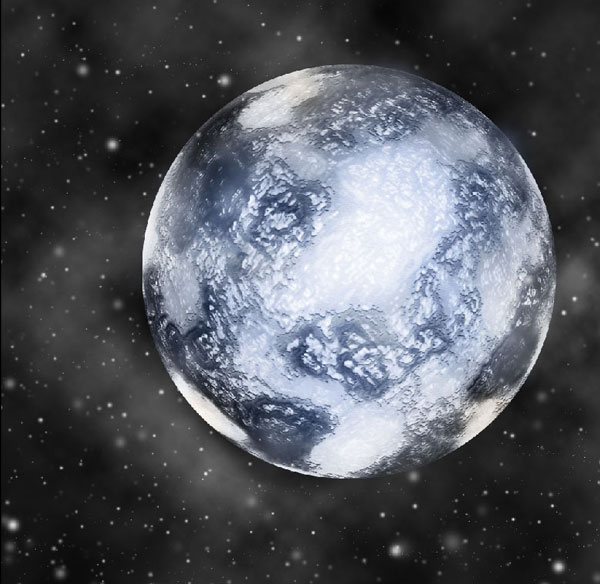
You can find a lot of tutorials on how to make an ice planet in Photoshop. But I would like to invite you to try this unique simple tutorial on how to achieve the desired effect in a few steps.
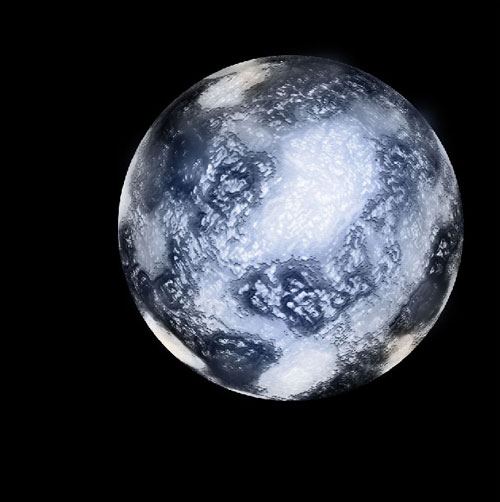
Final Image Preview

Step 1
Create a new document with 1000×1000 pixels. Press D to set up foreground and background color as black (#000000) and white (#ffffff). Fill layer with black color (#000000).

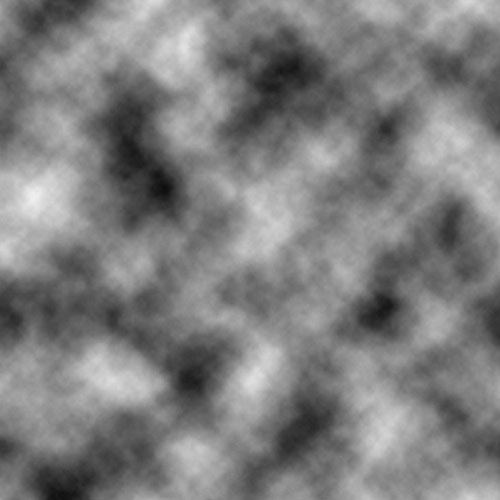
Create a new layer, name it “Planet” and apply Filter > Render > Clouds.
Step 2
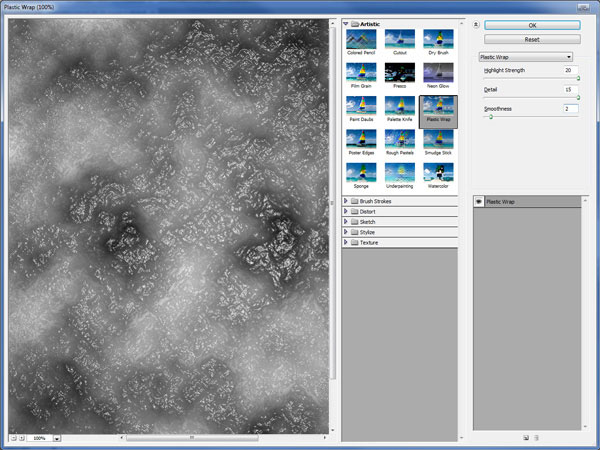
Apply Filter > Artistic > Plastic Warp (Highlight Strength:20, Detail:15, Smoothness: 2).
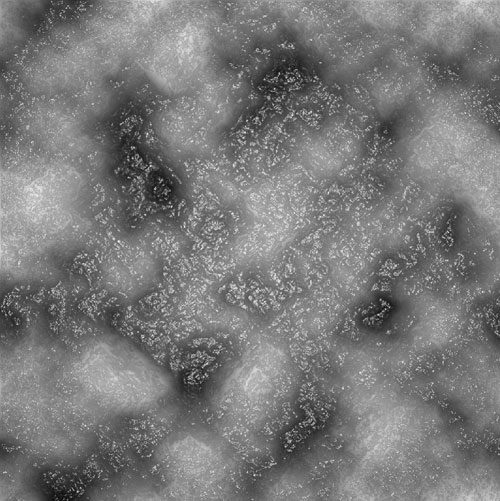
Apply Filter > Distort > Polar Coordinates.
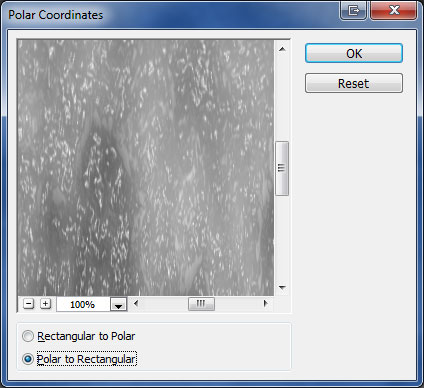
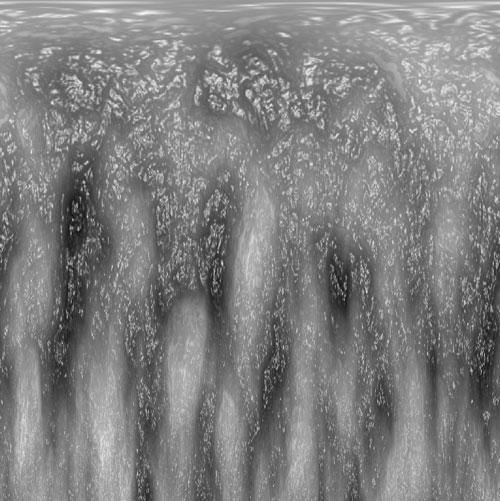
Apply Filter > Distort > Polar Coordinates again but changing option to Rectangular to Polar.
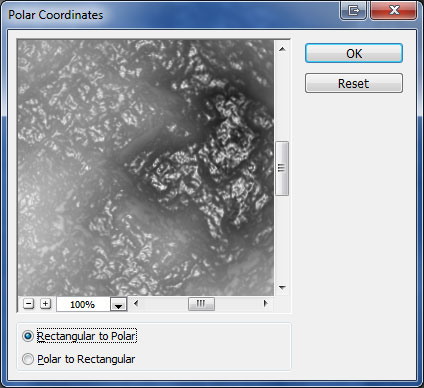
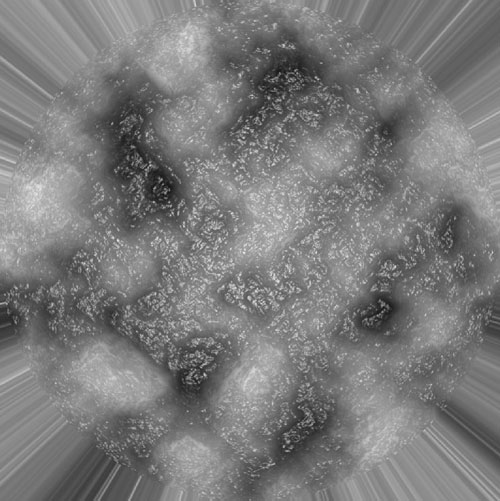
Use Filter > Distort > Sphesize.
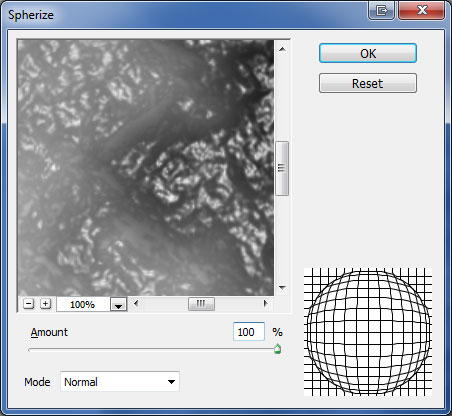
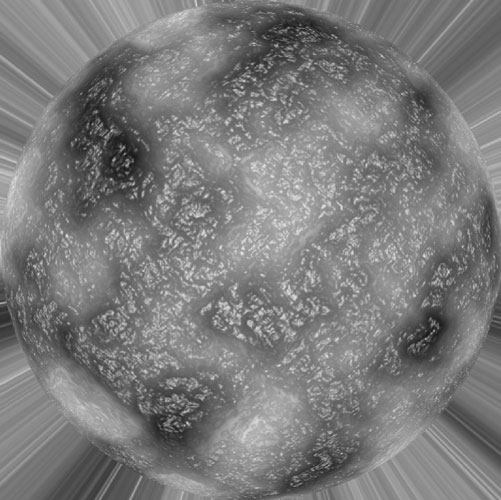
Apply Filter > Distort > Sphesize one more time updating Amount to 50%.
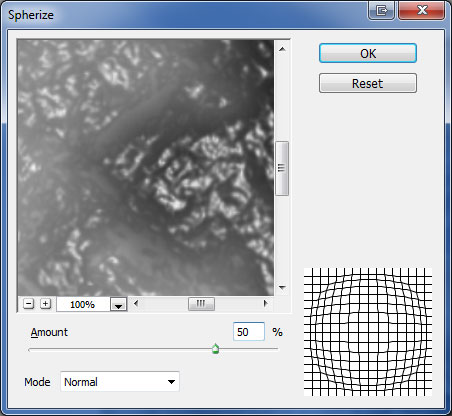
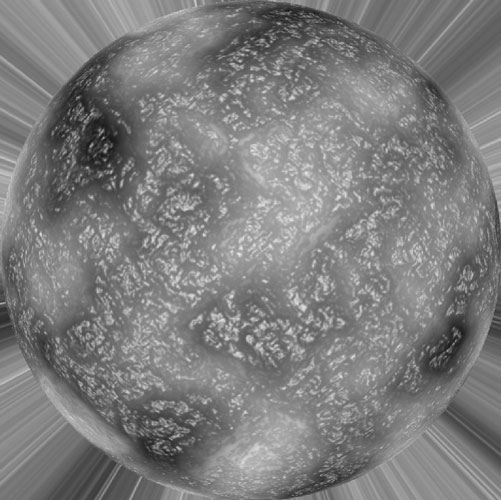
Apply Filter > Distort > Pinch.
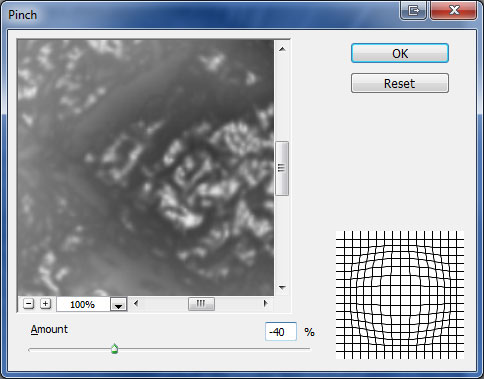

Step 3
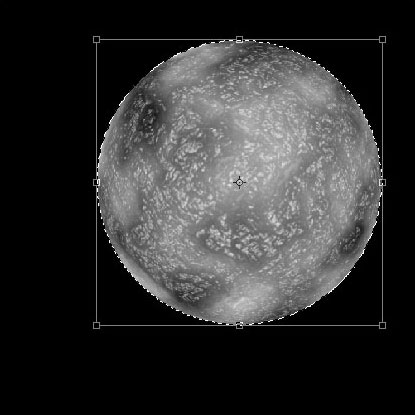
With Elliptical Marquee Tool select planet. After that invert selection with Select > Inverse.
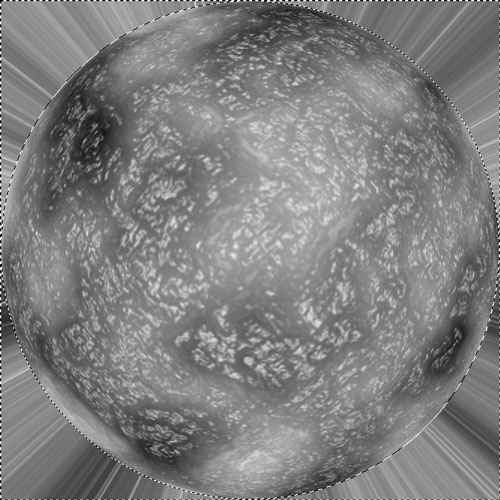
Press Delete to clear selected area and remove selection with Ctrl+D.
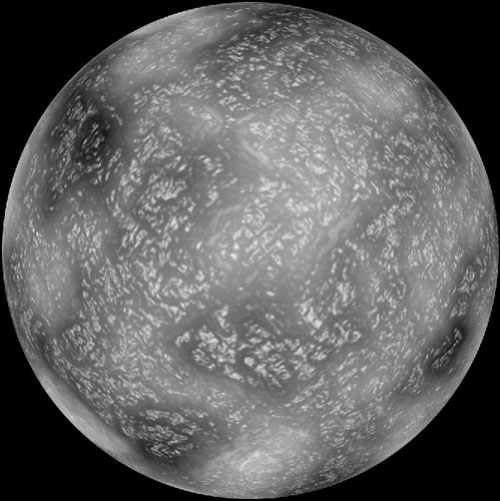
Go to Edit > Transform > Scale to reduce planet size a bit (keep pressing SHIFT to maintain proportions).
Step 4
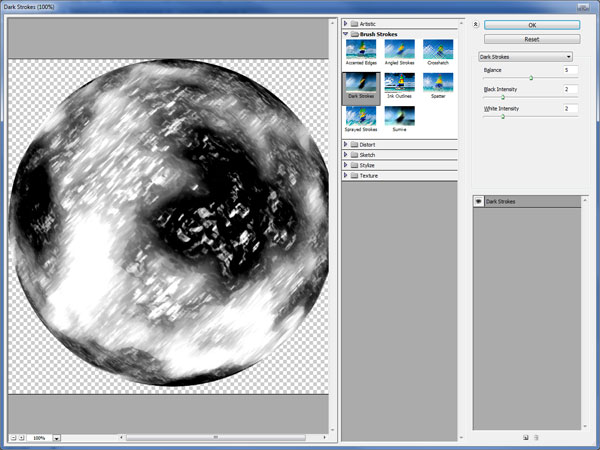
Duplicate “Planet” layer with Ctrl+J and apply Filter > Brush Strokes > Dark Strokes (Balance: 5, Black Intensity: 2, White Intensity: 2).

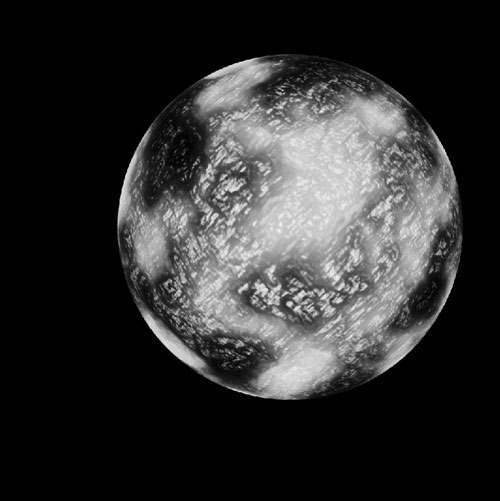
Update layer mode to Soft Light on current layer.
Step 5
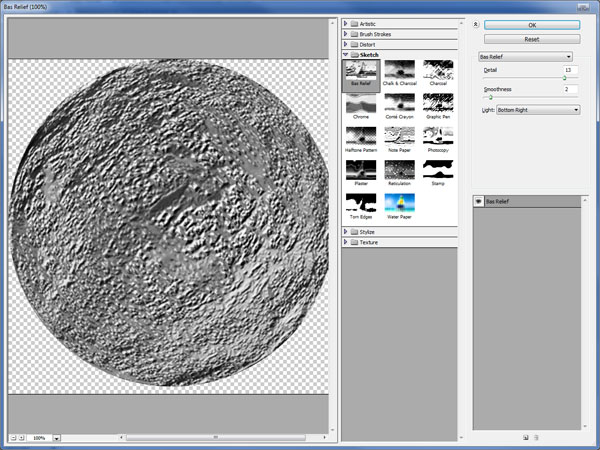
Duplicate again “Planet” layer with Ctrl+J and move it on top of all layers. Apply Filter > Sketch > Bas Relief (Detail: 13, Smoothness: 2, Light: Bottom Right).
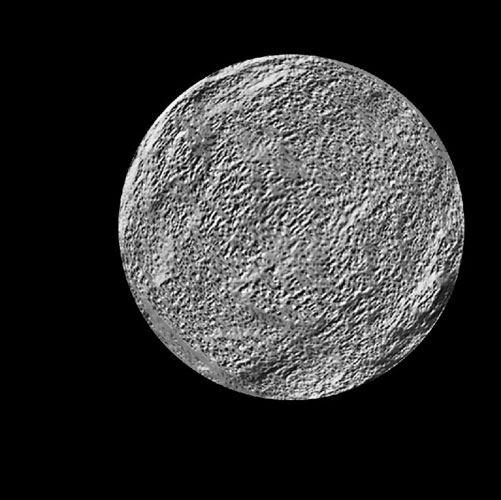
Update layer mode to Soft Light on current layer.
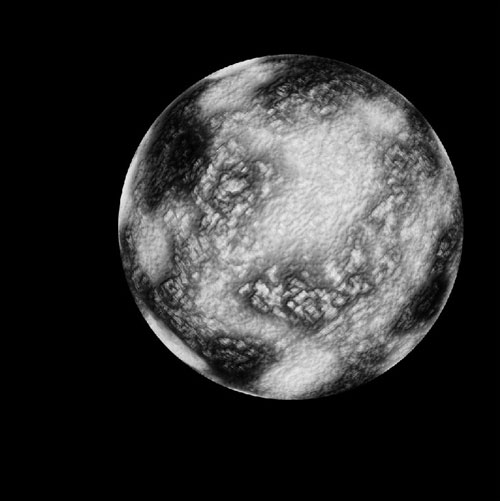
Select Eraser Tool (Opacity: 30%, Size: 40px) and with a soft round brush remove the relief of ice surfaces.

Step 6
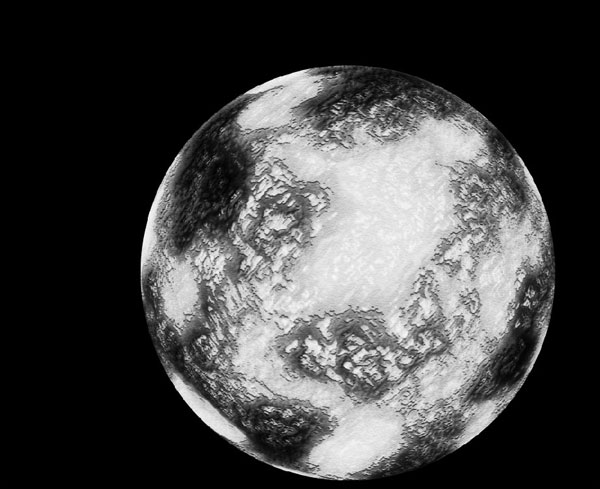
Duplicate again “Planet” layer with Ctrl+J and move it on top of all layers. Apply Filter > Sketch > Note Paper (Image Balance: 25, Graininess: 10, Relief: 11).
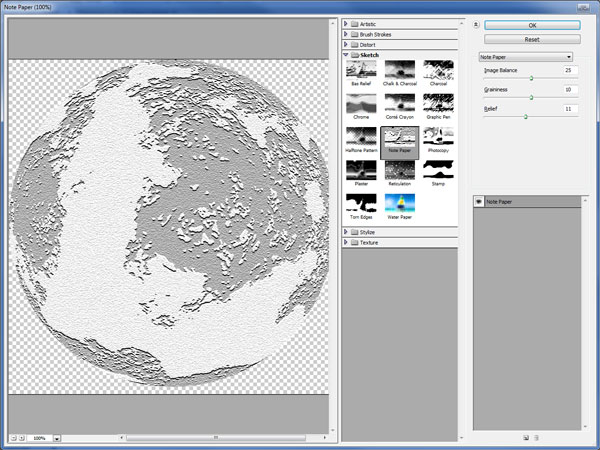
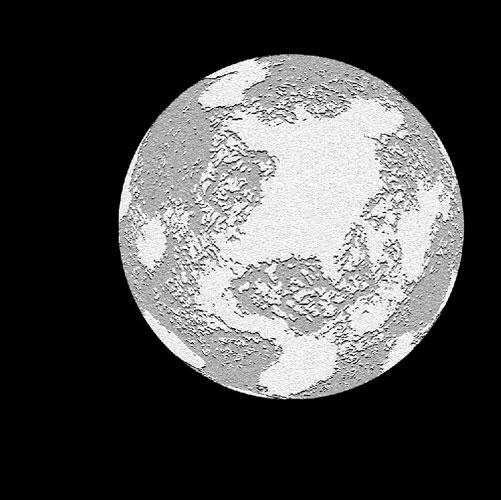
Update layer mode to Overlay on current layer.
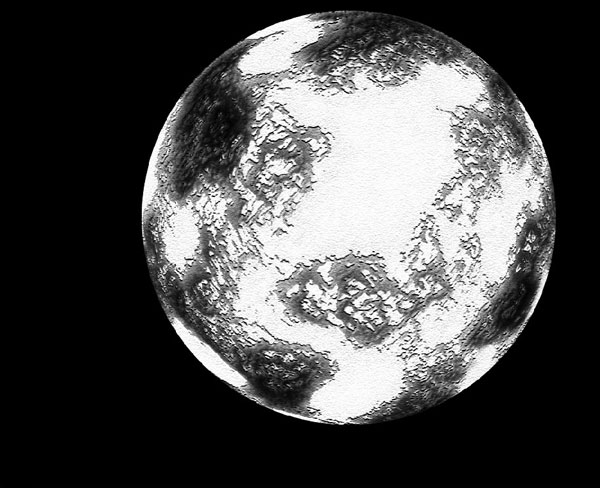
Select Eraser Tool again (Opacity: 30%, Size: 40px) and with a soft round brush remove too monotonous plots.
Step 7
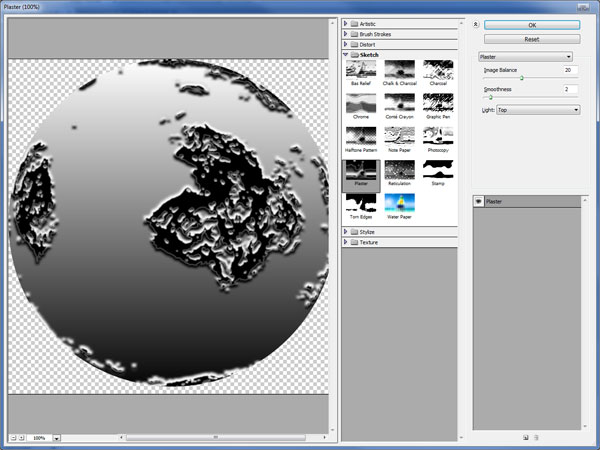
Duplicate again “Planet” layer with Ctrl+J and move it on top of all layers. Apply Filter > Sketch > Plaster (Image Balance: 20, Smoothness: 2).
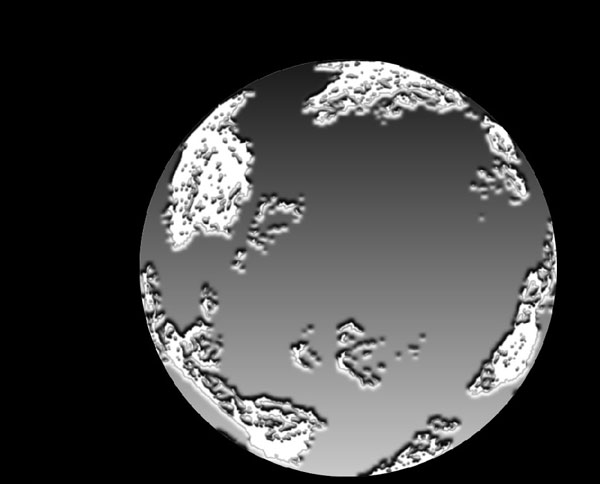
Update layer mode to Darker Color on current layer.
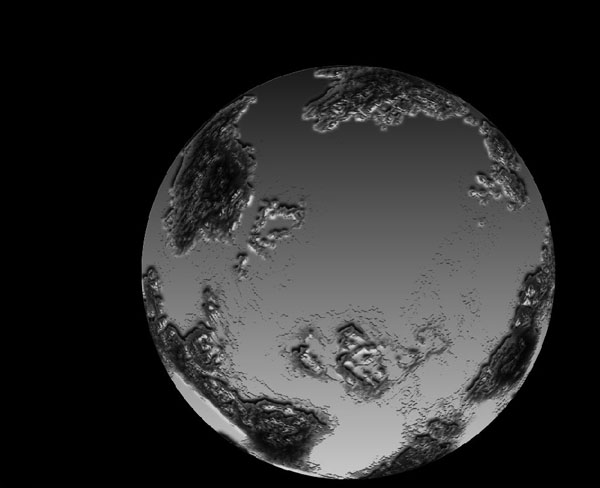
Select Eraser Tool again (Opacity: 30%, Size: 100px) and with a soft round brush clean almost all layer content leaving only some areas to soften edges.
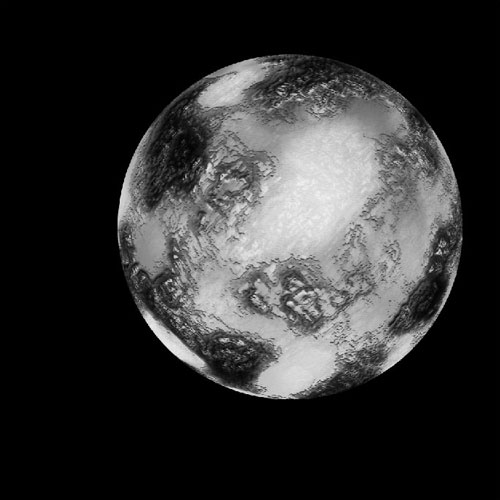
Step 8
Duplicate again “Planet” layer with Ctrl+J and move it on top of all layers. Update layer mode to Hard Light on current layer.
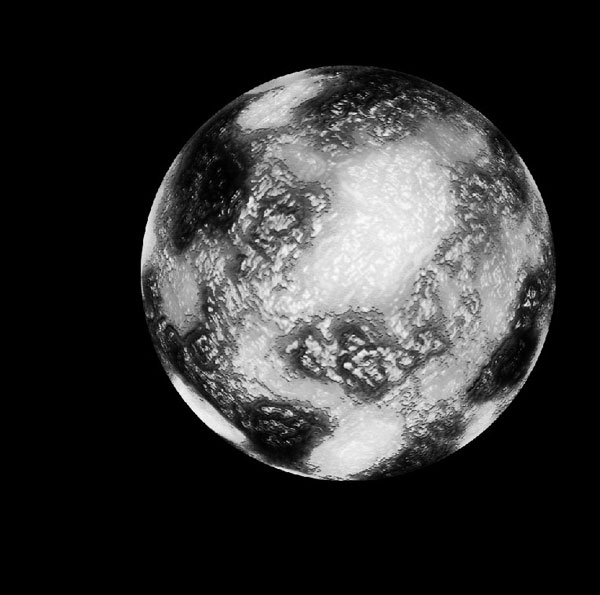
Step 9
Create a new layer on top of all other layers. Update layer mode to Screen, select Brush Tool (Opacity: 10%, Size: 90px) and lighten up darker water areas with white color.
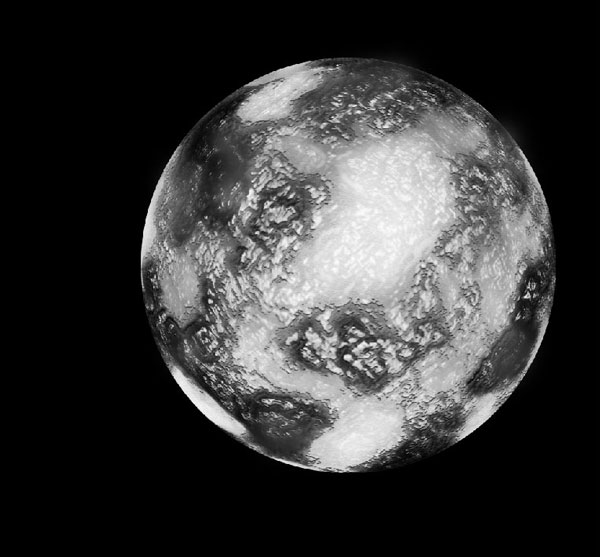
Step 10
Create a new layer on top of all other layers. Update layer mode to Color. Set foreground color to #47639a, select Brush Tool (Opacity: 10%, Size: 400px) and start applying to ice areas of the planet. If necessary increase or decrease a little brush opacity.
Step 11
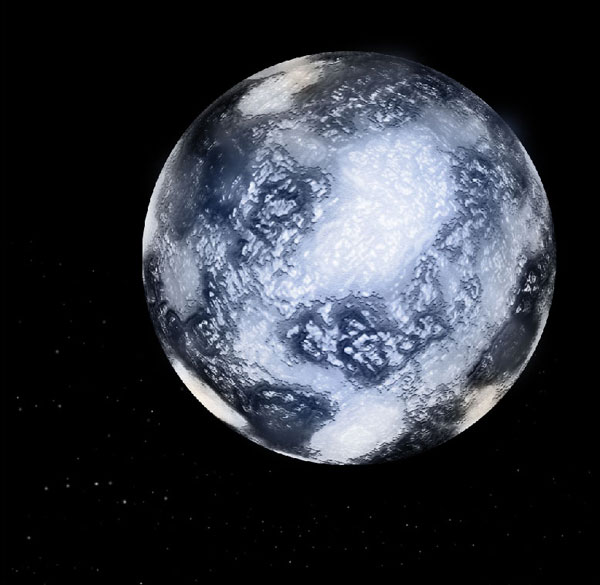
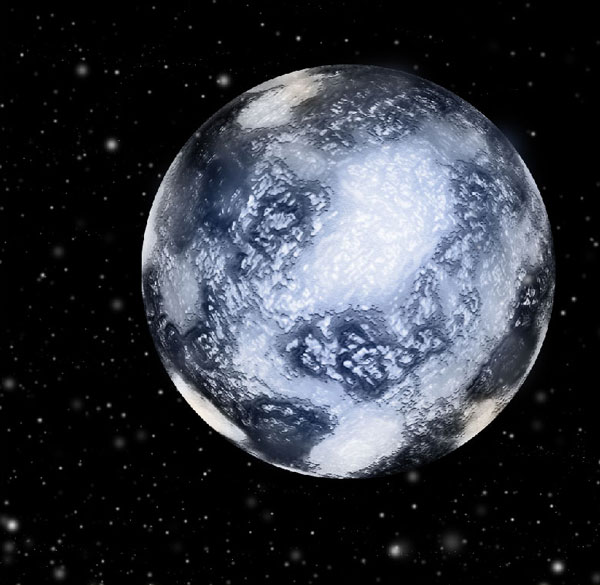
We need to add stars around the planet. With Brush Tool selected and a soft round brush (Size: 5px to start) press F5 to access brush presets.
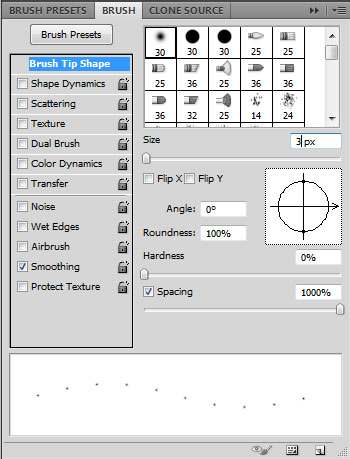
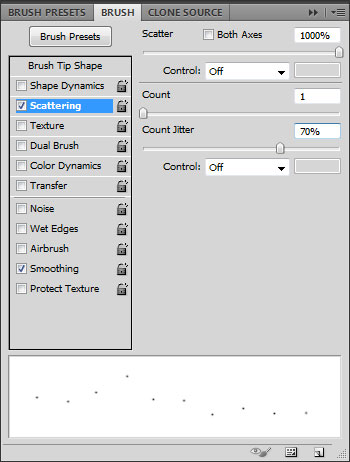
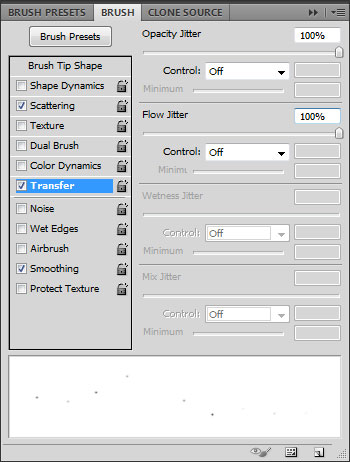
Set foreground color to white, create a new layer on top and draw the stars. Keep updating brush size.
Step 12
Create a new layer on top. Press D button to set up foreground and background colors as black and white and apply Filter > Render > Clouds.
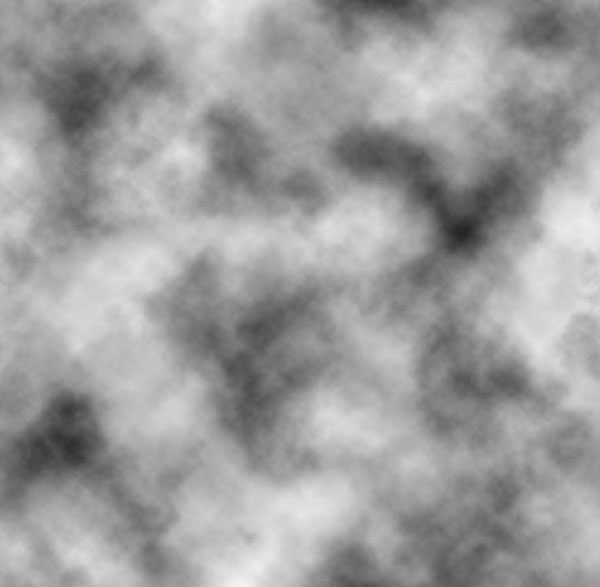
Update layer mode to Linear Dodge.
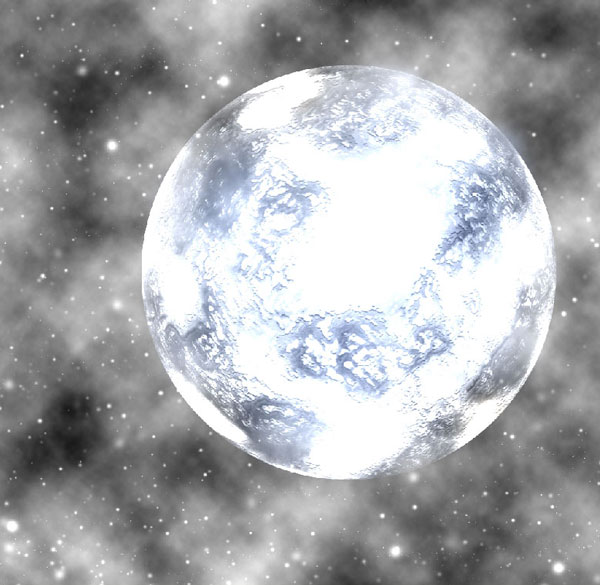
Select Eraser Tool (Opacity: 30%) and clean layer so that the result should be similar to mine.
Step 13
To finish the tutorial, create a new layer of top and update layer mode to Soft Color. Select Brush Tool with soft round brush (Opacity: 15-20%), choose color #263c35 and start decorating nebula. Keep updating brush color like I did and you will have a great result.
Final Image
