In this Photoshop tutorial you will learn how to create a image of outer space.
Final Image Preview

Step 1
Let´s start our tutorial by creating a new document with 1920×1200 pixels (72 dpi) and fill canvas with color #000000.

Step 2
Create a new layer above the black one and fill it with pure white color (#ffffff).

Step 3
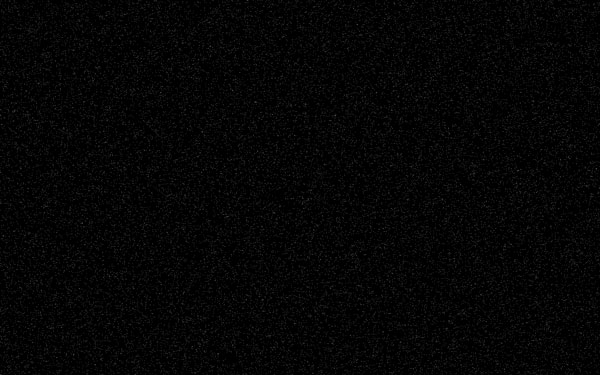
We have now two layers: the black one and the white above it. For the layer with white color we change the Layer Blending Mode to Dissolve, layer opacity 1% (no more than this amount) and get something resembling space.
Step 4
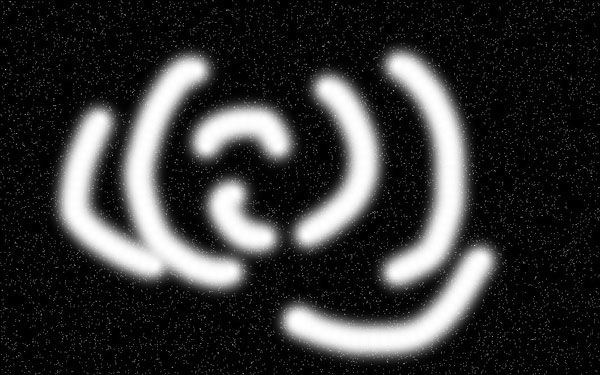
Create a new layer on top and give a name to the layer, for example “Nebula”. (Note: Right now we will be creating the galaxy but in the future this layer will hold the nebula). Select the Brush Tool, with a soft-edged brush, opacity 100%, 125 pixels in diameter, white color (#ffffff) and simply apply several brush strokes on the new layer as shown in the screenshot:
Step 5
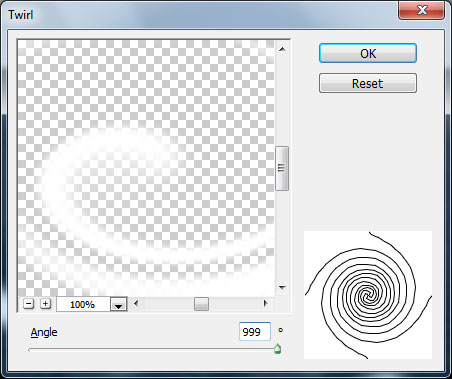
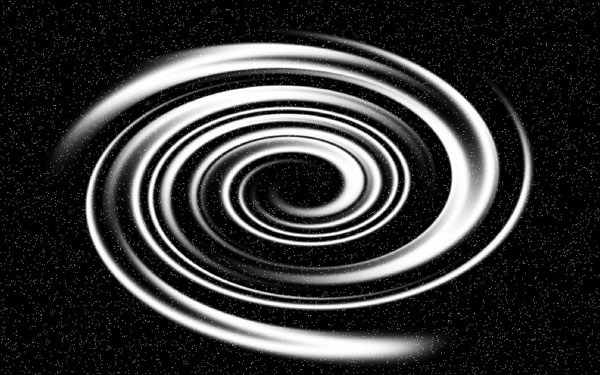
Apply the Filter > Distort > Twirl:
Step 6
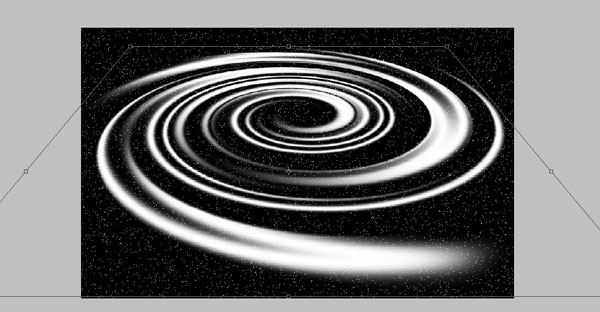
Deform the result a bit with the help of Edit > Transform > Perspective:
Step 7
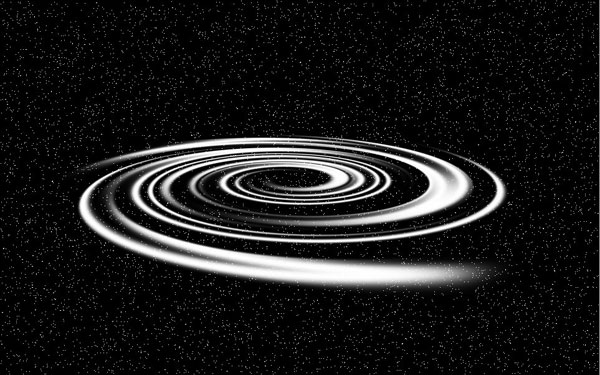
Further on we apply Edit > Transform > Scale:
Step 8
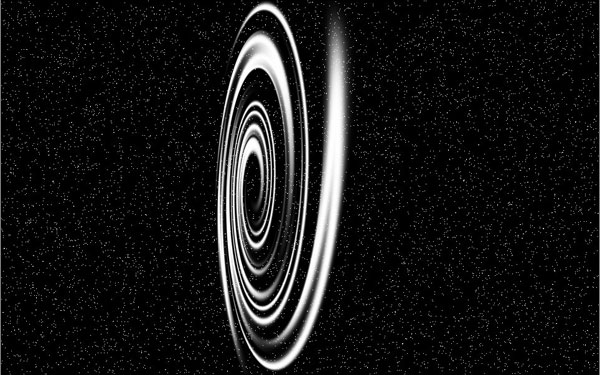
And then we apply Edit > Transform > Rotate:
Step 9
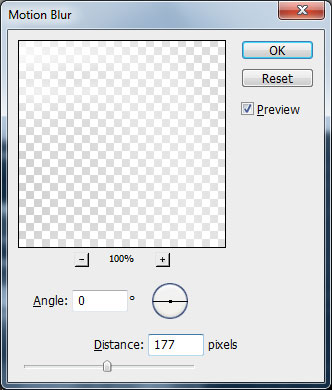
This shape suits to be the galaxy, but we will improve it. Apply Filter > Blur > Motion Blur:
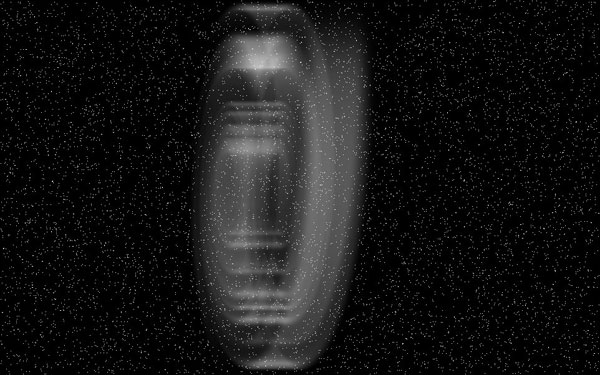
Step 10
And apply the Twirl filter once again Filter > Distort > Twirl:
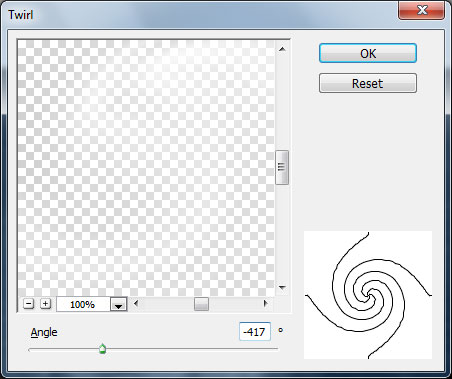
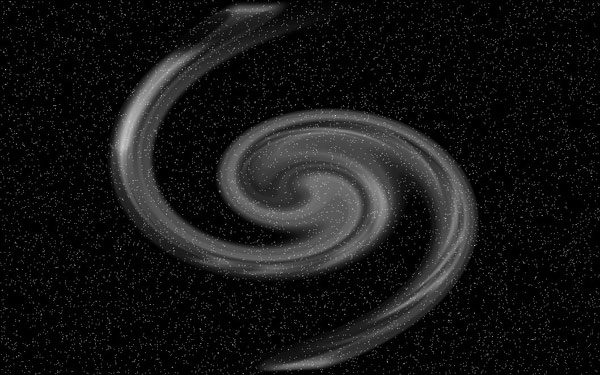
Step 11
We deform the galaxy again using Edit > Transform > Perspective:
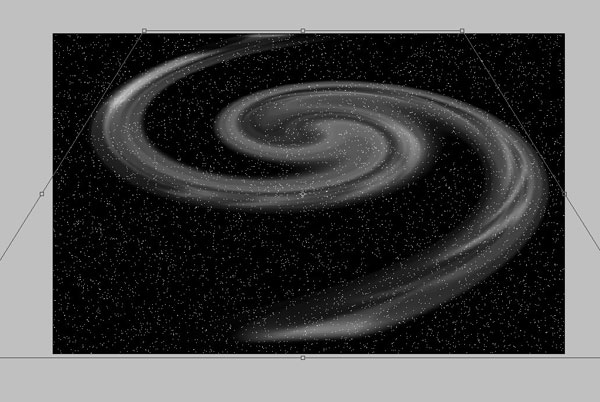
Step 12
Scale the galaxy to the desired size using Edit > Transform > Scale:
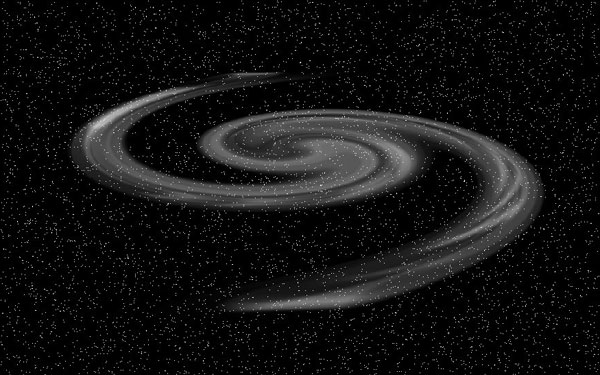
Step 13
Rotate it a bit with the help of Edit > Transform > Rotate:
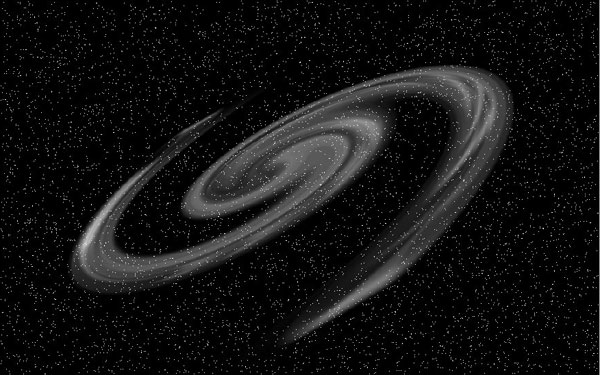
Step 14
We now have our galaxy. Copy the layer by pressing Ctrl+J and name it “Galaxy”.

Step 15
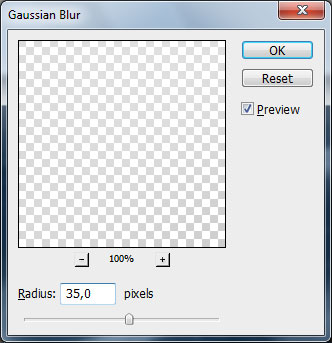
Any galaxy contains nebula, so let´s create one. Temporarily hide Galaxy layer (eyeball) and select layer Nebula. This layer should be blurred with the help of Filter > Blur > Gaussian Blur.

Step 16
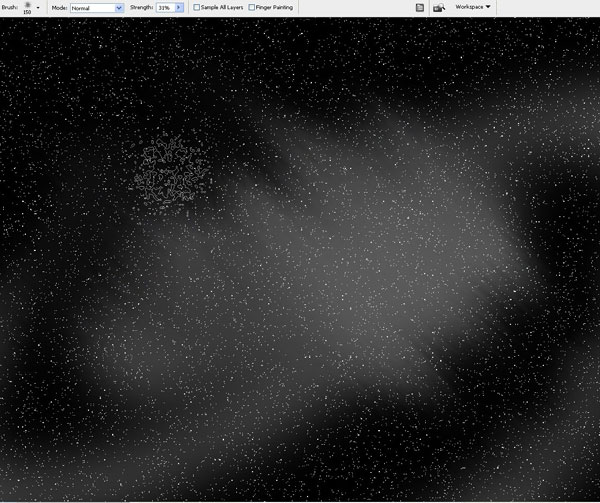
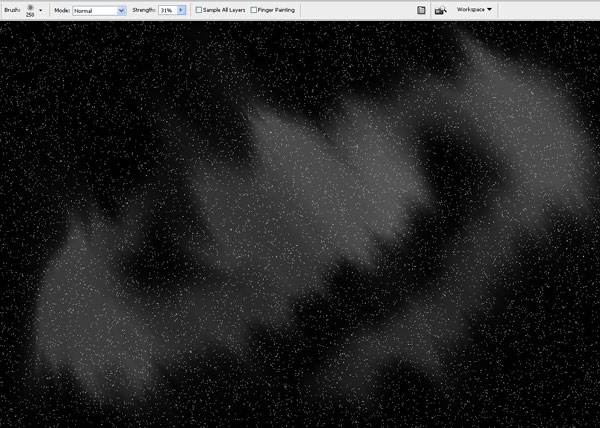
Choose the Smudge Tool (Strength: 31%) and brush Spatter 59 (it’s a standard Photoshop brush), set diameter to 150 and begin stretching the nebula out a bit in the galaxy direction, at the same time we can change the brush diameter sometimes, for the galaxy not to be uniform.
Step 17
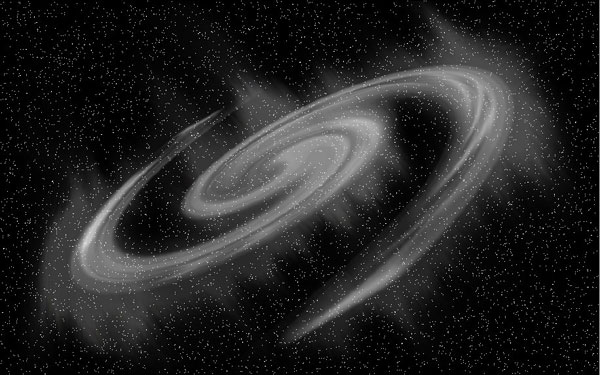
We switch on visibility of the layer Galaxy.
Step 18
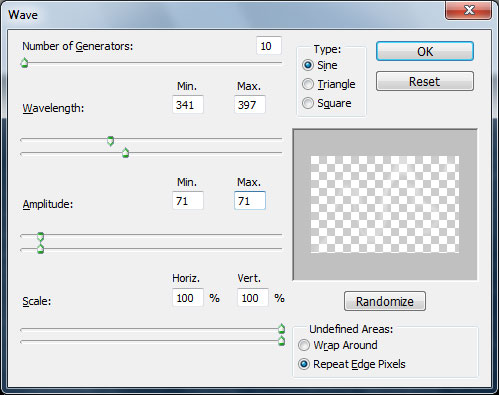
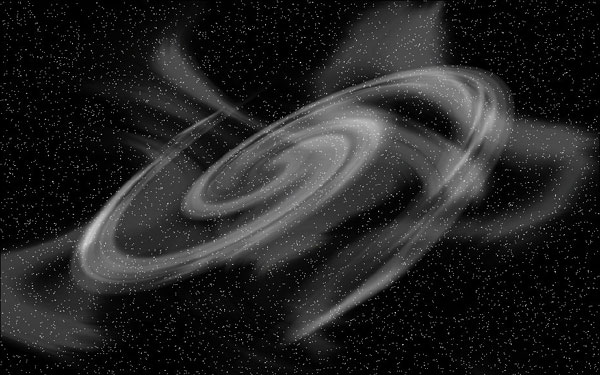
Keep on changing the layer with the nebula, apply Filter > Distort > Wave:
Step 19
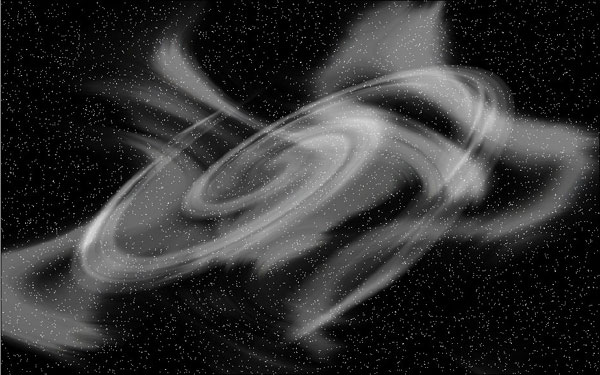
Now we copy the layer with the nebula by pressing Ctrl+J. After that, merge the two layers which have the nebula into one using Ctrl+E.
Step 20
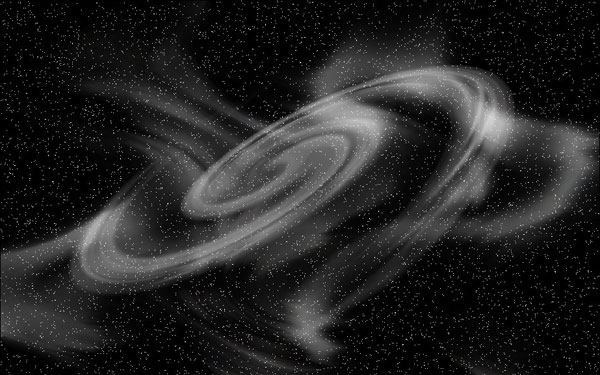
With the help of Eraser Tool, we make the nebula more opaque to adjust its shape and transparency. The edge of the nebula is more transparent, but on the borders of the galaxy quite the contrary, though it depends on somebody´s taste, it´s advisable to use the brush with 500 pixels in diameter and opacity 45. Also we should slightly adjust opacity on the layer with the galaxy, especially on the edges.
Step 21
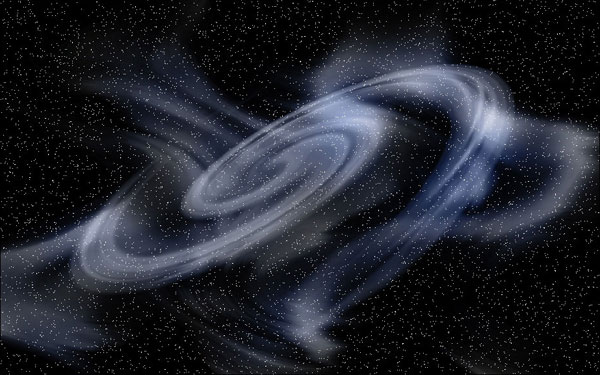
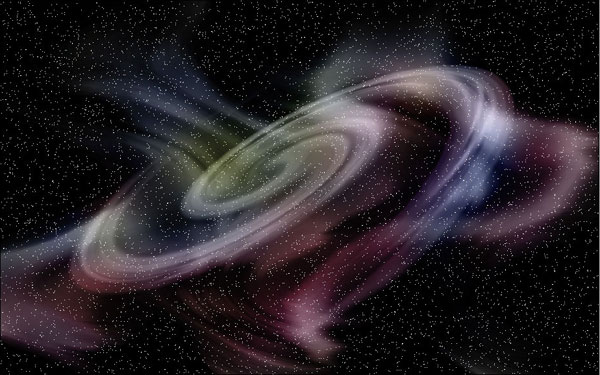
Open PSD file that was created on Part 1 of this tutorial. Select layers Nebula and Galaxy and merge both layers by going to Layers > Merge Layers (Ctrl+E). We will have now three layers: black, white, and the one with the galaxy. It’s worth noticing that space is very beautiful, all colors can be found in it, so let’s add them into our galaxy. Create a new layer and change the layer Blending Mode to Color. After that select a soft-edged Brush Tool, opacity 10%, 300 pixels in diameter, color #5a78cc and paint it arbitrarily.
![]()
Step 22
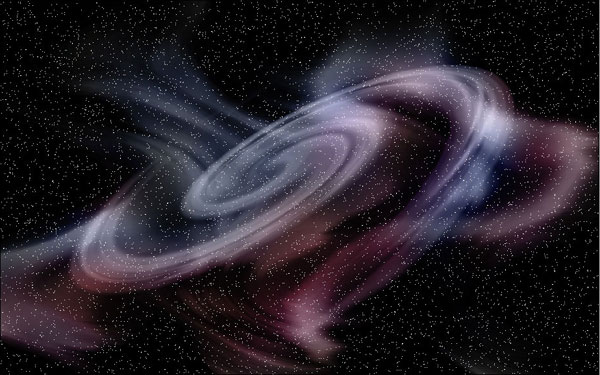
Keep Brush Tool selected and change color to #ff0000 to add red color.
Step 23
Keep Brush Tool selected and change color to #fff000 to add yellow color.
Step 24
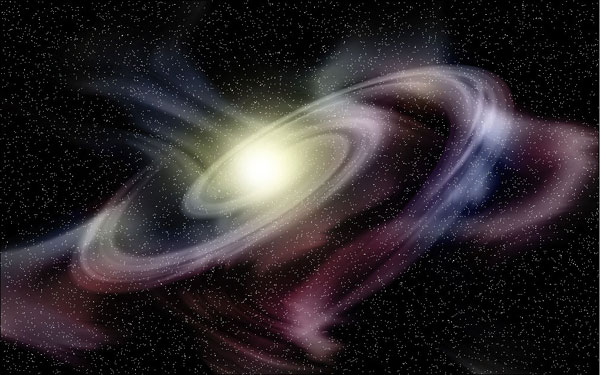
Create a new layer. On this new layer we create the centre of the galaxy. Select a soft-edged brush, 500 pixels in diameter, color #ffffb7, opacity 100%.

Step 25
Change the brush diameter to 300, white color (#ffffff) and apply.
Step 26
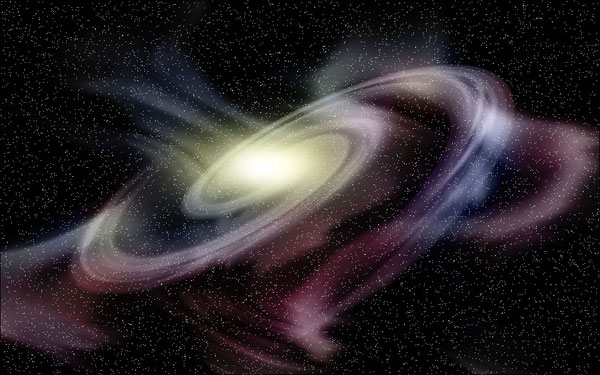
Shape the shining to the galaxy outline with the help of Edit > Transform > Scale:
Step 27
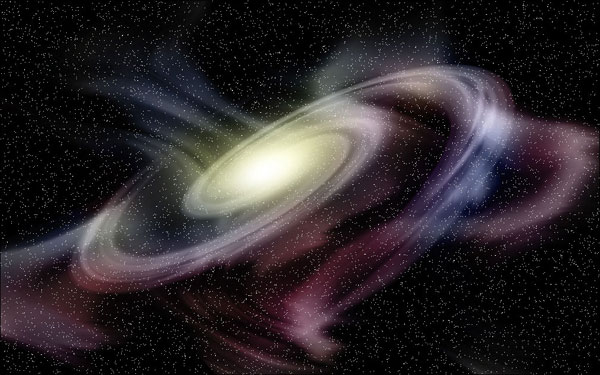
Rotate using Edit > Transform > Rotate:
Step 28
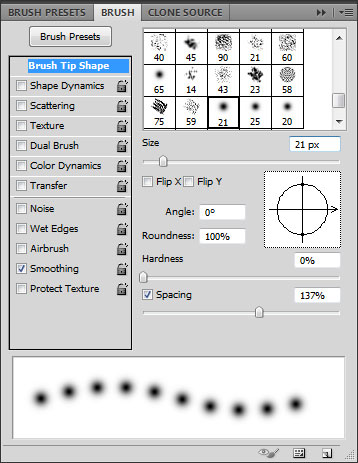
Any galaxy needs stars and our galaxy is not an exception. To bring bright stars to the canvas, create a new layer, select a soft-edged Brush Tool, opacity 100%, white color (#ffffff) and open Brush Panel to adjust settings (Windows > Brush or press F5).
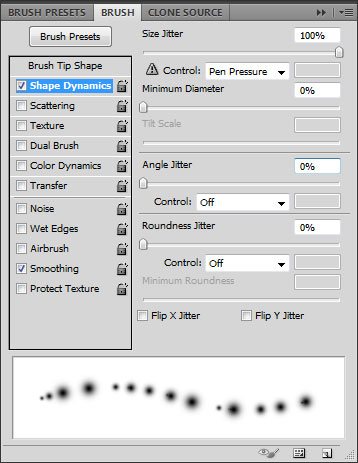
Select Shape Dynamics option and change settings.
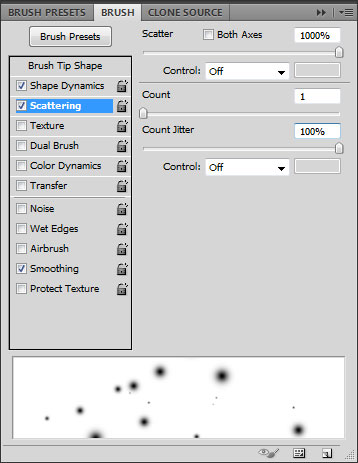
Select Scattering option and change settings.
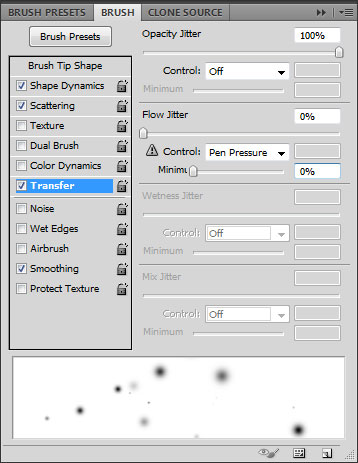
And on Transfer option update opacity to 100% and change Control to Pen Pressure.
Important: On older Photoshop versions there isn´t any Transfer option but Other Dynamics option is available and this is where you update settings.
With the help of this brush, change its diameter according to the situation and your taste and we can create stars along the outline of the galaxy and slightly beyond its bounds.
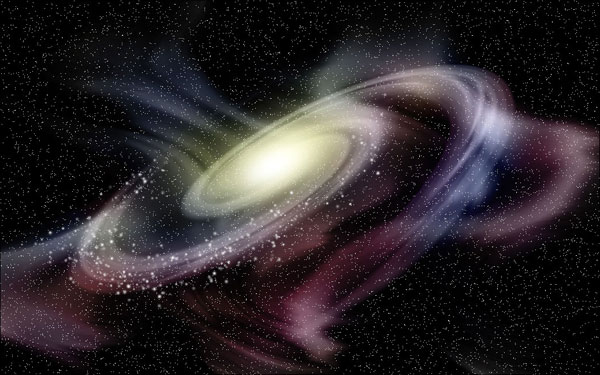
Step 29
It´s worth remembering, that the closer the stars the bigger they appear to be on the picture. So you need to keep changing brush size.
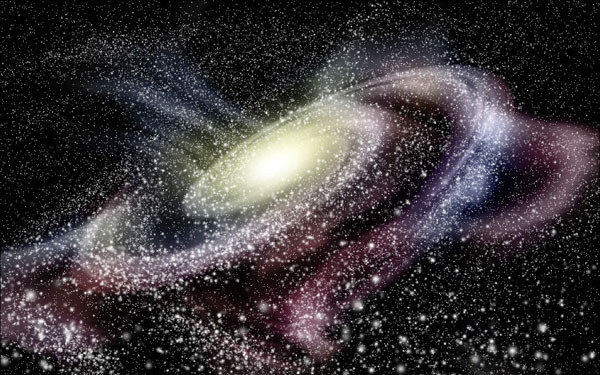
Step 30
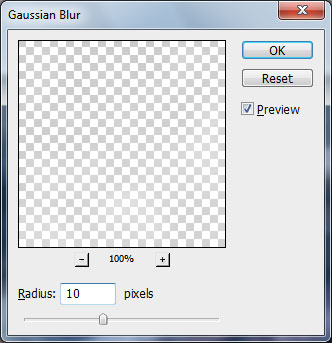
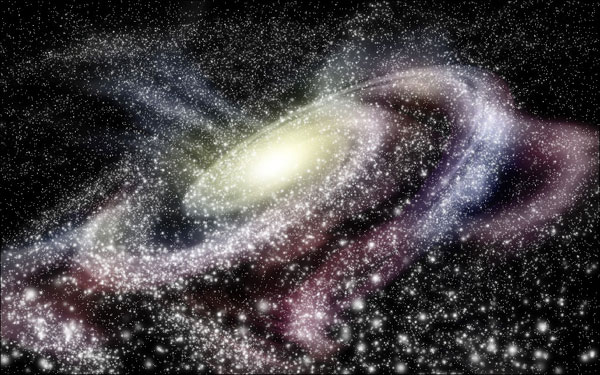
There is also its own nebula around the stars. Duplicate the layer (Crtl+J) and blur the layer that is below using Filter > Blur > Gaussian Blur:
Step 31
Stars have color too. Select the Gradient Tool and set up following presets:
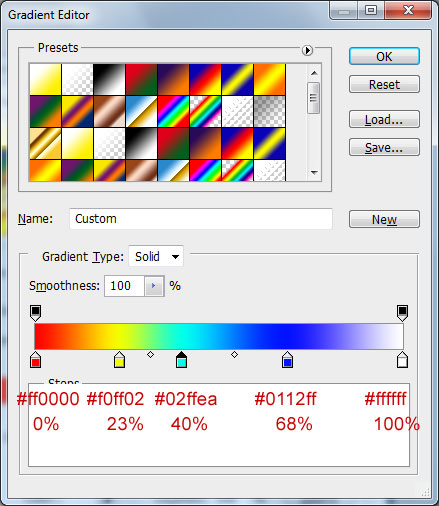
Go back to original stars layer and select stars. Create new layer and apply gradient.
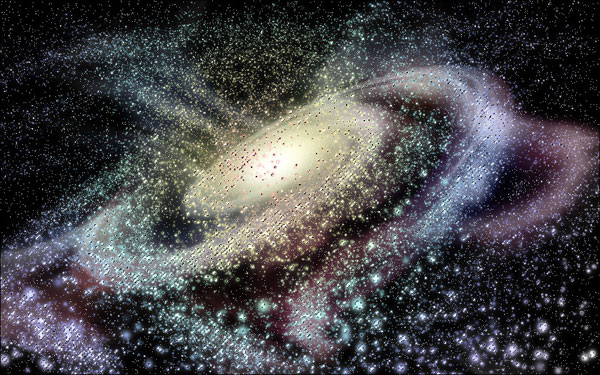
Move this layer below both layers that contain stars.
Step 32
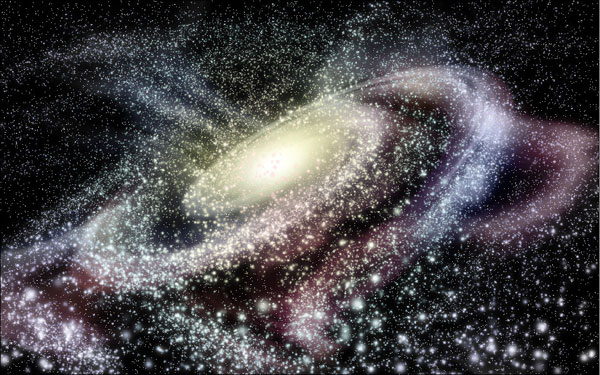
Apply Soft Light Blending Mode for the layer with the gradient.
Step 33
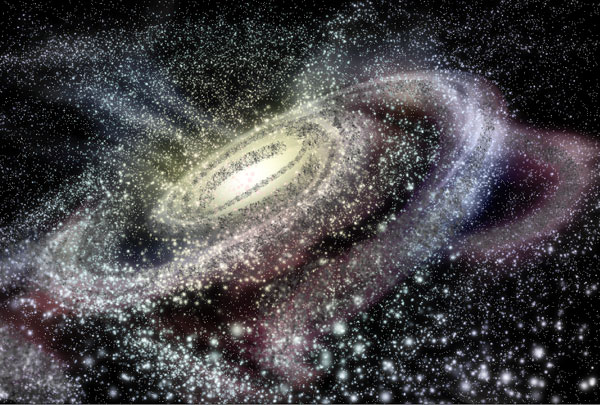
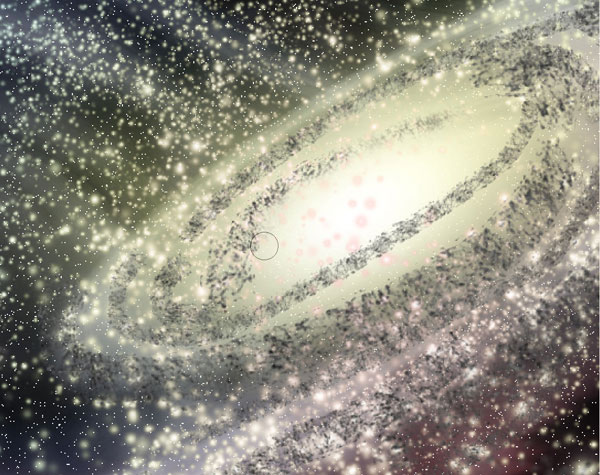
To be more realistic our galaxy lacks dust. To create dust we select standard Dry Brush, opacity 100%, black color (#000000), change the diameter according to the situation. We apply strokes along the galaxy shape on a new layer.
Step 34
Now we adjust the dust outline using the Eraser Tool, select a soft-edged brush, opacity 50%, diameter according to the situation.
Step 35
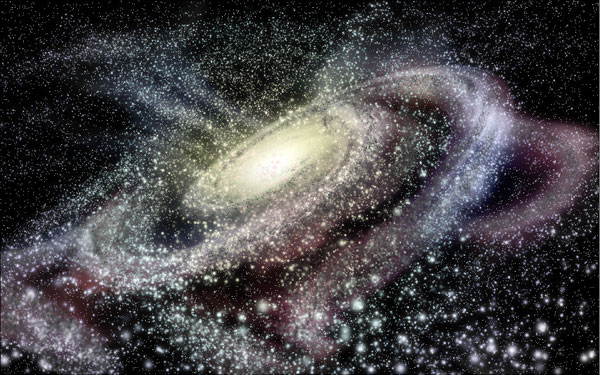
Then we remove hard edges of brush strokes and get realistic dust.
Step 36
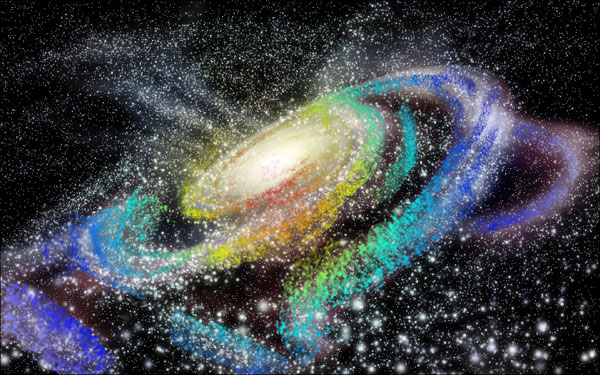
Now let´s apply color to the dust layer. We treat the dust in the same way as the stars, select the layer with the dust and apply the same gradient.
Step 37
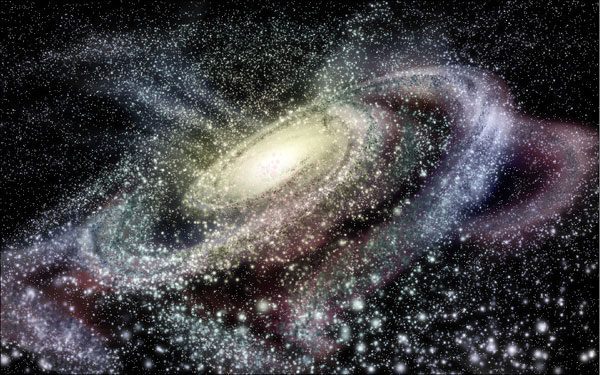
Apply the Multiply Blending Mode for the layer with colored dust.
Step 38
It remains only to add volume to our image, we select a soft-edged brush, 900 pixels in diameter, opacity 30%, black color (#000000) and darken the image above and slightly on the edges on a new layer.
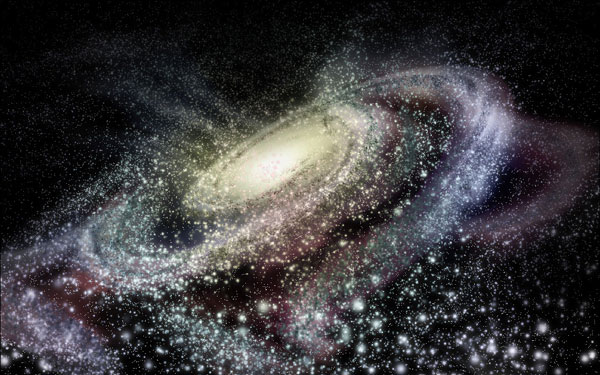
Step 39
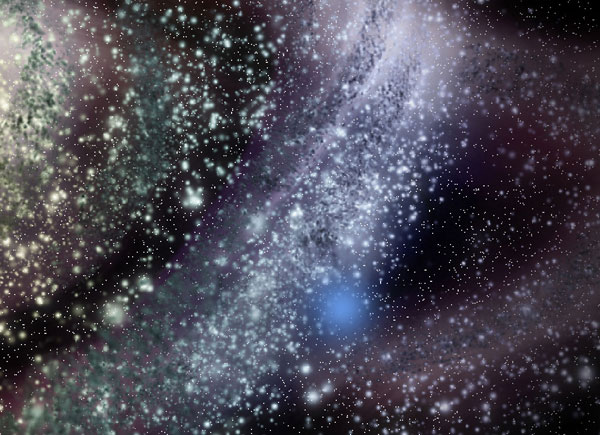
We can say the galaxy is ready but we can add some more details. Let it be very big stars or constellations. Create a new layer, select the Brush Tool and brush with 70 pixels in diameter, opacity 100%, color #6191dc.
Step 40
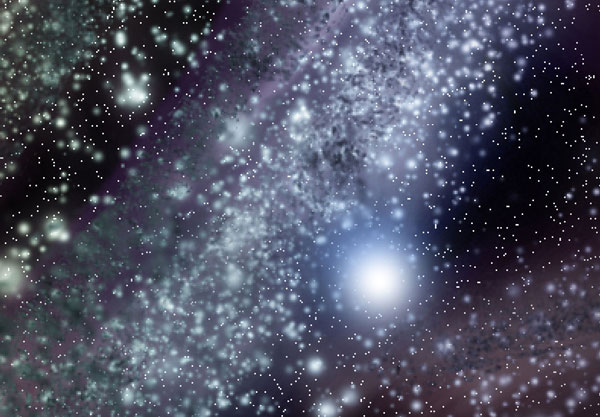
Let´s change brush color to white (#ffffff).
Step 41
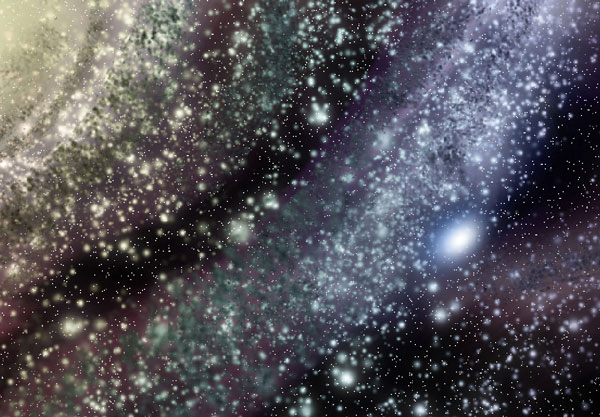
Deform slightly using Edit > Transform > Scale and Edit > Transform > Rotate.
Final Image
It´s possible not to deform and so it depends on your taste. Add a few stars on the same principle.

