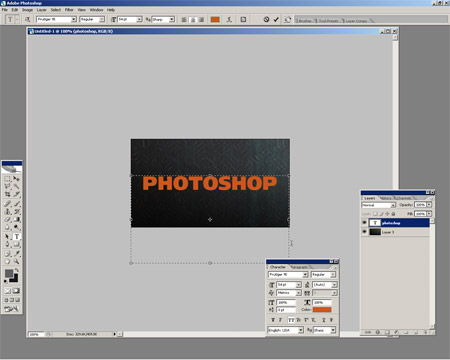
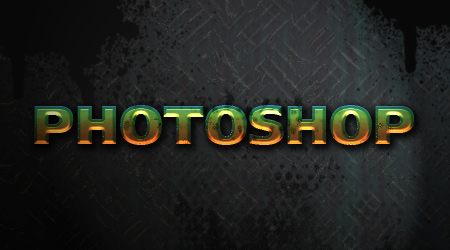
In this Photoshop tutorial I’ll be teaching you how to make a kind of random, abstract, tech-style text effect using pretty much just layer styles. It’s an interesting effect, to say the least, not sure what you could use it for though.
1. Background Creation
First, make a new document in Photoshop. I used a small size for this Photoshop tutorial — 450 x 250 pixels, using the default Resolution, 72.
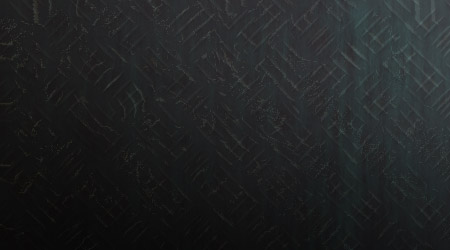
After making your document, add in a nice background. I used a very dark gradient for my background base (#181718 and #5f5f5f), then I added in a little bit of texture, using the free Filter Forge plugin, and also Filter > Render > Fibers.
We’re just looking for an interesting, random background, like mine:
2. Text Creation
Now, time to write out your text on the canvas. Get out the Horizontal Type Tool, and using a very nice, fat font write out some text. I used a font called Frutiger 95, which is actually a commercial font, so you may have to use a different one. Some good alternatives are Impact and Arial Black.
Note: In the above image, I’ve used #cc571d as my text color, but you may want to use something else, different colors will get different effects.
3. Add Text Effects
Let’s add some interesting effects to our text now. Start by right-clicking your text layer in the layer’s palette, then going into the Blending Options. When you’re in, apply the following layer styles (click links for settings):
- Drop Shadow
- Inner Shadow
- Bevel and Emboss
- Bevel and Emboss — Contour
- Gradient Overlay
- Pattern Overlay
The pattern used here isn’t important, use anything you like.
After applying all of those layer styles, I get an effect like this:
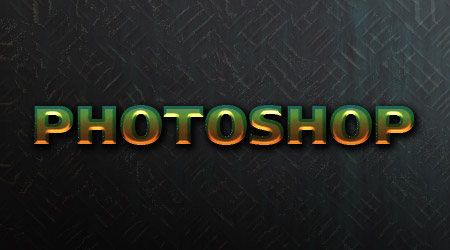
Obviously, if you’re using a large document or larger text the results will vary, so be sure to mess around with the settings a little bit.
4. Finalize
Finish off your text effect by applying some more effects to it, not necessarily layer styles, but layers on top used to affect the text in some way.

In the above image I did a fair bit of brushing on different layers, messing with the colors and layer modes, I also applied Filter > Noise > Add Noise to some of the brushing layers, for an interesting effect.
Thanks for reading the tutorial everyone, I hope you enjoyed it, even though it was only a very short, random tutorial 😉

