In this tutorial you will learn how to create pseudo-vector wallpapers for your desktop.
Final Image Preview

Step 1
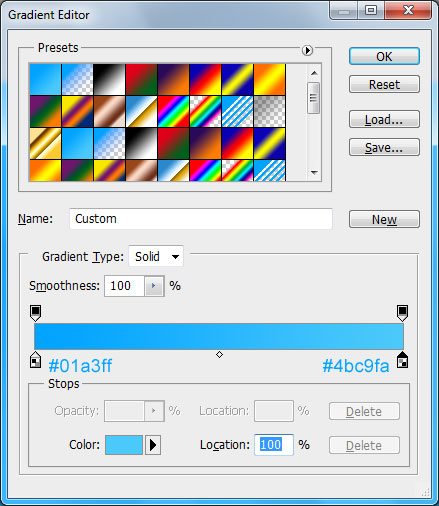
Create a new document with the resolution 1900×1200 for this tutorial with white background. Select Gradient Tool (G) and drag a gradient on canvas like on image below.

Step 2
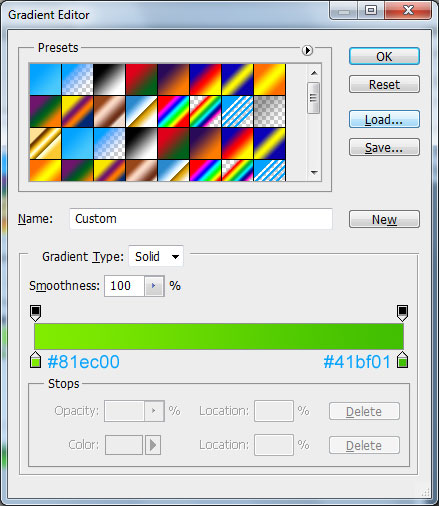
Select the Elliptical Marquee Tool to create selection similar to the picture below and fill it with linear gradient by using colors of #81ec00 and #41bf01 on the new layer. It will be meadow.

Step 3
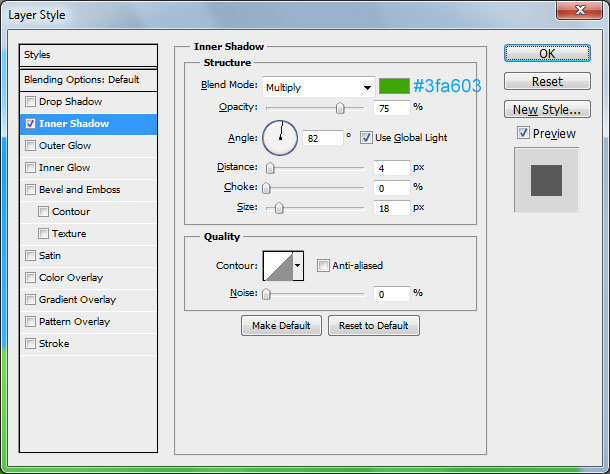
With selection still active, apply Inner Shadow layer style to this layer.

Step 4
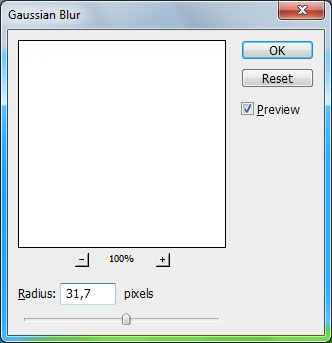
Keep selection active. Create new layer under the current layer and fill it with white color. Now remove selection with Select > Deselect (Ctrl+D) and apply Filter > Blur > Gaussian Blur with these settings:
Set up layer opacity to 53% and you will have what i have now:

Step 5
Now let´s start creating clouds on the sky. Create a new layer above all the layers, then use Elliptical Marquee Tool to create round selection and fill it with white color.

Step 6
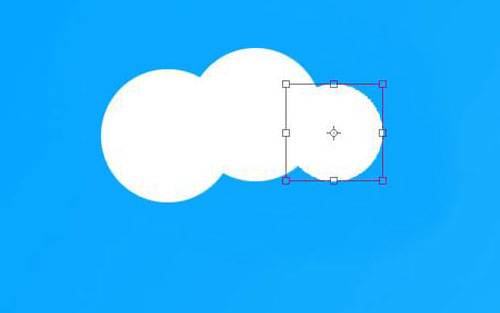
Remove selection with Ctrl+D. Duplicate this layer with Ctrl+J two times and move both duplicates like on image below. For the image on the right, click on layer to select it and then reduce the size with Edit > Free Transform.
Step 7
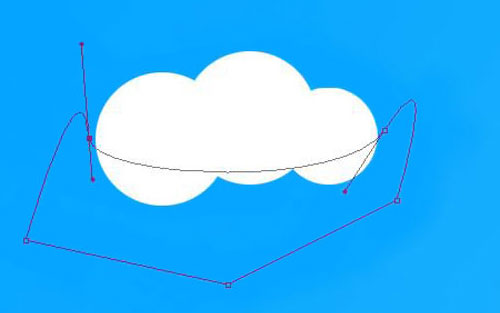
Merge three of these layers in one and correct the bottom part of the cloud. Use the Pen Tool to create shape similar to the shape on my screenshot. If you prefer you can use other tools like Lasso Tool but i prefer Pen Tool in this case.
Step 8
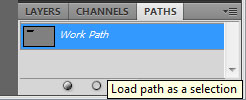
Click on Paths and select Path (if window not visible go to Windows > Paths), click on selection icon on the palette which says Load Path as a Selection (Ctrl+click on shape thumbnail on Path also works). Go back to layers palette, invert selection with Ctrl+Shift+I (Select > Inverse) and press Delete button to clear selected area.

Step 9
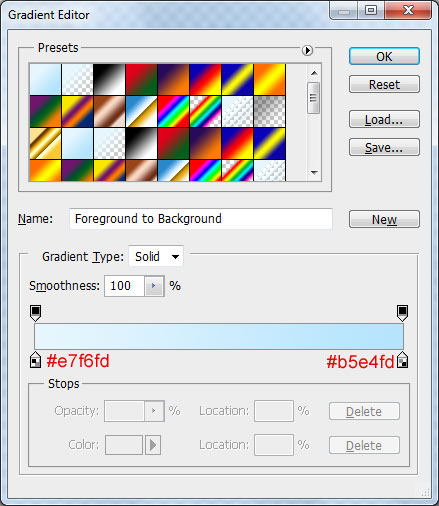
Finally load selection of current layer with cloud by using Select > Load Selection and fill selected area with linear gradient by using colors of #e7f6fd, #b5e4fd.

Step 10
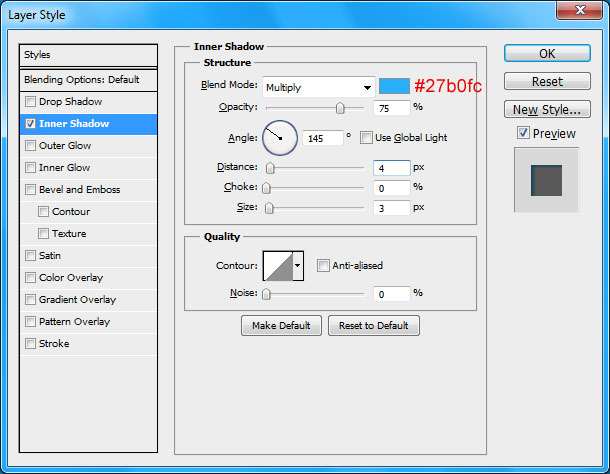
Remove selection with Ctrl+D. After that apply Inner Shadow layer style to this layer.

Step 11
We now have one cloud but we need more. Duplicate this layer a few times with Ctrl+J and move copies to the left and right. Apply Edit > Transform > Flip Horizontal for some copies and apply Edit > Free Transform to change sizes to some of them.

Step 12
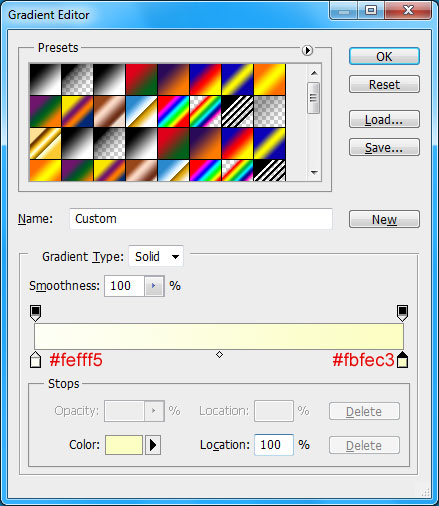
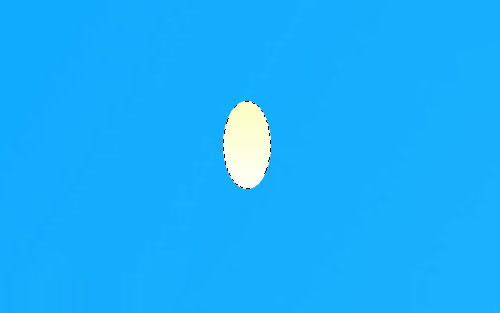
Now we need to create flowers. Select the Elliptical Marquee Tool and create oval selection, then fill it with gradient. It will be one of flower´s petals.
Step 13
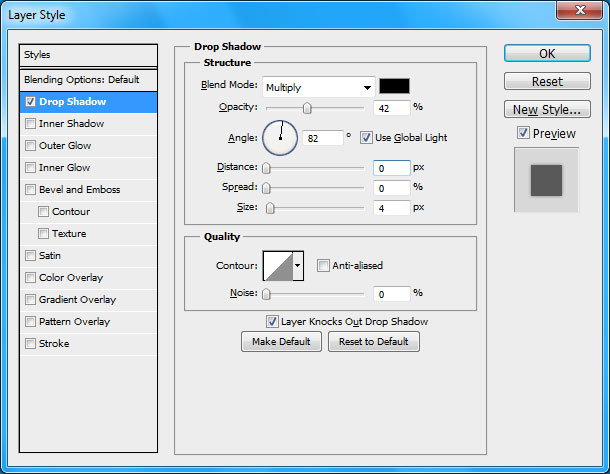
Remove selection with Ctrl+D and apply Drop Shadow layer style for current layer.
Step 14
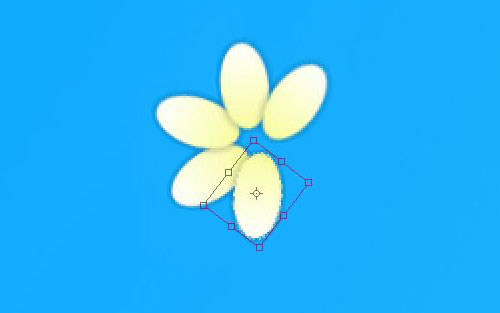
Duplicate this layer with Ctrl+J a few times. After that apply Ctrl+T to rotate each layer and organize it like i have. We now have flower’s petals.
Step 15
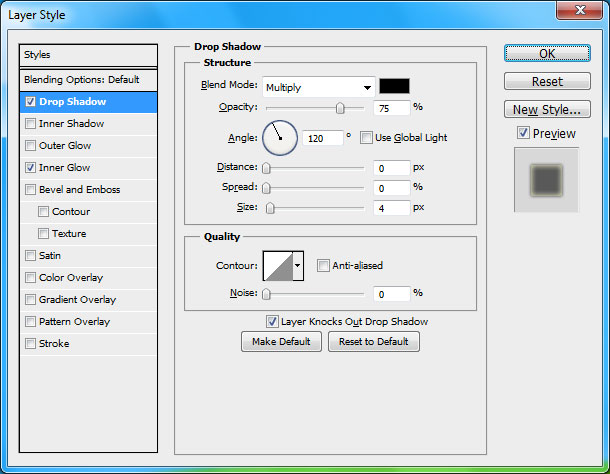
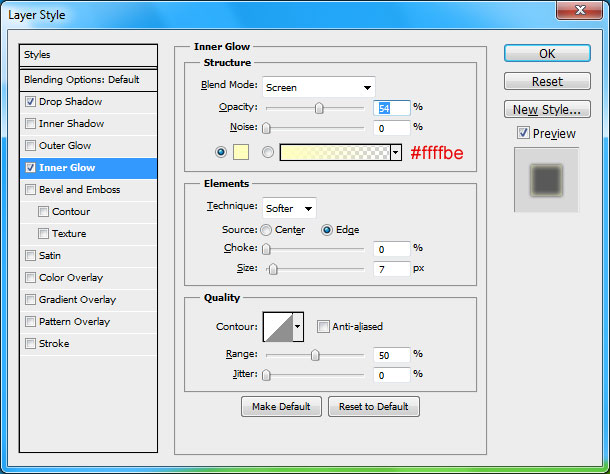
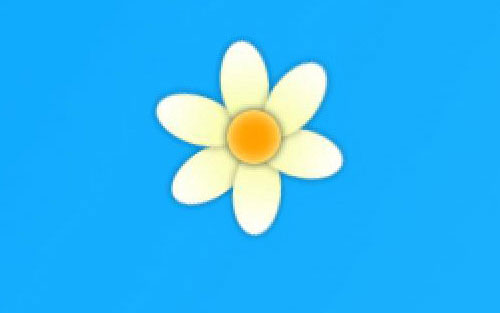
Now we have to form the middle of flower. Create a new layer and using the Ellipse Tool create round shape with foreground color of #ffa200. After that apply Drop Shadow and Inner Glow layer styles to shape.
Step 16
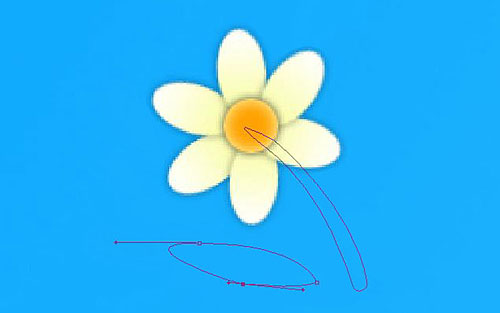
Create a new layer where we create a stem and leaves of camomile with color #9cfe15 by using the Pen Tool. Do similiar steps as used to create cloud (Load Path as selection and then fill it with color).
Step 17
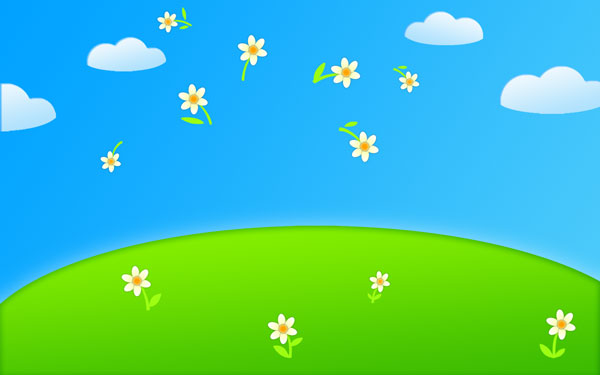
Create more camomiles on the same way and put it to the different parts of our canvas to create feeling that they were knocked up upwards.
Step 18
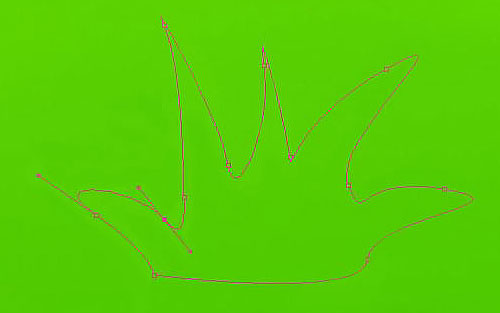
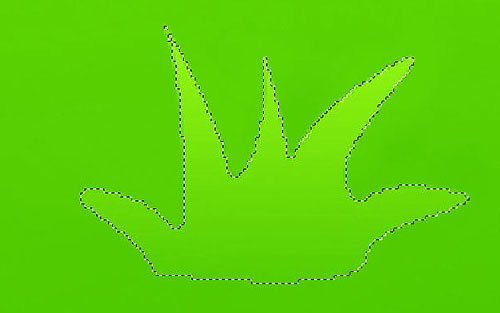
Open PSD file that was created on Part 1 of this tutorial. Now we are going do add grass somewhere on our meadow. Select the Pen Tool and create shape similar to the picture which you can see below:
Step 19
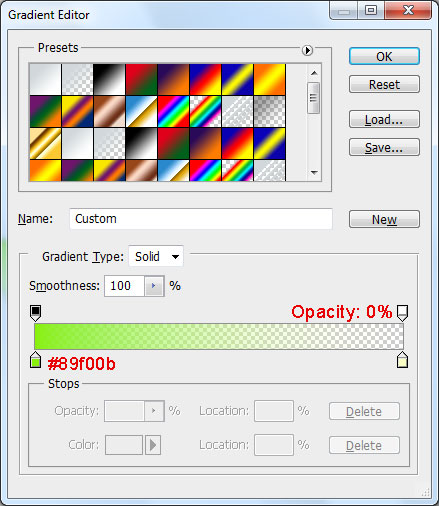
Create selection of this shape (Load Path as a Selection – Ctrl+click on shape thumbnail on Paths also works). Fill selected area with green (#89f00b) to transparent linear gradient on the new layer by using Gradient Tool.
Step 20
Remove selection with Select > Deselect and duplicate this layer a few times with Ctrl+J and spread everywhere on the meadow area.

Step 21
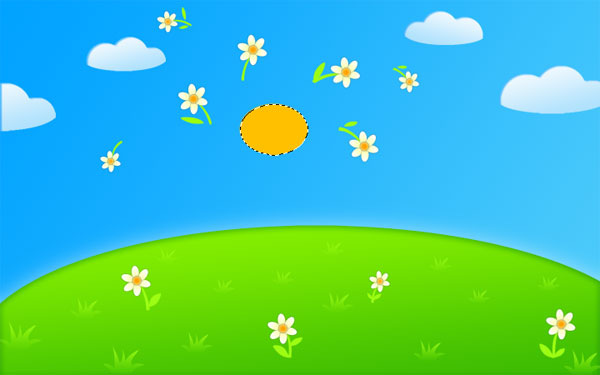
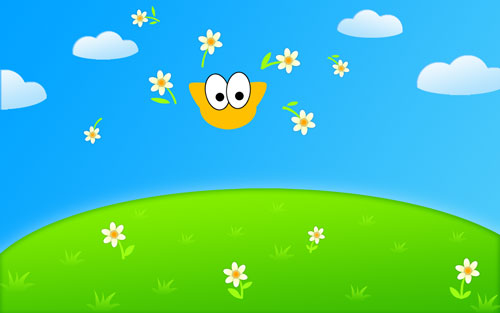
And the kitten is the last thing we need to create. Create new layer, select the Elliptical Marque Tool to create selection similar to the selection on my picture below and fill it with color #ffc000 (Orange).
Step 22
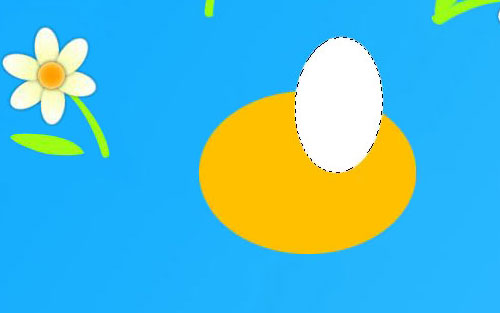
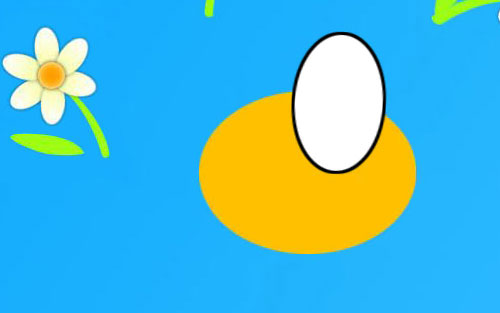
Create new layer and again with the Elliptical Marque Tool create kitten eye but now fill it with color #ffffff (White).
Step 23
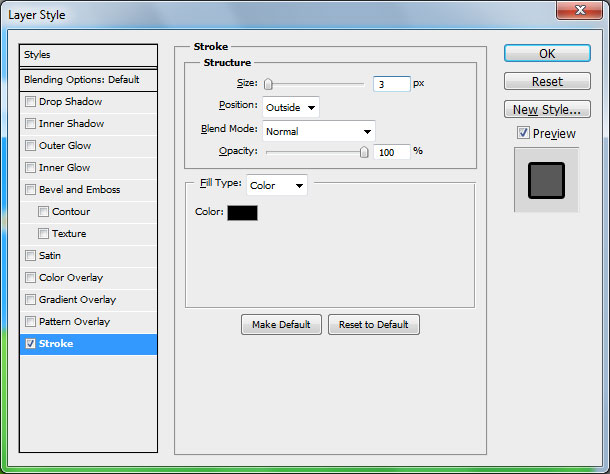
Apply Stroke layer style to current layer.
Step 24
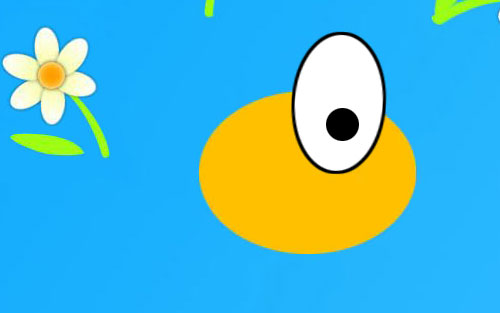
Create a new one round selection and fill it with black color.
Step 25
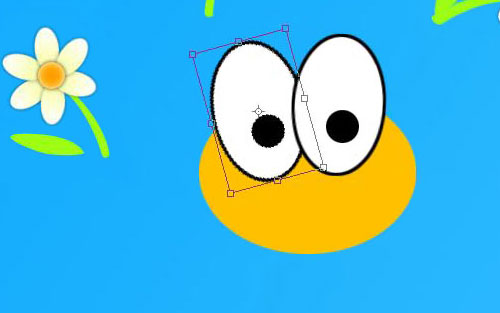
Duplicate this layer with Ctrl+J, then move it a little bit left and turn to left by going to Edit > Transform > Rotate. We have created the eyes.
Step 26
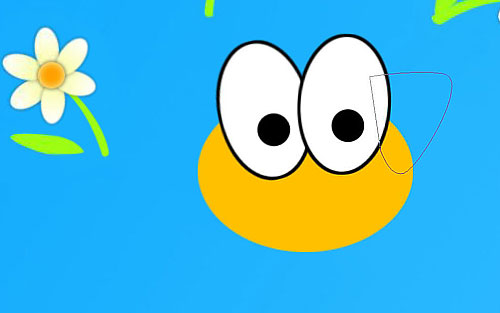
Now we need to add ears. Select the Pen Tool, then go to the layer with orange ellipse and create shape like on image below. Create selection of this shape (Load Path as a Selection – Ctrl+click on shape thumbnail on Paths also works). Create new layer and fill selection with color #ffc000.
Step 27
Duplicate it with Ctrl+J, then apply Edit > Transform > Flip Horizontal to flip copied layer and move it left.
Step 28
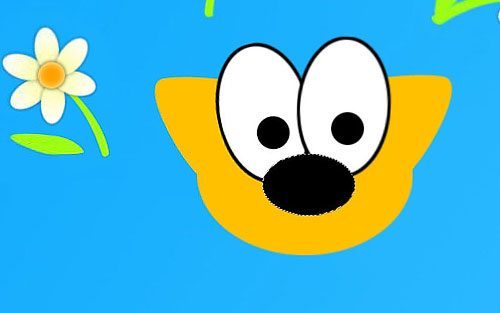
Now let´s focus on creating kitten nose. Create a new layer. On this layer create ellipse selection by using Elliptical Marquee Tool and fill it with black color.
Step 29
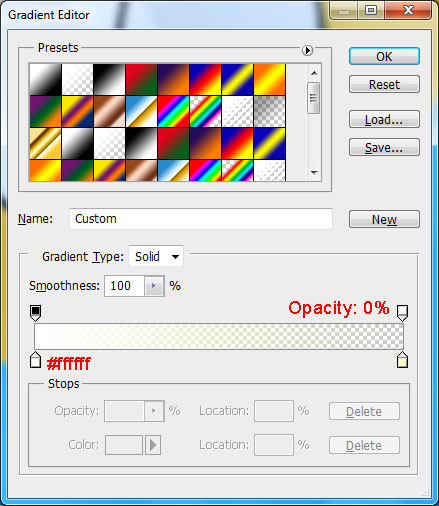
Create a new one ellipse selection on the same layer and fill it with white to transparent gradient. In this way we create small glare on kitten nose.

Step 30
Remove selection with Ctrl+D. Then correct noise shape by using Pen Tool. Create the same shape you can see below.
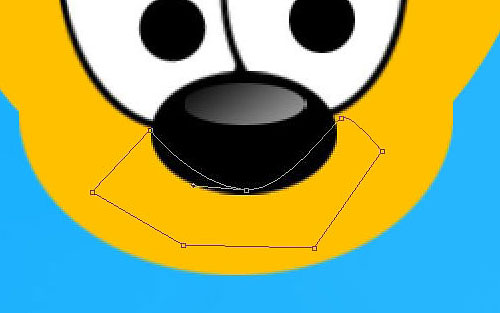
Right click on shape and select Make Selection. After that press Delete to clear selection. Apply Select > Deselect to remove selection.
Step 31
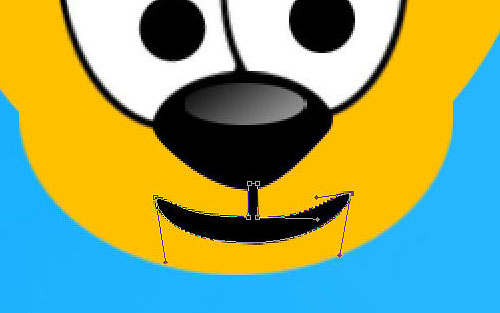
Use Pen Tool to create kitten mouth. Right click on shape and select Make Selection. Fill selection with color #000000 (black).
Step 32
To finish off with the kitten face apply Brush Tool, hard round brush with small size to add a few dots with black color.

Step 33
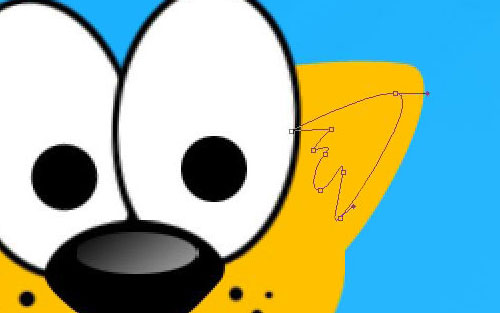
We keep working with the Pen Tool. Create a new layer to create auricle with black color like my image below. Start by creating shape, convert to selection by right clicking on shape and selecting Make Seletion. Finally fill it with black color (#000000).
Step 34
Duplicate this layer, then flip horizontal (Edit > Transform > Flip Horizontal) and move a little bit left to create second one auricle.
Step 35
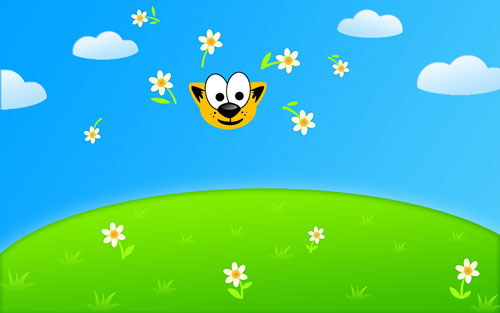
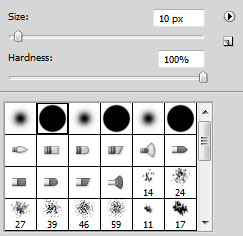
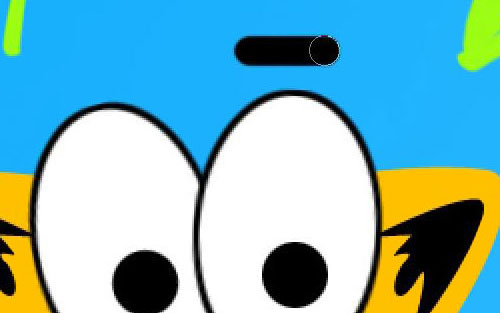
Create a new layer and use the Brush Tool (hard round brush, 10px) to make eyebrow holding Shift button make straight line with black color.
Step 36
With eyebrow layer selected apply Edit > Transform > Warp to bend the line like on image below.
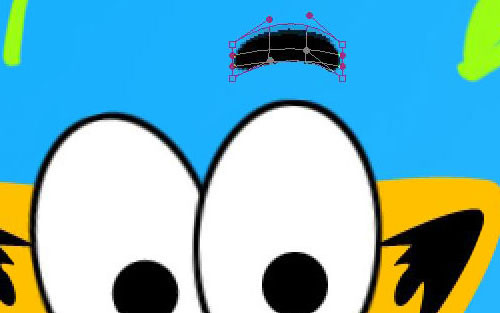
Duplicate layer and move new eyebrow above the other eye.
Step 37
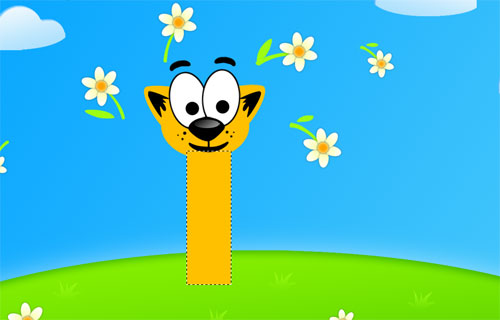
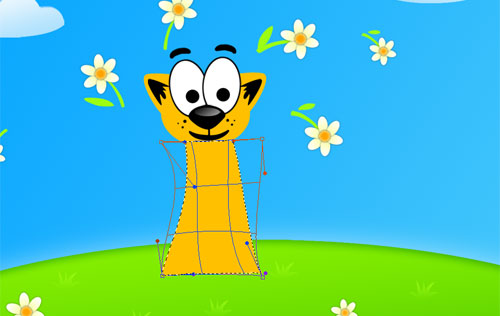
Now I would like to create kitten body. Create new layer. Use the Rectangular Marquee Tool to create rectangular selection and fill it with color orange (#ffc000).
Step 38
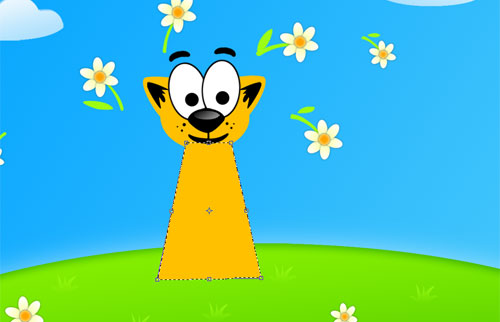
Now go to Edit > Transform > Distort and do like on image below.
Step 39
After that go to Edit > Transform > Warp and transform it again.
Step 40
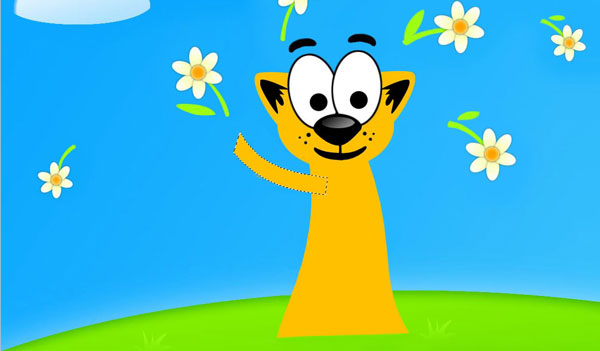
Create new layer. To create arms and hands we use again the Rectangular Marquee Tool. Create rectangular selection to create first arm and fill it with color orange (#ffc000). After that go to Edit > Transform > Warp and transform it.
Step 41
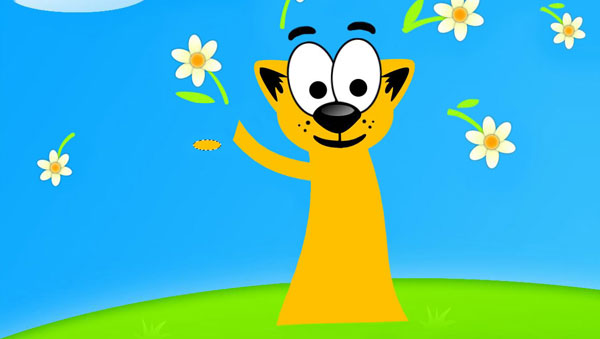
Use the Elliptical Marquee Tool to create hand on a new layer. First create one finger only. Fill it with color orange.
Step 42
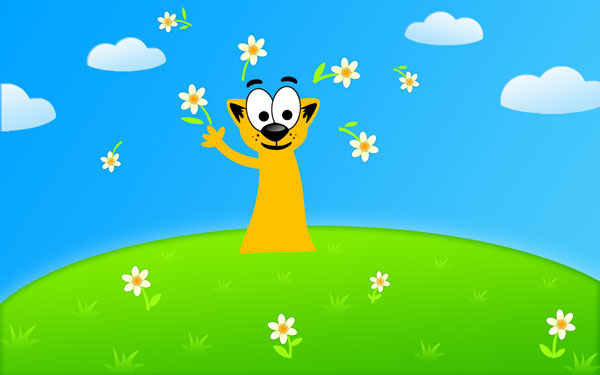
Then duplicate selection and rotate copies to get additional fingers.
Step 43
Merge fingers and arm layers. Duplicate layer and go to Edit > Transform > Flip Horizontal. Move second arm to right position.

Step 44
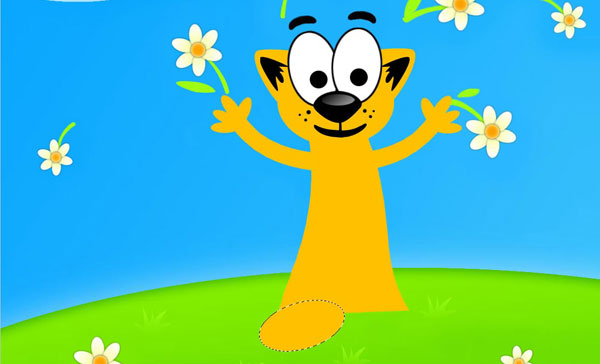
Use again Elliptical Marquee Tool to create first hind leg on a new layer and fill it with same orange color.
Step 45
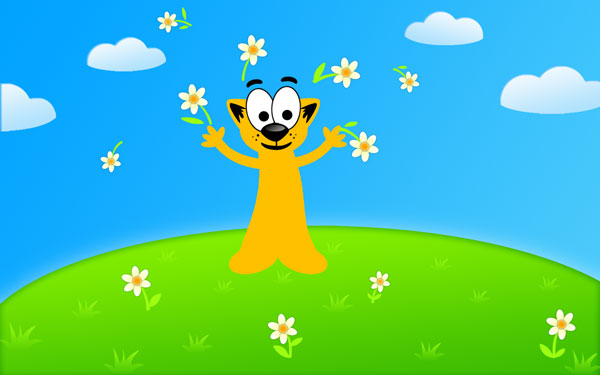
Duplicate layer and go to Edit > Transform > Flip Horizontal. Move second hind leg to right position.
Step 46
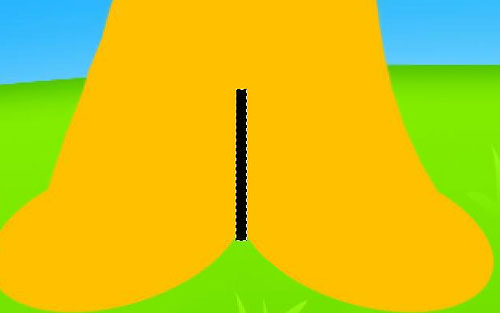
Between hind legs, use Rectangular Marquee Tool and fill selection with black color (#000000).
Step 47
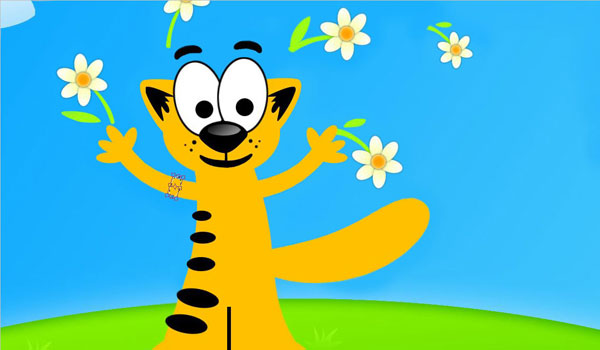
Create tail on new layer by using Elliptical Marquee Tool and transforming it with Edit > Transform > Warp. After finishing creating tail, just merge all the layers with kitten body parts together except kitten eyes. Finally create new layer and add some black stripes on it again with Elliptical Marquee Tool.
Step 48
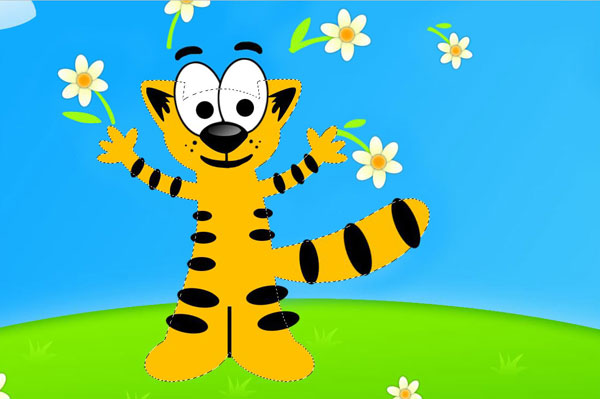
Keep adding black stripes till you have all of them. When you have created all stripes, select layer content that has kitten body (Ctrl+click on the layer thumbnail on layers palette), invert selection with Shift+Ctrl+I (or go to Select > Inverse) and clear selected area (Del).
Step 49
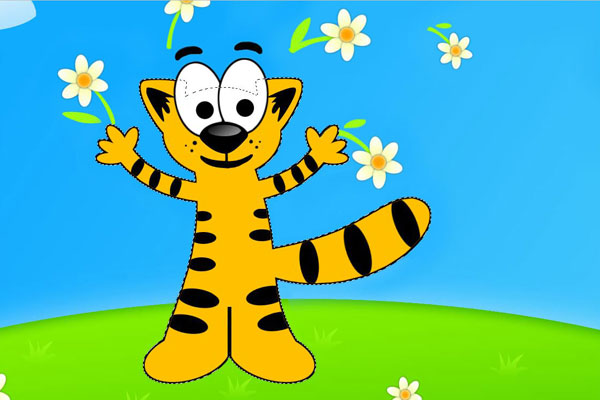
Remove selection with Ctrl+D and merge kitten layer and stripes layer (remember that you must keep kitten eyes layer separated). Select content layer again, create new layer and go to Select > Modify > Expand. We are going to Expand selection by 3 px and finally fill selection with black color (#000000) on new layer.
Step 50
To finish off the tutorial, create a new layer under kitten layer for the shadow and create round selection by using Elliptical Marquee Tool.

Step 51
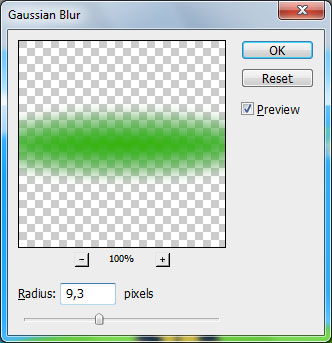
Fill selected area with color #33b301. Remove selection with Ctrl+D and apply Filter > Blur > Gaussian Blur with similar settings to these:
Final Image
That is it! We created pseudo-vector wallpapers for desktop. Hope this tutorial was useful for you.

