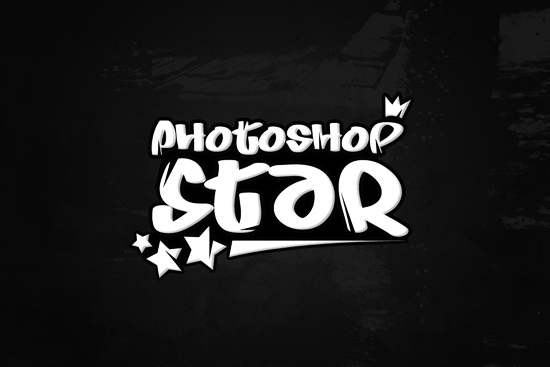
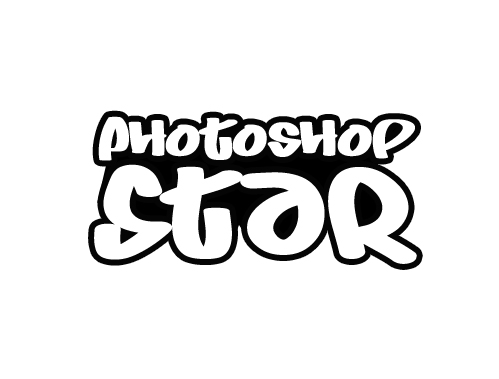
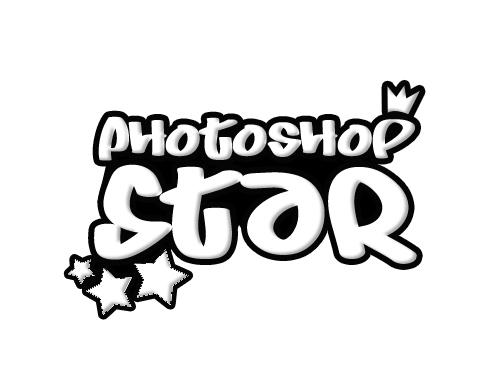
In this Photoshop tutorial we’ll be learning how to design a simple, urban-style logo, good for your local band website or something like that 😉 You can see exactly what we’ll be designing below.
1. Document
I’ll be using a document size of 500 x 500 pixels for this tutorial, but something like 800 x 600 pixels or similar will be great. Fill the background with white by using the Paint Bucket Tool.
2. Font Selection
Here I went with a font called Juice, an urban-style, kind of like a graffiti font. Use the Horizontal Type Tool and add your text in the center of the image.
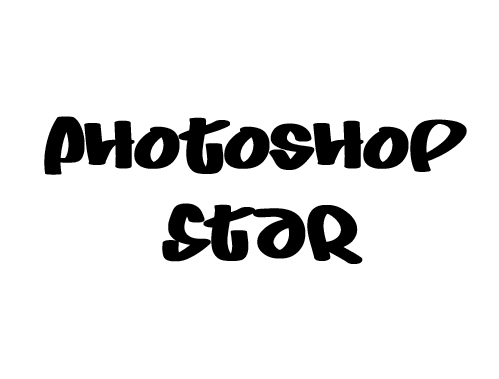
For a good font selection, you should check out a recent article published at You the Designer: Twelve Fantastically Free Graffiti Fonts.
3. Type Settings
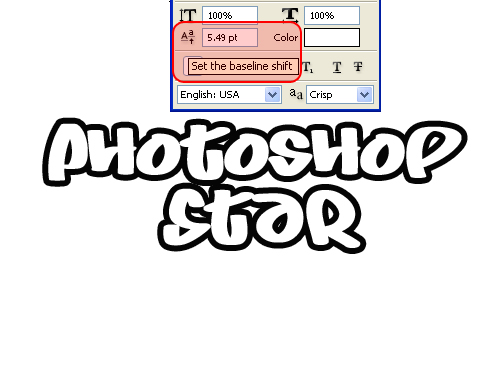
Set the baseline shift, so the two words are stacked. Change the font color to white, and add a 3-4 pixel black outline. You can do this by double clicking the font layer, and selecting “Stroke” near the bottom in the Layer Style menu.
4. Type Settings (again)
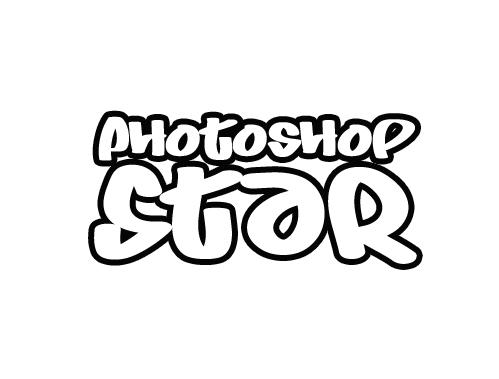
Even out the width of the two words, by enlarging the smaller word until it fits.
5. Text Background
Next, fill in any holes between the letters by using a black vector shape. Use the Pen Tool, or you can fill it in with a brush. (Though using vector makes fixing mistakes a breeze)
Now simply drag the layer down, behind the type in the Layer window.
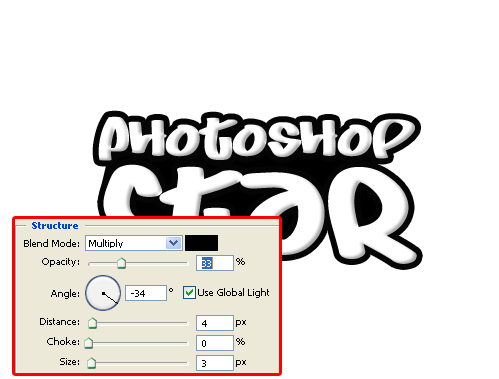
6. Text Inner Shadow
To give some dimension, we’ll add an inner shadow to the type layer. Double click the font layer and select Inner Shadow in the Layer Style menu. Here, I went with 33% opacity at a -34 angle. For distance choose 4px and size 3px. This blurs the shadow a bit, making any holes in the shadow less noticeable.
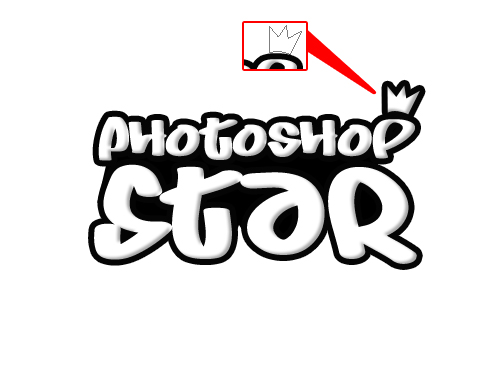
7. Additional Shapes
Now we’ll begin to add some other shapes to the image. Using the Pen Tool, I created a crown on the P. Use the same Layer Style as the type. Right click the font layer and select Copy Layer Style. Now that the layer style is on your clipboard, paste it on your crown by selecting Paste Layer Style.
8. More Shapes
Next, I’ve added stars on the bottom left corner of the type using the same process in Step 8. If there are holes in between the type and images, repeat Step 5 for remaining holes.
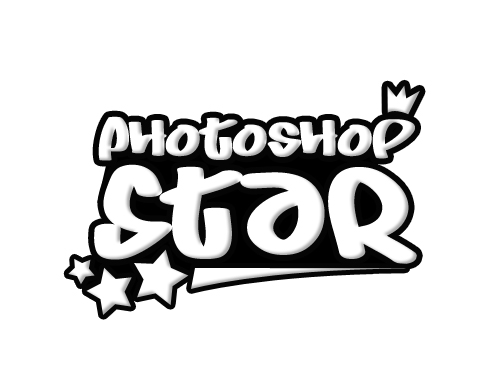
Here, I’ve added a small stripe under the name to bring everything together. Follow step 8 and 5 once again.
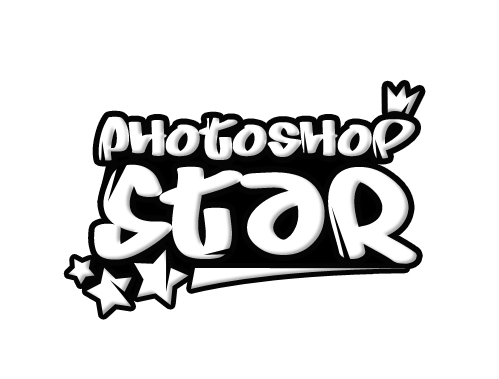
9. Add Lines (Cracks) to Text
Using the Pen Tool, you can make stylized lines throughout the type. It’s important not to go overboard here! Make sure you’re consistent on the widths, and how far from the edge they are. Things can go wrong here quickly, so leaving it plain or simple is always better than a messy piece!
Vollständige
For presentation, you can finish off by adding a nice, dark gradient to the background, then maybe a little grunge, a texture. Get creative and you’ll come up with something nice! 🙂