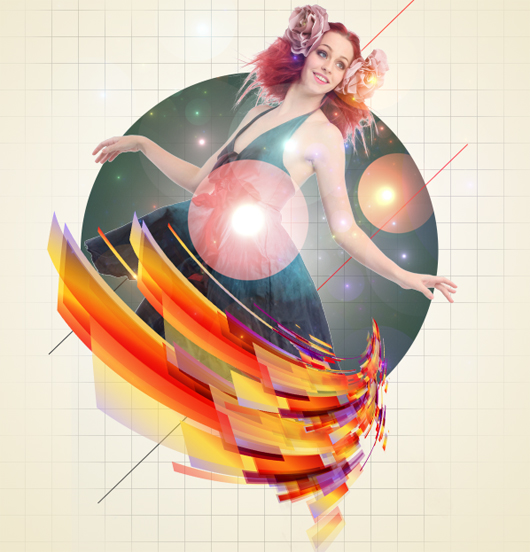
In this Adobe Photoshop tutorial, we will learn how to create a beautiful abstract photo manipulation applying some advance techniques of masking, lightning and the use of adjustment layers.
Final Image

Resources
Step 1
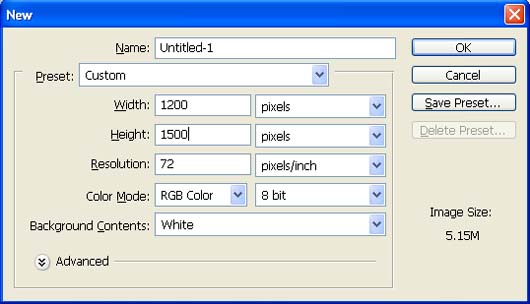
Create a new file with a width of 1200 px and a height of 1500 px at 72 dpi (Dots per Inch). Background Contents should be White.
Step 2
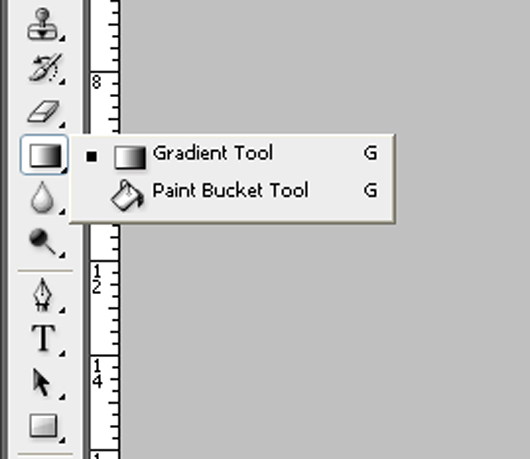
First off, let’s activate the Gradient tool (G).
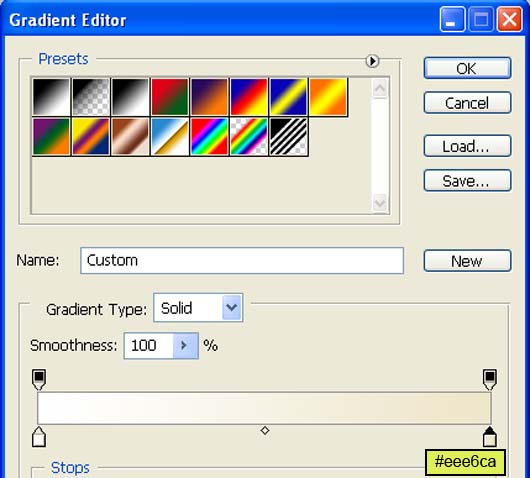
Then open the Gradient editor box and input the following:
Now drag the mouse in the direction of the red arrow.
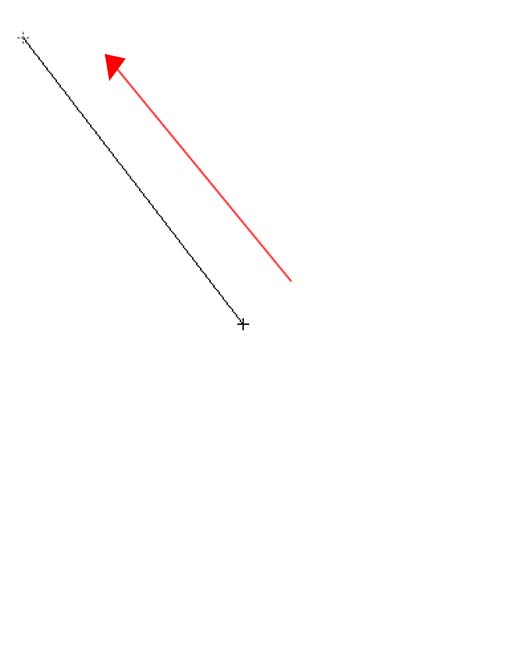
The result should be similar to this:

Step 3
Now activate the Single Row Marquee Tool.
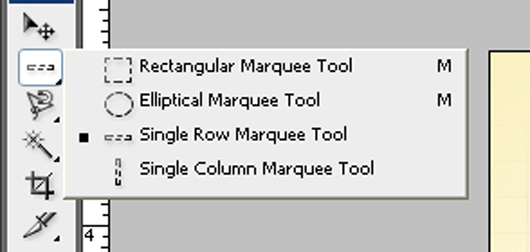
Let’s make a new layer and name it “Line”. Now click on the canvas you can see that you have a selected part so fill it with #409cf9.
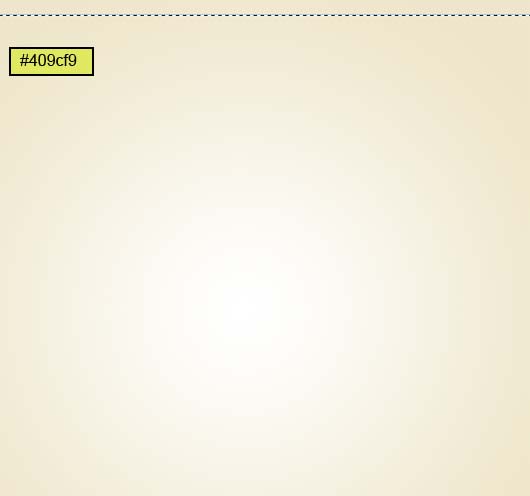
Repeat the same process and you will get something like this :
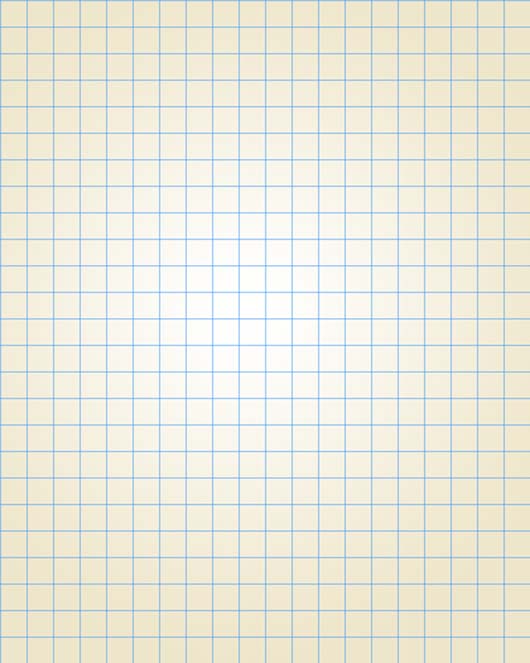
Step 4
Now add a layer mask to our lines layer .
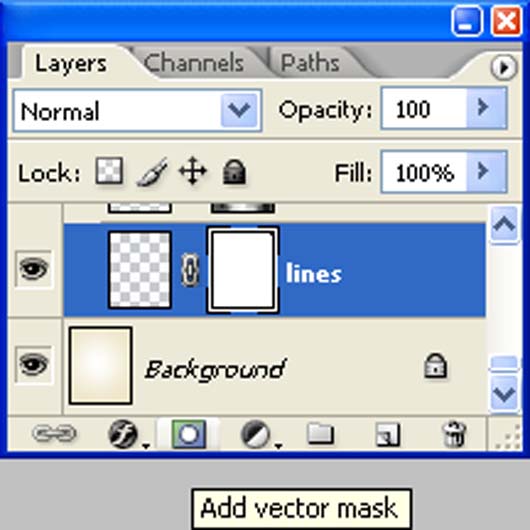
Now activate the Brush tool (B) using these settings :
Brush size: 400px
Hardness: 0%
Opacity: 40%
Flow: 100%
Color: #000000
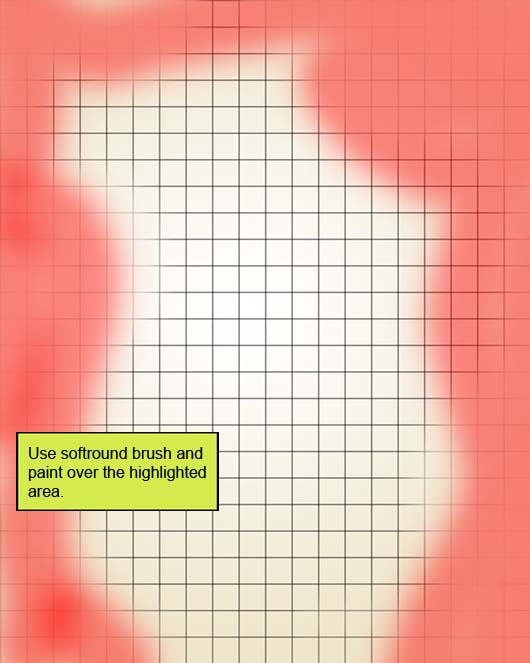
Now paint over the highlighted area.
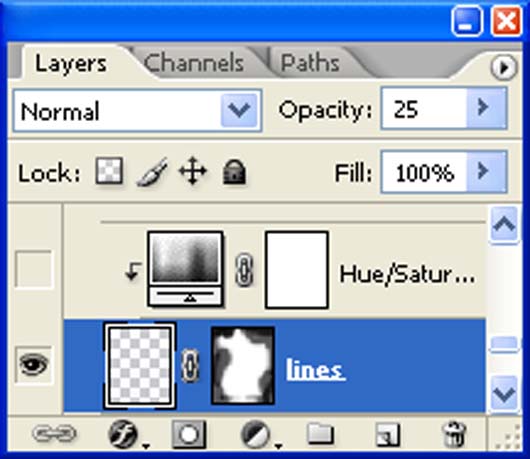
Reduce the layer opacity to 25% :
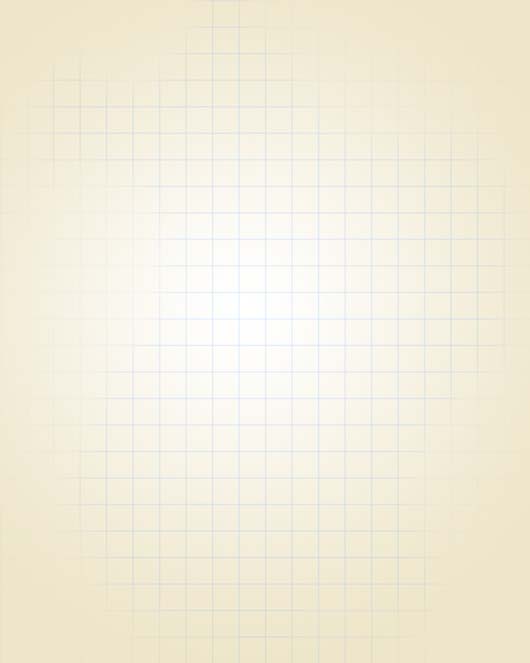
The result should be similar to this:
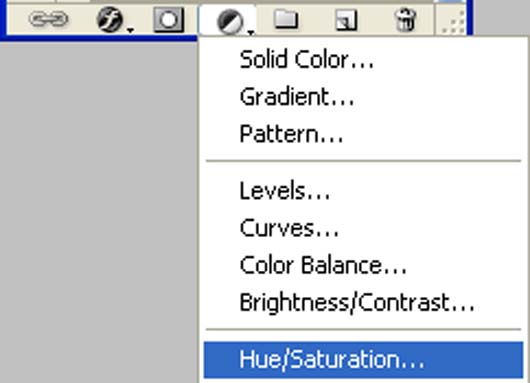
Now create a new Hue/Saturation adjustment layer from the icon at the bottom of the layers palette .
When the Hue/Saturation box opens, input the following:
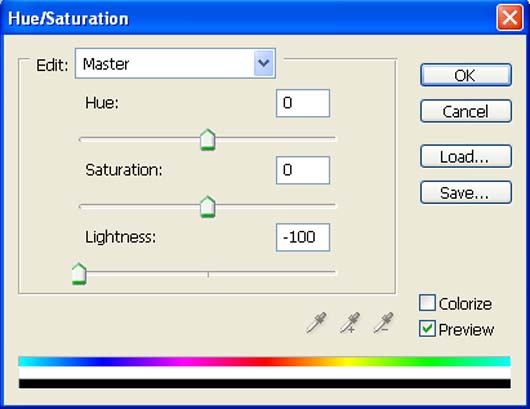
Press Alt+left click in between 2 layer’s (lines layer and Hue/Saturation) to make a clipping mask.
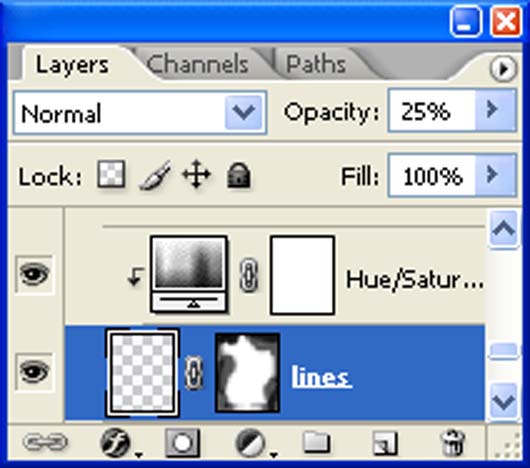
The result should be similar to this:
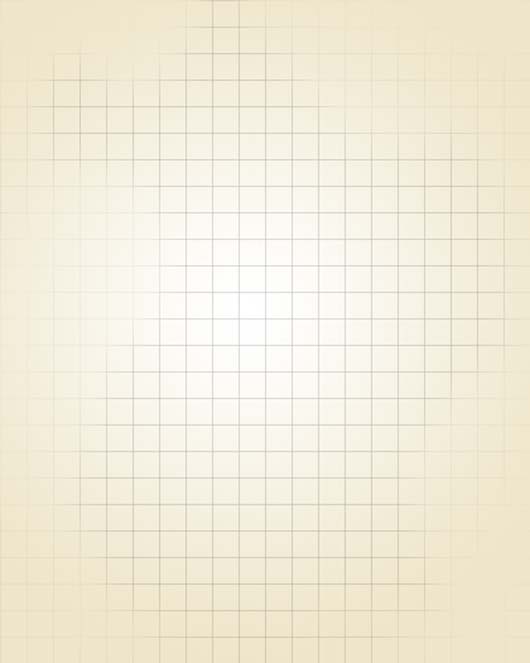
Step 5
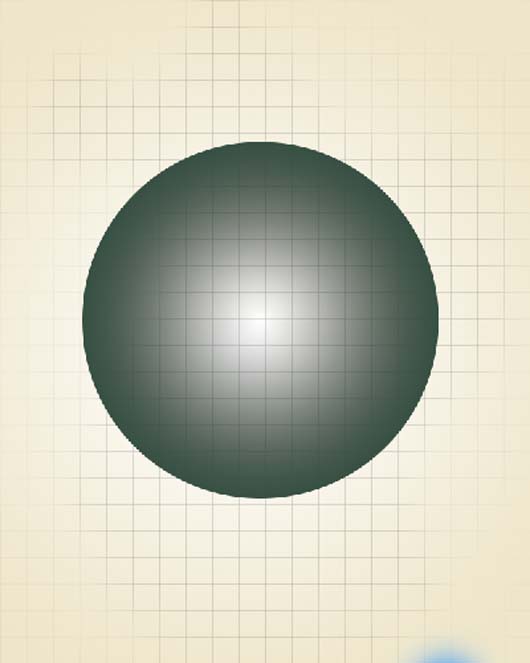
Now activate the Elliptical marquee tool, hold down the Shift key to restrain proportions and drag out a circle as shown below, use the Paint Bucket Tool to fill it with black .
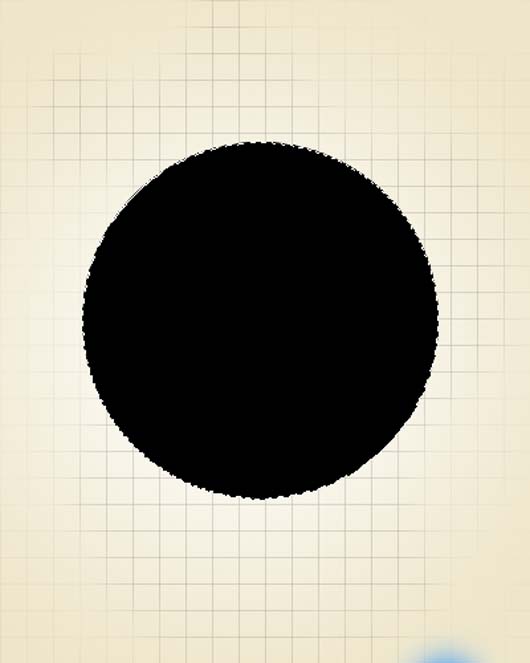
Now add a Layer style by clicking on the fxicon at the bottom of layers palette .
When the Layer style box opens, input the following Gradient Overlay settings:
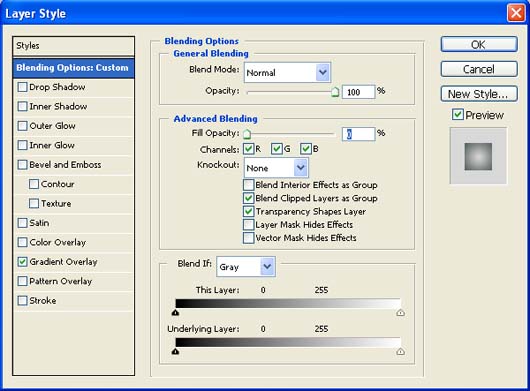
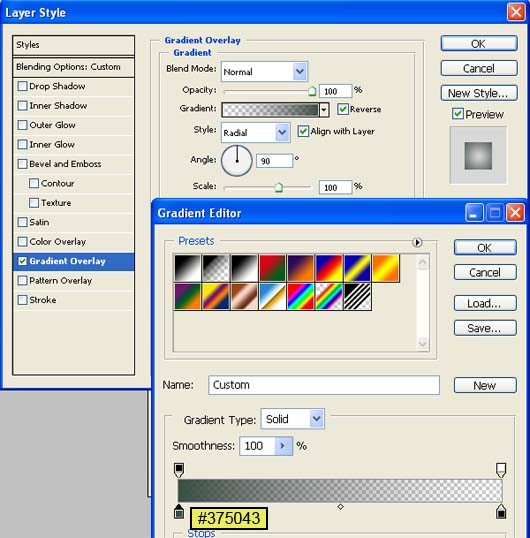
The result should be similar to this:
Step 6
Now activate the Brush tool (B) using these settings :
Brush size: 3px
Hardness: 100%
Opacity: 100%
Flow: 100%
Color: #000000
Then activate the Pen tool (P) and draw a line then right click on the line and choose Stroke Path.
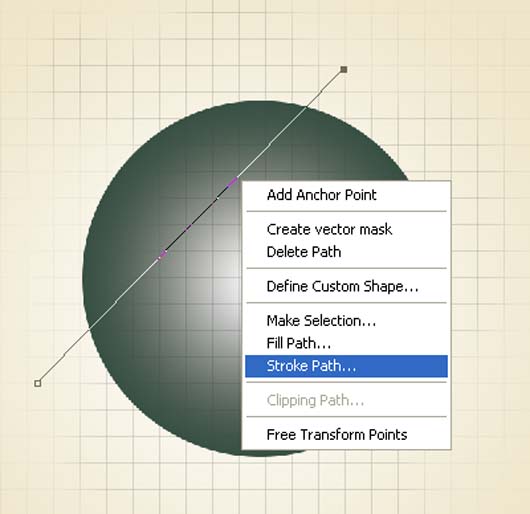
When the Stroke path box opens, input the following:
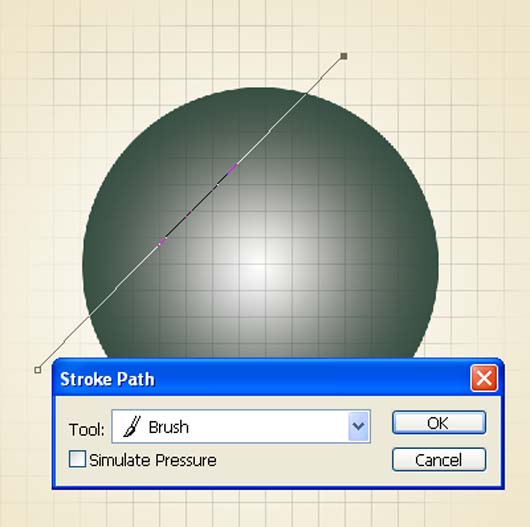
Now again make a right click and this time choose Delete Path .
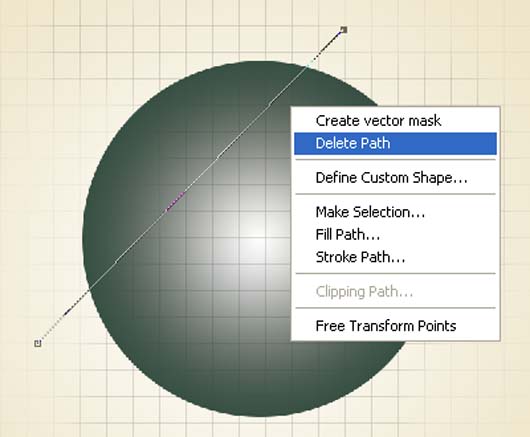
The result should be similar to this:
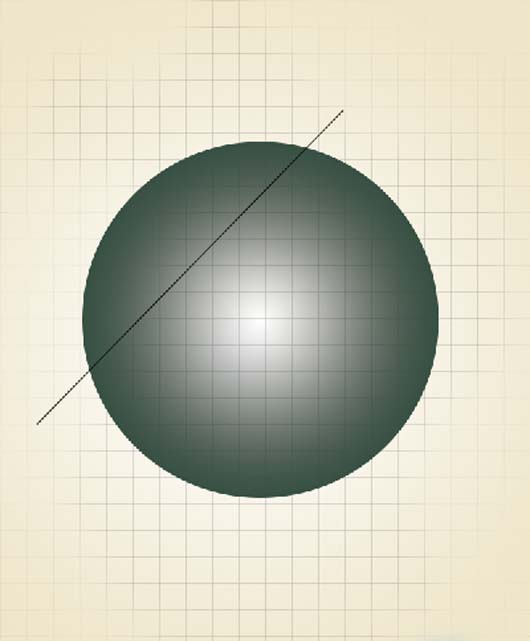
Now add a Layer style by clicking the fxicon at the bottom of layers palette.
When the Layer style box opens, input the following Gradient Overlay settings:
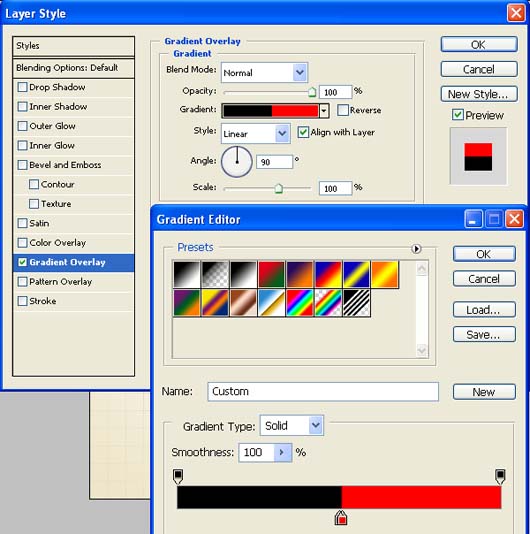
The result should be similar to this:
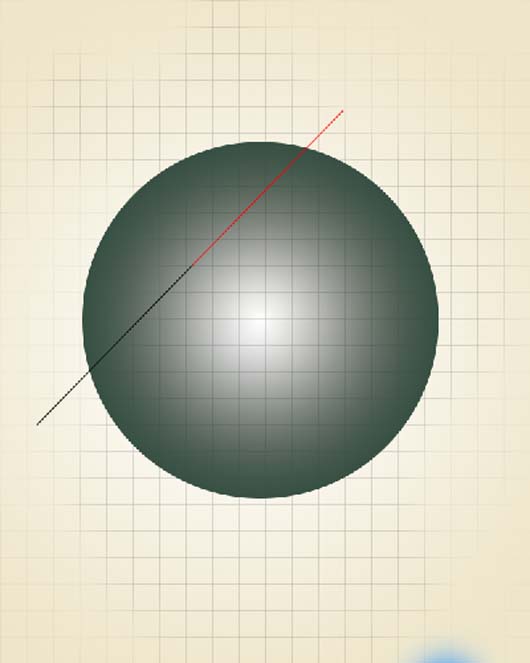
Add more lines:
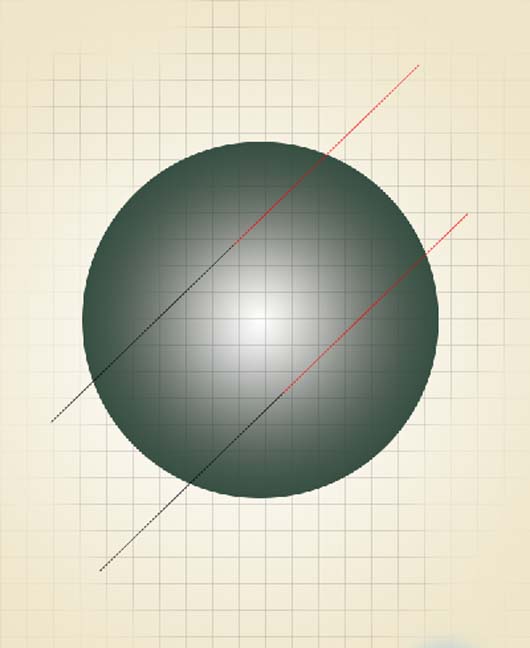
Step 7
First off, let’s open fairy32 stock in Photoshop. We will be using the Girl from this stock image so we will need to transfer it to our main canvas.
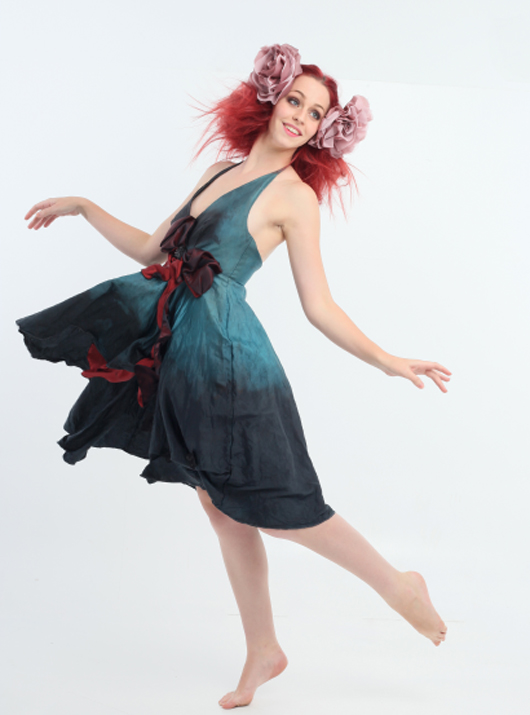
Now go to Select > Color range :
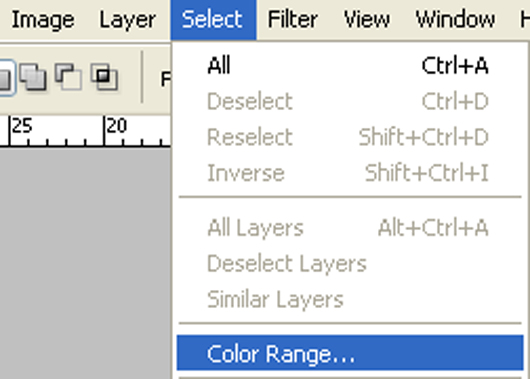
When the Color Range box opens, input the following and click on the highlighted area :
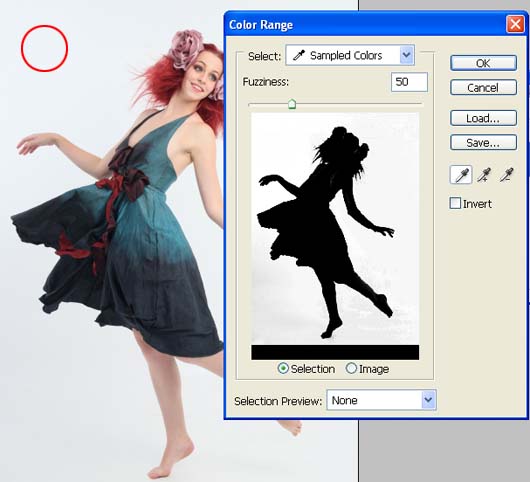
Press V to activate the Move Tool. Left-click the image and drag the image to the main canvas and change layer name to “Girl”.
Next, activate the Transform tool (Ctrl/Cmd +T), then while the “Girl” layer is selected, resize it as shown below:
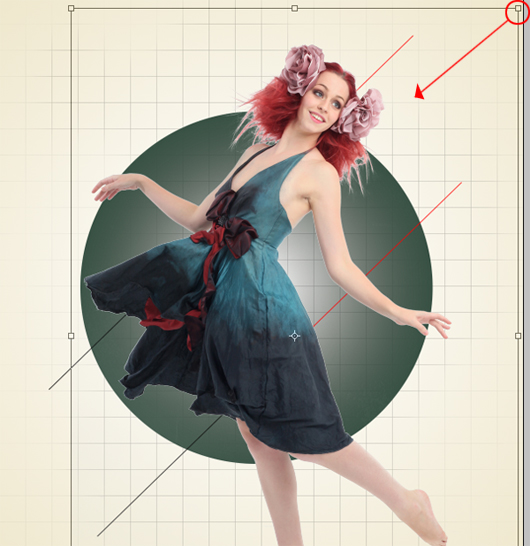
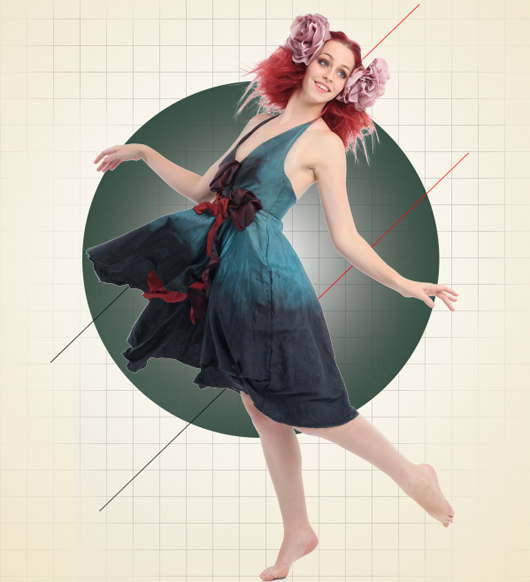
The result should be similar to this:
Step 8
Now, activate the Brush tool (B) and open the brush set “15 grunge ps brushes” by Sarytah. To load them, simply, right click on your canvas through any layer and then click on the drop-down button as shown below:
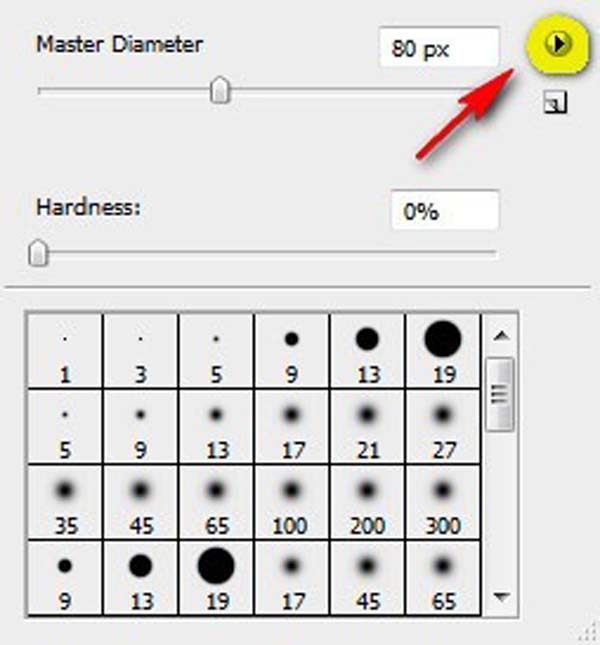
This will prompt the contextual menu to pop up and once you see that, just click on Load Brushes.
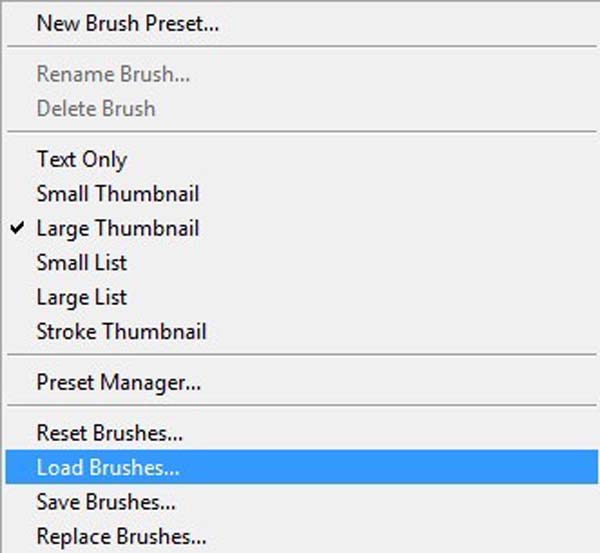
You will now be prompted to this directory: Adobe Photoshop > Presets > Brushes so make sure that you have put the brushes within this folder, or navigate to the folder that contains the brushes. Now locate the brush set and click OK. Right click on the canvas again using your Brush tool (B) and now you’ll notice that you have 15 grunge ps brushes.
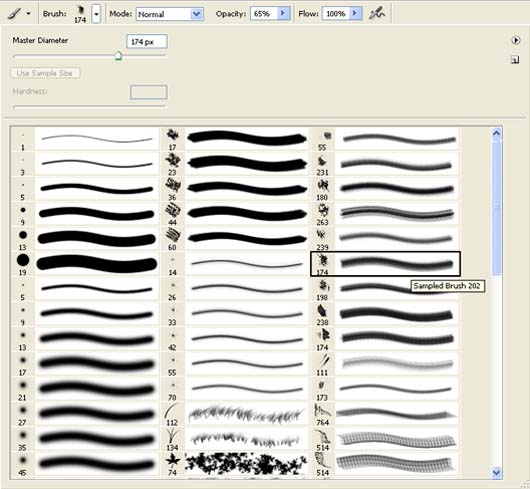
Now create a vector mask by clicking on the Add Layer Maskicon at the bottom of layers palette.
Now this time choose any grunge ps brushes and use these settings:
Brush size: 400px
Hardness: 0%
Opacity: 40%
Flow: 100%
Foreground Color: #000000
Background Color: #000000
Now paint over the highlighted area.
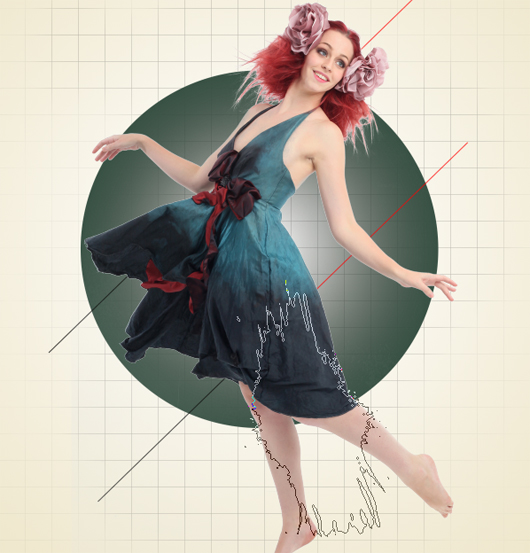
The result should be similar to this:
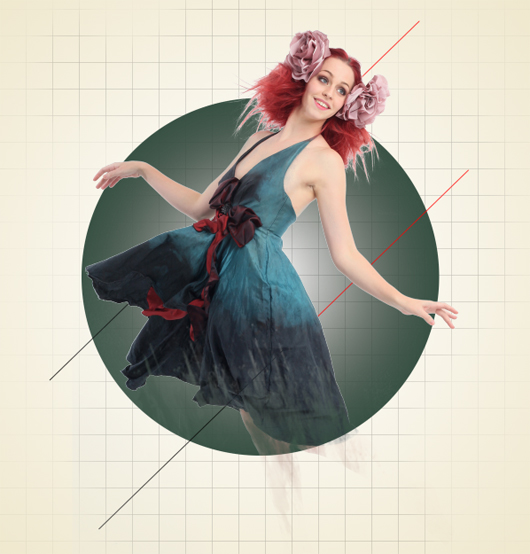
Step 9
Now,let’s open “abstract” file in Photoshop. We will be using the sky from this stock image so we will need to transfer it to our main canvas.
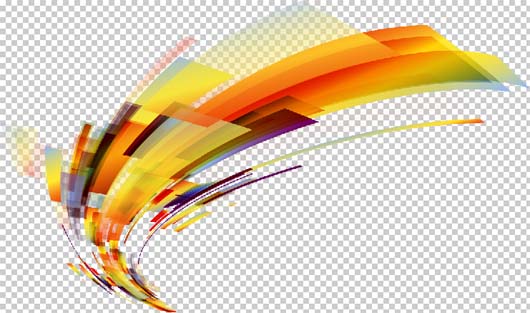
Click the “abstract” and press V to activate the Move Tool. Left-click the image and drag the image to the main canvas and change layer name to “Abstract 1”.
Next, activate the Transform tool (Ctrl/Cmd +T), then while the “Abstract” layer is selected, resize it as shown below:
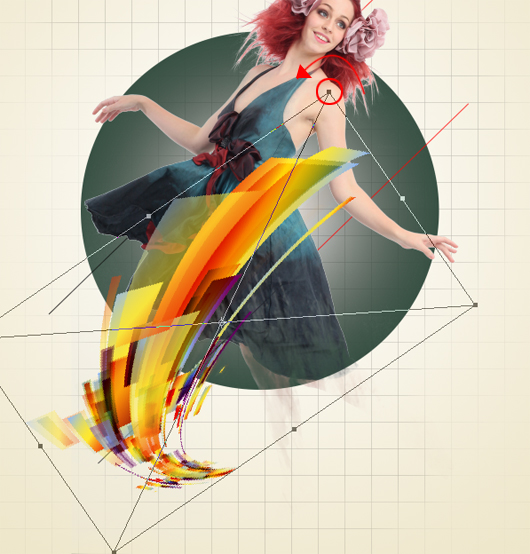
The result should be similar to this:
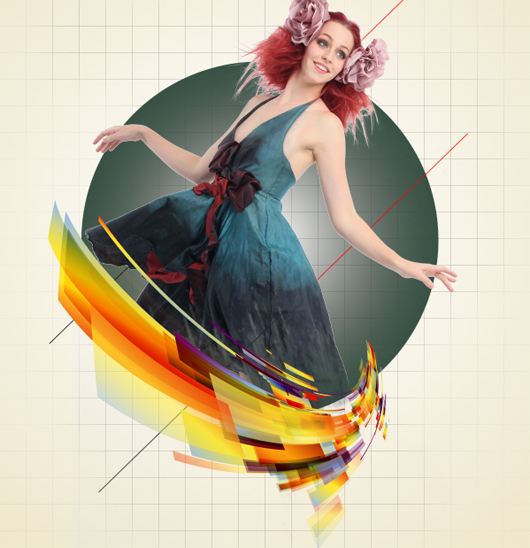
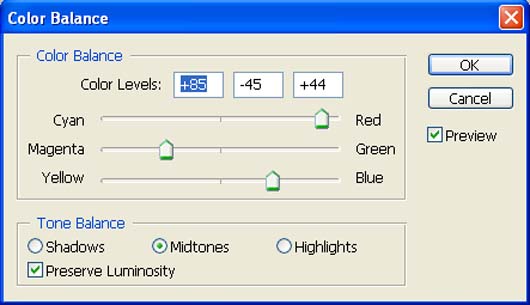
Now create a new Color Balance adjustment layer by clicking the icon at the bottom of layers palett . Press Alt+left click in between 2 layer’s (Abstract 1 layer and Color Balance) to make a clipping mask.
When the Color Balance box opens, input the following:
The result should be similar to this:
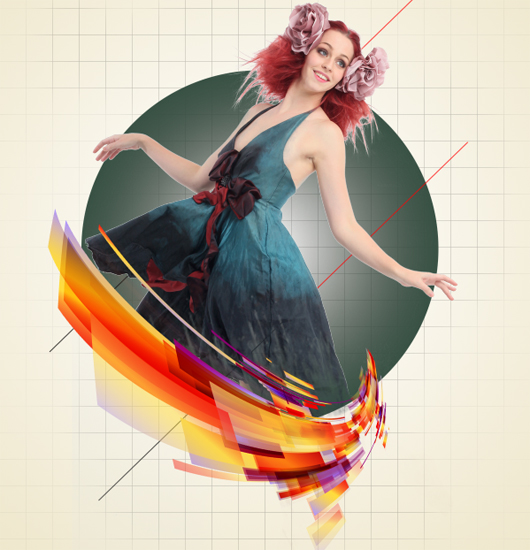
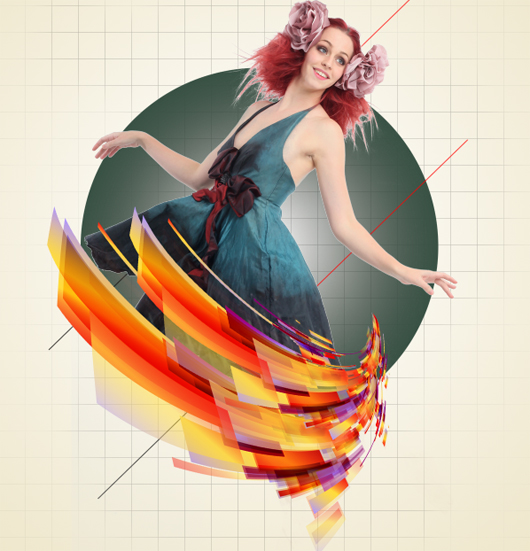
Make a duplicate of abstract 1 layer (Ctrl+j):
Step 10
Now,let’s open the High Resolution Bokeh Texture in Photoshop. We will be using the Texture from this stock image so we will need to transfer it to our main canvas.
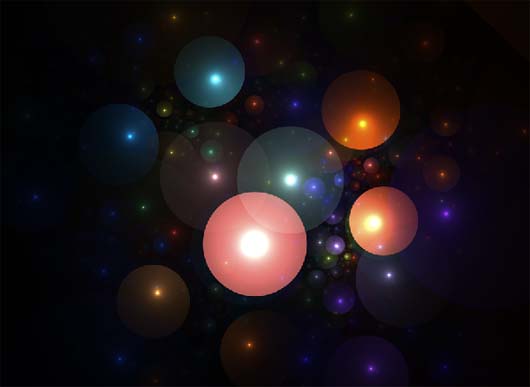
Click the High Resolution Bokeh Texture and press V to activate the Move Tool. Left-click the image and drag the image to the main canvas and change layer name to “Light”.
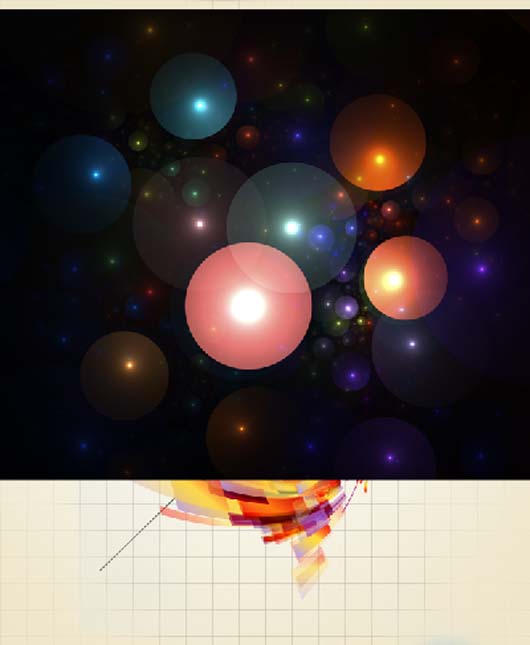
Change it’s layer mode to “Screen”.
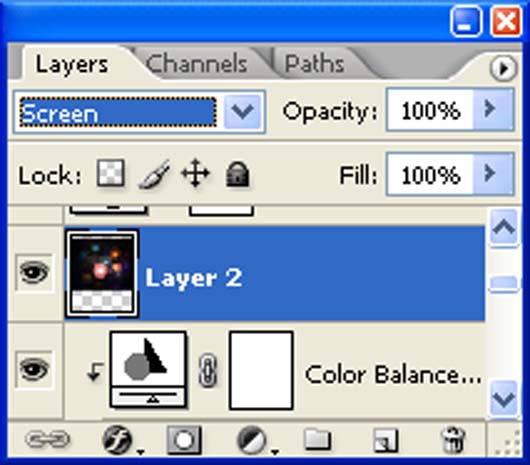
The result should be similar to this:
Step 11
Now create a Color Balance adjustment layer which can be found by pressing on the Create New Fill/Adjustment layer button shown on the layer window:
When the Color Balance box opens, input the following:
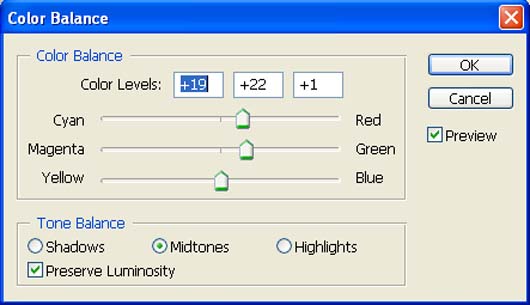
The result should be similar to this:

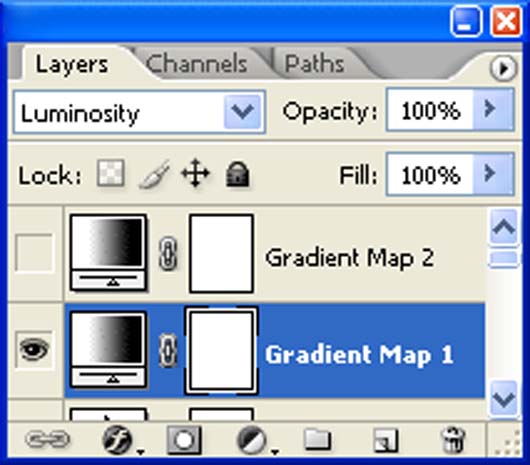
Create a Gradient map adjustment layer which can be found by pressing on the Create New Fill/Adjustment layer icon at the bottom of the layers palette.
When the Gradient map box opens, input the following:
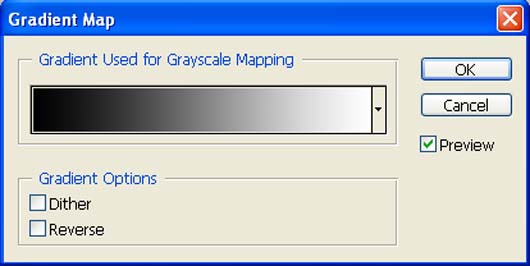
Change it’s layer mode to “Luminosity”.
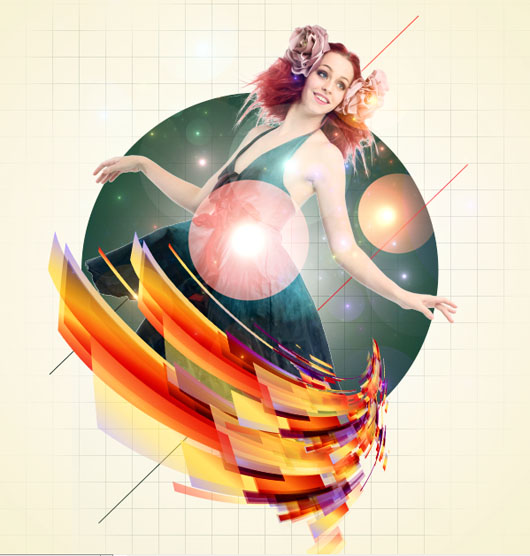
The result should be similar to this:
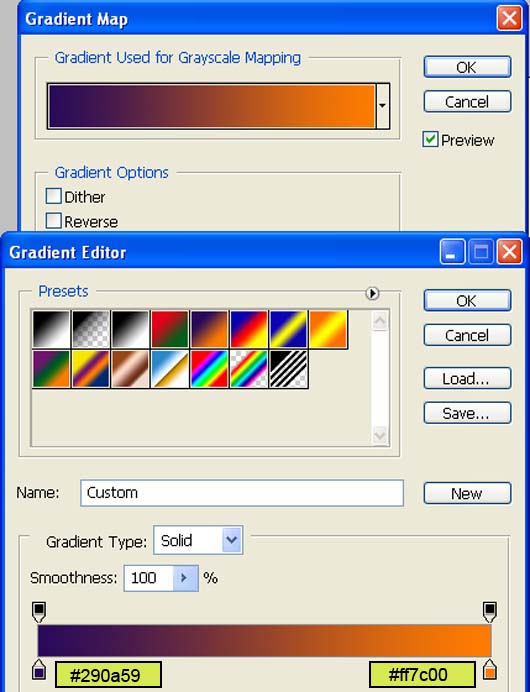
Create a Gradient map adjustment layer which can be found by pressing on the Create New Fill/Adjustment layer button shown on the layer window.
When the Gradient map box opens, input the following:
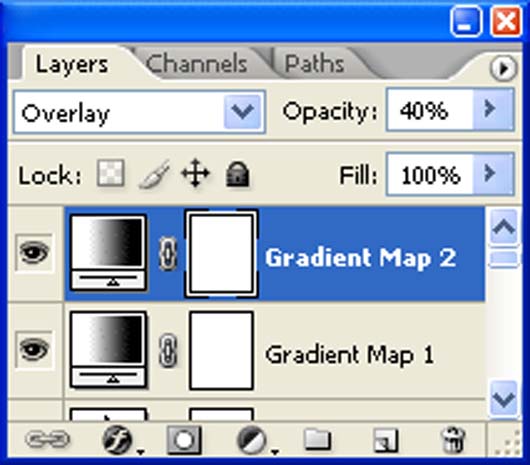
Change it’s layer mode to “Overlay”.
And We’re Done!


