One more tutorial teaching you how to make a man facial retouching in Photoshop.
Final Image Preview

Resources
Step 1
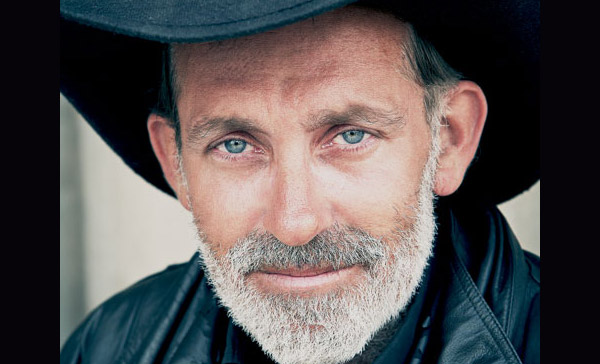
Start by opening photo.

We are going to start by removing skin problems. Select Healing Brush Tool. This tool lets you correct imperfections, causing them to disappear into the surrounding image. Like the cloning tools, you use the Healing Brush tool to paint with sampled pixels from an image or pattern. However, the Healing Brush tool also matches the texture, lighting, transparency, and shading of the sampled pixels to the pixels being healed. As a result, the repaired pixels blend seamlessly into the rest of the image.
Set up the brush size about 20 pixels. Set the sampling point by positioning the pointer over an area of the image and Alt-clicking. Then click or drag in the place where you want to apply sampling point. The sampled pixels are melded with the existing pixels each time you release the mouse button.

It’s very important to leave natural look for the skin so you should have at least leave some small defects. We are going to remove some wrinkles also. When you finish working with Healing Brush Tool you should have something similar to image below.

Step 2
Duplicate background layer with Ctrl+J. Apply Image > Adjustments > Desaturate to convert image to grayscale values.

Apply Filter > Sharpen > Sharpen More.

Change layer mode to Multiply.

Reduce layer opacity to 60%.

Step 3
Duplicate background layer again with Ctrl+J. Move it on top of all layers and apply Image > Adjustments > Brightness/Contrast.


Apply Image > Adjustments > Hue/Saturation.


Change layer mode to Multiply.

Step 4
Duplicate background layer again with Ctrl+J. Move it on top of all layers and apply Image > Adjustments > Brightness/Contrast.


Change layer mode to Screen.

Step 5
We still need to make some additional color correction on this photo. Select Layer > New Adjustments Layer > Color Balance.

Go to Window > Adjustments and set up following presets for this layer.


Step 6
To complete this tutorial let’s change exposure a bit. Select Layer > New Adjustments Layer > Exposure.

Go to Window > Adjustments and set up following presets for this layer.

Final Image
This tutorial is complete. We got a nice retouching result and applied a good photo effect.