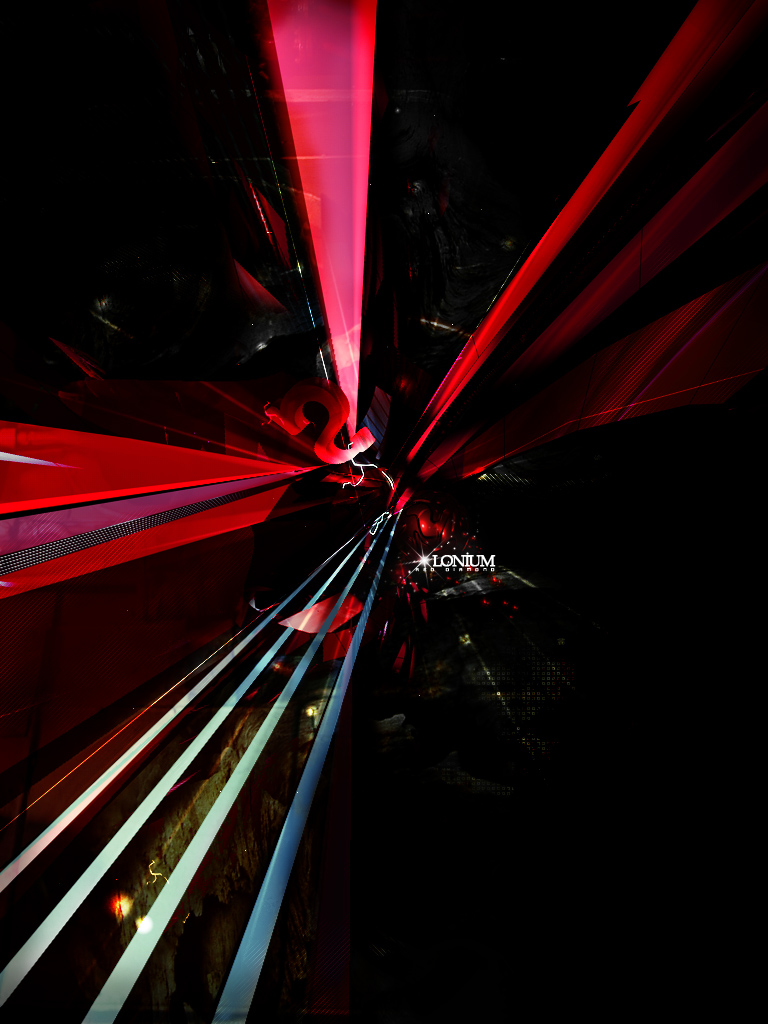
In this Photoshop tutorial we’ll be walking through the process of making an abstract artwork, using abstract 3D renders, textures, and more.
Preface
First of all, I would like to thank roxymanlol from deviantART for writing this tutorial and giving me permission to use it. Also, the resources used in this tutorial can be found below.
Before we start, you should know that if you want to make an abstract art piece like the one being made in this tutorial, normally you would have to make some 3D renders. But for this you won’t have to make your own, because on some websites such as deviantART and design websites/forums they have 3D renders that you can download for free. We’ve also included the render used in this tutorial as a free download.
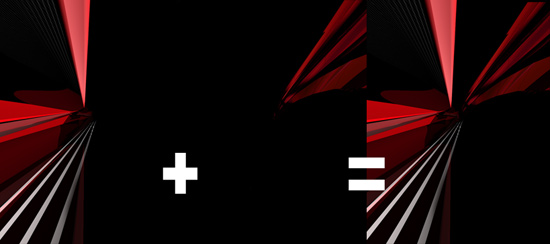
1. Render(s) + Background
Start by making a new document in Photoshop – something around 768 x 1024 pixels will be fine for this tutorial (learning purposes). But if you were working for print or something, you would want to make it much larger, using 300-600 resolution.
Now we need to get some 3D renders together. For this you can just download the ones we’ve used from above.
(find renders on deviantART)
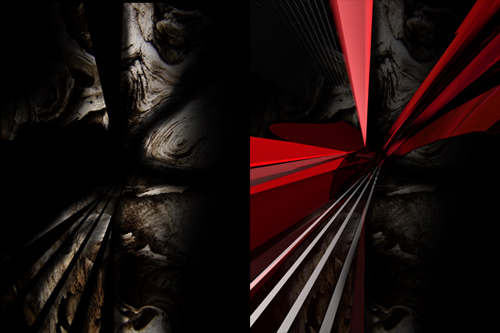
2. Texture Work
Now comes the important part, called ‘postwork’ of our abstract image. First you have to find some cool textures to add into the image, I downloaded some from Resurgere (resurgere.deviantart.com).
By the way, I chose a wood texture and set the layer mode to Screen, then erased away the ‘ugly’ parts, actually the parts that were on top of the render.
So, now you’ve got something interesting like that going on, add another interesting texture. This time I’ve used a machinery stock photo from resurgere again.
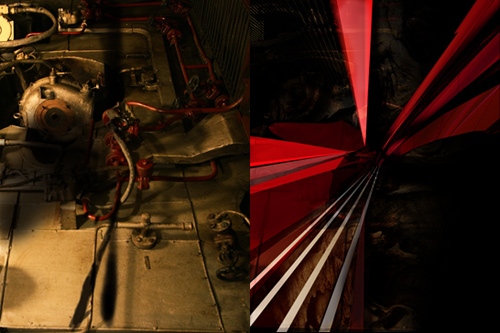
After you’ve got your stock photo in there, change the layer mode to Soft Light and erase away the ‘ugly’ parts again.
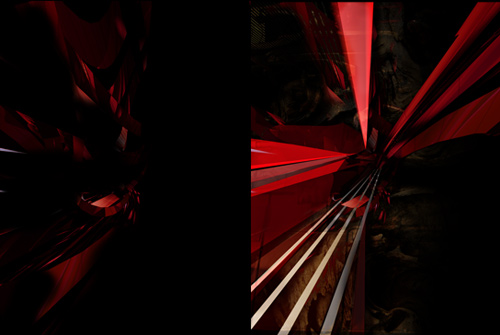
Now, I placed my render in another position and placed it on top of all the other layers. Change the layer mode for this layer to Lighten and mess with the opacities, etc. You may also want to try different layer modes with this.
You may want to download the PSD file at the end of the tutorial and take a look through all of the layers.
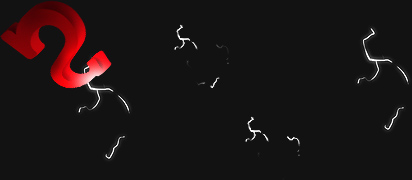
3. Additional Shapes
Use your imagination here and add some details to your work, in this case I used some ‘lightning effect’ brushes and I added a 3D letter “S” in Photoshop, to add to the image:
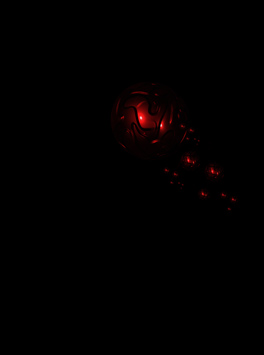
4. Highlights & More
With a bright brush I made an illumination effect in the center of the image, to make a focal point of our abstract. After adding the brushing, change the layer mode to Overlay (100%):
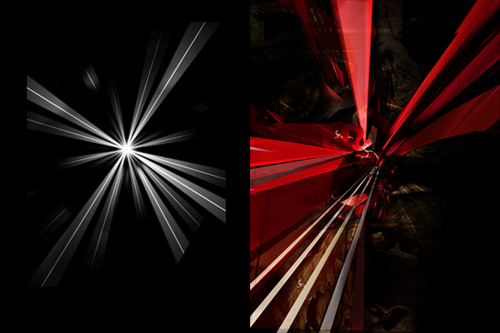
You don’t have to be exact with this, just make a little bit of nice brushing and make it look nice 🙂
5. Colourise
Now you can manipulate the colors as you wish. In this case I used a Blue Photo Filter, Blue/Green Gradient in Overlay and 50% opacity and Selective Color. Now I get a result like this, which I’m quite happy with:
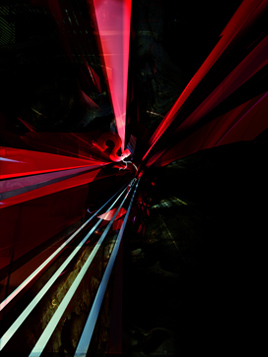
6. Lighting Effects
Using the Pen Tool and the Gradient Tool (radial gradients), with a white color you should make some really nice lighting effects like shown below:
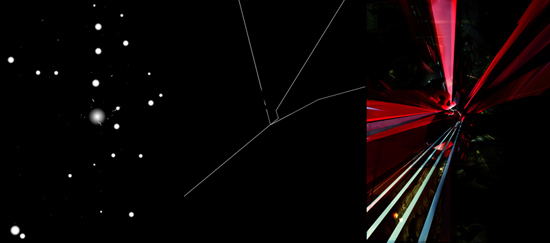
After you made your lighting effects, change the layer mode to Overlay, and if necessary, duplicate the layer a few times.
7. Additional Render(s)
I then added in a small abstract render that I downloaded from deviantART. For this I used Screen layer mode with 100%.
You can find free abstract renders here on deviantART.
8. Finalizing
In finishing, add some nice brushes or interesting patterns, such as diagonal lines or squares with some space between the pattern. To get a nice effect you should try to place them quite randomly. After placing your brushes or patterns, change the layer mode to Overlay and it will add a very cool finishing effect. If your effects don’t show up very well, duplicate the layer a few times.
Be sure to also experiment with the typography, try some unique fonts. Get some fonts from either of these websites: Urban Fonts, DaFont, Font Space.