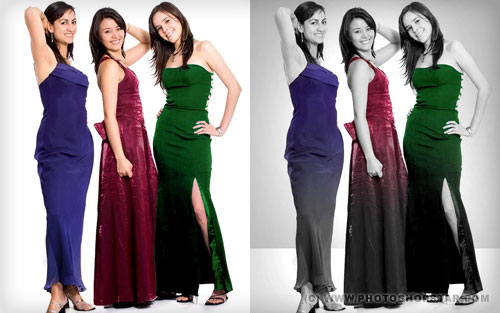
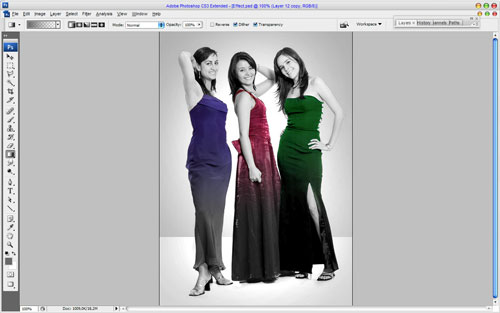
Here is one more tutorial photo effect tutorial where I’ll teach u how to create color fragments effect on the black white photo.
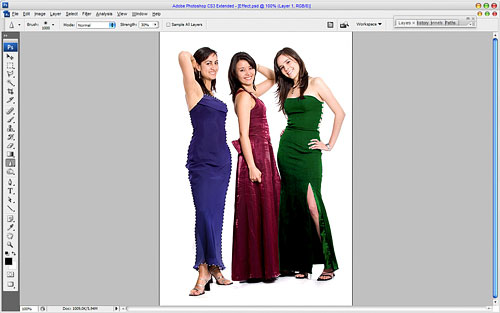
So, let’s start! Well, first off you’ll want to start by finding a nice stock photo on the stock photo websites or on the Google Images or feel free to use my own. Open up the picture.
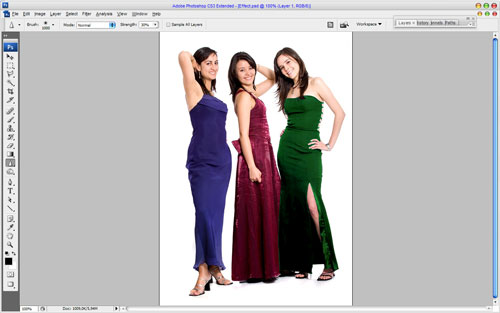
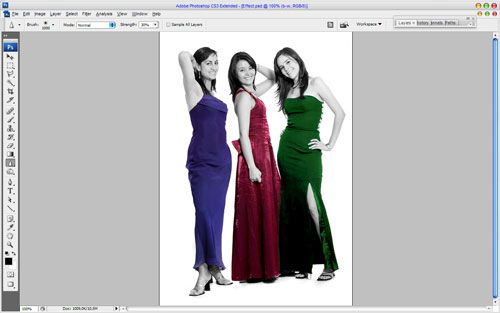
Use the Polygonal Lasso Tool to create dress selection of the first woman, then press Ctrl+J to copy selected part of image on the new layer.
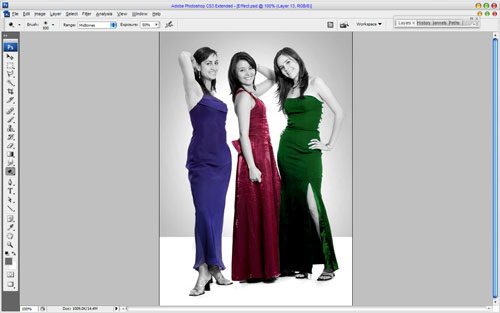
Select and copy the other two women dresses in the same way. Now go to the background layer and make it black-and-white with Image > Adjustments > Desaturate.
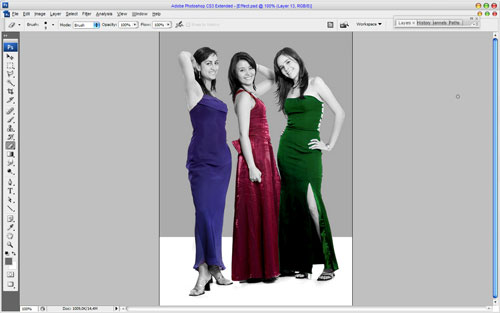
Time to create studio background. Create a new one layer and use the Rectangular Marquee Tool to create selection as on my picture below. Fill selected area with dark grey color (#444444). Then set opacity up to 70% for this layer and change layer mode to Hard Light.
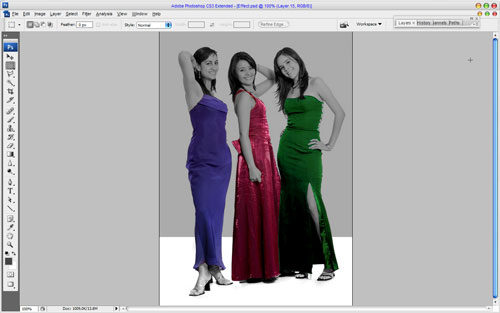
Then select the Eraser Tool and a hard round brush to clear women’s silhouettes from grey color.
After that use the Dodge Tool (Brush: 500 px, Range: Midtones, Exposure: 50%) and make background brightly in the centre.
Ok, now create a new one selection with Rectangular Marquee Tool and fill it with grey color (#686868) on the new layer. After that remove selection and change layer mode to Hard Light.
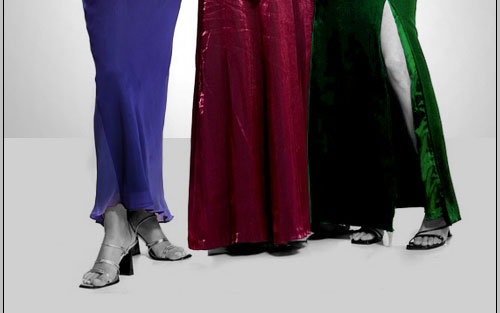
Select the Eraser Tool again and and a hard round brush to clear women’s silhouettes from grey color again.
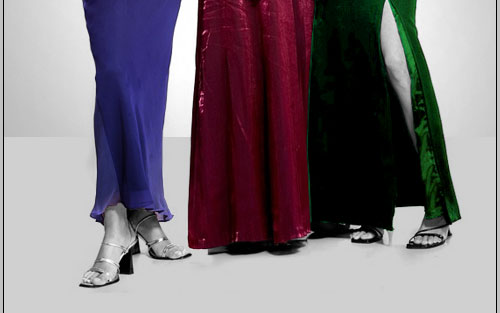
Then use the Dodge Tool (Brush: 250 px, Range: Midtones, Exposure: 50%) again to make little dodge work on the current layer.
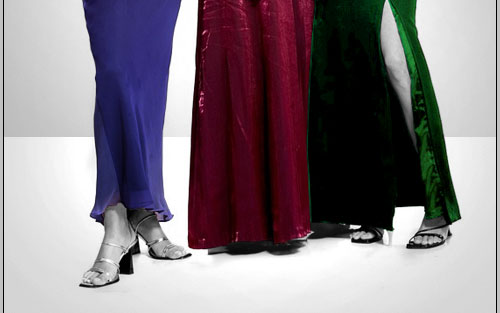
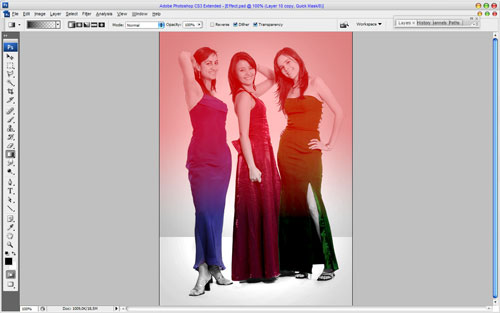
Ok, we are done with background. It looks as real studio now. Now, go to the layer with purple dress and apply Quick Mask Mode with gradient as below:
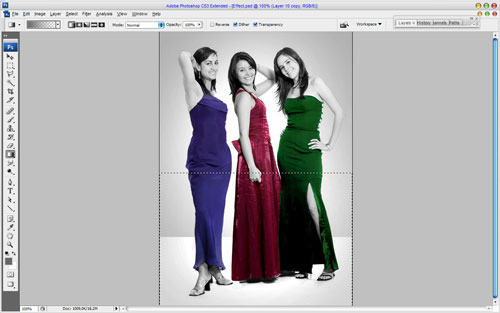
Then go back to Standard Mode. Now we have some selected area.
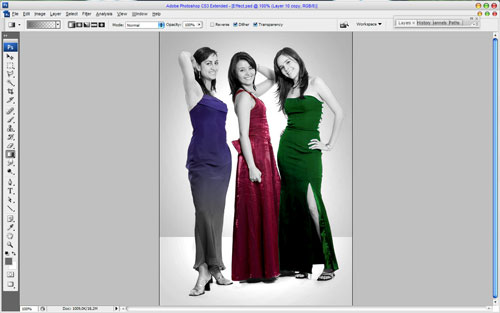
Press Delete to clear image into the area and use Ctrl+D to deselect area.
Stylize another two dresses in the same way.
Great! Our work is done! Enjoy your own color fragment photo effect!

