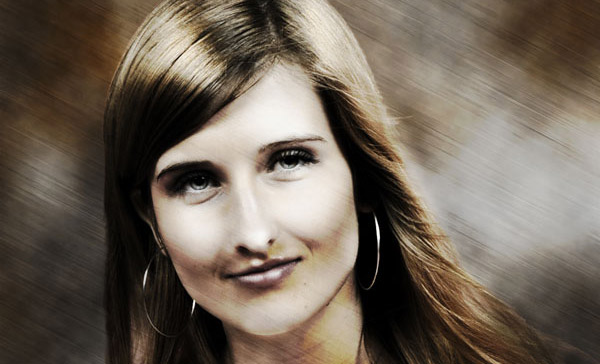
There are a lot of techniques on the Internet on how to make a drawing from a photo. But I would like to invite your attention to another one unique simple Photoshop tutorial on how to achieve the desired effect in an easier way.
Final Image

Resources
Step 1
Open the photo in Photoshop.
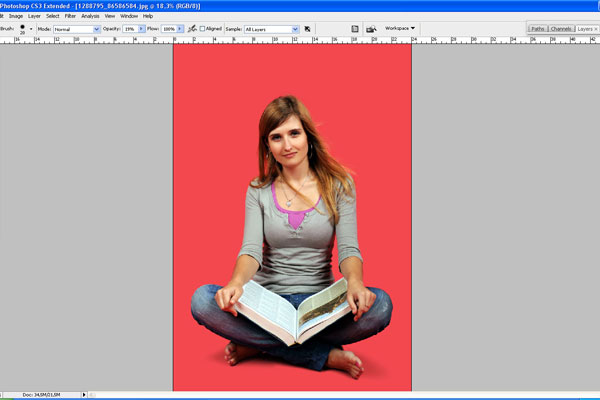
With the Crop Tool selected crop the photo as shown on my screenshot below. After that, select the Polygonal Lasso Tool to cut the lady’s silhouette from the background.
Step 2
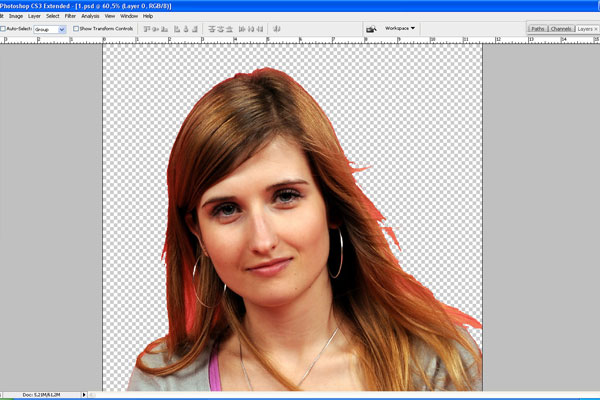
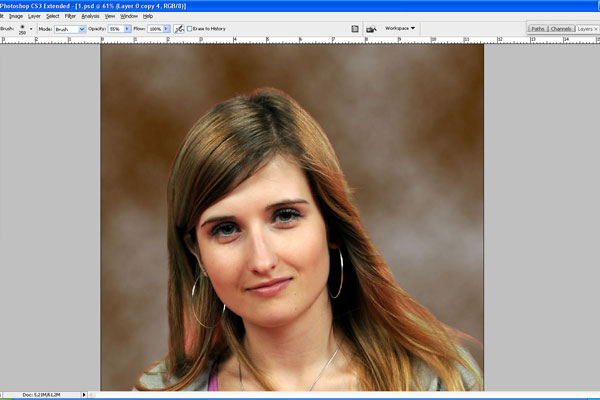
Select some appropriate colors, for example black color (#6d0000) and orange (#69360e), then create a new layer under the layer with the lady and apply Filter > Render > Clouds.
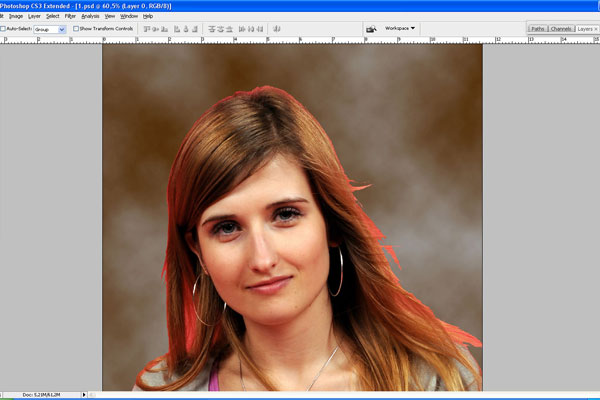
Then go back to the layer with the lady, use the Eraser Tool with a soft round brush of small diameter and make the border between her and the background softer by erasing some parts of the hair.
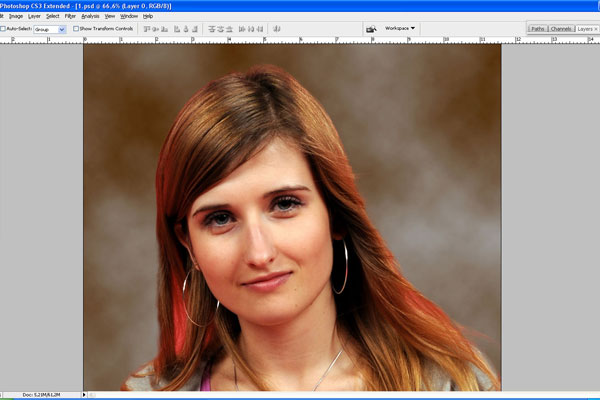
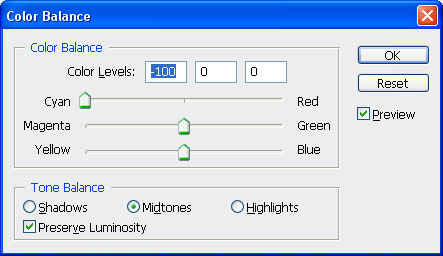
Now we have to reduce the red hue on the photo. Duplicate the current layer with Ctrl+J and use Image > Adjustments > Color Balance on the copied layer to edit the color balance.
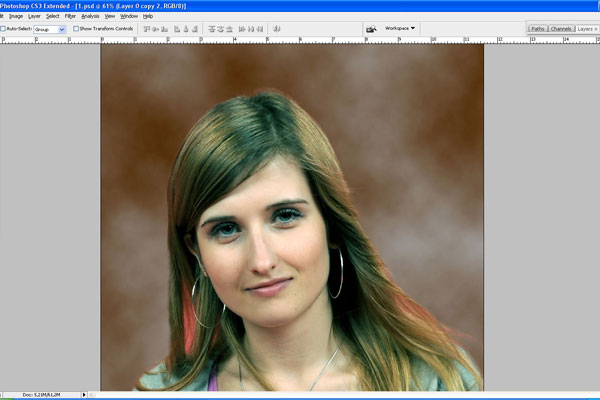
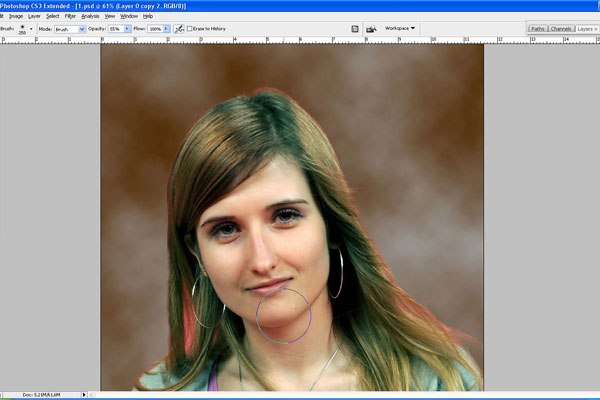
Use the Eraser Tool to do some cleaning up work to reduce the blue color presence on the photo.
Step 3
Merge all layers into one except the background layer. Duplicate the background layer and move it above the layer with the photo.
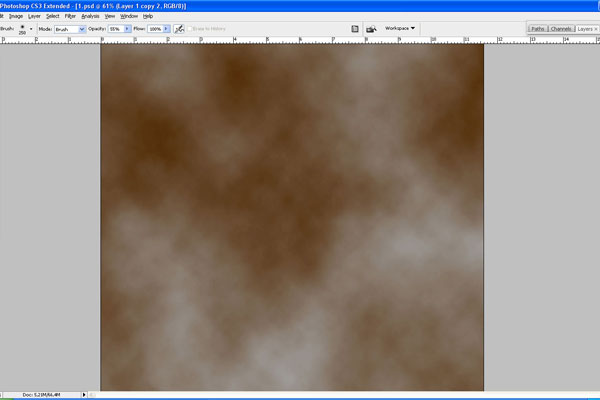
Apply Edit > Transform > Flip Vertical to flip this layer vertically.
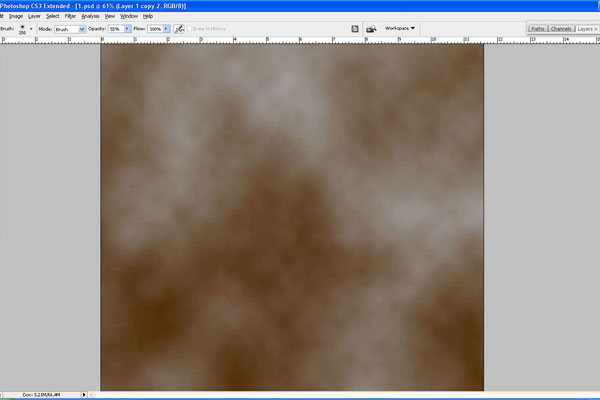
Desaturate it with Image > Adjustments > Desaturate.
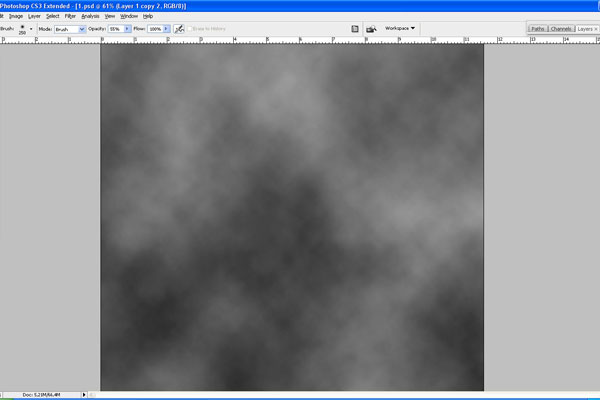
Then use the Eraser Tool and soft round brush to erase part of background as on my screenshot below.
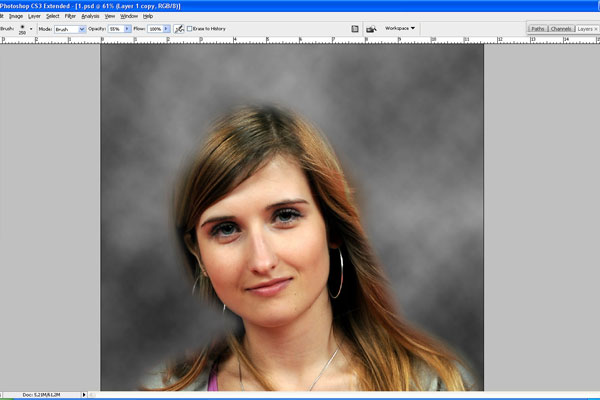
Change the blending mode to Hard Light for this layer.
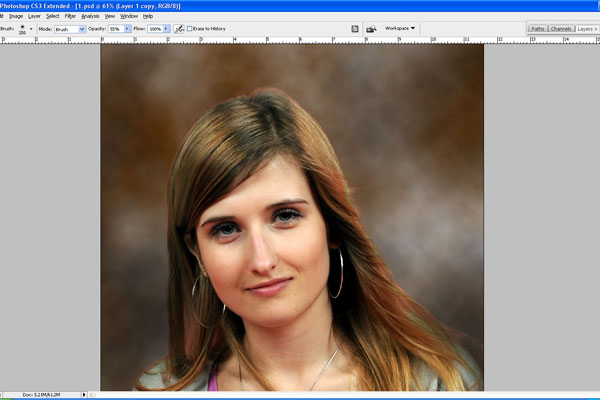
Step 4
Create a new layer and set the blending mode to Overlay for it. Select the Brush Tool (Opacity: 20-30%) with a soft round brush and increase the contrast between dark and light parts by making strokes with black and white colors.
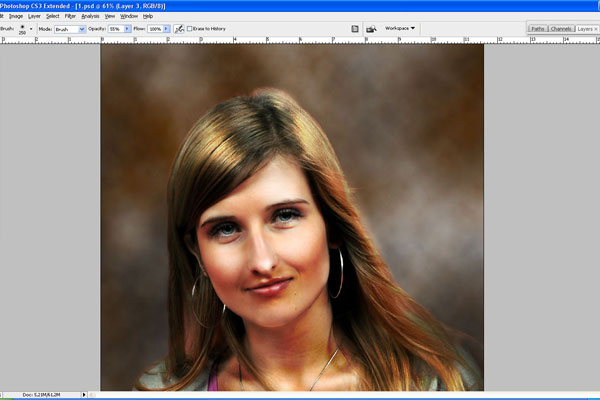
If we turn the blending mode back to Normal for this layer, then we will see the following picture:
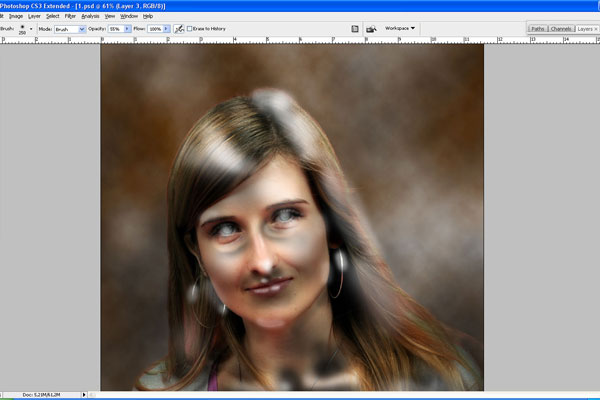
It clearly shows that in the shaded areas we used black color, and for the lighter areas used white, that have increased the glare and shadow. Again turn back to Overlay mode and make one more copy of this layer. Change the mode to Soft Light for the copied layer.
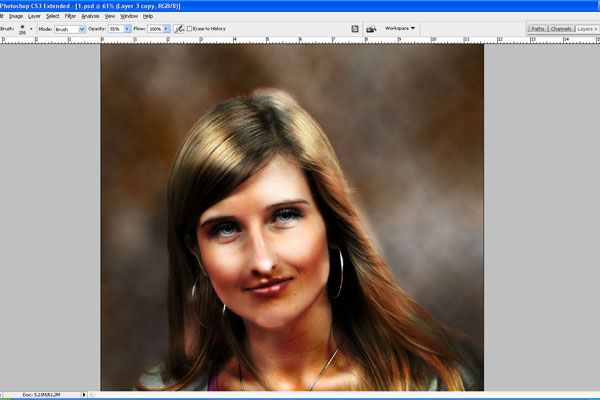
After that change the opacity to 30%.
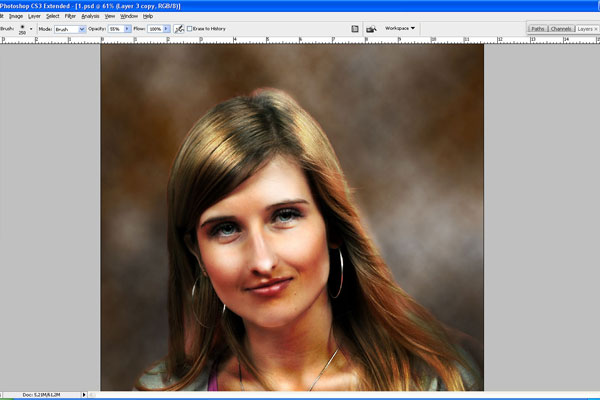
Step 5
Create a new layer, press ‘D’ to set the foreground and background colors as black and white and apply Filter > Render > Clouds again.
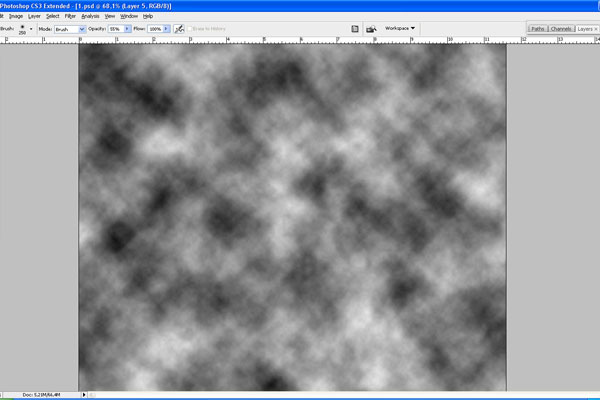
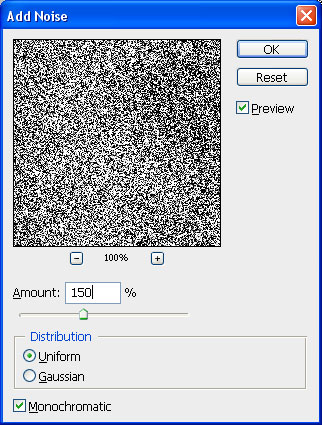
Add some noise with Filter > Noise > Add Noise:
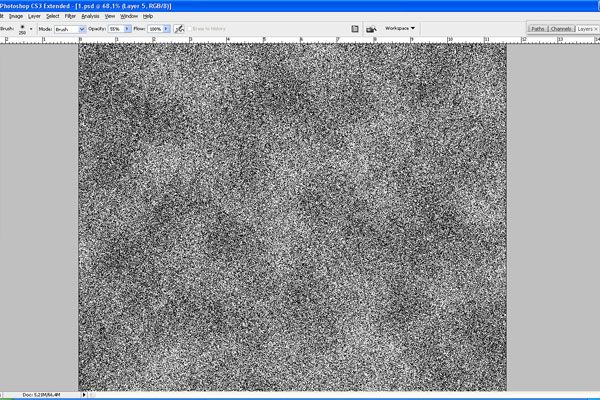
After that use Filter > Blur > Motion Blur with similar settings to these:
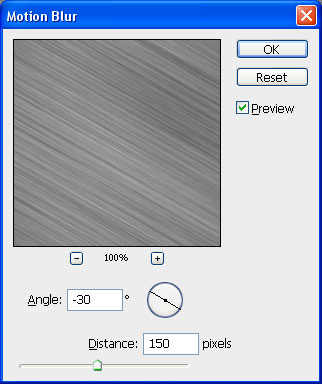

Apply Filter > Blur > Smart Blur:
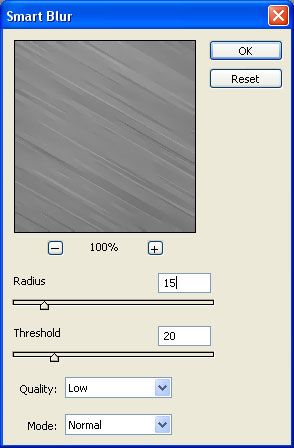
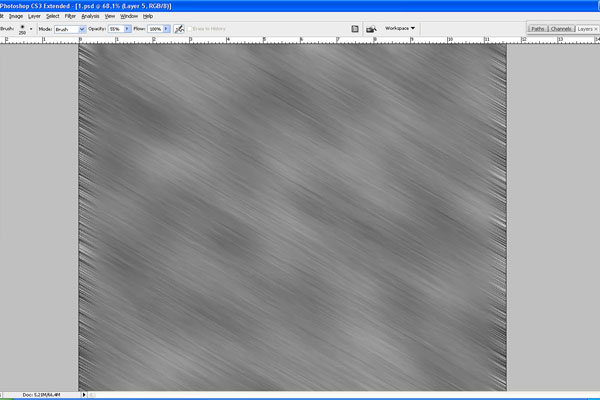
Increase the size of the canvas with Edit > Transform > Scale to avoid showing sharp edges.
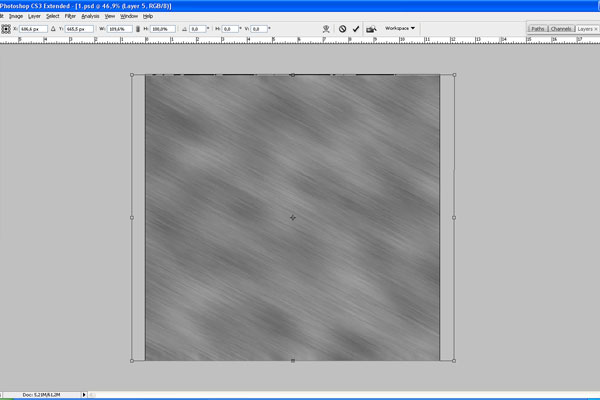
Now, change the layer mode to Overlay for this layer.
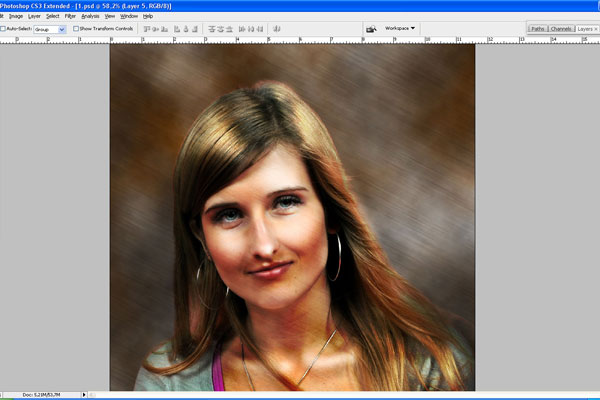
Step 6
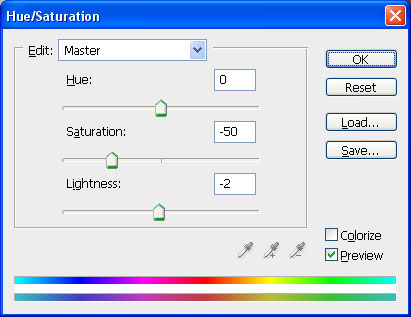
Create an adjustment layer with Layer > New Adjustment Layer > Hue/Saturation to reduce the strong contrast.
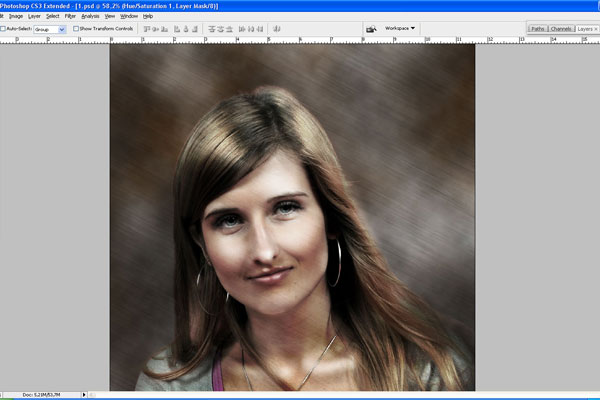
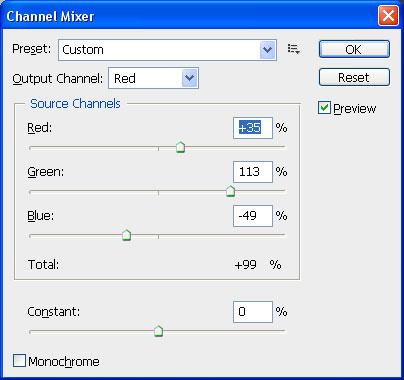
Create another adjustment layer with Layer > New Adjustment Layer > Channel Mixer to achieve the desired effect:
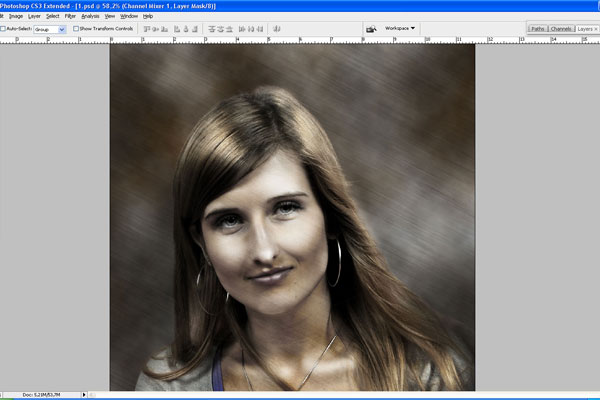
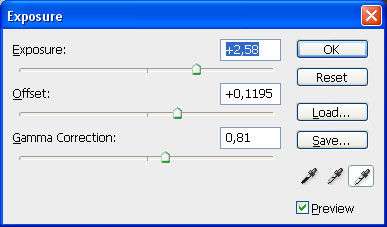
Add one final adjustment layer by using Layer > New Adjustment Layer > Exposure with following settings:
Final Image


