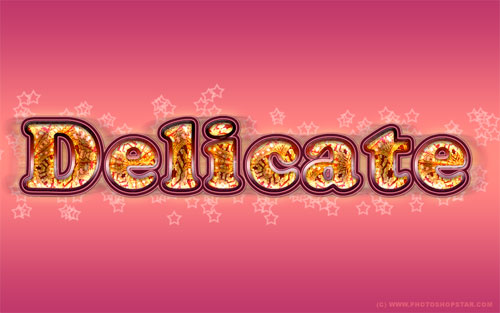
I’m going to share with you about how to make a delicate text effect by using some layer styles. Is it interesting for you? If yes, let’s start to read and make!
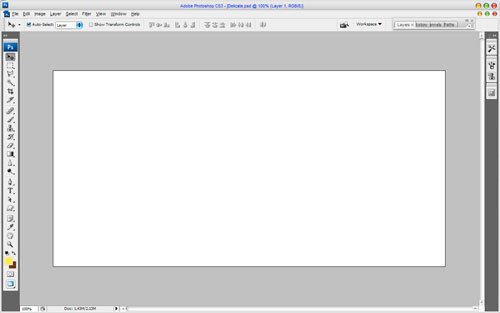
First of all, make a new document in Photoshop. I created a new document sized 1000×500 pixels with all the default settings, RGB, 72 dpi, white background etc.
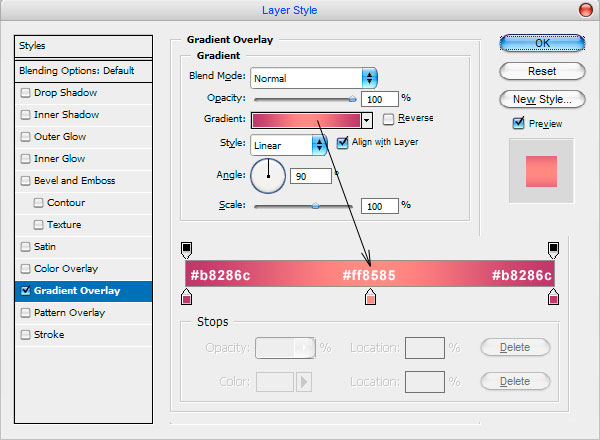
Apply the Gradient Overlay layer style to this layer:
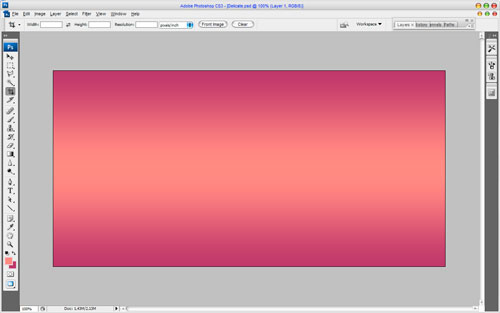
Now we have something like this:
This is the easy part; all you have to do is write out your desired text on the canvas. Get out the Horizontal Type Tool and write out your text, for example ‘Delicate’ in whatever color you want.
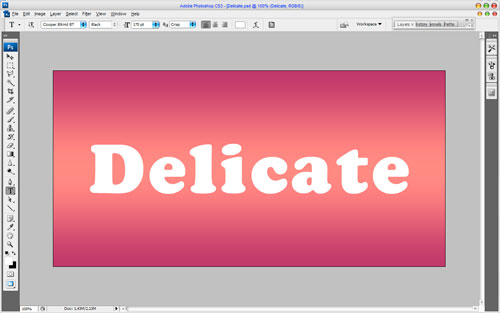
In the above image I’ve used a font called Cooper (170 pt, Crisp), which is sadly a commercial font. Feel free to try a different font, or you know, buy or ‘get’ a nice font from somewhere.
Ok, now let’s start with creating delicate text effect. First of all we need to add some pattern to Photoshop patterns palette to use it for creating text effect later. Open this texture or find another one using Google Images and use Edit > Define Pattern to save this picture as pattern.
Go back to our created file and apply the following layer styles to the text layer:
• Drop Shadow
• Inner Shadow
• Outer Glow
• Inner Glow
• Bevel and Emboss
• Contour
• Texture
• Satin
• Pattern Overlay
• Stroke
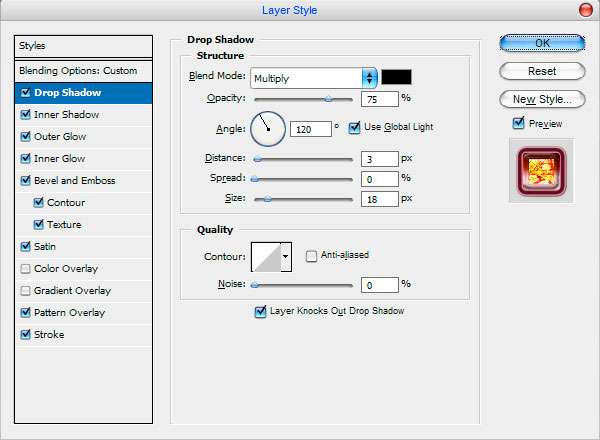
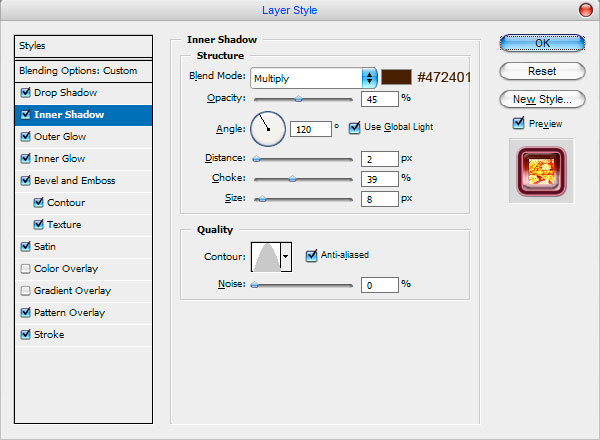
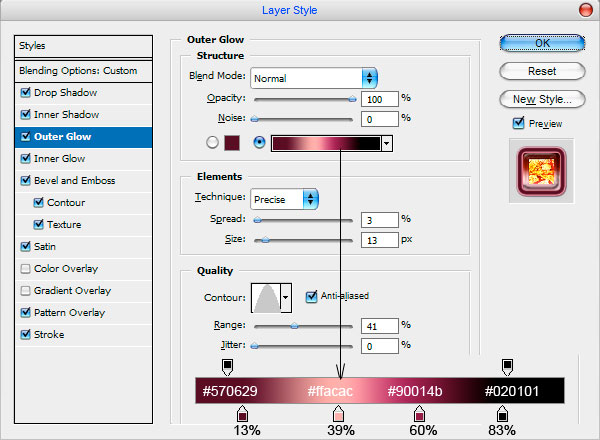
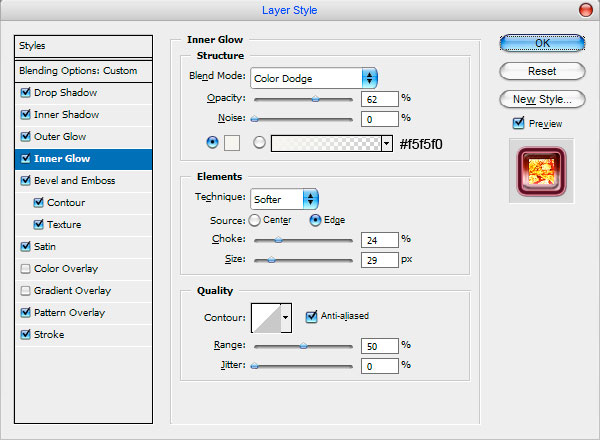
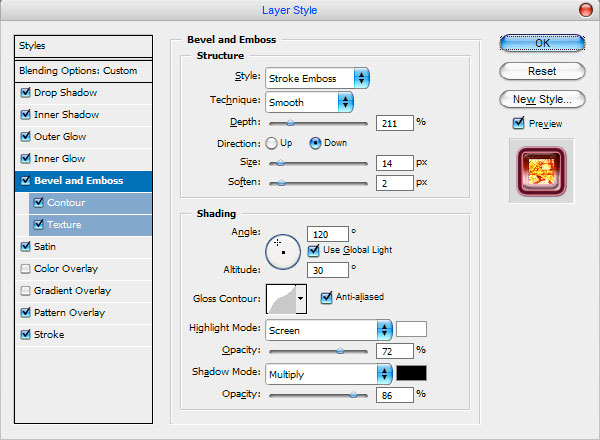
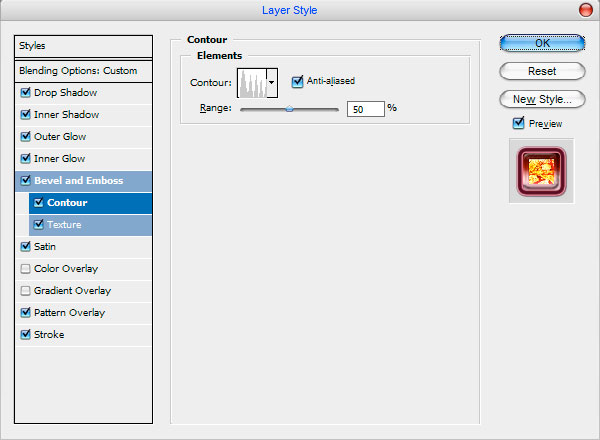
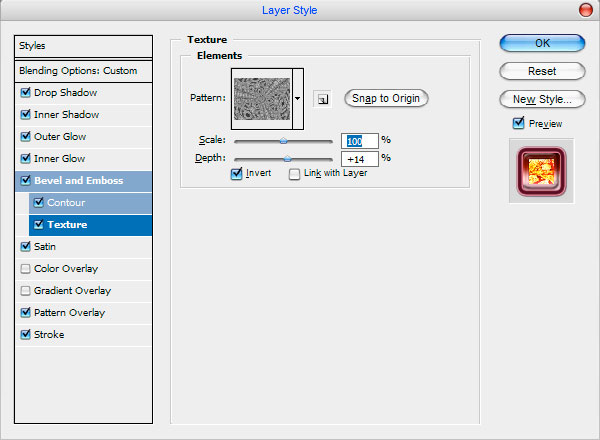
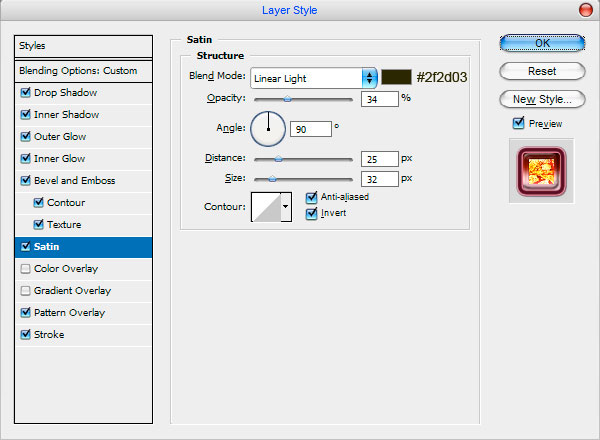
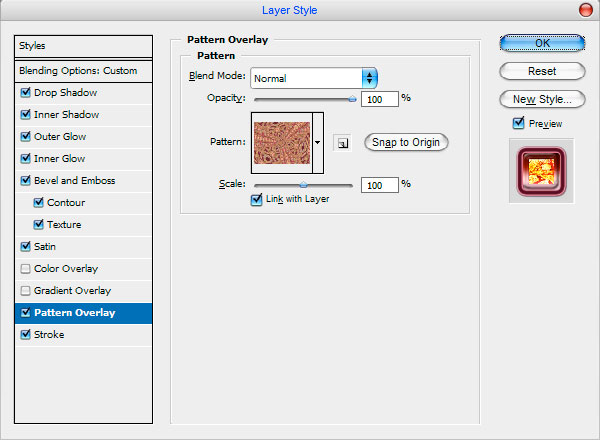
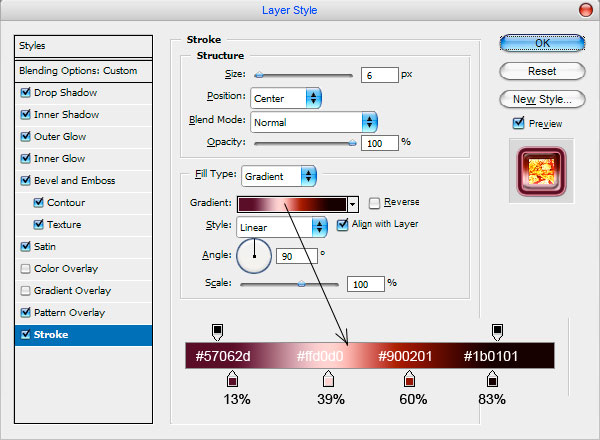
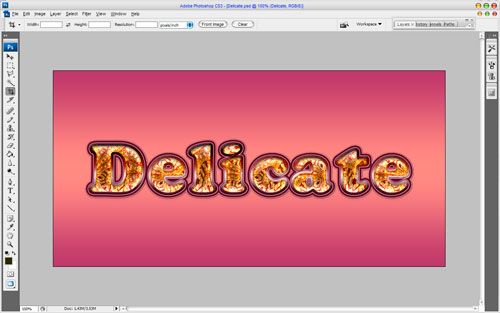
Now your image should now look like the image shown below:
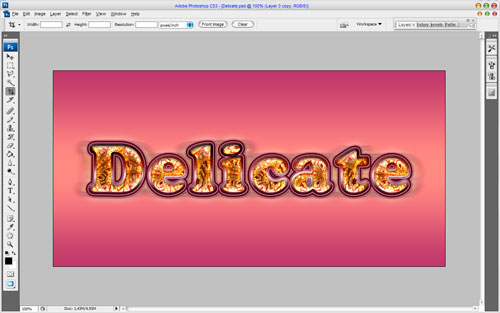
Create a new layer and merge it with text layer to get all styles in one image. Then Press Ctrl+J to duplicate this layer, then go to previous layer and apply Filter > Blur > Motion Blur with similar settings to these:
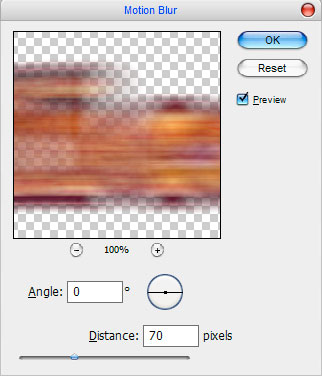
Now we have interesting effect.
After that go to the upper layer and apply the following layer style:
• Outer Glow
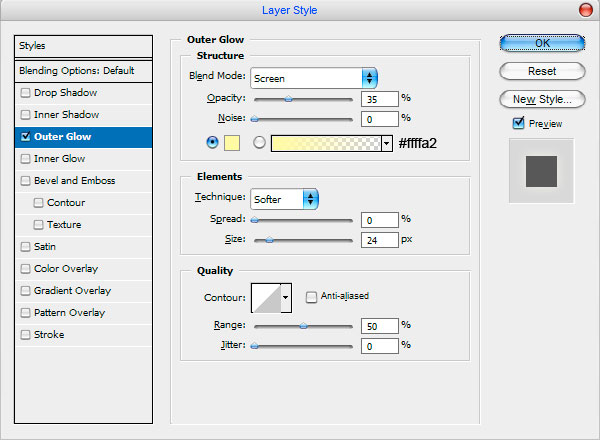
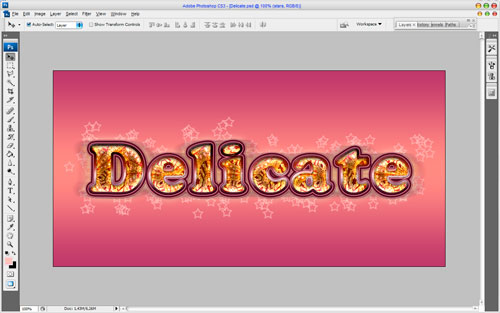
If you like you can add some graphic elements to background, for example, stars. Get out the Brush Tool and select the standard brush with the next presets:
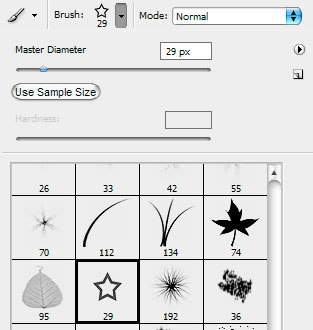
Go to background layer, create a new layer above and make the stars using color of #ffbebe.
Well, we’re pretty much finished for this tutorial, thanks for taking the time to read it!

