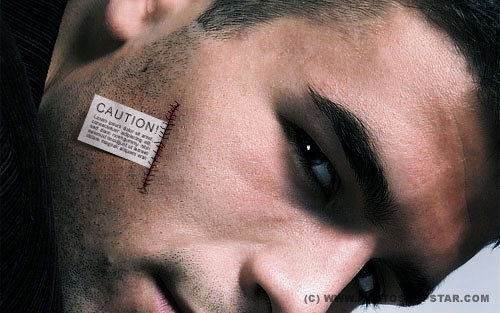
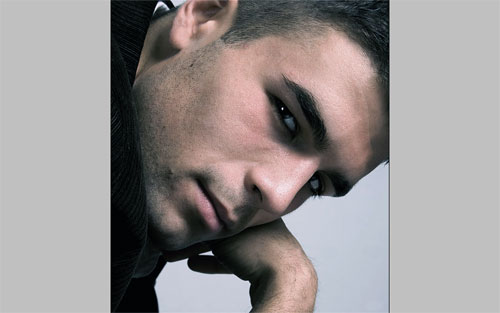
Here is useful tutorial where I’m gonna show you how to add the label to the human skin in Photoshop. In this tutorial I will be using this stock photo of the man.
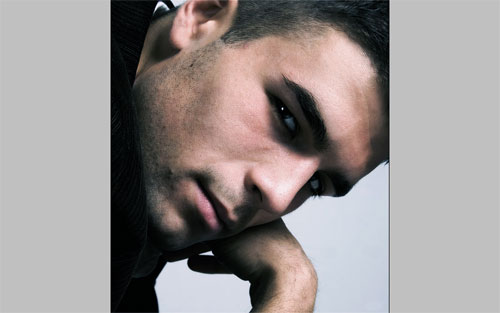
Firstly, you should find a nice stock photo to work with. As I mentioned above, I used a photo of the young man, if you want you can download it and get to work. Open up it and press Ctrl+J to duplicate layer. After that move to the lower layer and desaturate it with Image > Adjustments > Desaturate. Then go back to the copied layer and correct the color balance using Image > Adjustments > Levels. Set up following presets:
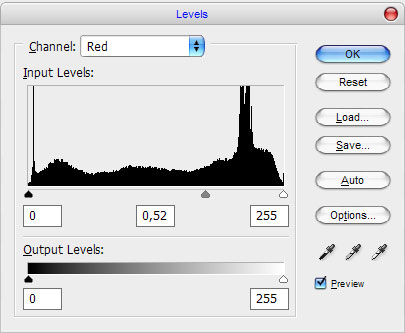
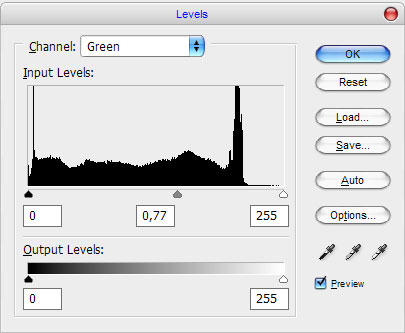
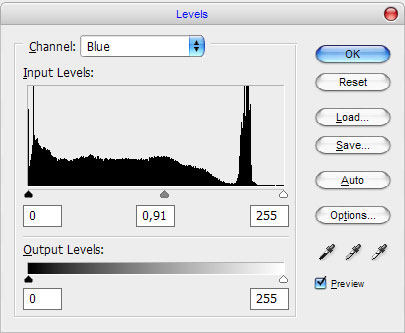
Then change layer opacity to 70%.
Now, duplicate this layer with previous and duplicate (Ctrl+J) new layer again. After that apply Filter > Blur > Gaussian Blur with next presets:
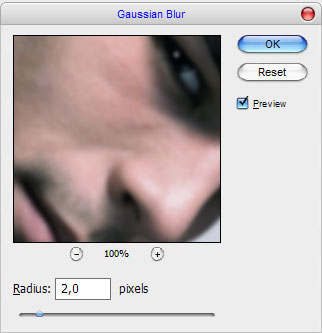
Then mess with the layer mode & opacity/fill. I tried Overlay with opacity of 45%.
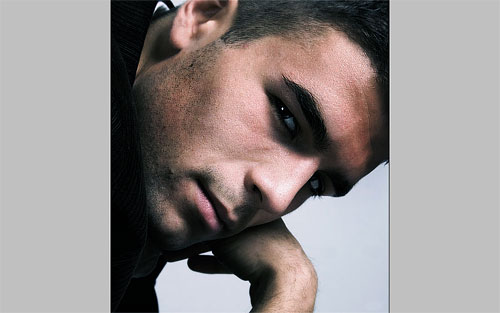
See the difference now? Ok, after that select the Sharpen Tool and increases the sharpness on man face.
I would like to add a contrast more. For this effect use the Burn Tool (Brush: 20 px, Range: Midtones, Exposure: 40%) and add dark spots on the face.
Move to the next step. Use the Polygonal Lasso Tool to create selection as on my picture below and fill it with black color.
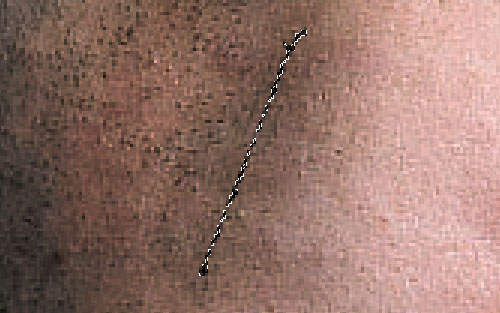
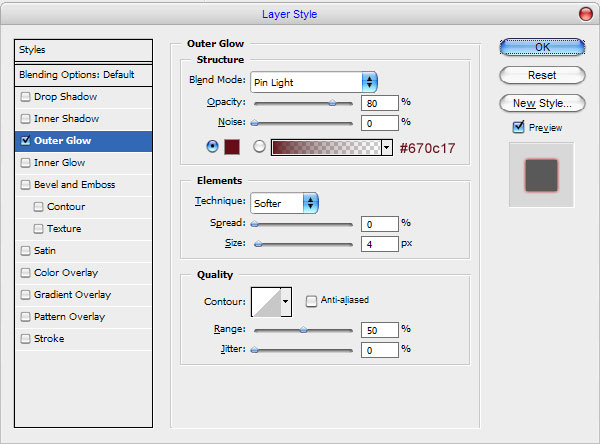
Remove selection with Ctrl+D and apply Outer Glow layer style to this layer.
Your picture should look as mine:
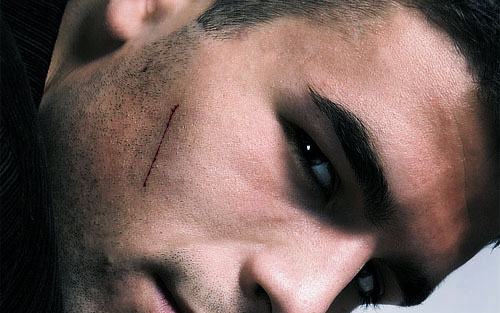
Ok, create a new layer, after that select the Brush Tool and a hard round brush about 4 pixels and add a couple of more strokes with dark red (#47091a) color.

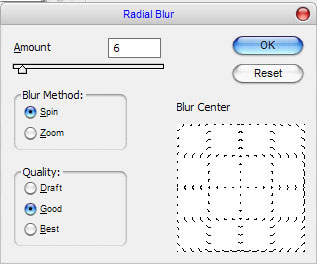
Then apply Filter > Blur > Radial Blur:
Ok, mess with the layer mode & opacity/fill one more time. I tried Overlay with opacity of 70%.
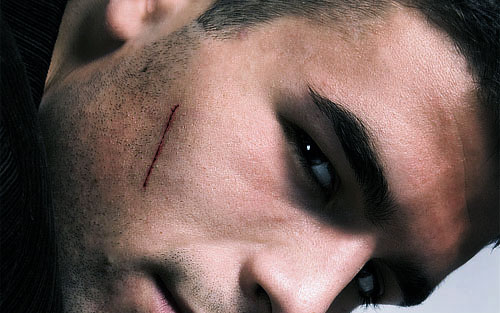
Time to add the label! Create a new layer use the Rectangular Marquee Tool to create selection as on the picture below and fill it with color of #c0b6ba.

Remove selection with Ctrl+D, then get out the Horizontal Type Tool to write out the text. Use the Arial font and chose font color as #221820 for text lines.

Merge text layers and label layer together and apply Filter > Noise > Add Noise to add a little bit noise to the label.
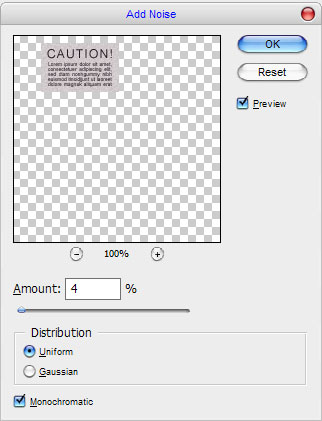
Hopefully your picture looks something like this:

Ok, after that apply Edit > Transform > Free Transform to rotate label and move it left as on my picture below.

Move to the next step. Select the Burn Tool (Brush: 20 px, Range: Highlights, Exposure: 20%) and add some dark lines to the label.
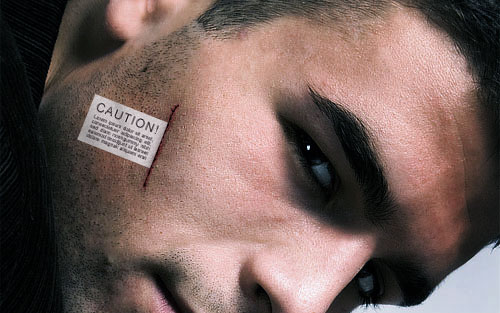
Looks better now, isn’t it? Time to bring the shadow under the label. Move to the layer under and create another one layer above. Use the Polygonal Lasso Tool to create selection and fill it with black to transparent gradient.

Remove selection with Ctrl+D and use the Blur Tool to add a little blur to the shadow.

And the last one thing that we need to do is to bring sutures to the picture. For this effect select the Brush Tool and a soft round brush about 1 pixel. Make a couple of sutures with black color on the new layer.

Looks not so realistic. But I know how to resolve this problem. Press Ctrl+T and reduce current layer halved.

Duplicate this layer with Ctrl+J and move it below like on my picture. Merge two of these layers in one and set up opacity to 75% for new layer.
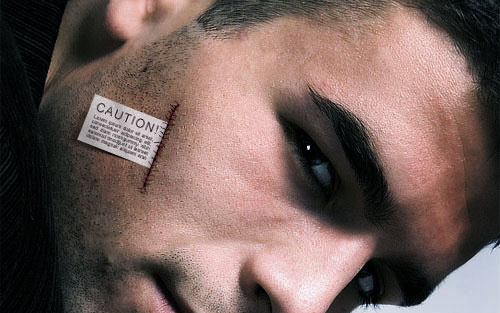
Ok, that is it! Looks realistic and very creative as for me. Don’t be afraid to make your own experiments.

