![]()
In this tutorial I want to share with you how to create Star Wars logo by yourself.
Ok, let’s start! Create a new layer sized 1920×1200 pixels with all the default settings and add in a red gradient to the background, the colors I used for the gradient were #7f0c00 and #450400.
![]()
Alright, time to make our base text. What you need here is this font. Place your text middle of the canvas by using Horizontal Type Tool, like on a picture below:
![]()
Then select the Rounded Rectangle Tool, make white your foreground color, and make two shapes with radius of 10 pixels.
![]()
Ok, now select smaller shape with Select > Load Selection, then go to the layer with the second one shape and press Del to clear selection into the layer. Press Ctrl+D to deselect object and delete layer with the smaller shape.
![]()
Now select the Eraser Tool and carefully get rid of the inset lines like this:
![]()
Time to add lines to our logo. Do this by using Rectangular Marquee Tool.
![]()
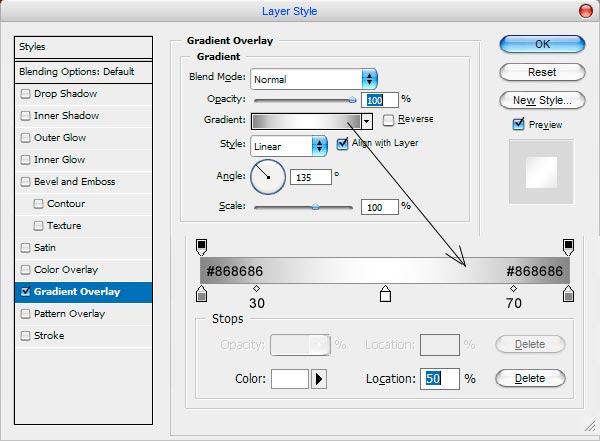
Now merge all layers of logo to the one layer. Then apply the Gradient Overlay layer style to get the next picture:
![]()
![]()
Press Ctrl+Shift+N to create new layer and merge it with logo layer. Then select ‘Clone Wars’ text with Rectangular Marquee Tool and press Ctrl+Shift+J to cut this text into the separate layer.
![]()
The same things we make with lines in logo:
![]()
Ok, go back to the layer with ‘Clone Wars’ text and apply Bevel and Emboss layer style to get the picture below:
![]()
![]()
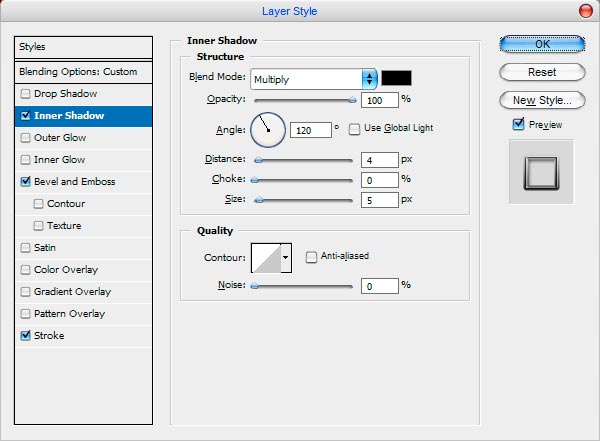
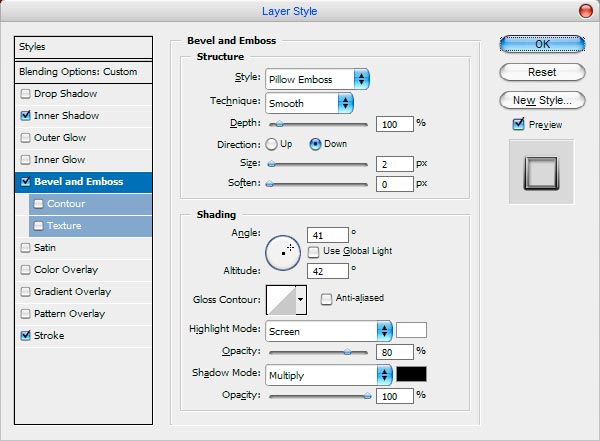
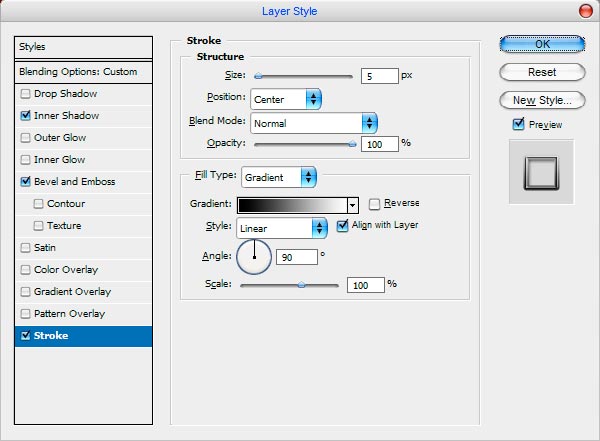
Then duplicate layer with Layer > Duplicate layer and apply Inner Shadow, Bevel and Emboss, Stroke layer styles. After that, set up fill of 0% for this layer. Now we have picture like mike:
![]()
![]()
![]()
![]()
Now, go to the layer with lines and apply Bevel and Emboss and Stroke layer styles:
![]()
![]()
![]()
Ok, go to the last layer of logo and apply Bevel and Emboss and Stroke layer styles for this layer.
![]()
![]()
![]()
Our logo is almost done. Merge all layers of logo into the one layer again. Now, time to add our logo metallic effect. Go to Image >Adjustments > Hue/Saturation and set up the following settings:
![]()
After that, select our logo with Select > Load Selection, create new layer with Layer > New Layer and fill it with color of #9c5100. Then mess with the layer mode. I tried Soft Light. Now, create new one layer and fill it with a black color. Apply Filter > Noise > Add Noise with similar settings to these:
![]()
Then press Ctrl+D to deselect chosen area and set up layer mode to Color Dodge.
![]()
Press Ctrl+J to duplicate layer and apply Filter > Blur > Motion Blur for this layer:
![]()
Now we have something like this:
![]()
To make our metallic effect more realistic we can add some glares to our logo. Now select Elliptical Marquee Tool and make round selection. Then select the Gradient Tool, make black and white your foreground and background colors, and set the gradient similar to these:
![]()
Deselect object with Ctrl+D and transform it by using Edit > Free Transform like on picture below:
![]()
Change layer mode to Color Dodge. Then bring more glares to picture like mine:
![]()
Our logo is done. Looking great! Actually, to bring our logotype more brightness apply Ellipse Tool to make a sphere and fill it with a black color as on picture below:
![]()
Ok, press Ctrl+D and apply Filter > Blur > Gaussian Blur with 100 pixels of radius.
![]()
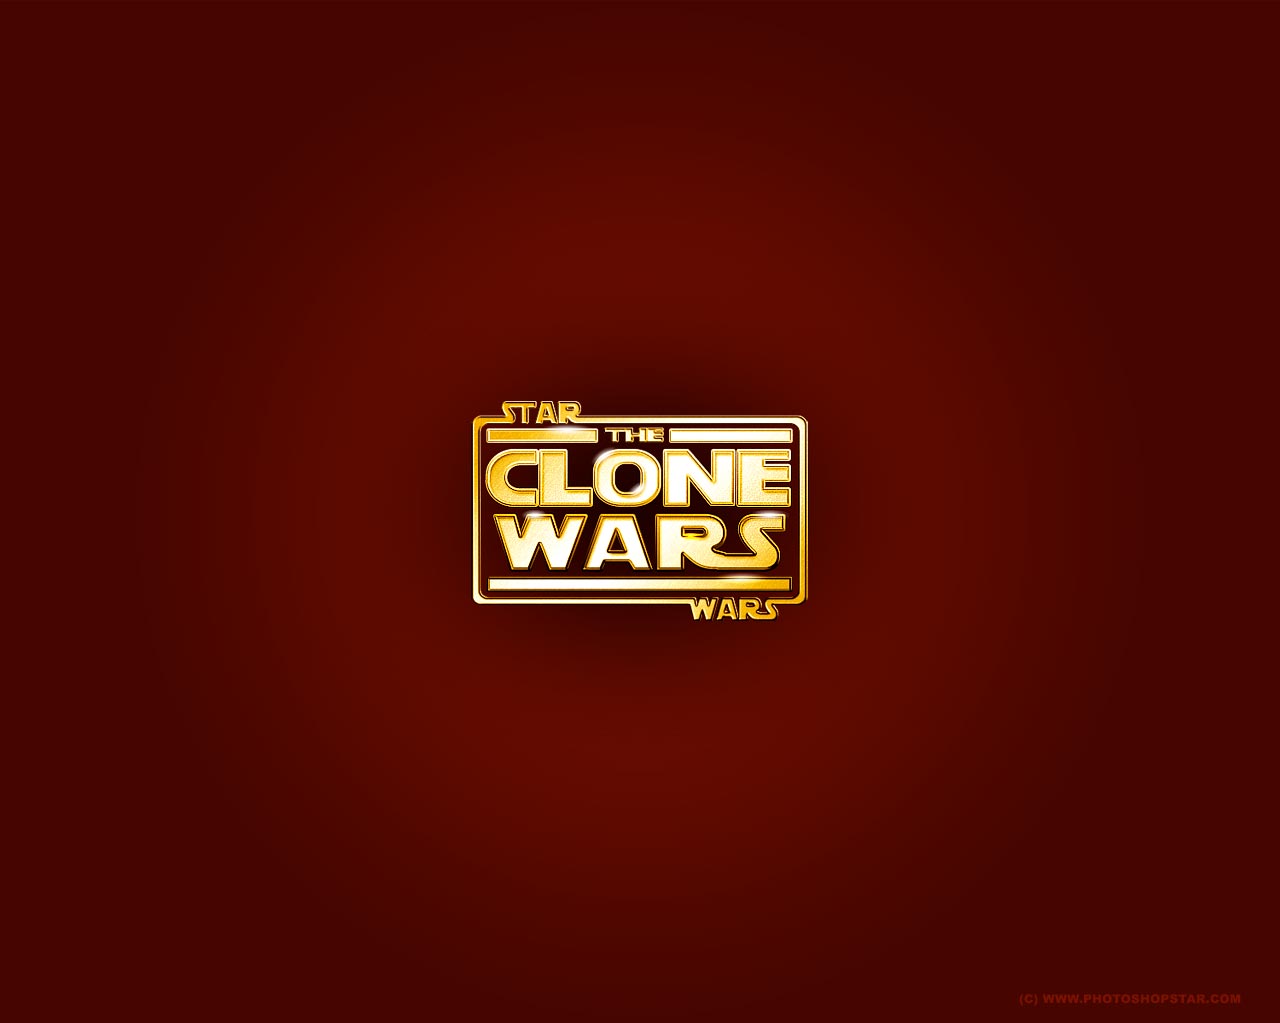
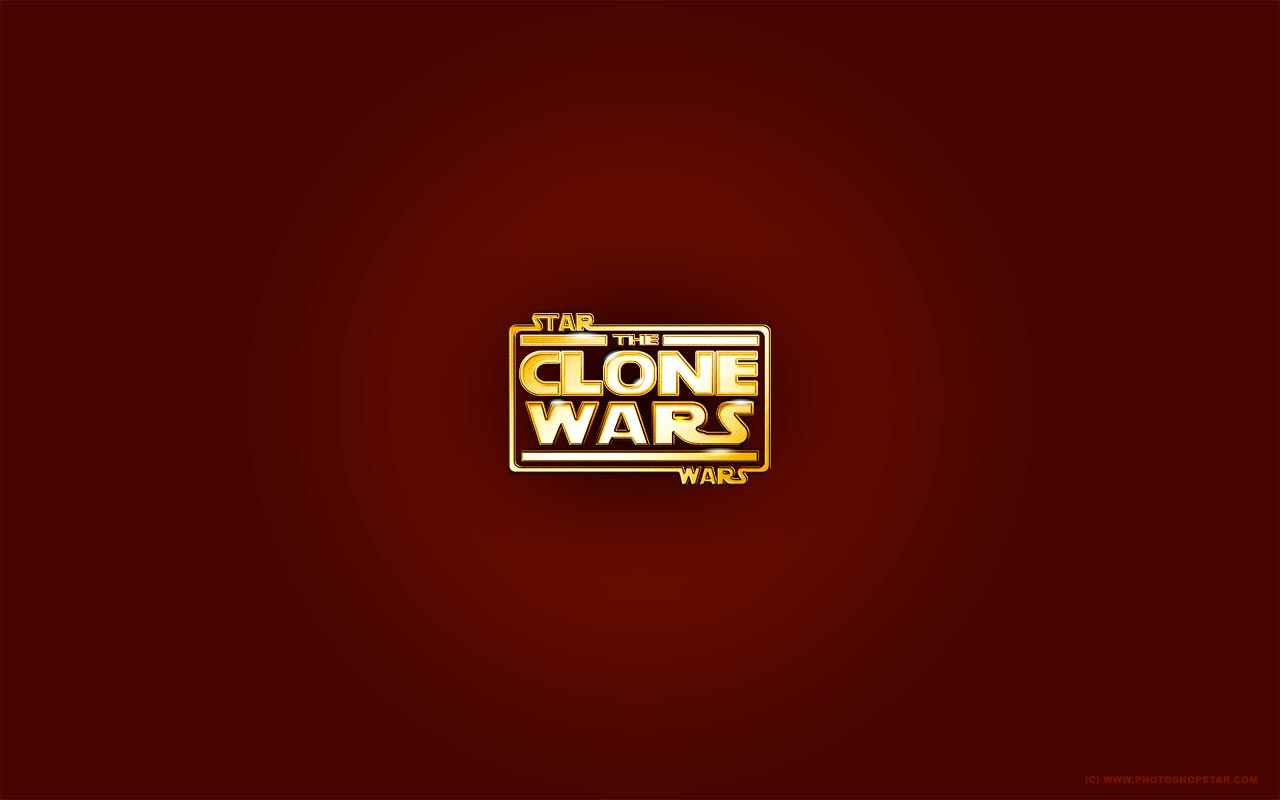
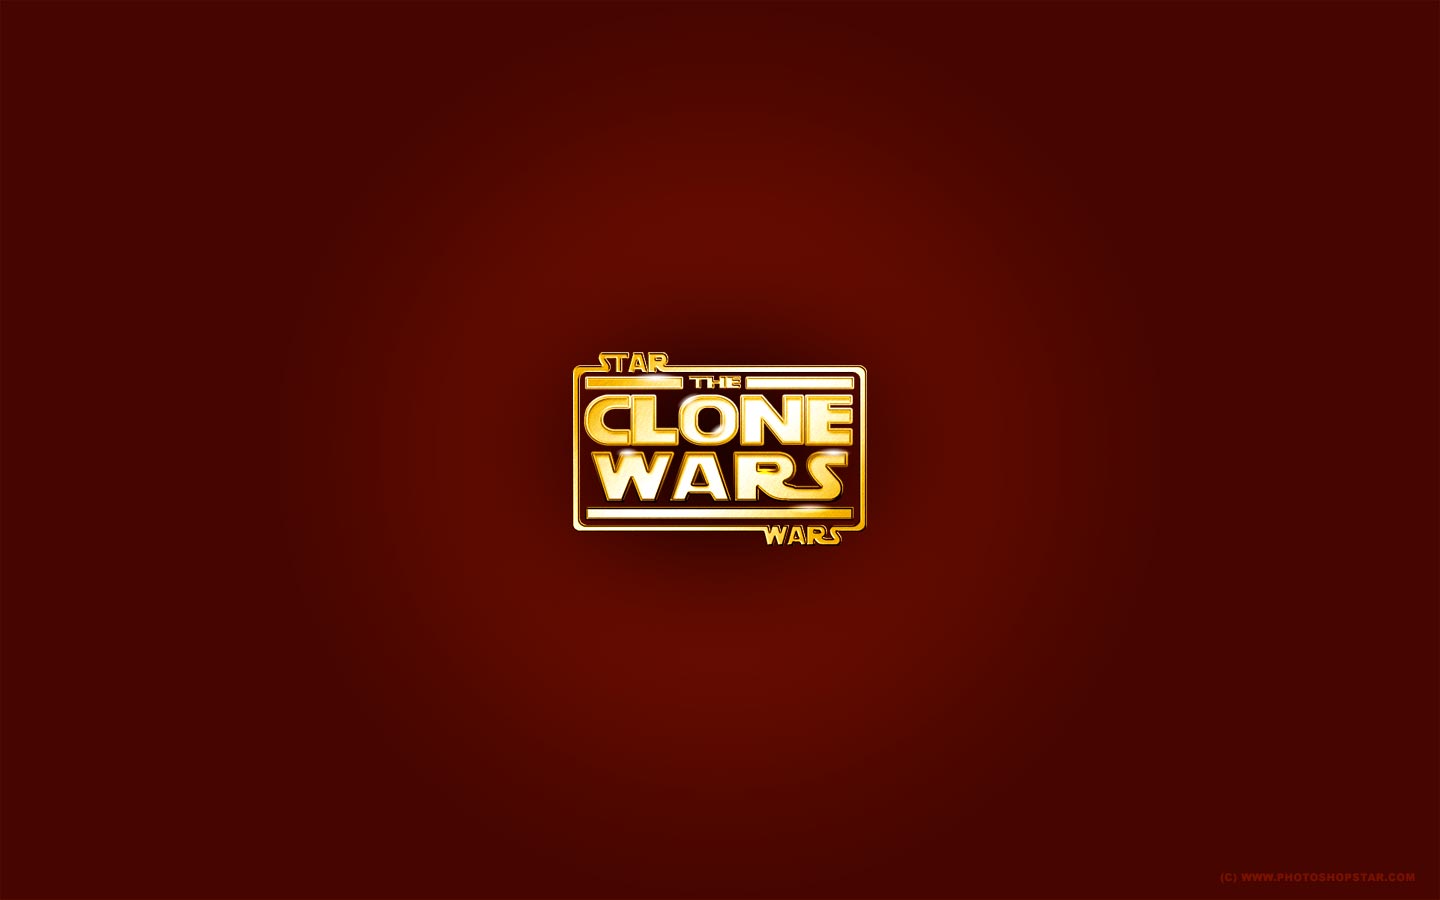
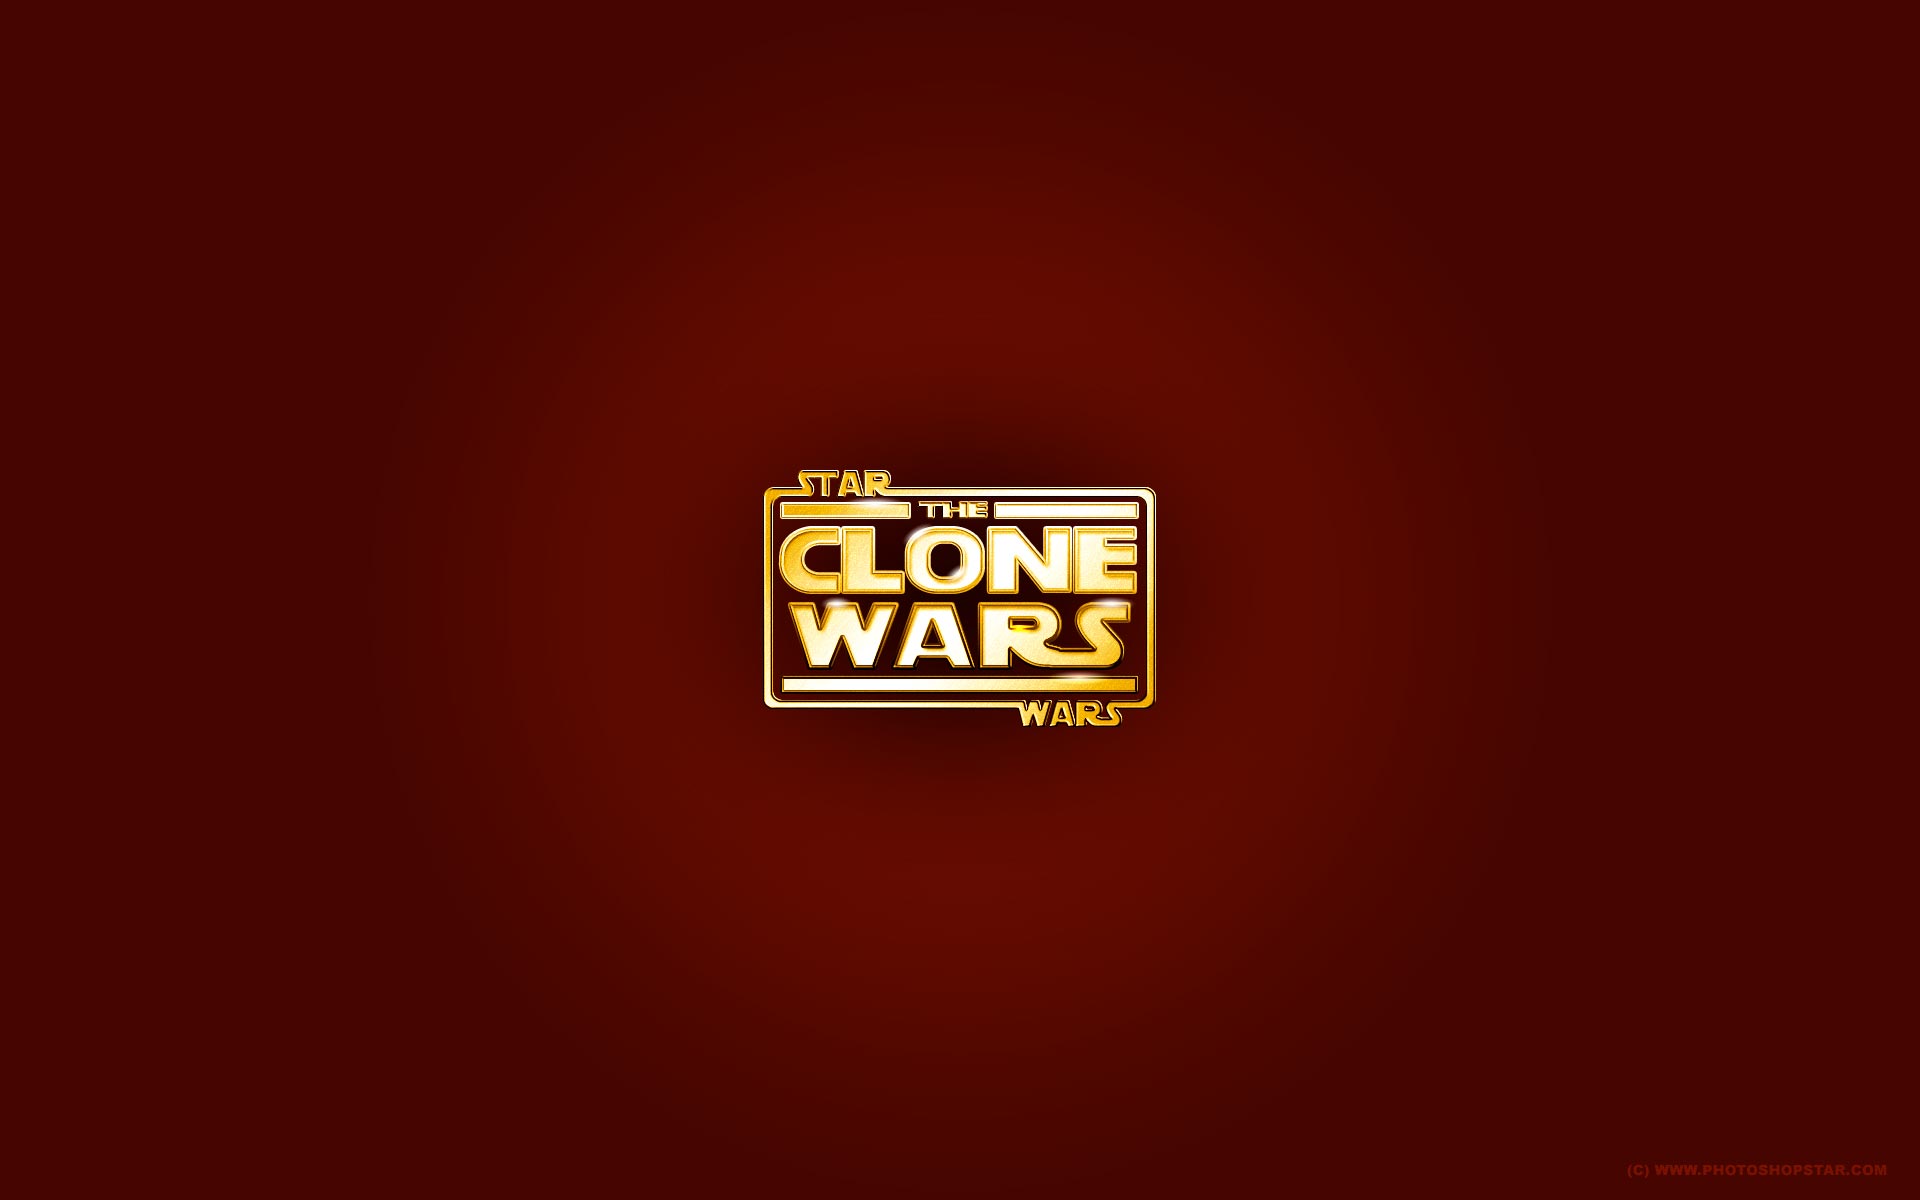
Ok – we’re done! You can use it as wallpaper for your desktop.
1024×768 | 1280×1024 | 1280×800 | 1440×900 | 1680×1050 | 1920×1200