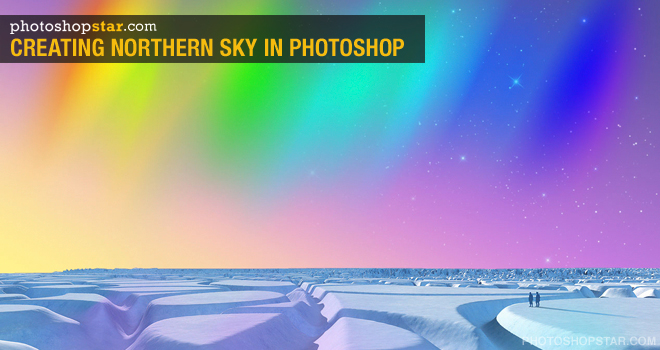
Now I’m planning to provide a tutorial to you how to create the effect of the Northern Sky step by step. This is not so difficult but very interesting tutorial.
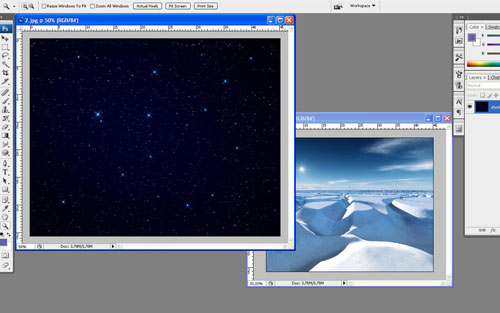
Start with finding appropriate pictures which we can use for creating effect in this tutorial. You can use Google Images to find the pictures or can use my picture of winter landscape and picture of night sky with many stars. Open up the pictures.
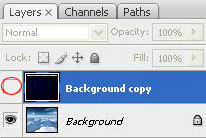
Now duplicate picture of starry sky to the canvas with winter landscape and hide upper layer for temporary (click on the eye, which indicates layer visibility).
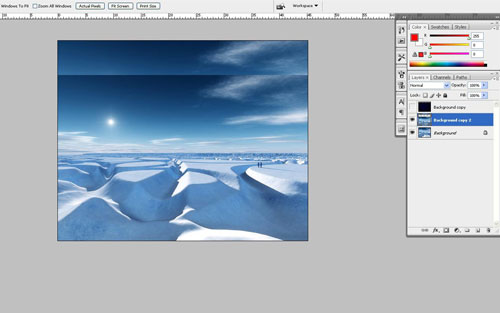
Move to the layer with landscape and press Ctrl+J (or you can use Layer > Duplicate Layer) to duplicate it, then move a little bit down similar to the position which you can see on the picture below.
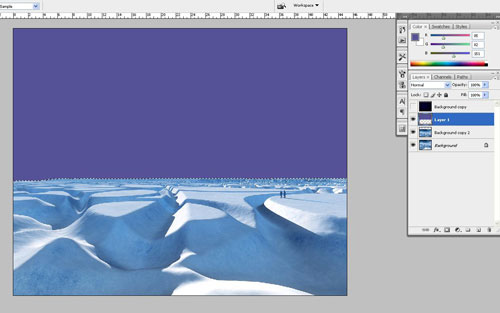
Then create new layer with Shift+Ctrl+N. Use the Polygonal Lasso Tool to create selection as on my picture below, then use the Paint Bucket Tool to fill selected area with color of #555297.
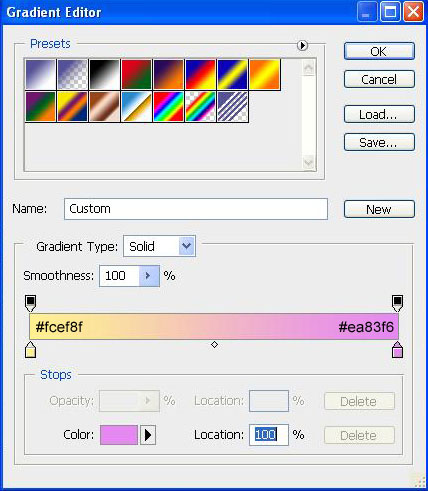
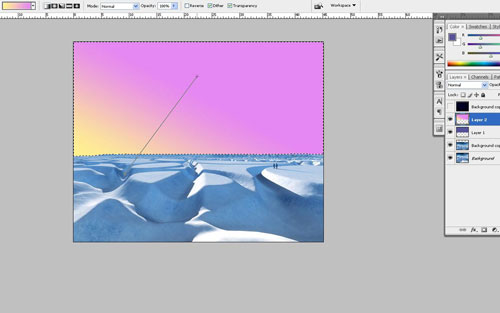
Don’t remove selection on this step. Create new one layer again, select the Gradient Tool and fill selected area with linear gradient using colors of #fcef8f and #ea83f6.
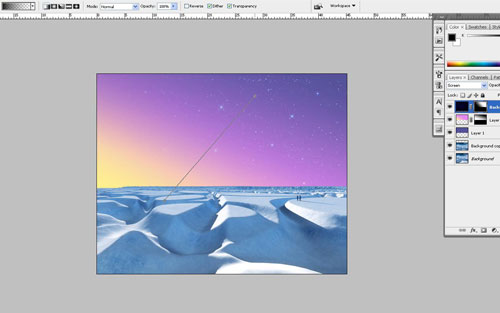
Create linear gradient similar to the screenshot which you can see on the picture below:
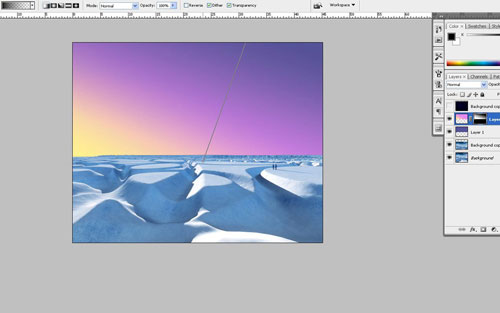
After that apply Layer > Layer Mask > Reveal Selection to apply vector mask and fill selected area with linear black-and white gradient:
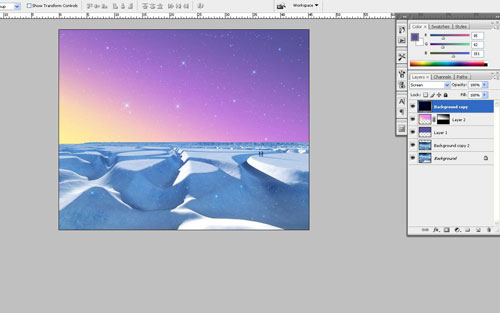
Remove selection with Ctrl+D. After that go back to the hidden layer and make it visible again, then change blending mode to Screen for this layer.
Then load selection with Select > Load Selection, then use Layer > Layer Mask > Reveal Selection to apply vector mask and after that apply linear black to transparent gradient.
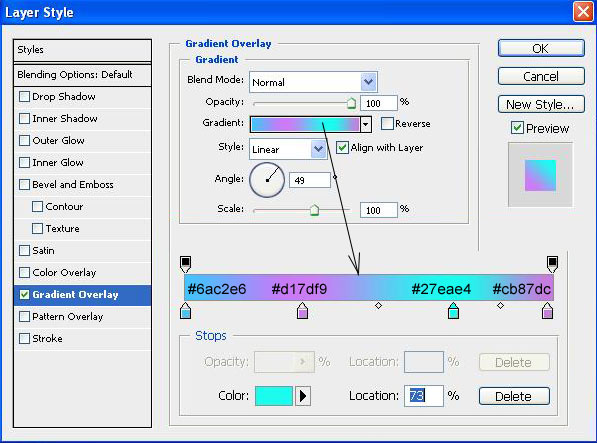
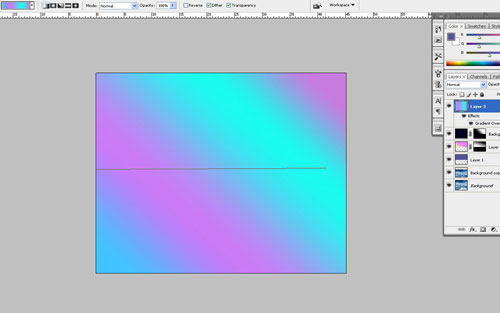
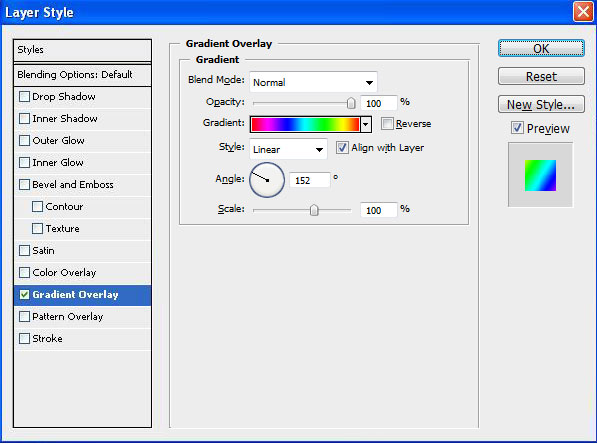
Then create new layer and fill it with any color you want, it doesn’t matter now. After that apply Gradient Overlay (link to 10) layer style for this layer.
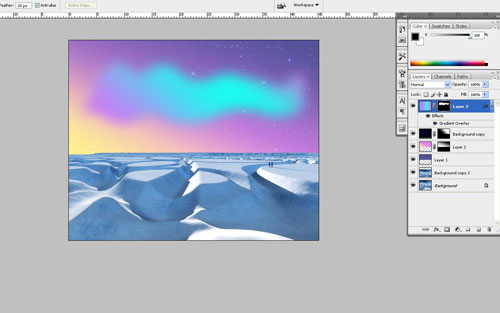
See the result on the picture below:
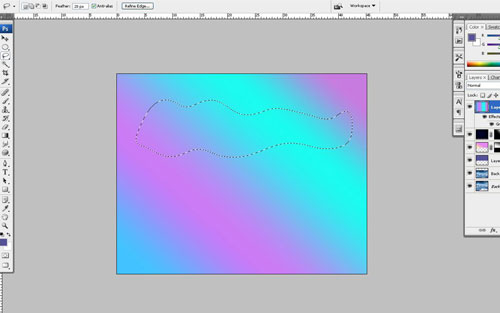
Create a new layer above and merge it with previous to get all layer effects in one layer. Then use Lasso Tool and create selection like on the picture which you can see below. Apply Select > Modify > Feather to blur selection about 20 px.
Again apply Layer > Layer Mask > Reveal Selection to apply vector mask one more time.
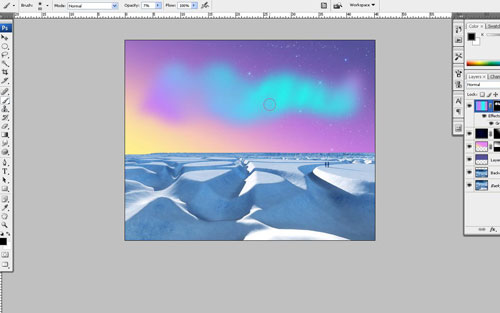
Get out the Brush Tool (Opacity: 7%) and soft round brush to add strokes somewhere on visible area to increase opacity effect on it.
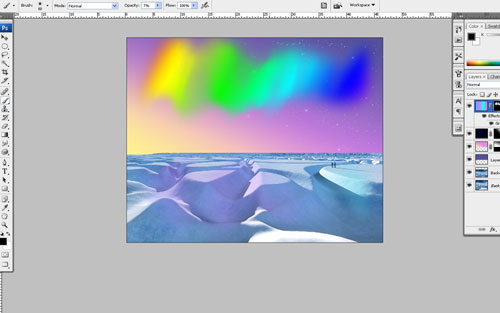
On this step this Photoshop tutorial can be done, but I would like to show you more techniques how to add more interesting gradients to Northern Lights. Now apply Gradient Overlay (link to15) to this layer (use standard Spectrum gradient).
After applying blending option your picture should look similar to mine:
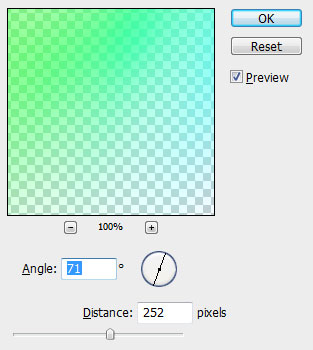
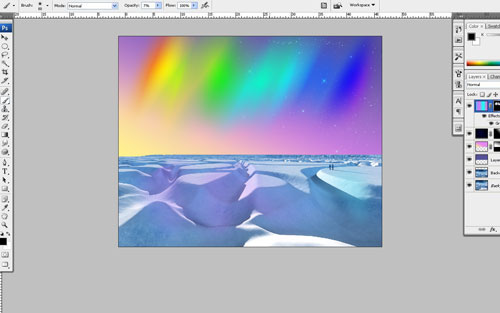
After that create a new layer above and merge it with previous to get all layer effects in one layer. Then apply Filter > Blur > Motion Blur with next presets:
After applying filter change blending mode to Pin Light for this layer.
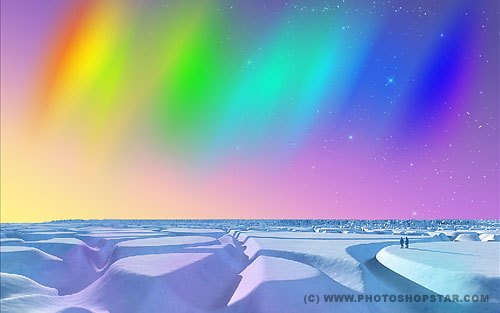
On this step we are finally done with our Photoshop tutorial. The result looks great as for me!

