
Here is new one tutorial how to create coffee cream using just a few Photoshop filters.
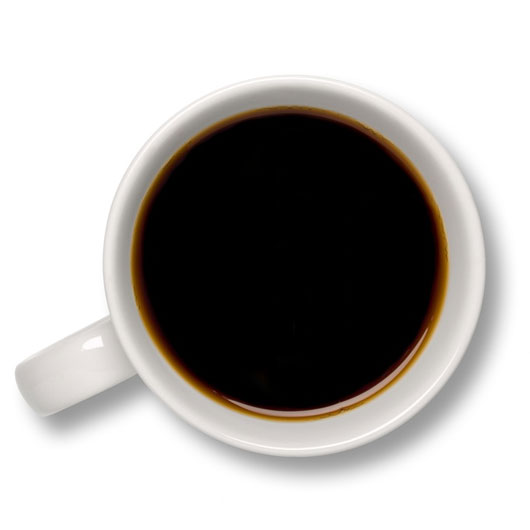
In the beginning of tutorial we should find some appropriate picture with cup of coffee. You can find it on the Google Images of feel free to use mine picture. Open up the picture and start our tutorial. I would like to add some gradient to our dark liquid surface. Use the Elliptical Marquee Tool to create selection as shown on the picture below.

After that use Select > Modify > Feather to feather selection borders about 3 pixels to bring our future gradient more realistic view. Ok, now select some appropriate colors, for example colors of #000000, #573700 and drag a linear gradient.

Remove selection with Ctrl+D and change layer mode to Screen for this layer.

Ok, time to create coffee cream. Create new layer and add a few white spots with Brush Tool and a soft round brush.

After that apply Filter > Distort > Twirl with similar settings to these:

The result should be next:

Looks not bad for now, isn’t it? Ok, goon on. After that apply another one Filter > Distort > ZigZag and set up next parameters for it:

Your picture should look as mine:

Ok, move to the next step. Now apply Filter > Distort > Wave with next settings:

Result:

Don’t be afraid that cream goes out of cup borders. We will correct it later. Now apply Filter > Distort > Wave one more time, but don’t forget to change settings as shown on my picture below.

The result should be next:

Ok, time to correct cream out of cup borders. Use Ctrl+T to reduce coffee cream size a little bit.

Then select the Eraser Tool and a soft round brush about 30 pixels and clear all the strokes out of liquid area.

And the last one thing that we have to do is to change a little bit cream color. Change layer mode to Overlay for current layer.

Now it looks not so bright isn’t it? Ok in this way duplicate current layer and set opacity up to 50% for new layer.

Ok, we are done for this tutorial. We got very nice realistic view coffee cream. Hope, u have the same good result!
