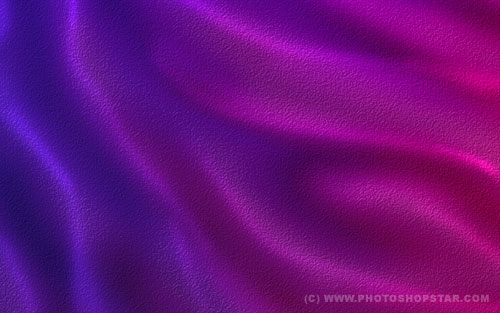
Here one more interesting tutorial where I’m going to show you how to create amazing fabric texture with chameleon effect using just Photoshop tools.
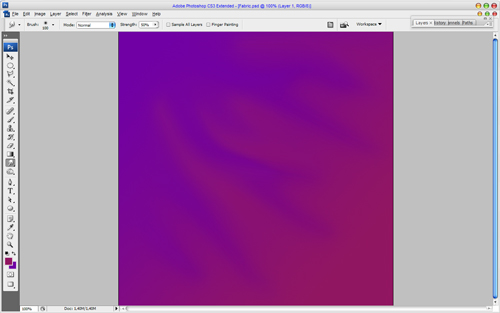
Let’s start with a new document. For this Photoshop tutorial I’m using a rather puny size of 700×700 pixels, feel free to use a larger size though. Select some appropriate colors, for example colors of #7000a4, #911661 and drag a linear gradient.
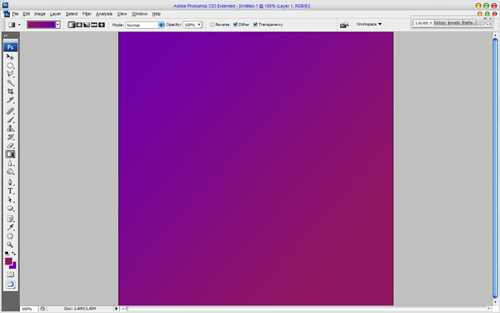
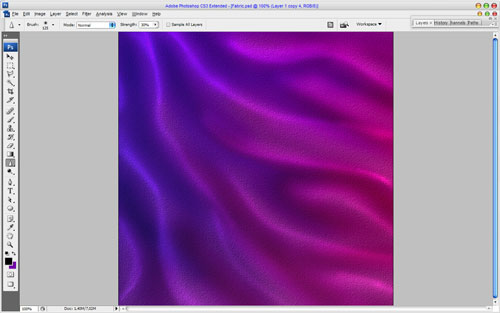
After that use the Smudge Tool (Brush: 100px, Mode: Normal, Strength: 50%) to add a couple of paint-brush strokes.
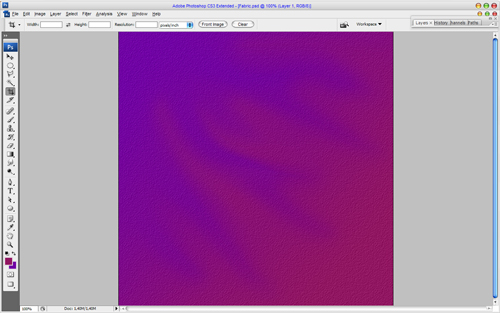
Ok, after that create the texture. Apply Filter > Texture > Texturizer with next presets:
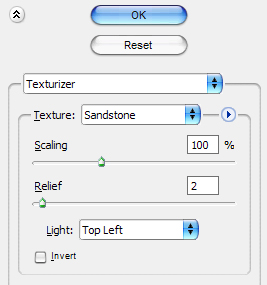
We made our fabric texture like on the picture below.
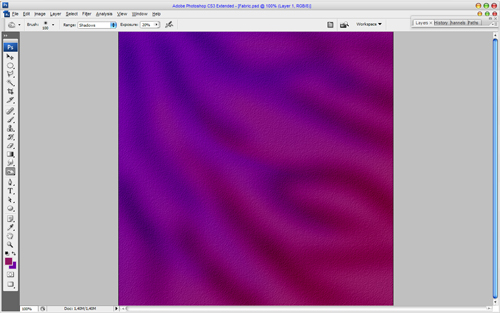
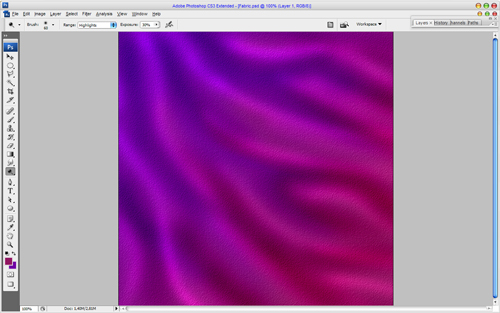
Let’s add some folds to our fabric. Select the Burn Tool (Brush: 100 px, Mode: Shadows, Exposure: 20%) and add a few dark lines to the canvas.
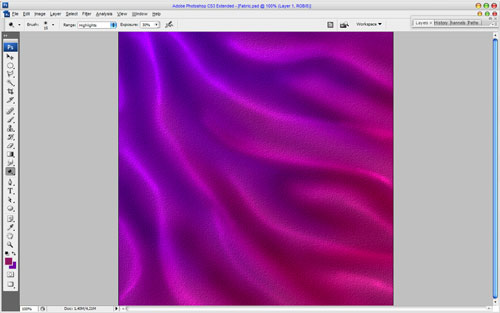
Now, apply the Dodge Tool (Brush: 100 px, Mode: Highlights, Exposure: 30%) to enhance contrast of the folds.
Reduce the brush size and add thin bright lines on the top of folds.
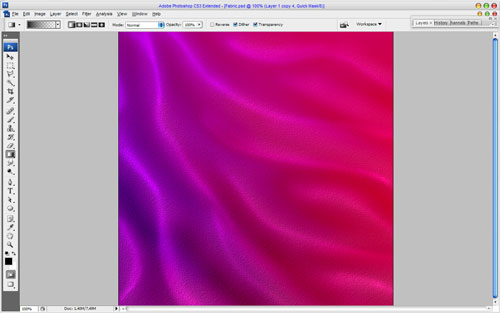
Looks good, isn’t it? And the last one thing that we have to do is add chameleon effect to our fabric. For this apply Quick Mask Mode with gradient as below:
Then go back to Standard Mode. Now we have some selected area.
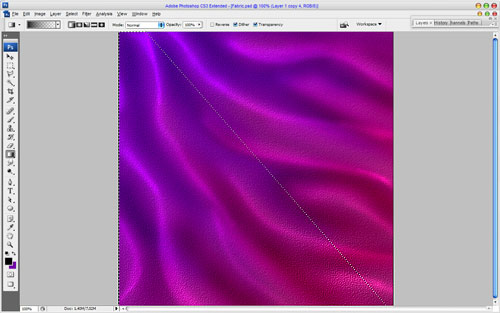
Apply Image > Adjustments > Hue/Saturation (or press Ctrl+U) to selected area with similar settings to these:
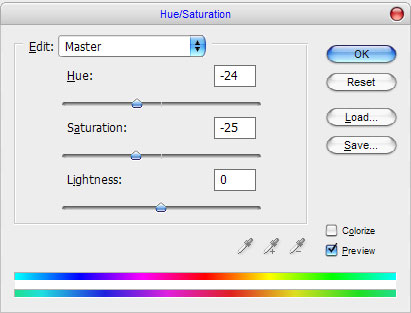
Remove selection with Ctrl+D and we get the next chameleon effect:
Ok, we are done for now! Thanks for reading; I hope you enjoyed the tutorial!

