This is a very simple tutorial that will show you how to use Photoshop’s Layer Styles, an awesome tip for creating 3D-like shadow, and a splatter brush, to create a bright Arcade-inspired text effect.
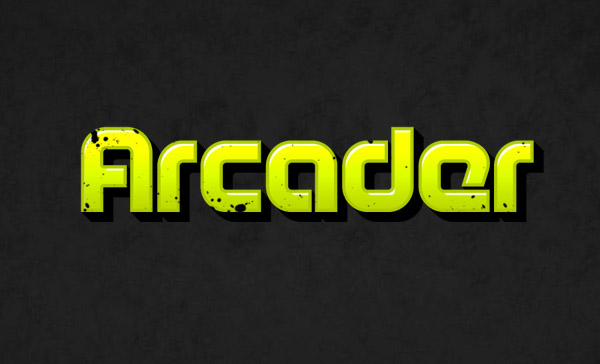
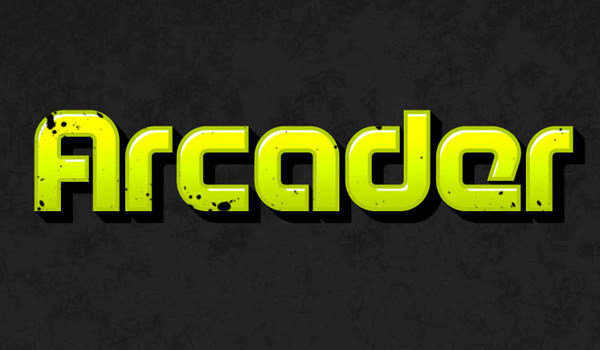
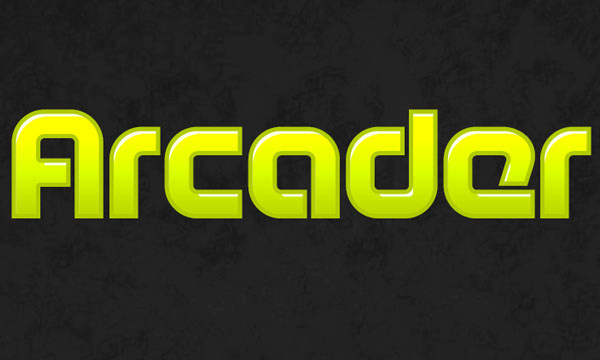
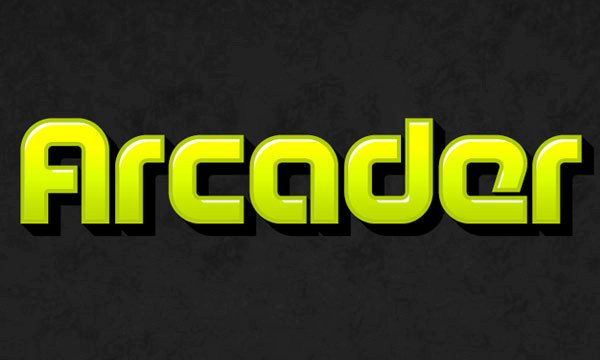
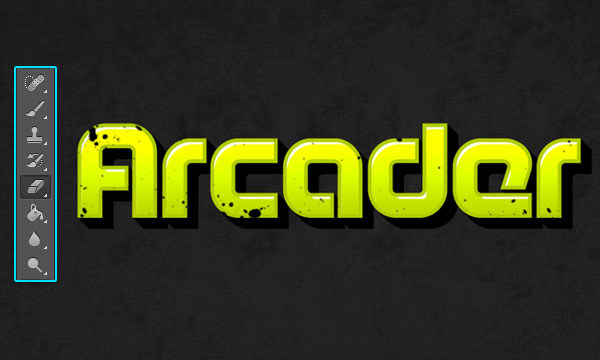
Final Image
Note: Original tutorial published on Photoshopstar.com some years ago. Tutorial was updated and now republished.
Tutorial Details
- Program: Adobe Photoshop CS6 (CS3+ versions will work as well)
- Estimated Completion Time: 25 minutes
- Difficulty: Beginner
Resources
- Age font.
- Black-Purple Grunge texture by 27screams.
- Monster Splatter Brush Set by miskis.
Step 1
Create a new 900 × 690 px document, place the “Black-Purple Grunge texture” image on top of the Background layer, then go to Image > Adjustments > Desaturate.
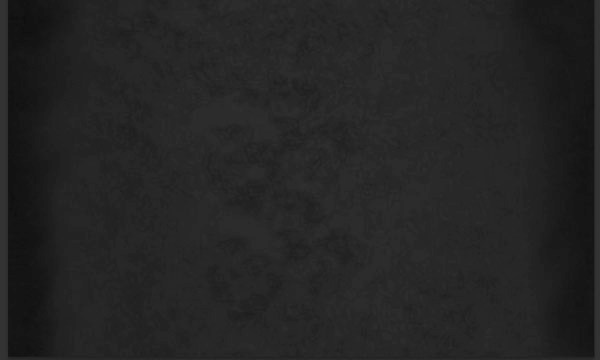
Go to Edit > Transform > Rotate 90° CW to make the texture extend horizontally instead of vertically. Move the texture around if needed until you like how it looks.

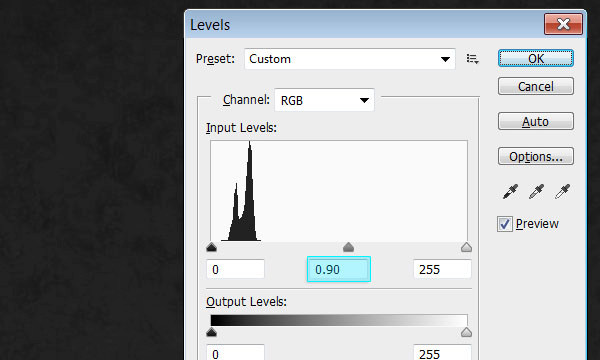
Go to Image > Adjustments > Levels, and change the Gamma value to 0.90 to darken up the texture a little bit.
Step 2
Create the text using the font “Age”, the font Size 182 pt, and the color #b0cc00.
Double click the text layer to apply the following Layer Style:
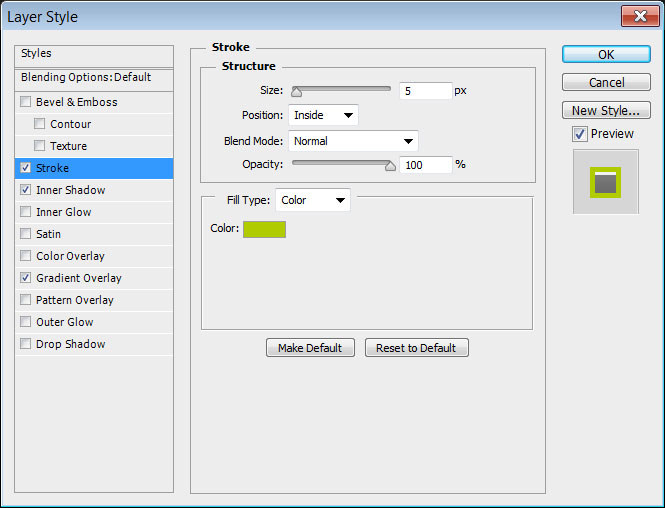
– Stroke
Size : 5
Position : Inside
Color : #b0cc00 (Same text color)
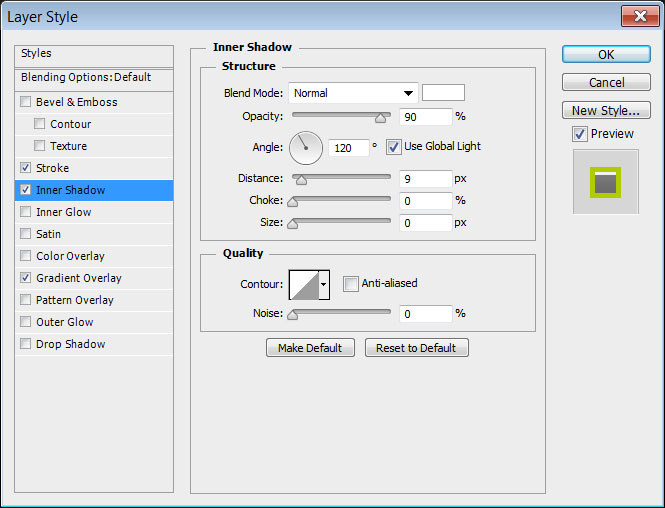
– Inner Shadow
Blend Mode : Normal
Color : #ffffff
Opacity : 90%
Distance : 9
Size : 0
– Gradient Overlay
Blend Mode : Color Dodge
Opacity : 45%
Scale : 150%
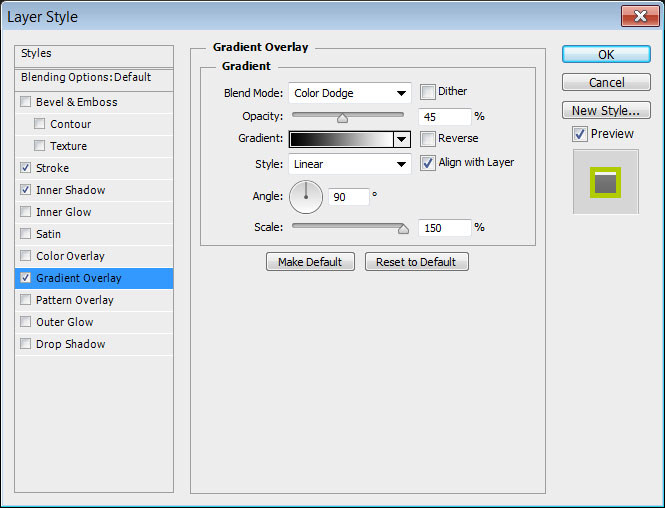
This will style the main text.
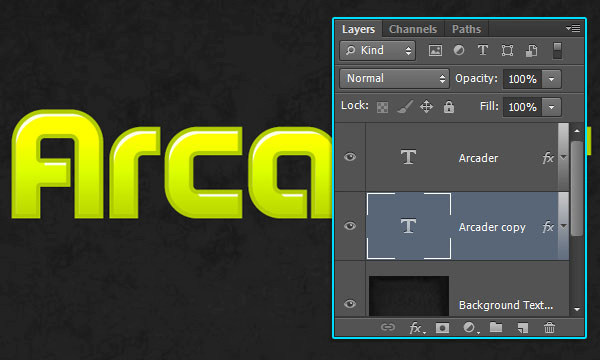
Step 3
Duplicate the text layer then drag the copy below the original.
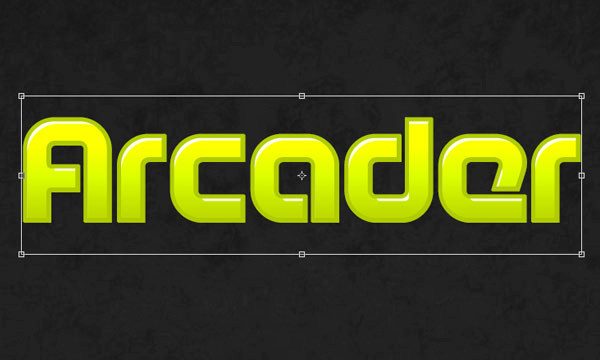
Step 4
Go to Edit > Free Transform, the hit the Down Arrow Key Once, and the Right Arrow Key once, to move the copy text 1 px downwards and 1 px to the right. Hit Enter/Return to accept the changes.
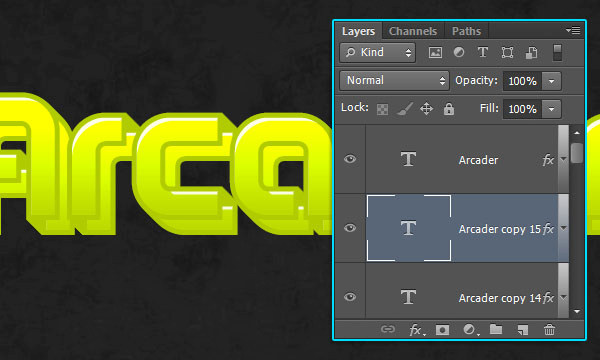
Press the Alt + Ctrl + Shift + T or Option + Cmd + Shift + T keys a couple of times to duplicate the layer and the transformation until you like the depth of the 3D shadow. Here, the layer is duplicated 14 times to create a total of 15 copy layers.
Step 5
Click the last copy layer, then press and hold the Shift key, and click the first copy layer to select all the copy layers you created. Go to Layer > Merge Layers, to merge all the copies in one layer, and rename it to “3D Shadow”.
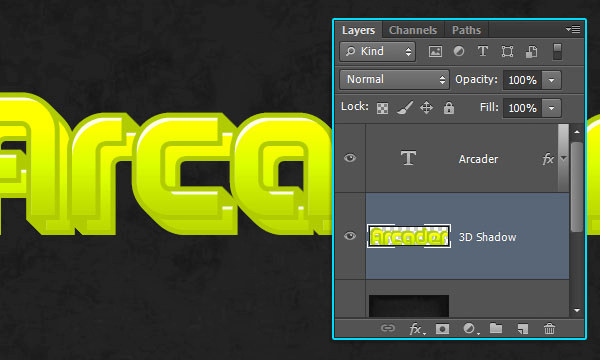
Double click the “3D Shadow” layer to apply a Color Overlay effect, using the color #000000.
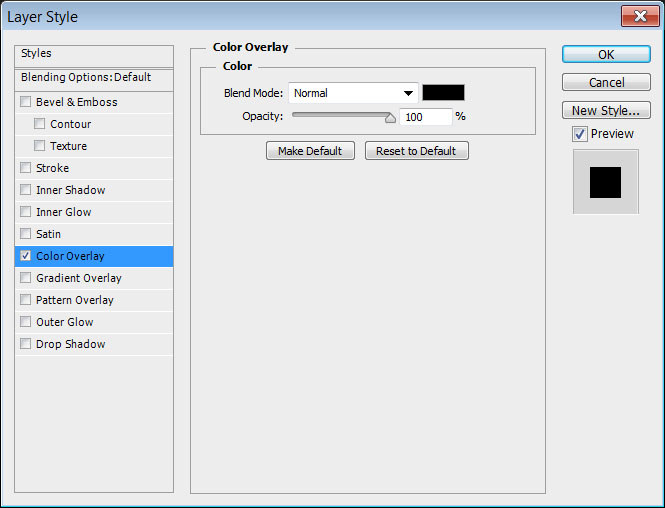
If you think Black is too dark, you can definitely use any other color you prefer.
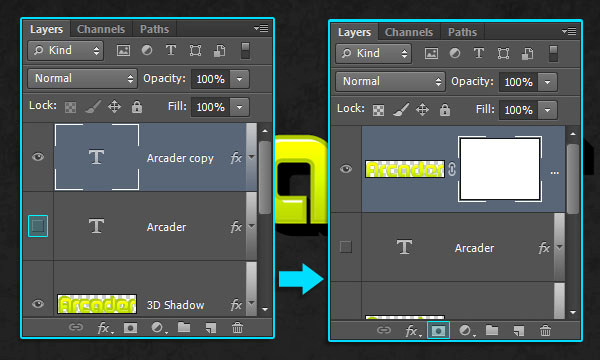
Step 6
Duplicate the original text layer, then make it invisible by clicking the eye icon next to it. Then select the duplicated layer, and go to Layer > Rasterize > Layer Style.
If you’re using a < CS6 version, then group the duplicated layer (Layer > Group Layers), then merge the group (Layer > Merge Group).
Click the “Add vector mask” icon down the Layers panel to add a mask to the rasterized layer. This will make sure that the changes will not be applied directly to the layer, so the mask thumbnail should be always selected before erasing anything.
Pick the Eraser Tool, and choose any of the “Monster Splatter Brush Set” brushes. Change the brush size to one you like (around 350 – 550 px), make sure that the mask thumbnail is selected, then click around the letters to erase some parts as shown below.
You can undo any parts you don’t like, try different brushes and sizes, or even use any splatter/grunge brushes of your choice.
And We’re Done!
Hope you enjoyed this really simple tutorial and found it useful. Please feel free to leave your comments below.