Since Adobe Photoshop CS5, we’ve been graced with a tool called Content Aware. In its various guises, this nifty function lets you quickly and easily remove unwanted parts of your image.
Here, we’ll take a look at Content Aware Fill in Photoshop.
How it Works
Photoshop looks at your chosen selection and the pixels around it. It then uses an algorithm to determine what the selection should be replaced with.
Using Content-Aware Fill
Although similar in nature to the other Content-Aware options, Fill is used for larger and more complicated areas of your photograph.

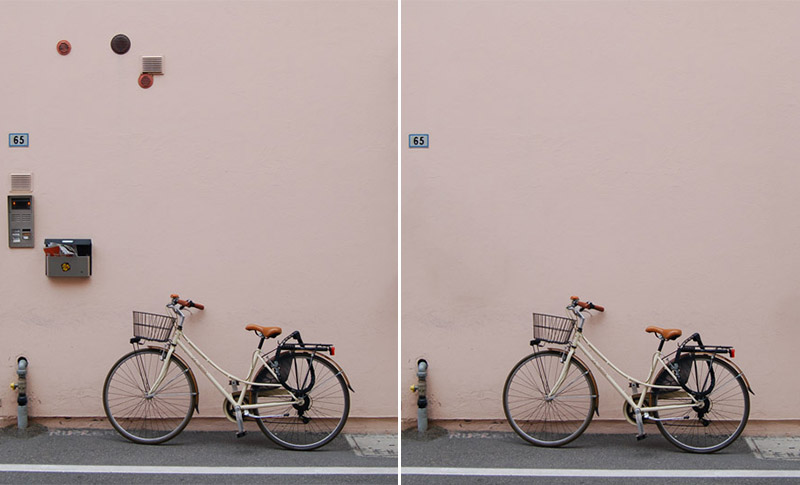
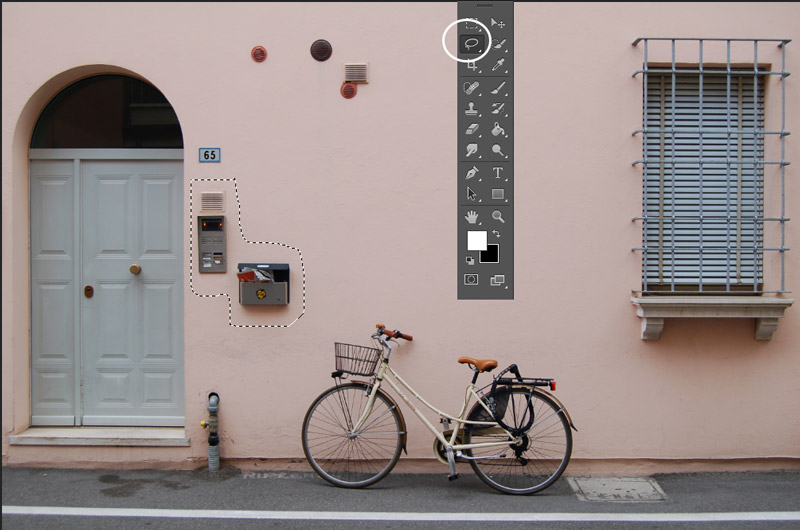
If we take this image of a bike resting against a wall as an example. There are some elements that you might want to remove in order to de-clutter the photo. Say you wanted to remove the door buzzer panel and the mailbox. First, draw around the item you want to remove with the Lasso tool. This can be free-hand, but make sure you don’t draw too close to your subject.
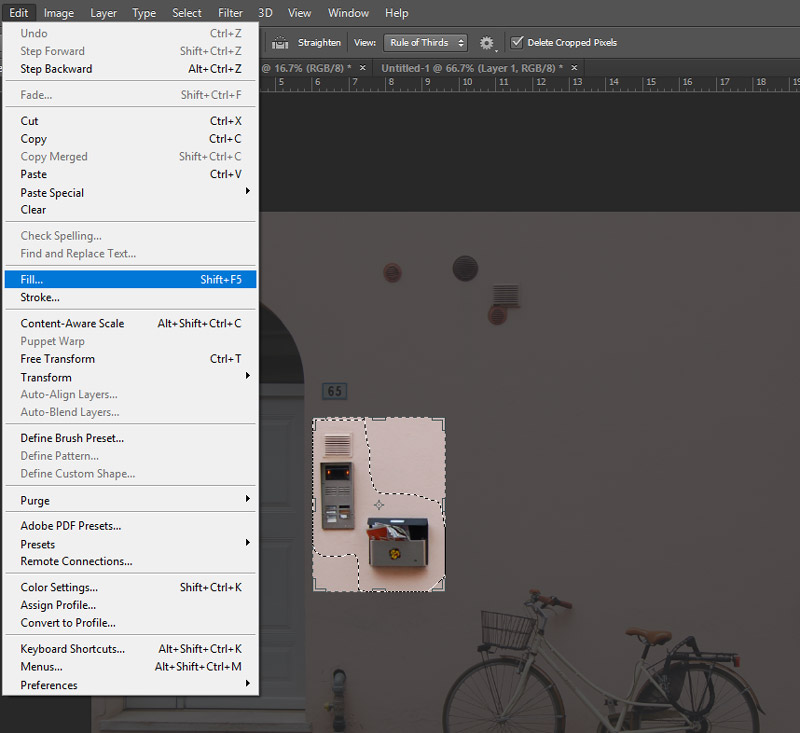
When you’re happy with your selection, go to Edit > Fill
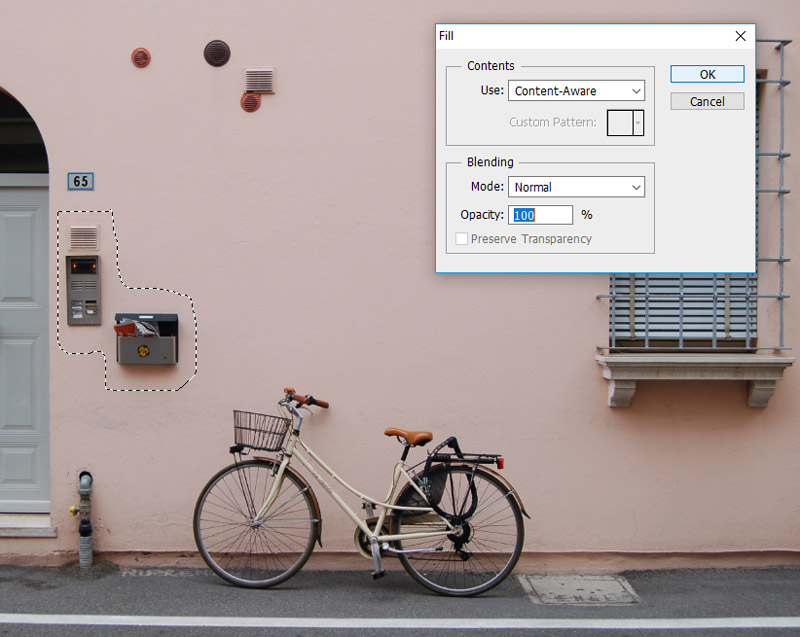
Change Use to Content-Aware, the Mode to Normal and keep the Opacity at 100% then click OK.

You can see that the items have disappeared more or less seamlessly. It also easily deals with the window on the right, the puddle on the floor and the small vents at the top.

As the tool was taking a fairly plain reference point as a background (a single color, smooth wall) then this isn’t a very complicated task for Content-Aware. Let’s test it on something a little more complex.

If we wanted to remove the person from this shot, there are several different backgrounds that the tool would need to deal with. There are trees, some grass and a pavement strewn with leaves.
Select the person with Lasso, once again leaving a small buffer between the selection and the subject.

Using the same settings as before, Edit > Fill > Content-Aware.

You can see that this time there are definitely a few anomalies, but on the whole, it’s done a really great job and it’s much easier to patch and touch up this section than it would have been to use the Clone tool to remove the person from the start.
Another Useful Use for Content-Aware Fill
Content-Aware Fill isn’t just great for removing unwanted elements of your pictures. If you have an image which requires some straightening, you can use Content-Aware Fill to help make sure you don’t lose any of the image due to cropping.
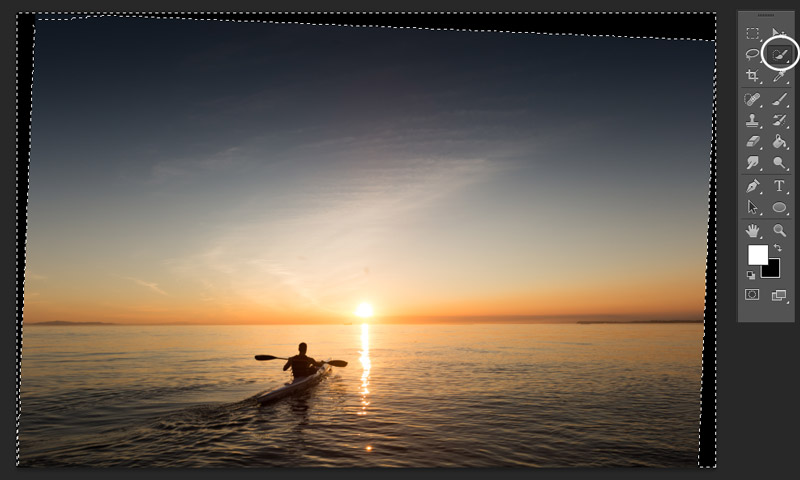
Take this example of a crooked horizon line:

If it’s straightened, we’re left with a lot of excess canvas that would usually just be cropped away

Using the Quick Selection Tool, highlight the canvas without any extra pixels:
Next, we need to make sure that the selection includes some of the image’s pixels so the tool can make a better judgment about what to place there. Go to Select > Modify > Expand and change it to around 20px (this might vary depending on the size of your photograph).
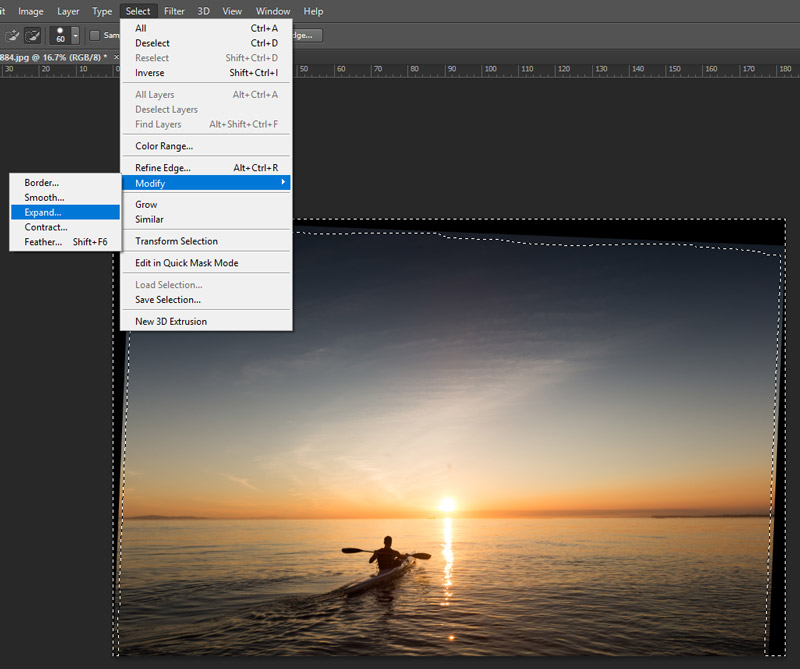
Next, in the same way as in the previous example, go to Edit > Fill > Content-Aware and hit OK.

I’ve left the marching ant line in so you can see where Photoshop has filled and it’s done a really nice job.
Conclusion
Content-Aware Fill is a marvelous tool and can make our job as photographers and/or designers so much easier. As with all things, it should be used in moderation and with realistic expectations.
Remember not to make your selection too close to your subject, so if you’re selecting free-hand, leave a slight gap. If you’re using a selection tool, then make use of Expand to increase your buffer by an appropriate amount of pixels.
Complicated backgrounds are trickier to fill using this tool; it’s not a one size fits all sticking plaster. Instead, think of it as painting the wall with a roller vs a brush, it gets the bulk of the work done much faster and more efficiently, but you’ll still need to touch up the edges.