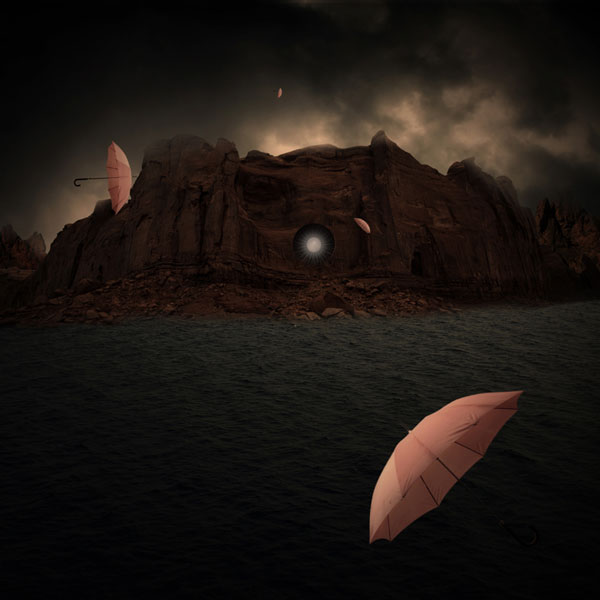
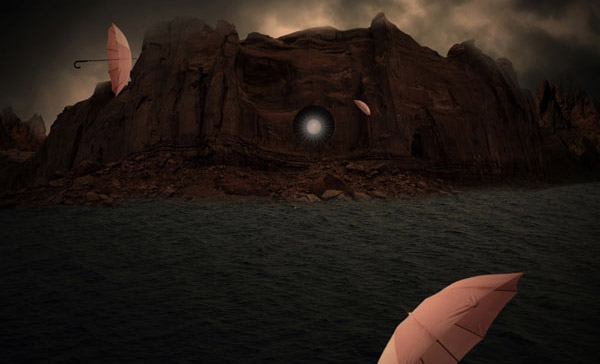
In this Photoshop tutorial we will learn how to create a conceptual surreal photo-manipulation.
Final Image Preview

Resources
- American dream 4
- dark gray storm – night-fate-stock
- Sea, Greece – evza11
- umbrella
- engine-moteur
- Las Vegas area mountain landscape (Previous mountain photo used on this tutorial was removed from site and we had to find a new photo similar to the previous one. With this image you will almost the same effect but on our screenshots you will still see previous mountain photo.)
Step 1
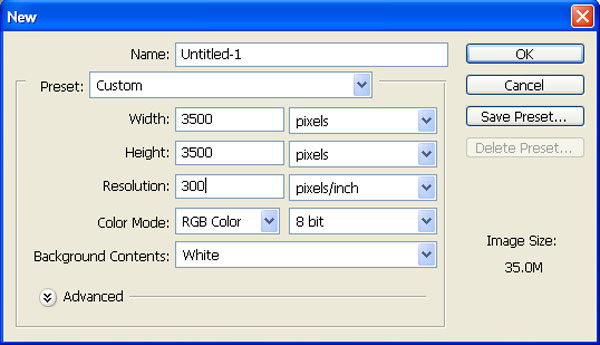
Create a new file with a width of 3500 px and a height of 3500 px at 300 dpi (Dots per Inch). Background Contents should be White.
Step 2
First off, let’s open the dark gray storm in Photoshop. We will be using sky from this stock image so we will need to transfer it to our main canvas.
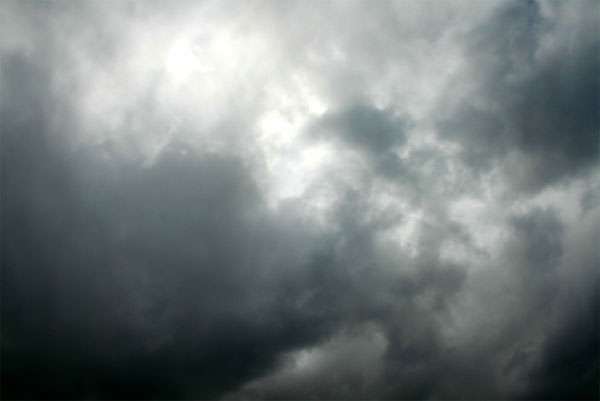
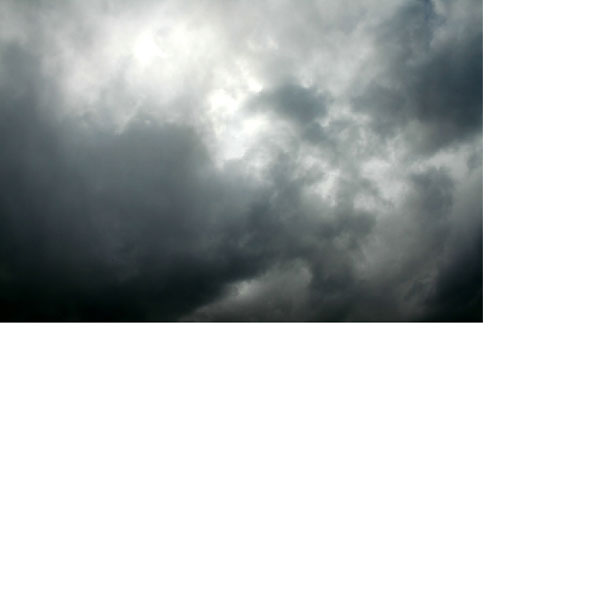
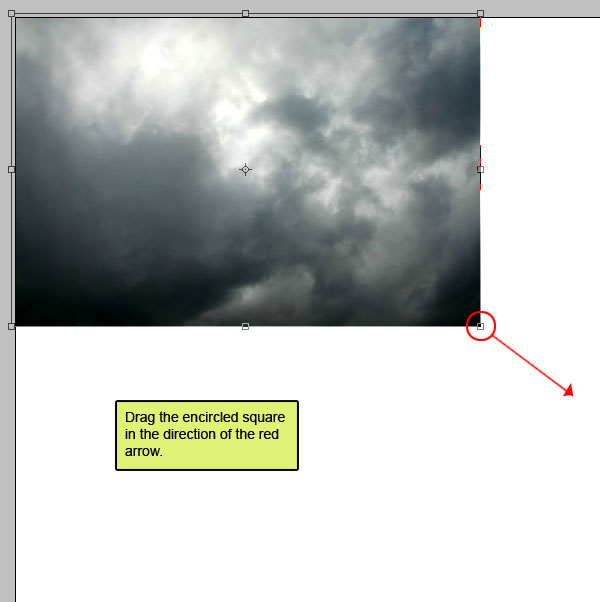
Activate the Transform tool (Ctrl+t) as shown below:
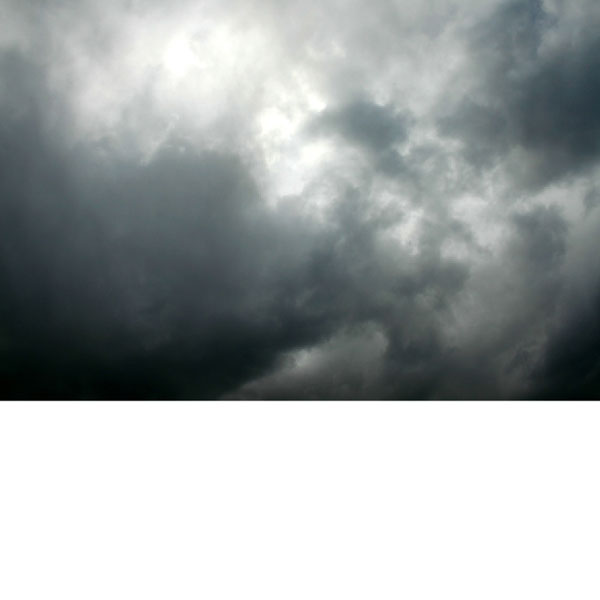
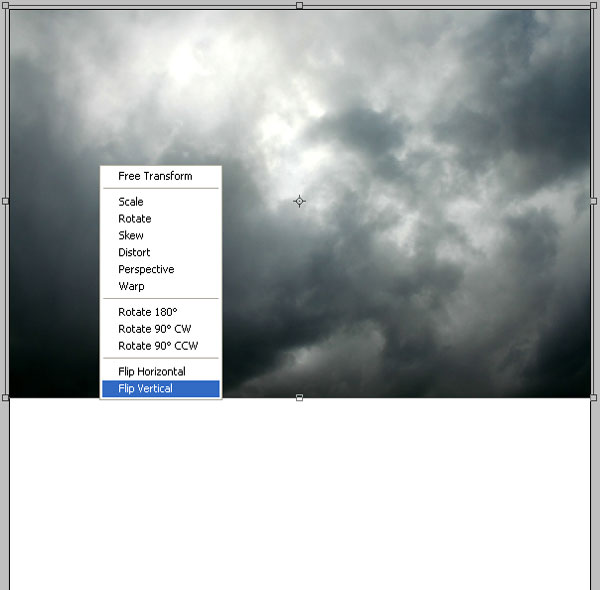
Once again activate the Transform tool (Ctrl+T) then right click and choose “Flip Vertical”.
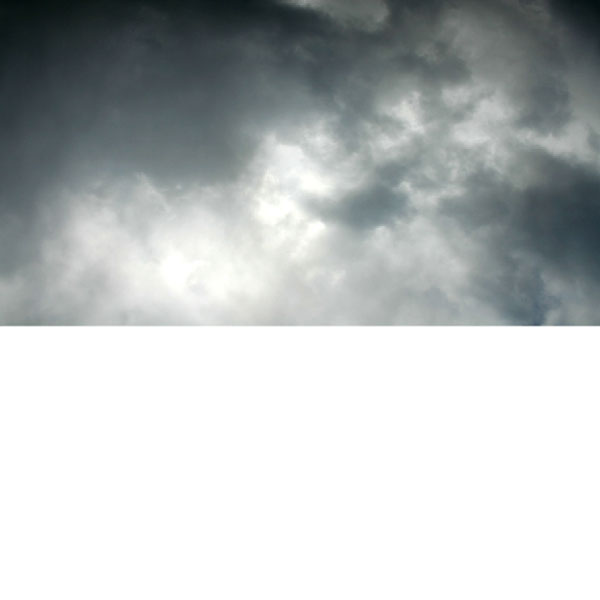
Step 3
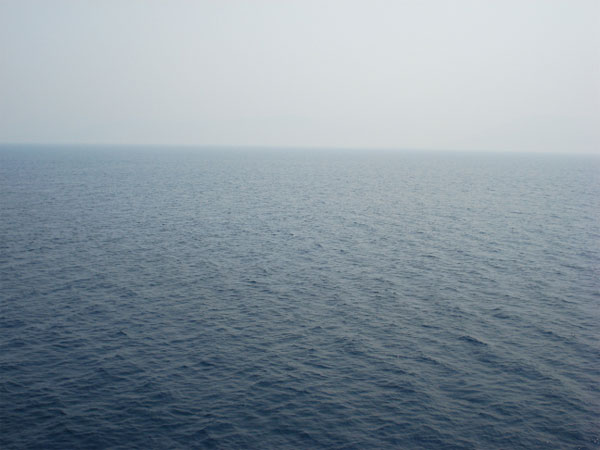
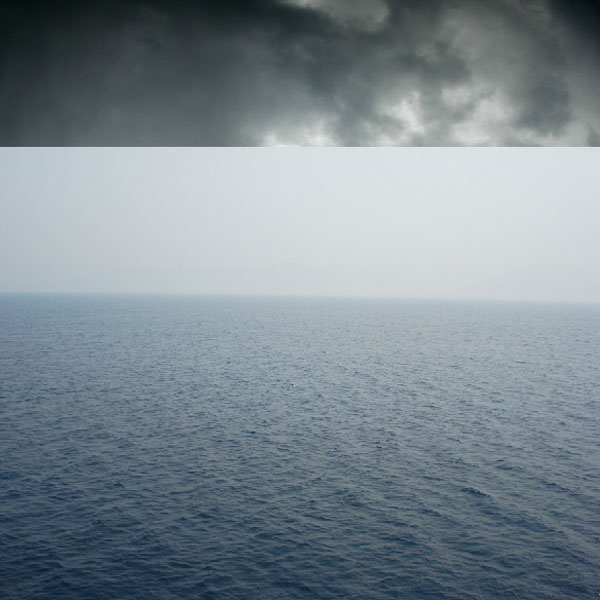
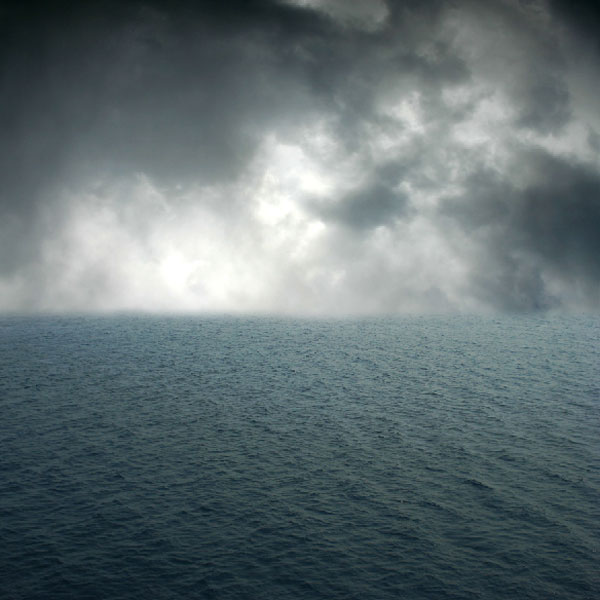
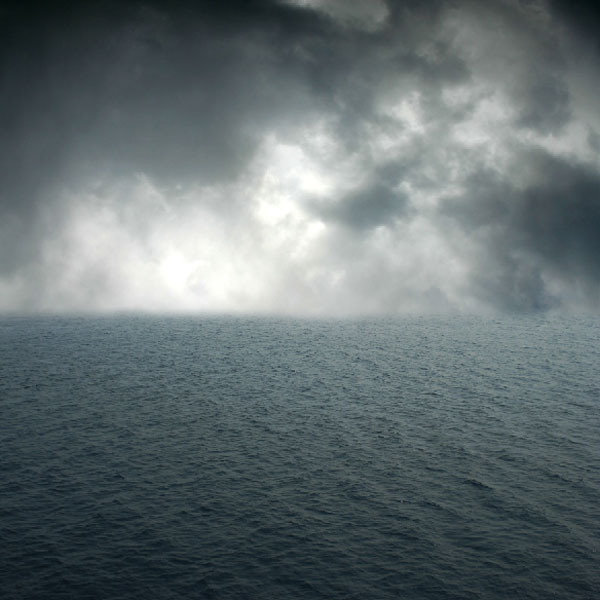
Now, let’s open the Sea, Greece in Photoshop. We will be using the sea from this stock image so we will need to transfer it to our main canvas.
Click the Sea, Greece image and press V to activate the Move Tool. Left-click the image and drag the image to the main canvas and change layer name to “Sea”.
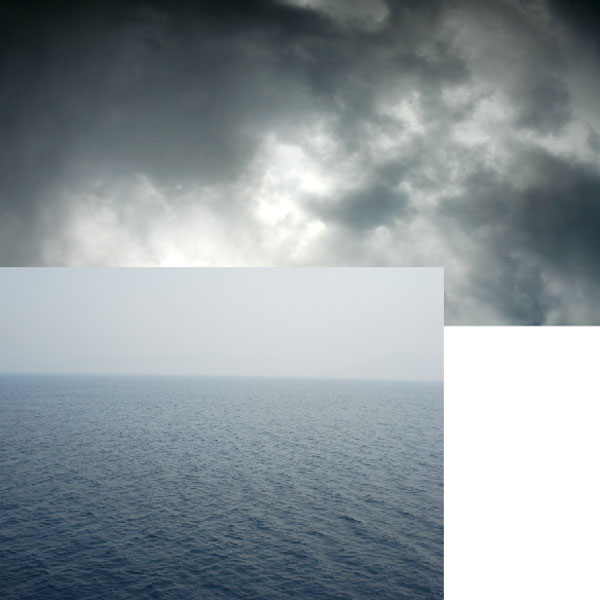
Activate the Transform tool (Ctrl+t) as shown below:
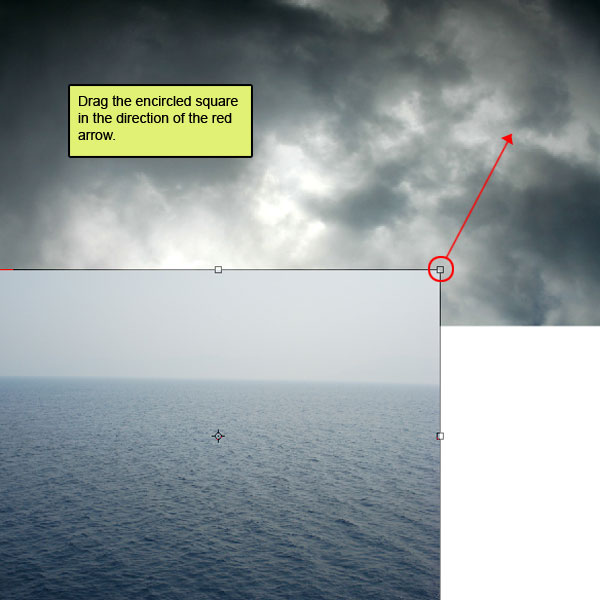
Step 4
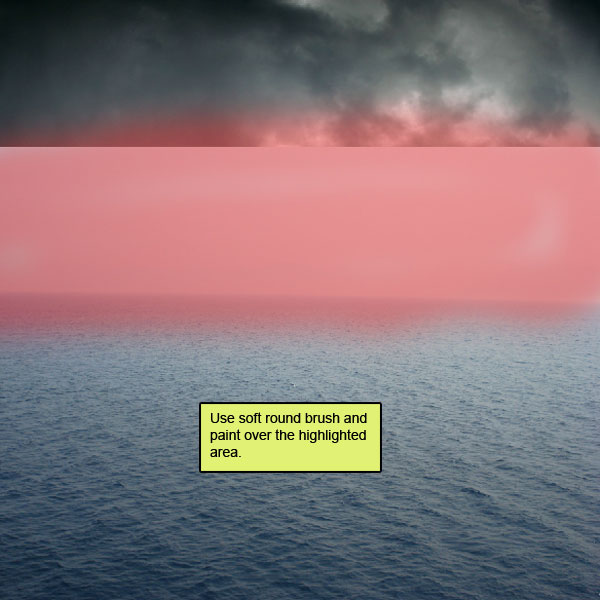
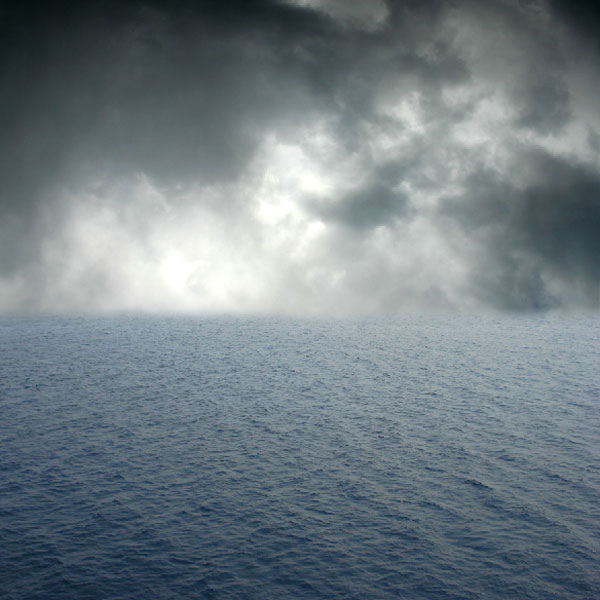
We do not need that sky in that sea stock so let’s erase it.
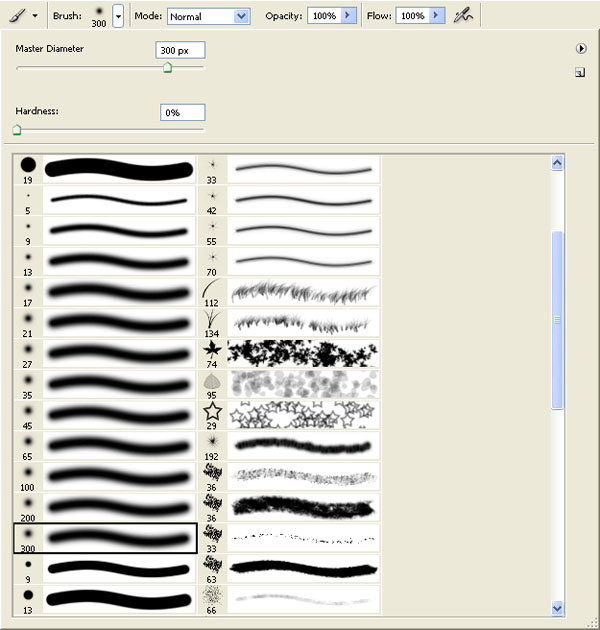
Activate the Erase tool (E) with these settings. Now let’s erase :
Brush size: 300px
Hardness: 0%
Opacity: 100%
Flow: 100%
Color: #000000
Paint over the highlighted area.
Step 5
Let’s adjust the color and tone of our sea we are going to adjust with our image’s atmosphere.
Create a Color Balance adjustment layer which can be found by pressing on the create New Fill/Adjustment layer button shown on the layer window:
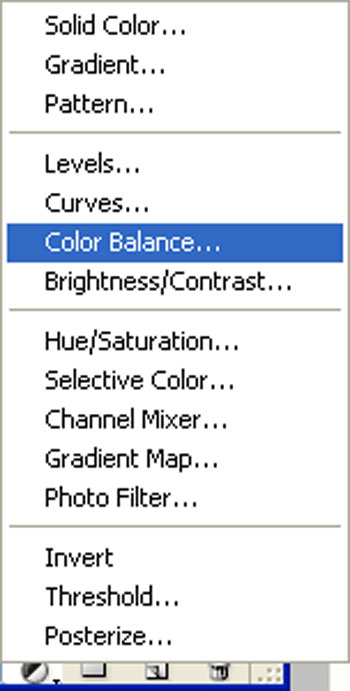
When the Color Balance box opens, input the following:

Press Alt+left click in between the 2 layer’s (Sea layer and Color balance) to make a mask.
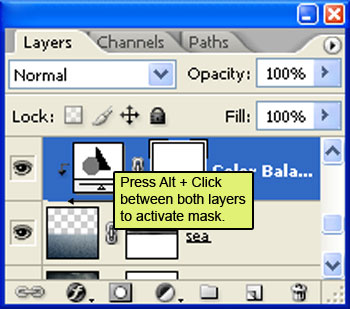
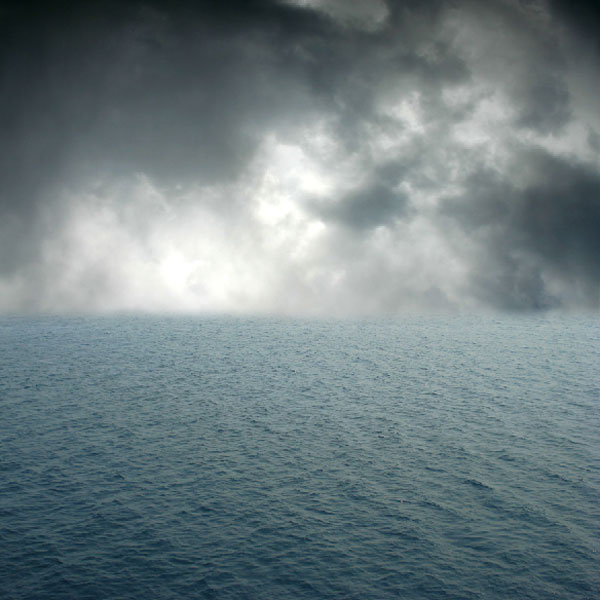
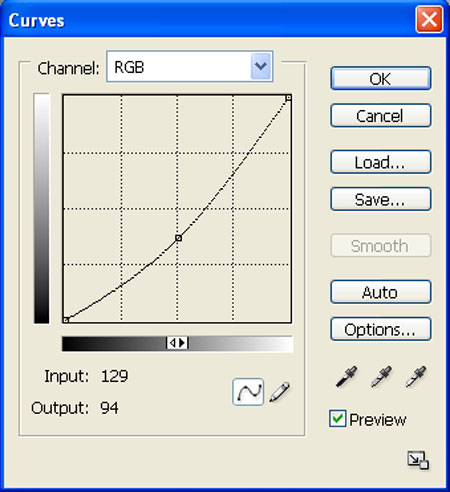
Now Create a new Curves adjustment layer from the bottom of the layers palette .
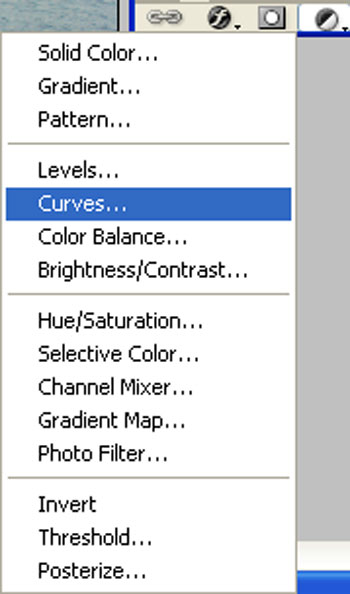
When the Curves box opens, input the following. Press Alt+left click in between the 2 layer’s (Sea layer and Curve) to make a mask.
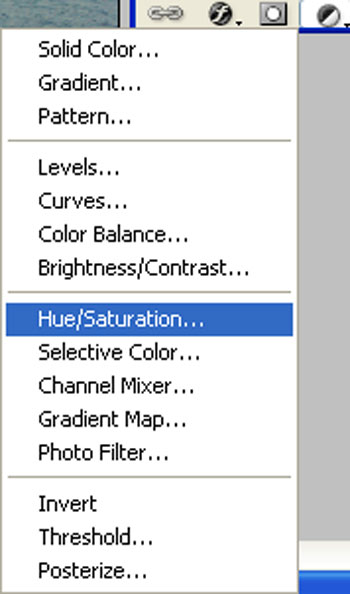
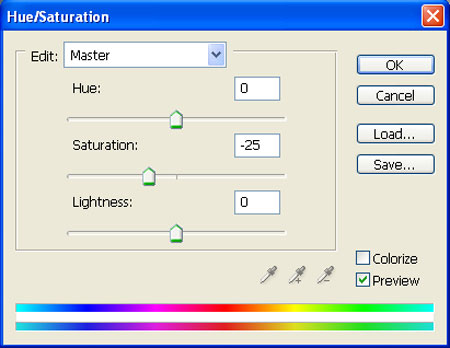
Now create a new Hue/Saturation adjustment layer from the bottom of layers palette .
When the Hue/Saturation box opens, input the following. Press Alt+left click in between the 2 layer’s (Sea layer and Hue/Saturation) to make a mask.
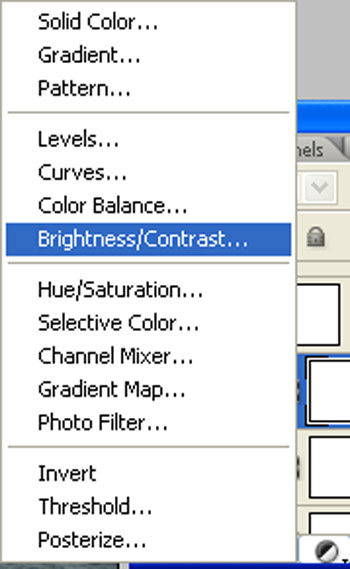
Create a new Brightness/Contrast adjustment layer from the bottom of the layers palette. Press Alt+left click in between the 2 layer’s (sea layer and Brightness/Contrast) to make a mask.
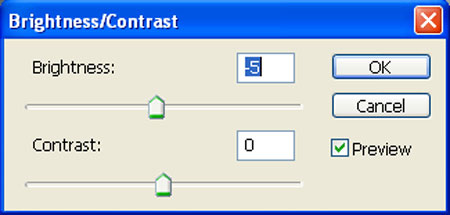
When the Brightness/Contrast box opens, input the following. Press Alt+left click in between the 2 layer’s (sea layer and Brightness/Contrast) to make a mask.

Step 6
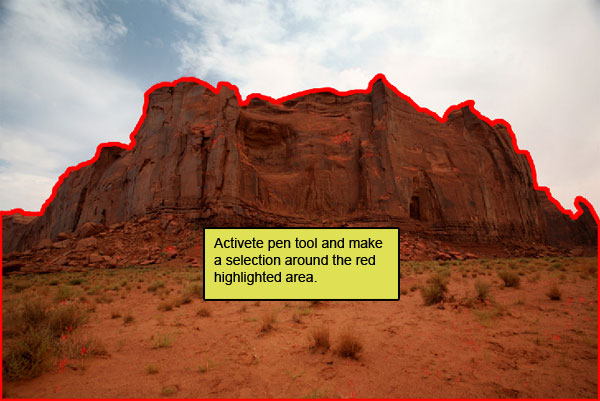
Open the American dream 4 in Photoshop. We will be using the mountain from this stock image so we will need to transfer it to our main canvas.
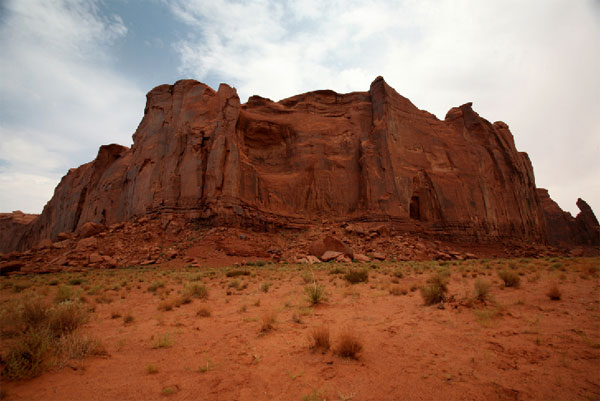
Click the American dream 4 and press P to activate the Pen tool and then make a selection around the mountain and then click V to activate the Move Tool. Left-click the image and drag the image to the main canvas and change the layer name to “Mountain1”.
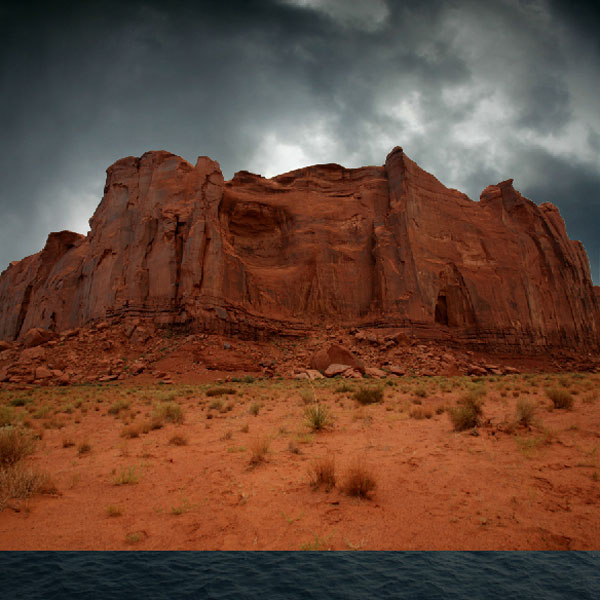
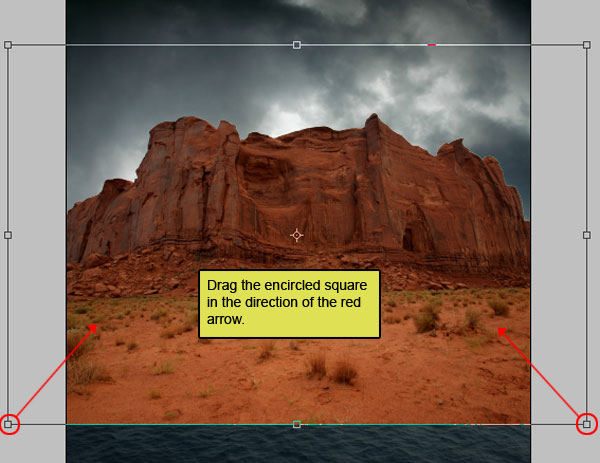
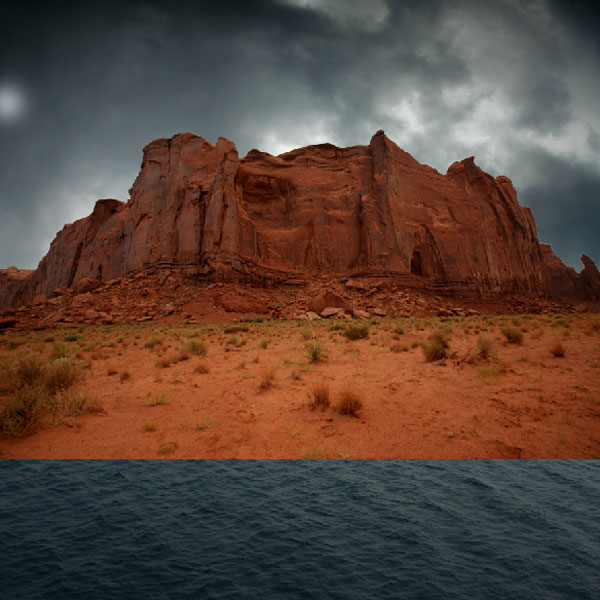
Next, activate the Transform tool (Ctrl/Cmd +T), then while “Mountain1” layer is selected, resize it as shown below:
Step 7
Activate the Erase tool (E) with these settings. Now let’s erase :
Brush size: 300px
Hardness: 0%
Opacity: 65%
Flow: 100%
Color: #000000
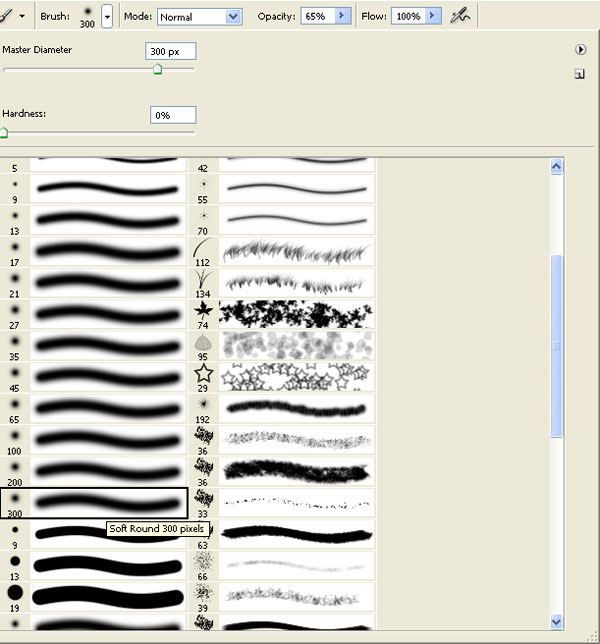
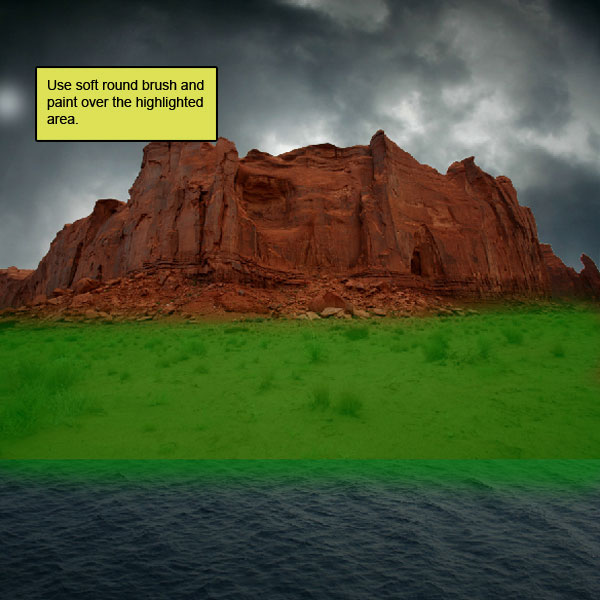
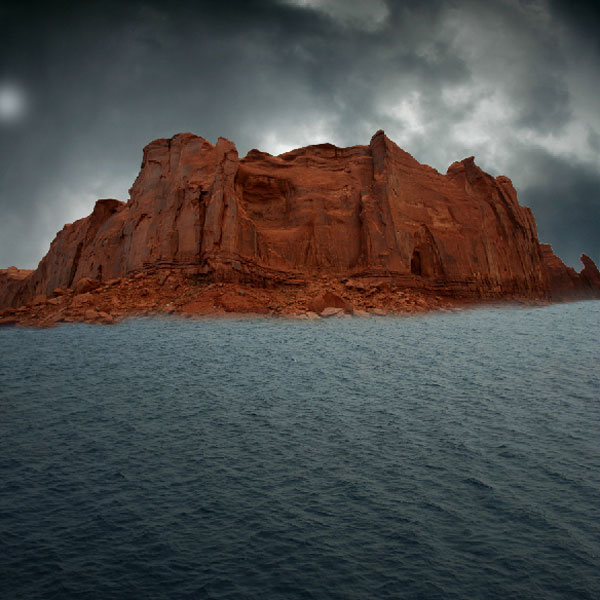
Paint over the highlighted area.
Step 8
Create a Hue/Saturation adjustment layer:
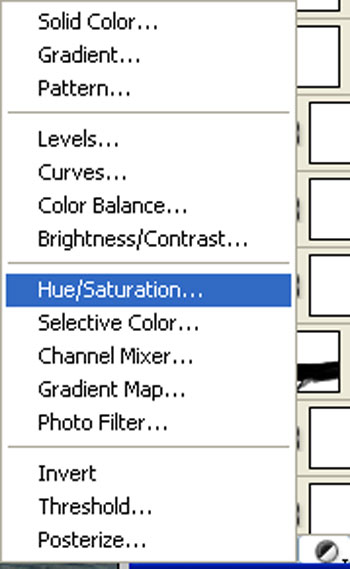
When the Hue/Saturation box opens, input the following:
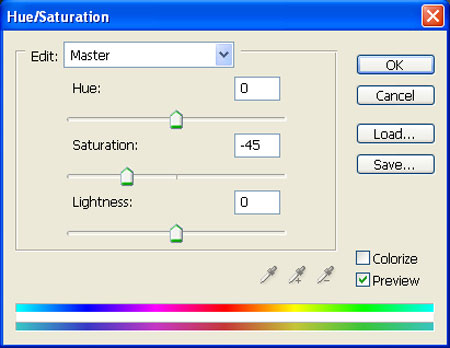
Press Alt+left click in between the 2 layer’s (Mountain1 layer and Hue/Saturation) to make a mask.
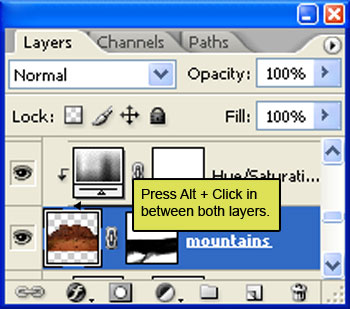
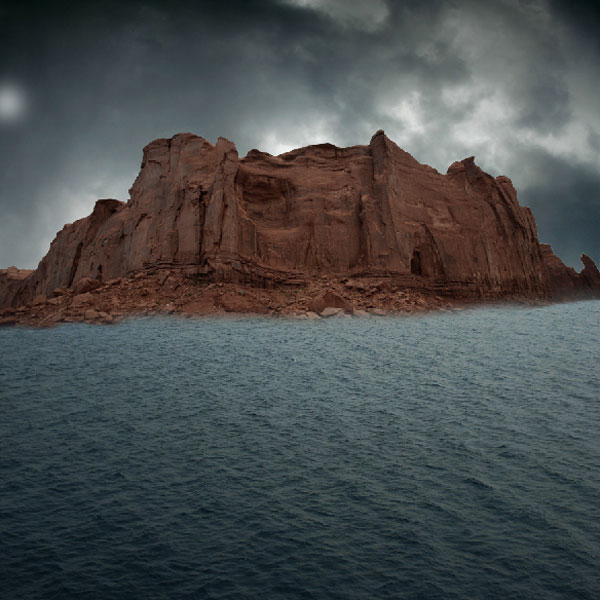
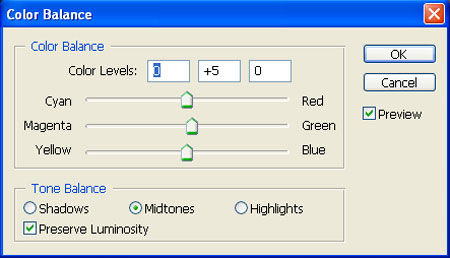
Now create a Color Balance adjustment layer:
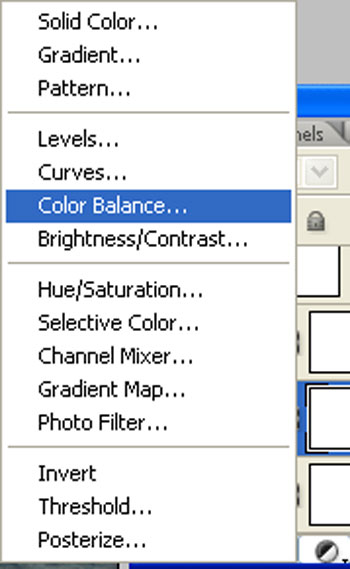
When the Color Balance box opens, input the following. Press Alt+left click in between the 2 layer’s (Mountain1 layer and Color balance) to make a mask.
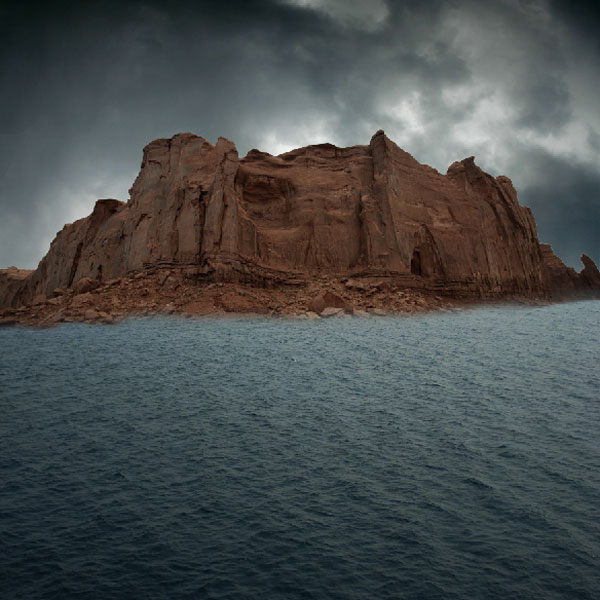
Now create a new Curves adjustment layer from the bottom of the layers palette.
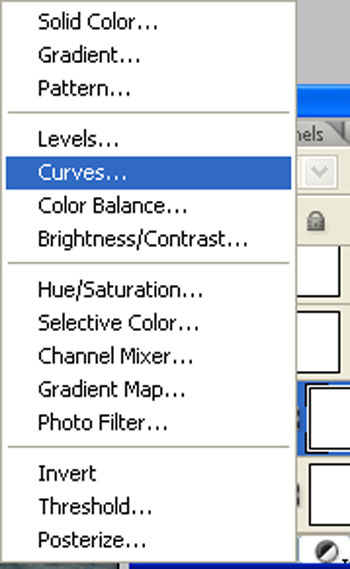
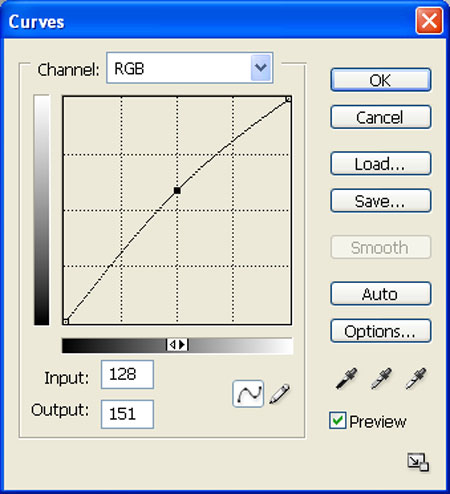
When the Curves box opens, input the following. Press Alt+left click in between the 2 layer’s (Mountain1 layer and Curves) to make a mask.
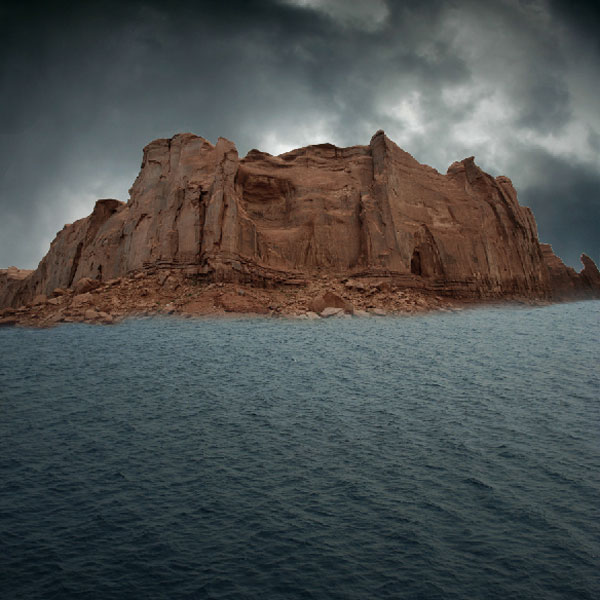
Step 9
Let’s open the Las Vegas area mountain landscape stock in Photoshop. (Warning: Previous mountain photo used on this tutorial was removed from site and we had to find a new photo similar to the previous one. With this image you will get almost the same effect but tutorial screenshots still use old photo.)
We will be using the Mountain from this stock image so we will need to transfer it to our main canvas.
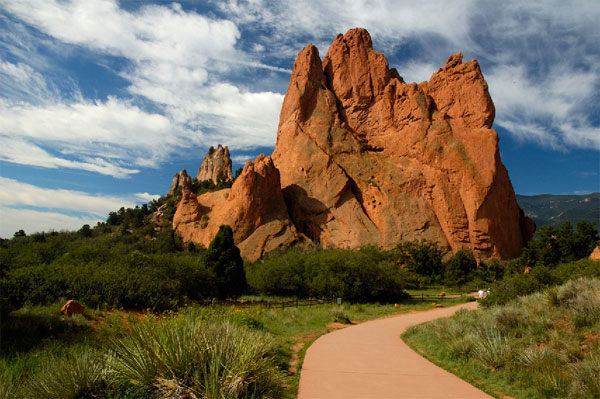
Click the Stock179 and press P to activate Pen tool and then make a selection around the mountain and then click V to activate the Move Tool. Left-click the image and drag the image to the main canvas and change layer name to “Mountain2”.

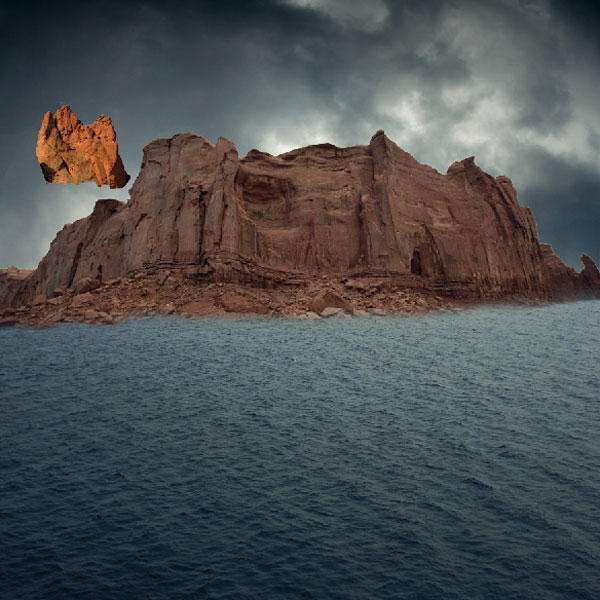
Step 10
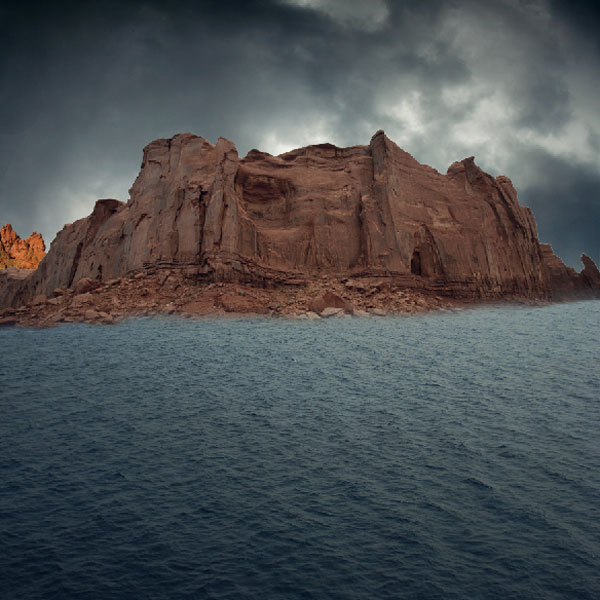
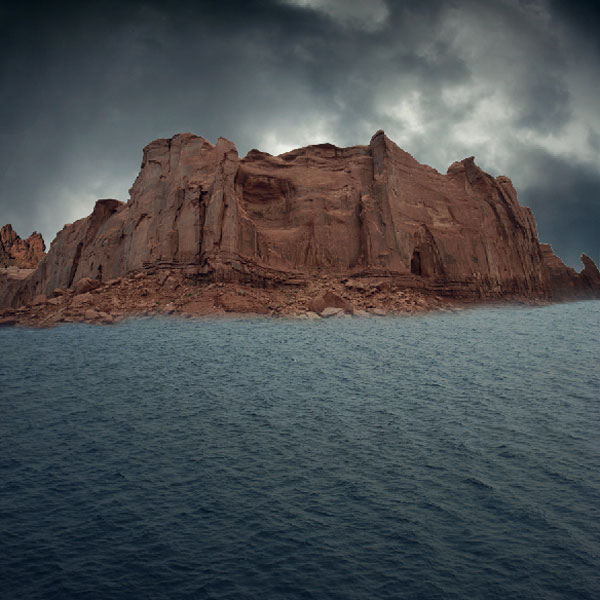
Next, activate the Transform tool (Ctrl/Cmd +T) with the “Mountain2” layer selected and then resize it as shown below:
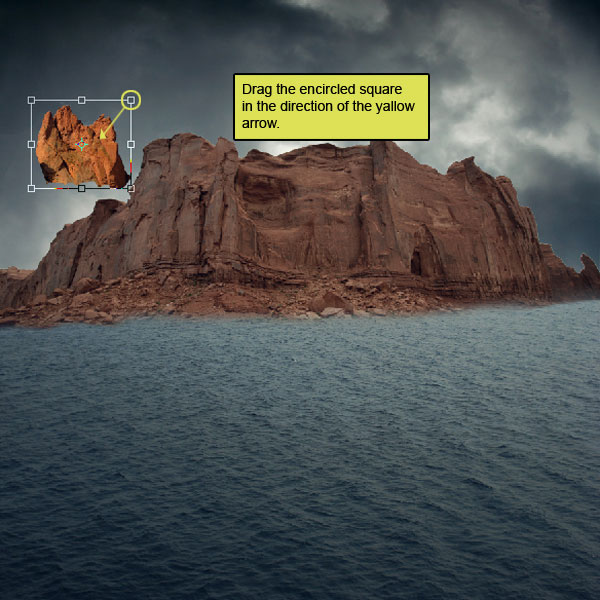
Step 11
Create a new Hue/Saturation adjustment layer from the bottom of the layers palette .
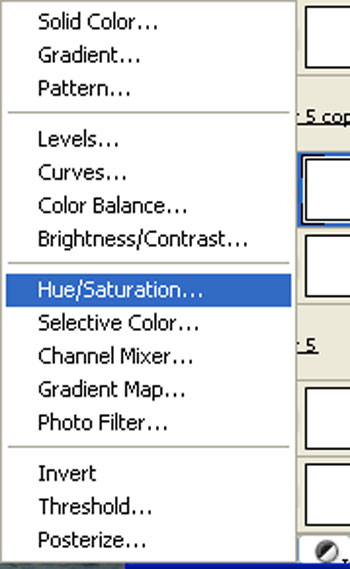
When the Hue/Saturation box opens, input the following:

Press Alt+left click in between the 2 layer’s (Mountain2 layer and Hue/Saturation) to make a mask.
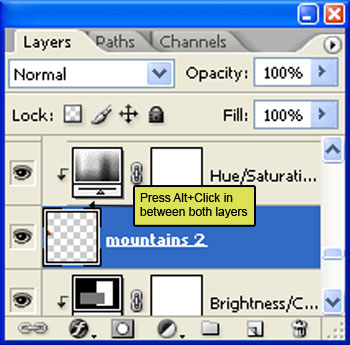
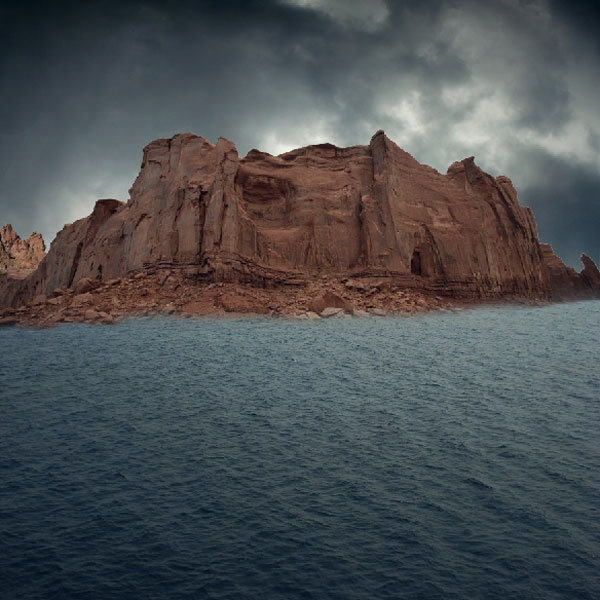
Now create a new Curves adjustment layer:
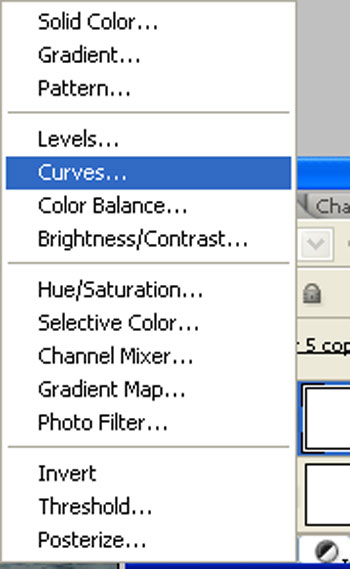
When the Curves box opens, input the following. Press Alt+left click in between the 2 layer’s (Mountain2 layer and Curve) to make a mask.

Step 12
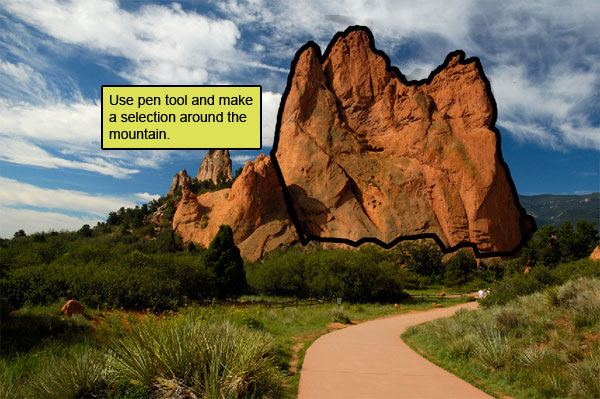
Return to the Stock179 stock in Photoshop. We will again be using the Mountain from this stock image so we will need to transfer it to our main canvas.

Click the Stock179 and press P to activate the Pen tool and then make a selection around the mountain and then click V to activate the Move Tool. Left-click the image and drag the image to the main canvas and change the layer name to “Mountain3”.
Step 13
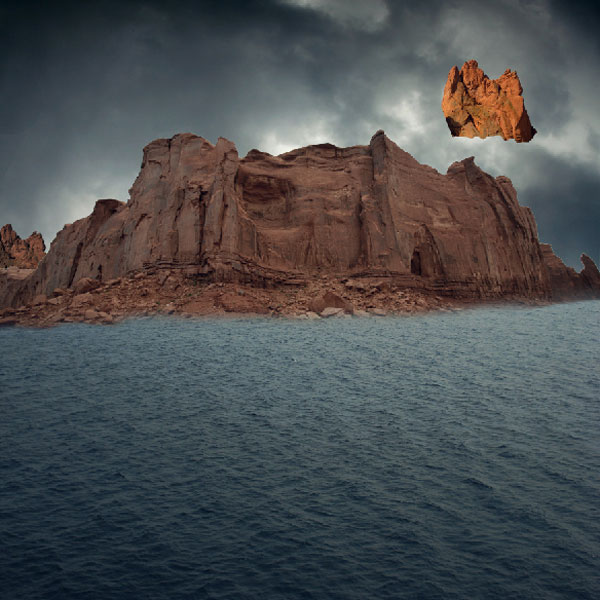
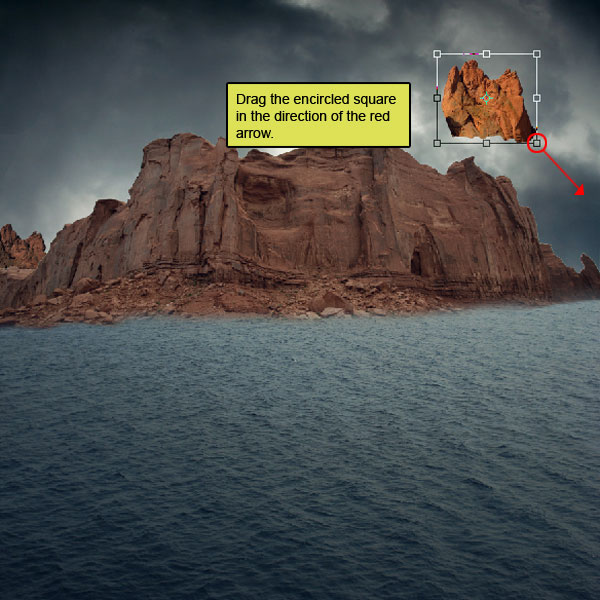
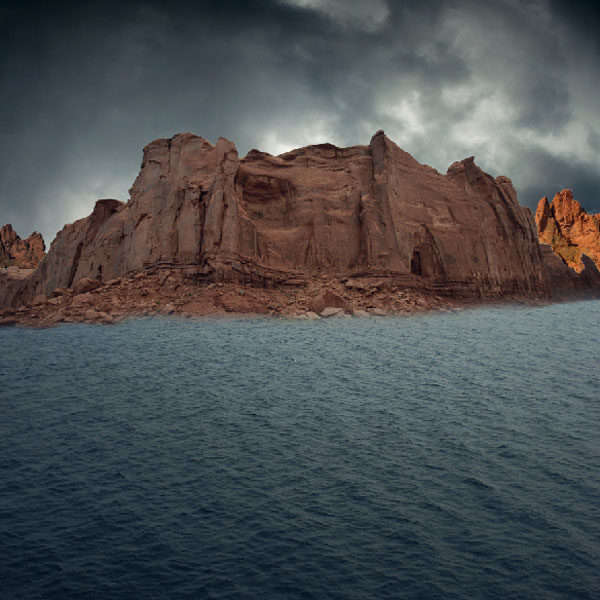
Next, activate the Transform tool (Ctrl/Cmd +T), then while the “Mountain3” layer is selected, resize it as shown below:
Step 14
Now create a new Curves adjustment layer from the bottom of the layers palette.
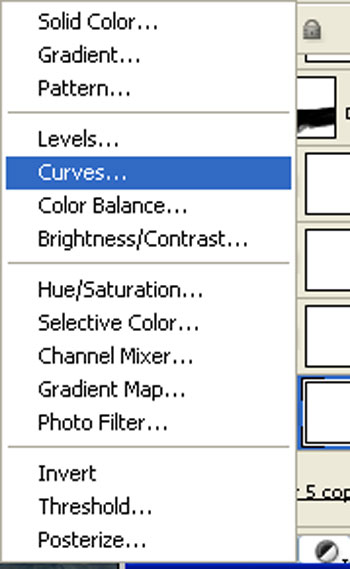
When the Curves box opens, input the following:

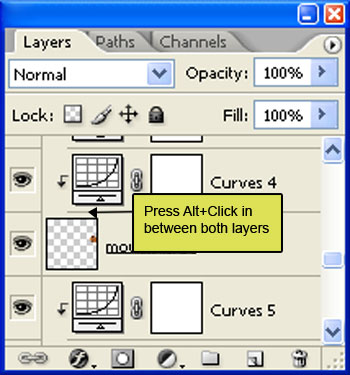
Press Alt+left click in between the 2 layer’s (Mountain3 layer and Curves) to make a mask.
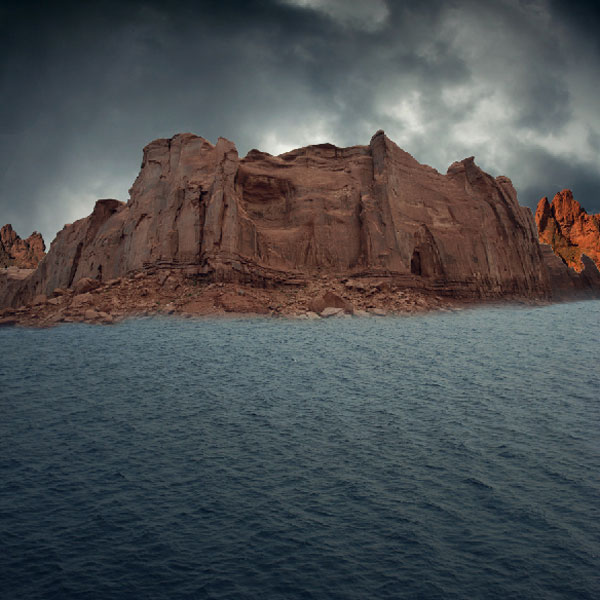
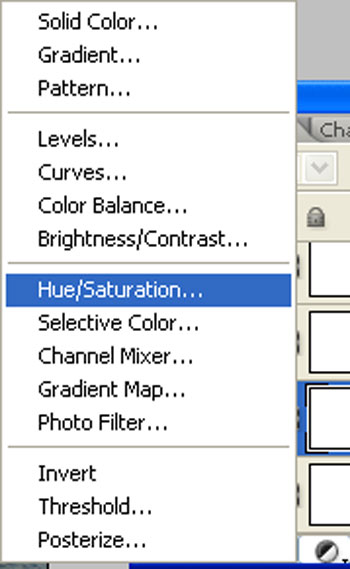
Create new Hue/Saturation adjustment layer:
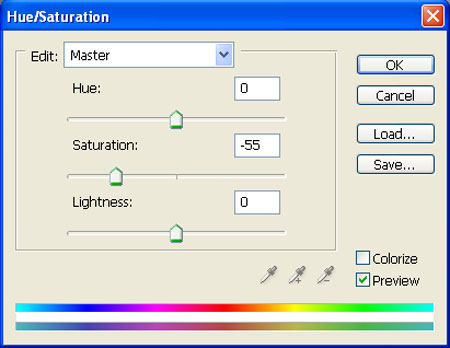
When the Hue/Saturation box opens, input the following. Press Alt+left click in between the 2 layer’s (Mountain3 layer and Hue/Saturation) to make a mask.

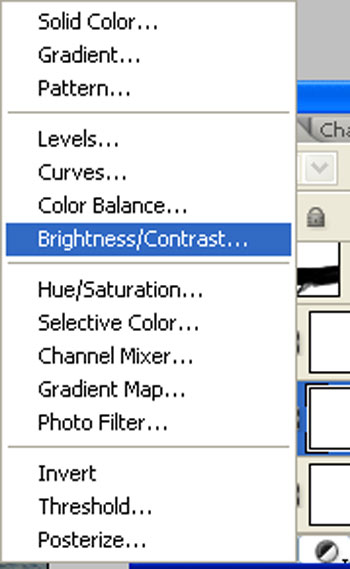
Create a new Brightness/Contrast adjustment layer:
When the Brightness/Contrast box opens, input the following. Press Alt+left click in between the 2 layer’s (Mountain3 layer and Brightness/Contrast) to make a mask.

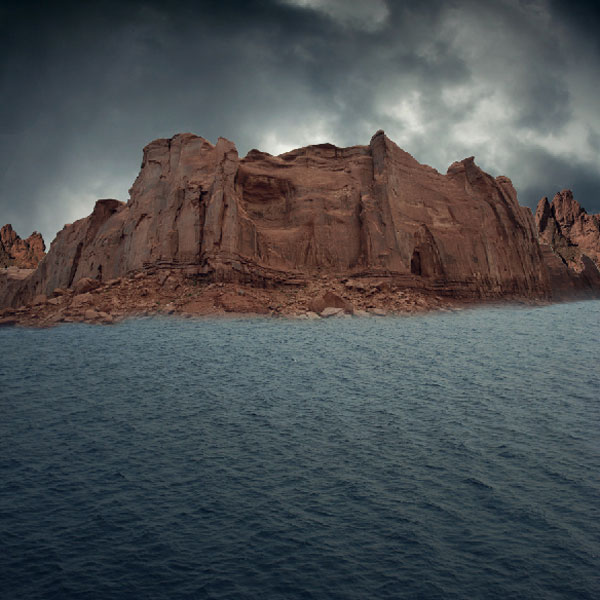
Create a new Color balance adjustment layer from the bottom of the layers palette .
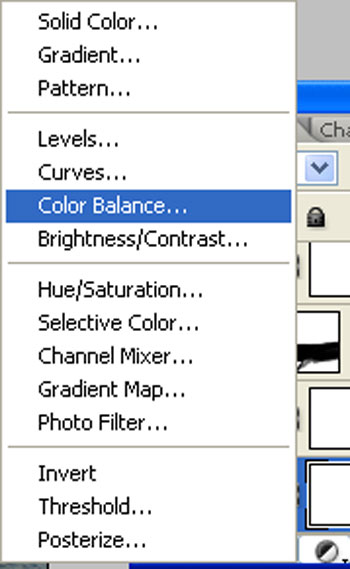
When the Color Balance box opens, input the following. Press Alt+left click in between the 2 layer’s (Mountain3 layer and Color balance) to make a mask.


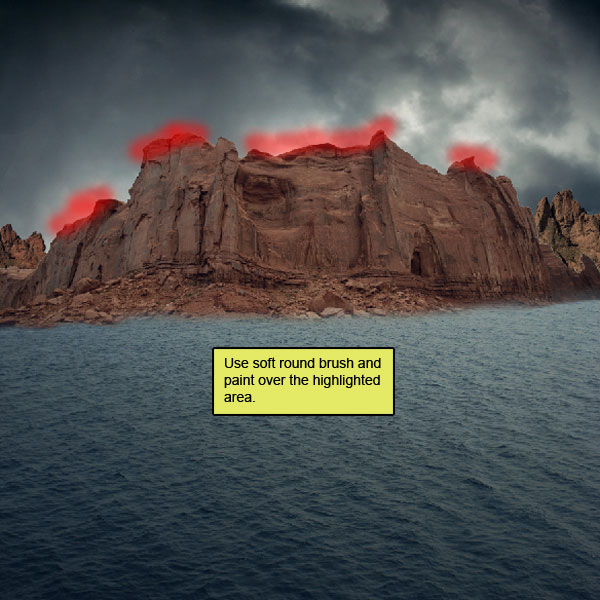
Step 15
Activate the Erase tool (E) with these settings. Now let’s erase :
Brush size: 300px
Hardness: 0%
Opacity: 65%
Flow: 100%
Color: #000000

Now paint over the highlighted area.

Step 16
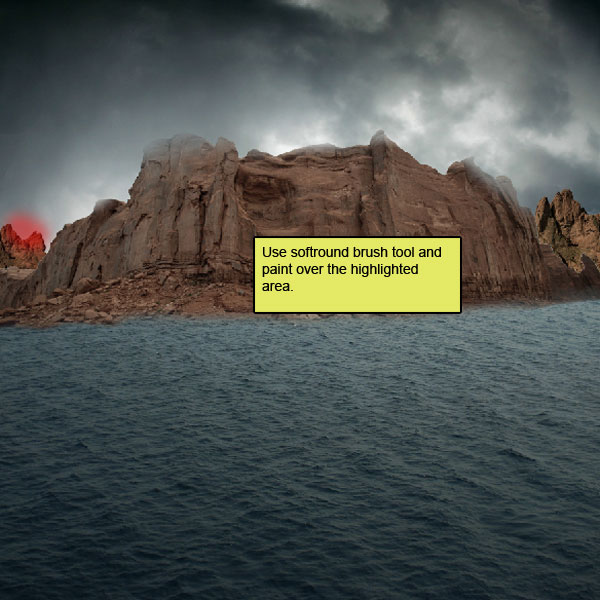
Activate the Erase tool (E) with these settings. Now let’s erase :
Brush size: 300px
Hardness: 0%
Opacity: 65%
Flow: 100%
Color: #000000
Now paint over the highlighted area.

Step 17
Activate the Erase tool (E) with these settings. Now let’s erase :
Brush size: 300px
Hardness: 0%
Opacity: 65%
Flow: 100%
Color: #000000
Now paint over the highlighted area.
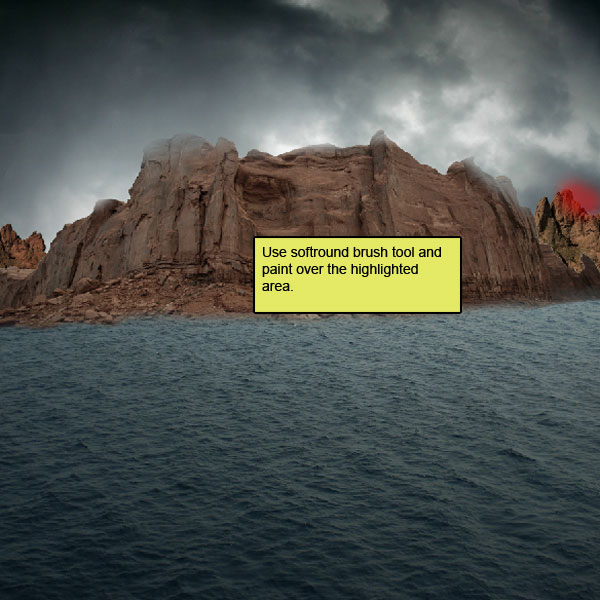

Step 18
Now we are going to make a source light so activate a new layer(ctrl+n) and named it “Source light1”.
Activate the Brush tool (B) with these settings :
Brush size: 500px
Hardness: 0%
Opacity: 100%
Flow: 100%
Color: #FFFFFF
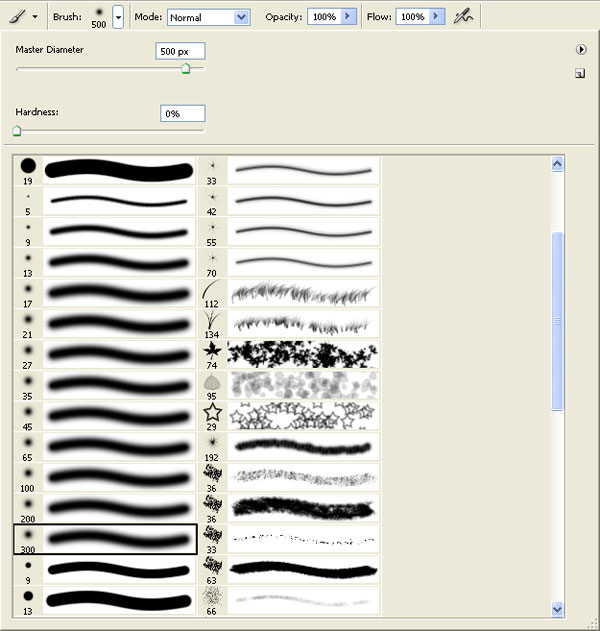
Paint over the highlighted area.
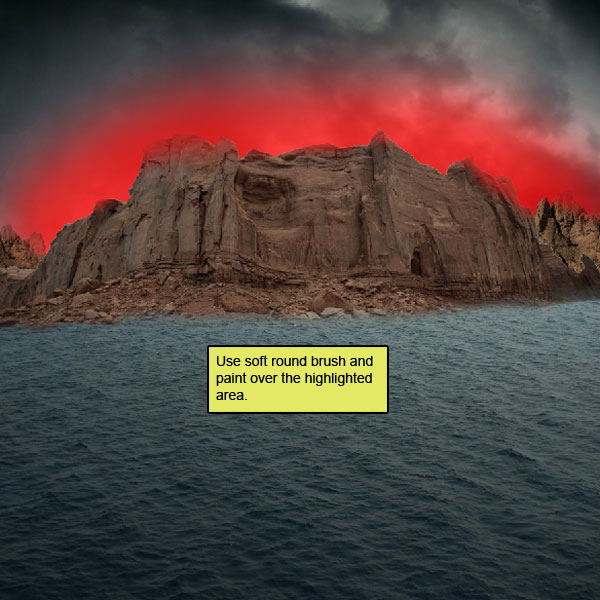
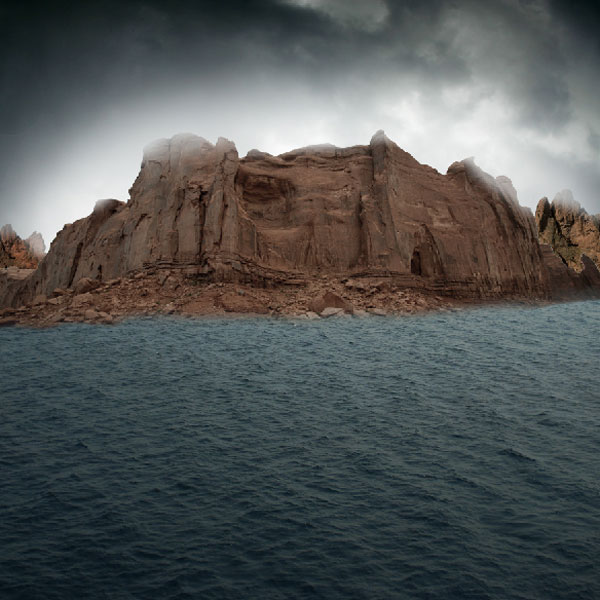
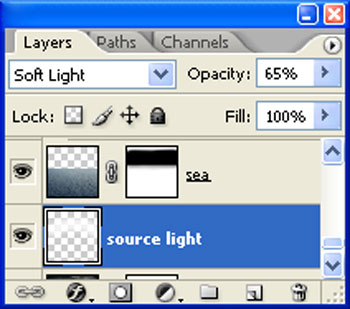
Change the layer mode of “Source light1” to “Soft light” and opacity to 65%.

Step 19
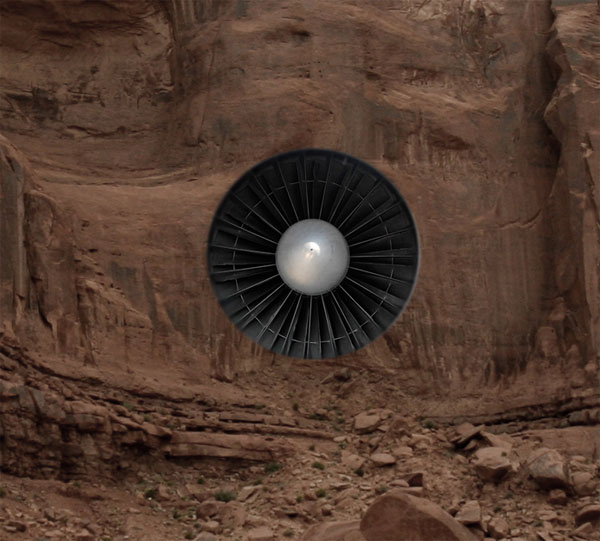
First off, let’s open the engine-moteur stock in Photoshop. We will be using the engine from this stock image so we will need to transfer it to our main canvas.
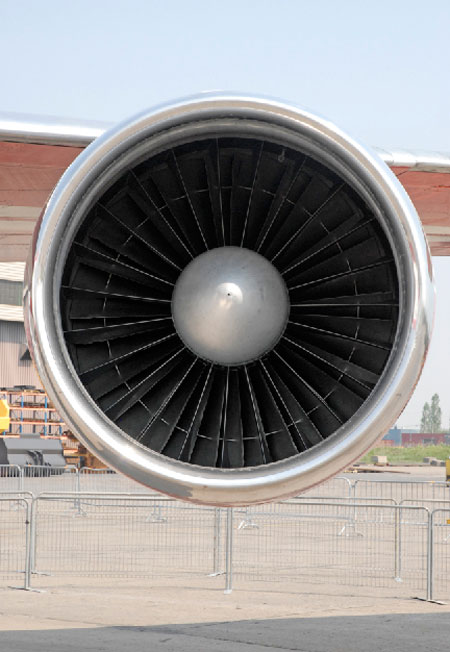
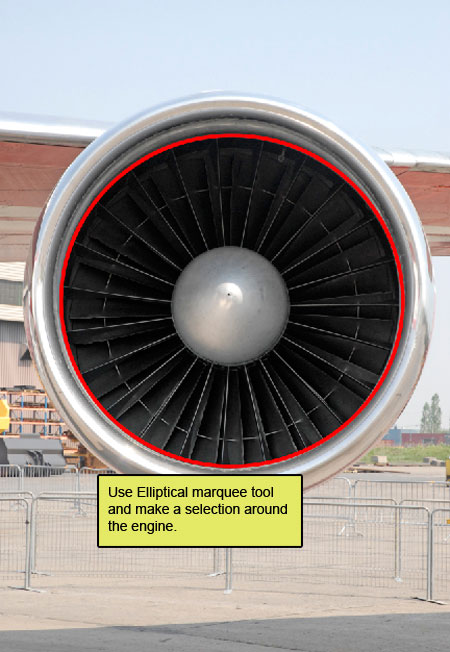
Click the engine-moteur and select the Elliptical Marquee tool, and then make a selection around the engine, then click V to activate the Move Tool. Left-click the image and drag the image to the main canvas and change the layer name to “engine”.
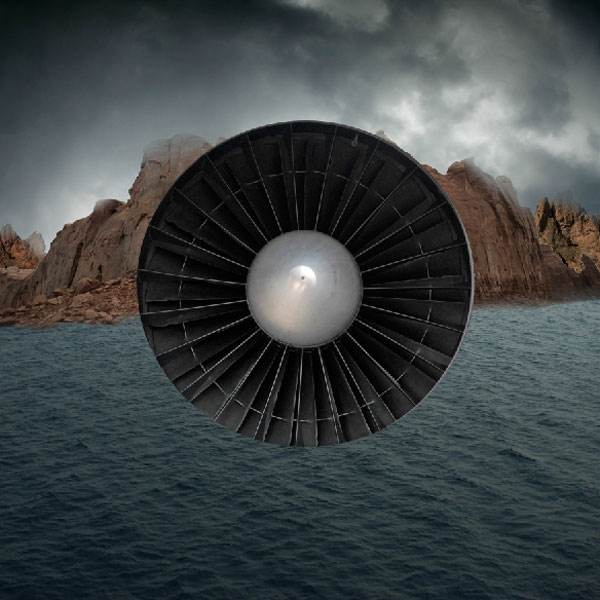
Next, activate the Transform tool (Ctrl/Cmd +T), then while the “Engine” layer is selected, resize it as shown below:
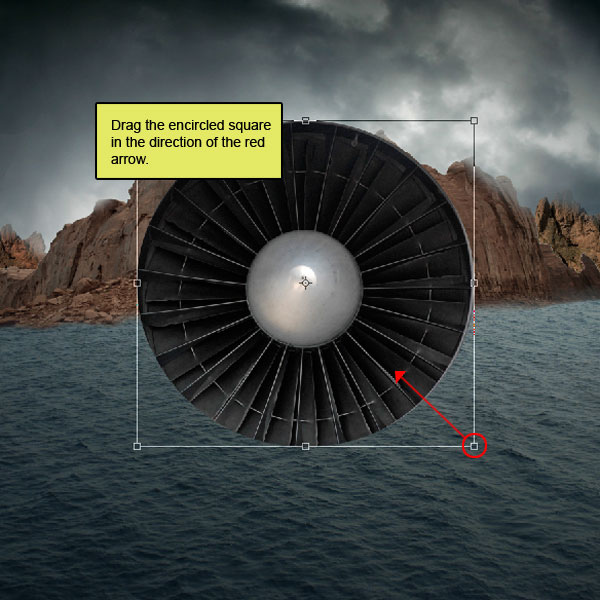

Step 20
Now activate the Blur tool (B) to make our engine’s sharp edges a little blury
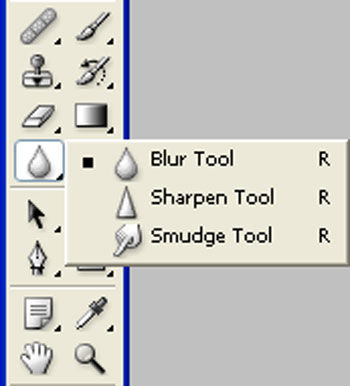
Now take these settings :
Brush size: 65px
Mode: Normal
Strength: 10%
Flow: 100%
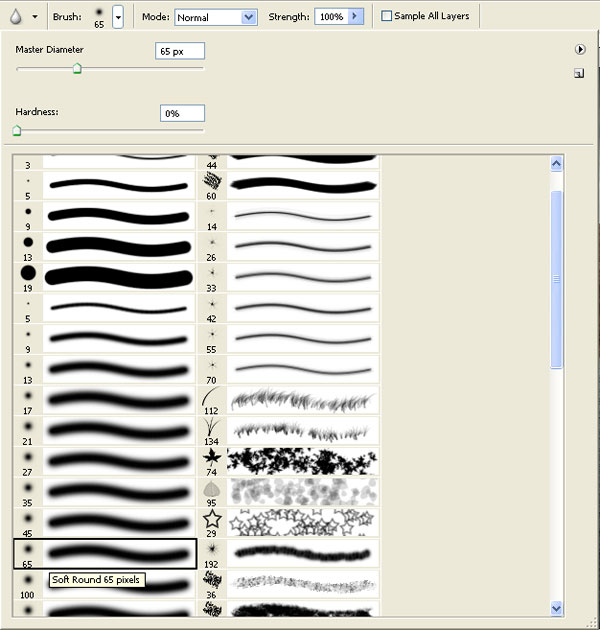
Paint over the highlighted area.
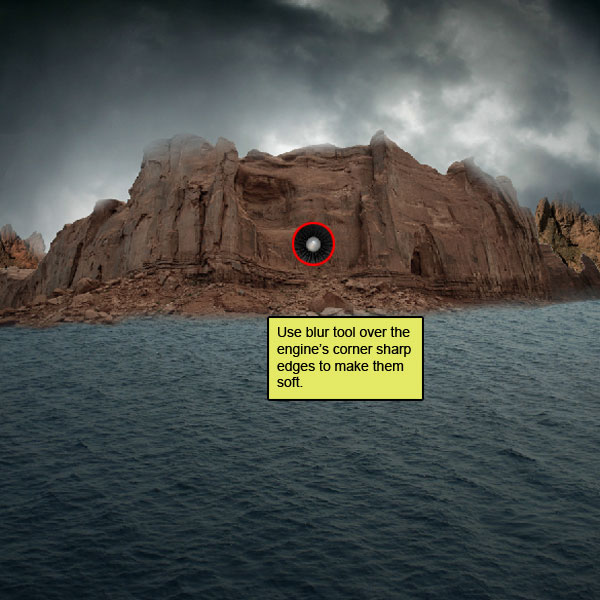
Step 21
Now let’s adjust the color tone of our engine image
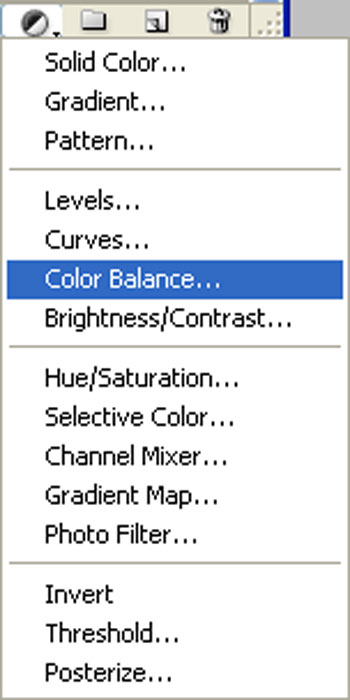
Create a Color Balance adjustment layer:
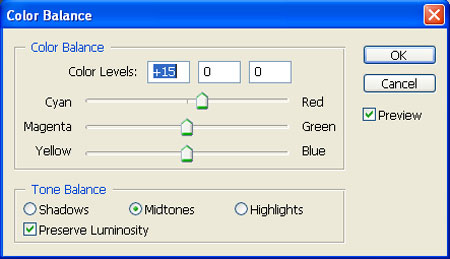
When the Color Balance box opens, input the following:
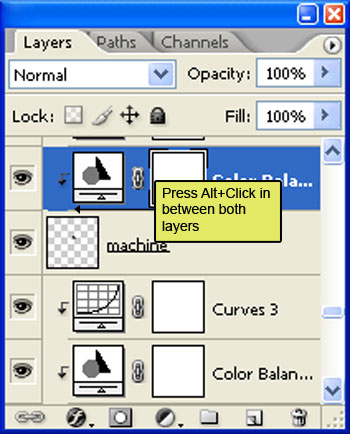
Press Alt+left click in between the 2 layer’s (engine layer and color balance) to make a mask.

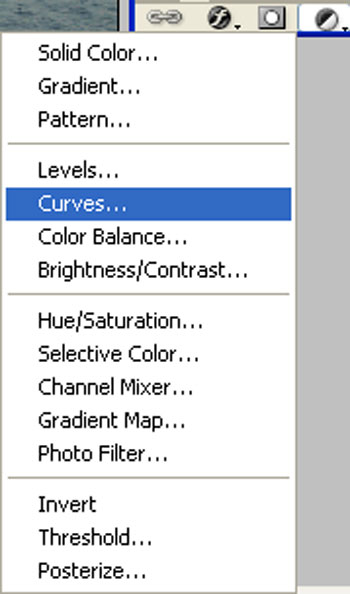
Now create a new Curves adjustment layer from the bottom of the layers palette .
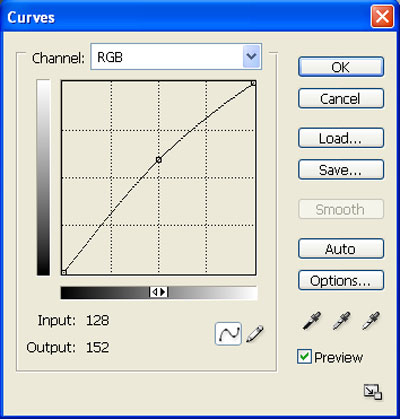
When the Curves box opens, input the following. Press Alt+left click in between the 2 layer’s (engine layer and Curves) to make a mask.

Step 22
Now let’s create a source light for the engine. So activate a new layer and name it “Source light2”.
Activate the Brush tool (B) with these settings :
Brush size: 200px
Hardness: 0%
Opacity: 80%
Flow: 100%
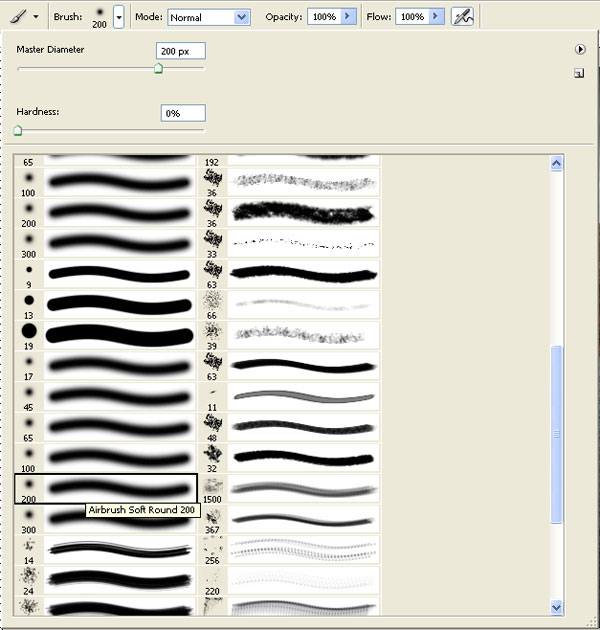
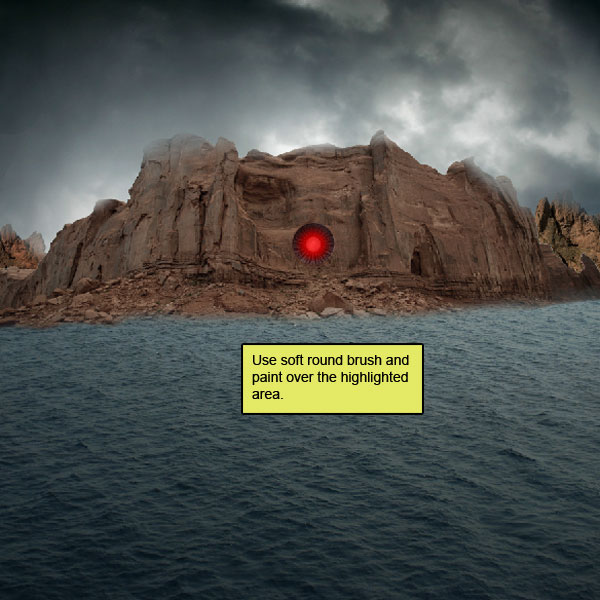
Paint over the highlighted area.
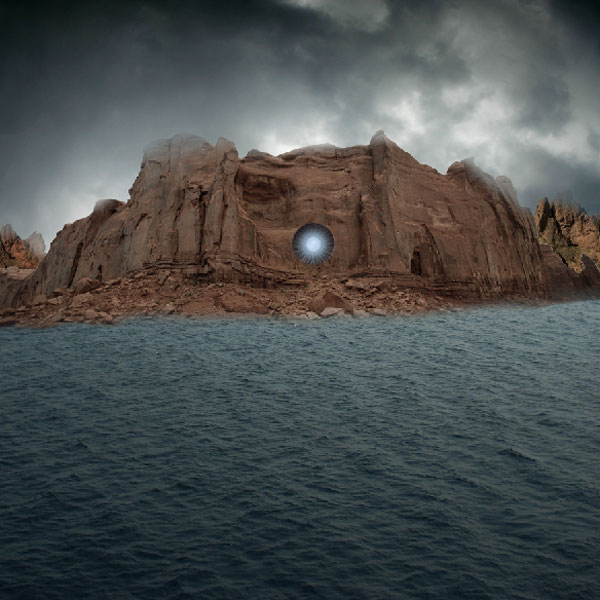
Step 23
Now we are going to adjust the atmosphere of our image:
Create a new Solid color adjustment layer from the bottom of the layers palette .
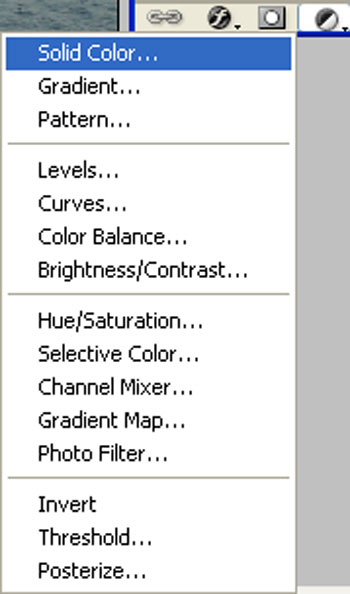
When the Solid color box opens, input the following:
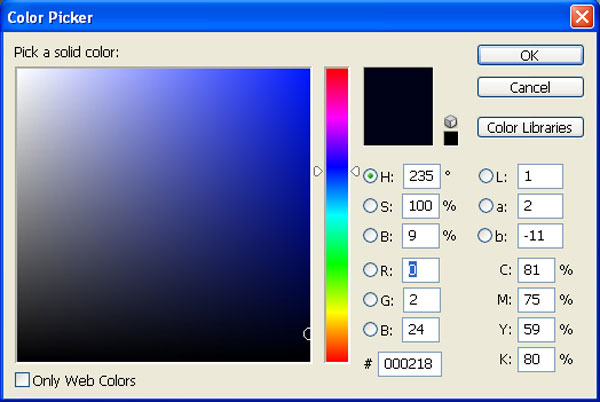
Change the layer mode to “Exclusion” and opacity to 40%
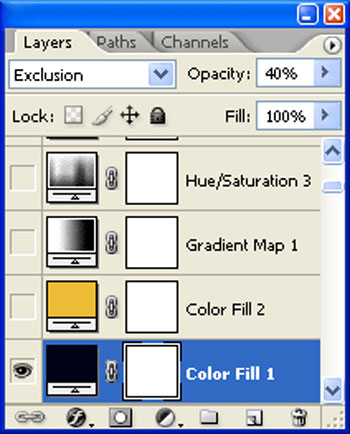

Create a new Solid color adjustment layer:
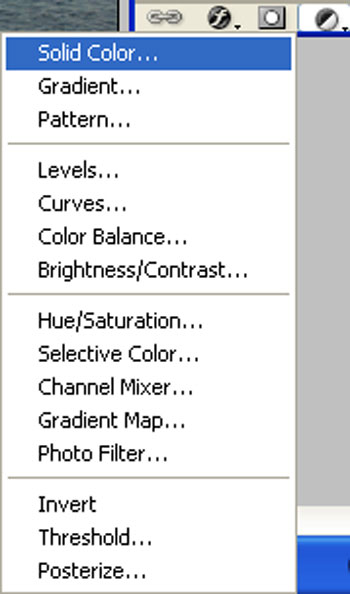
When the Solid color box opens, input the following:
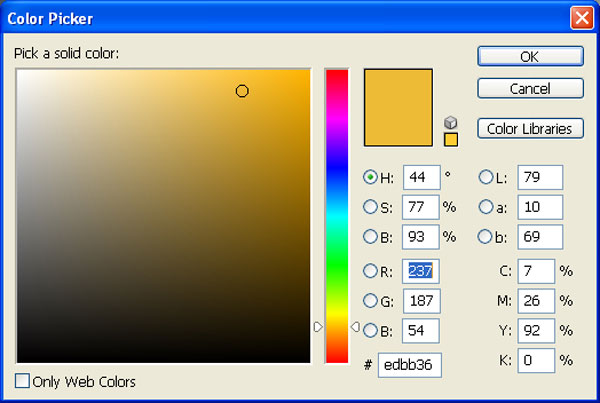
Change the layer mode to “Soft light” and opacity to 20%
The result should be similar to this:

Create a Gradient map adjustment layer:
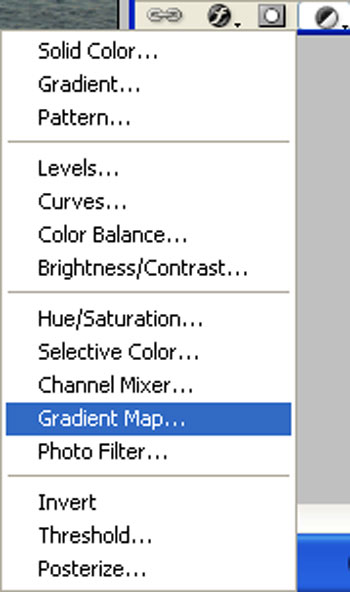
When the Gradient map box opens, input the following:
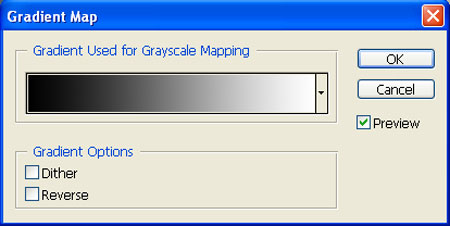
Change the layer mode to “Luminosity” and opacity to 60%
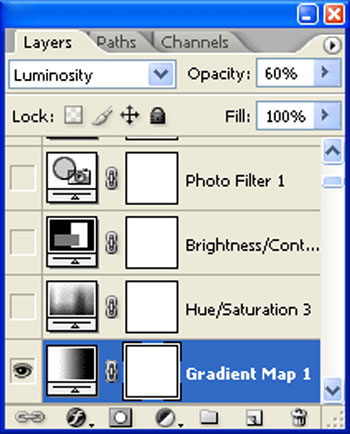

Create a Hue/Saturation adjustment layer:
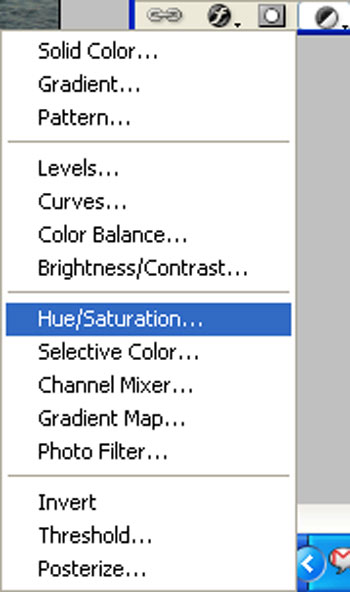
When the Hue/Saturation box opens, input the following:
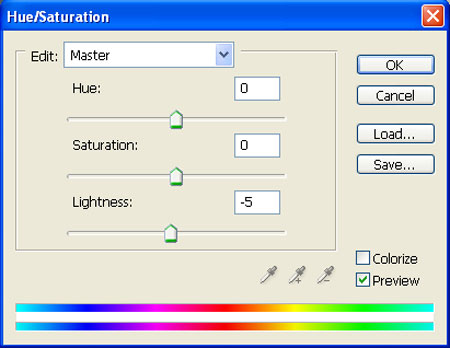

Now create a Brightness/Contrast adjustment layer:
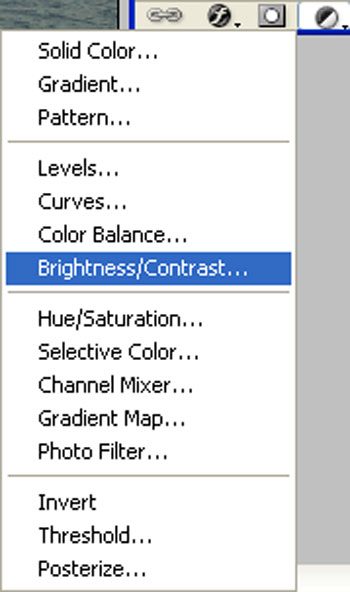
When the Brightness/Contrast box opens, input the following:
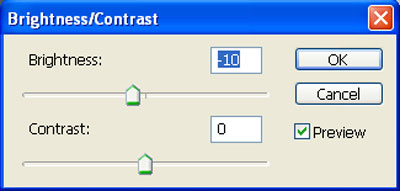
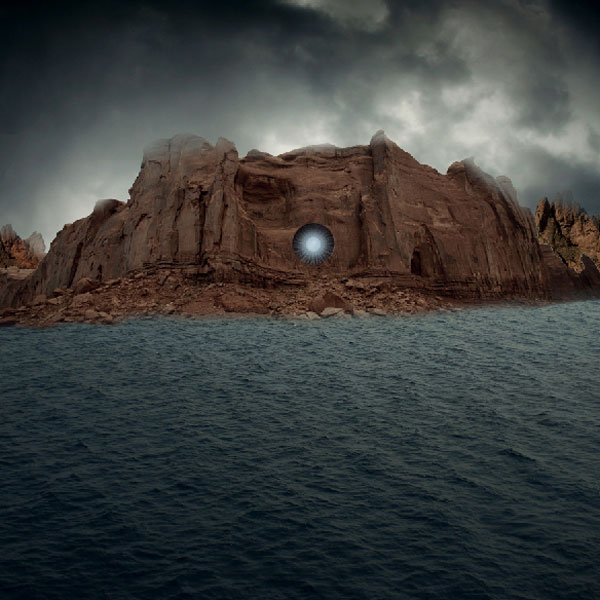
Create a Photo filter adjustment layer:
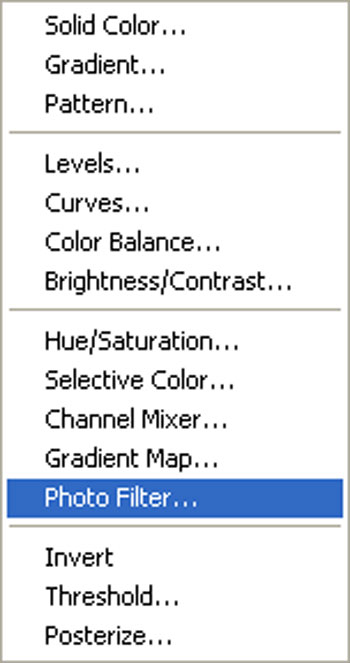
When the Photo filter box opens, input the following:
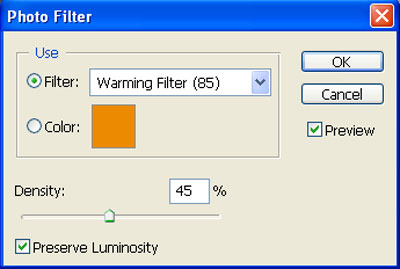
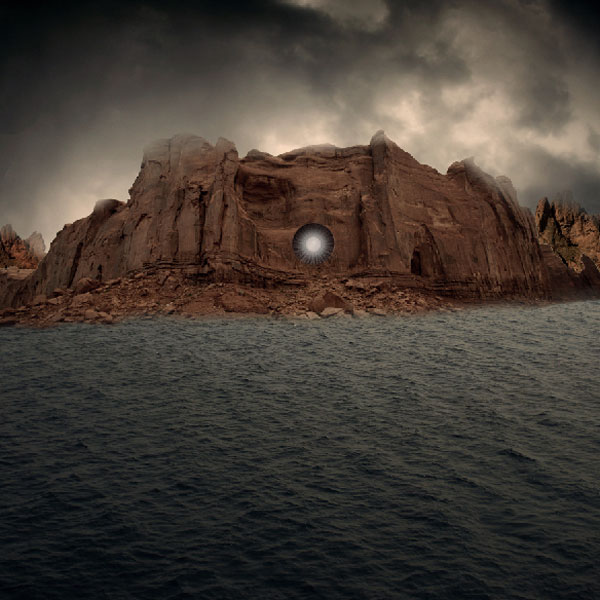
Now create a Curves adjustment layer:
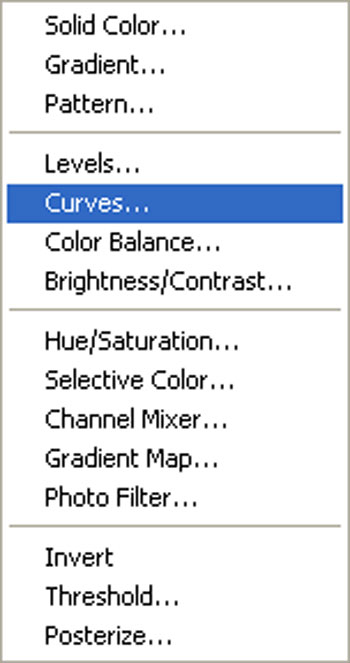
When the Curves box opens, input the following:

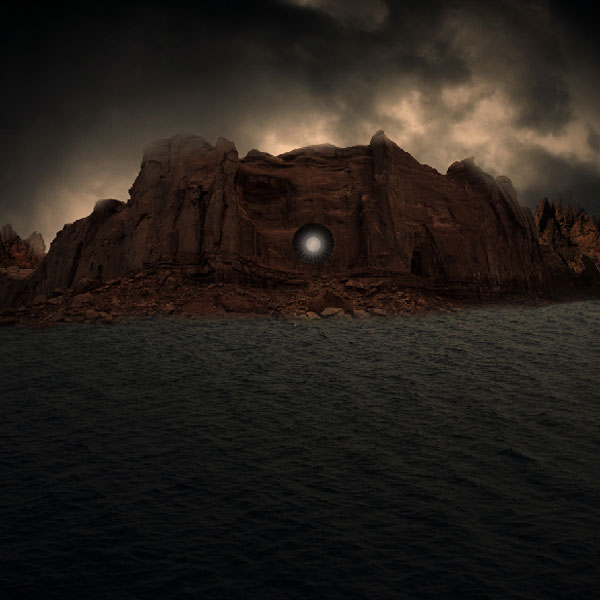
Step 24
Let’s create a Vignette. So activate a new layer and name it “Vignette” and fill this layer with white color (#ffffff)

Now go to Filer > Distort > lens correction.
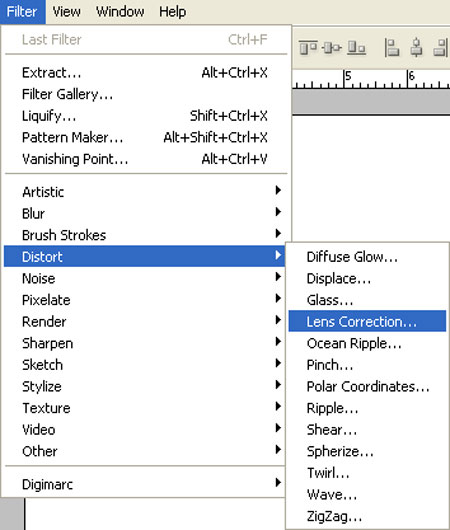
Use these settings:
Vignette amount: -100
Midpoint: +20
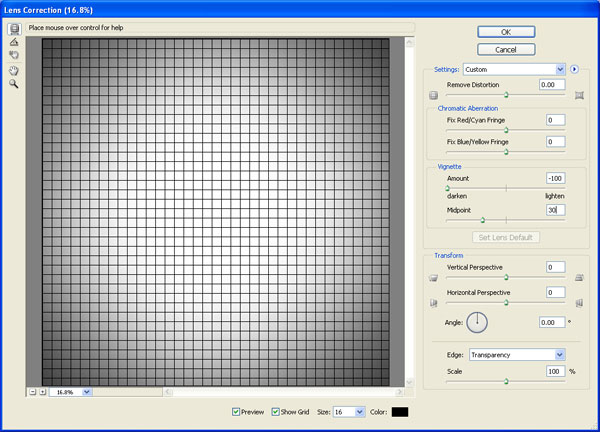

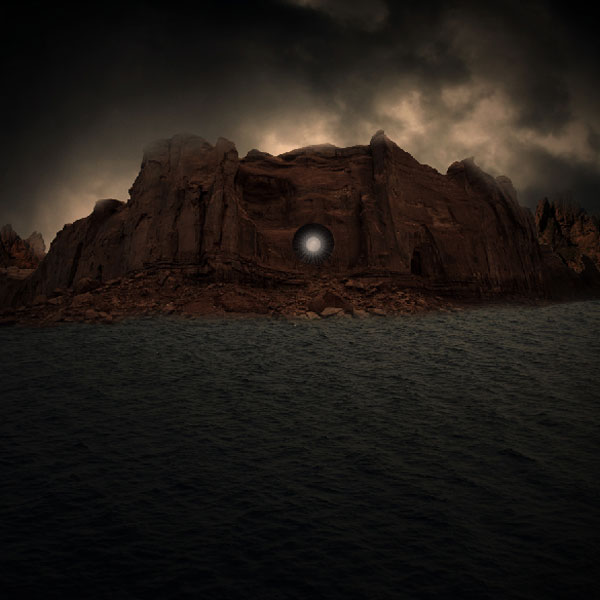
Change the layer mode to “Multiply”.
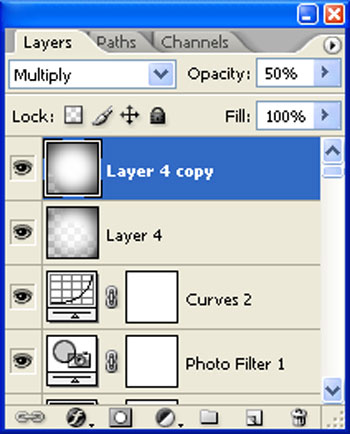
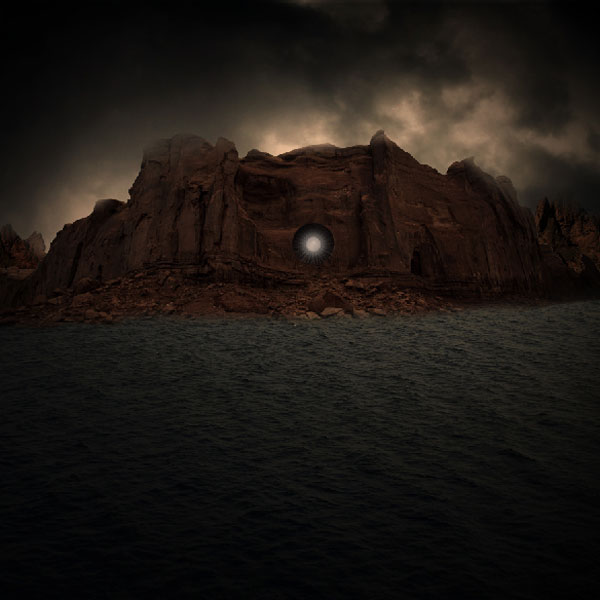
Duplicate the “Vignette” and change it’s layer mode to “Multiply” and opacity to 50%.
Step 25
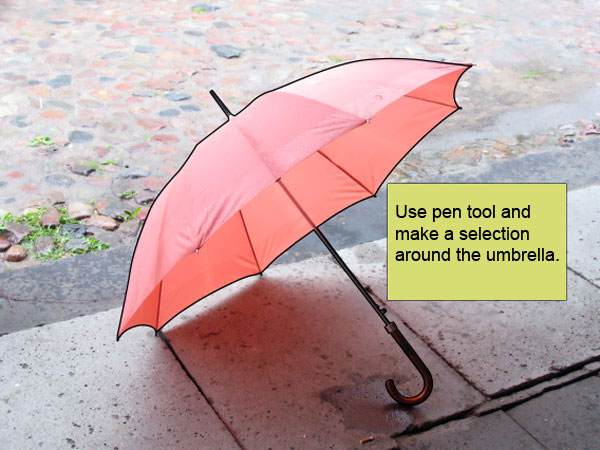
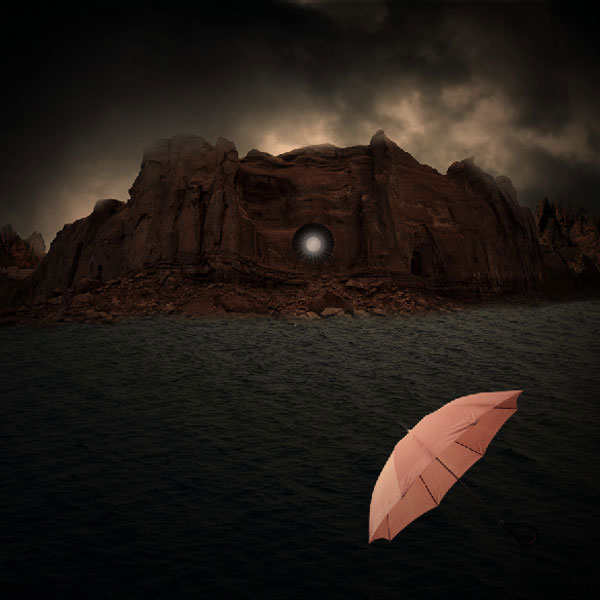
First off, let’s open the Umbrella stock in Photoshop. We will be using the Umbrella from this stock image so we will need to transfer it to our main canvas.

Click the Umbrella and press P to activate the Pen tool and then make a selection around the Umbrella and then click V to activate the Move Tool. Left-click the image and drag the image to the main canvas and change the layer name to “Umbrella1”.

Step 26
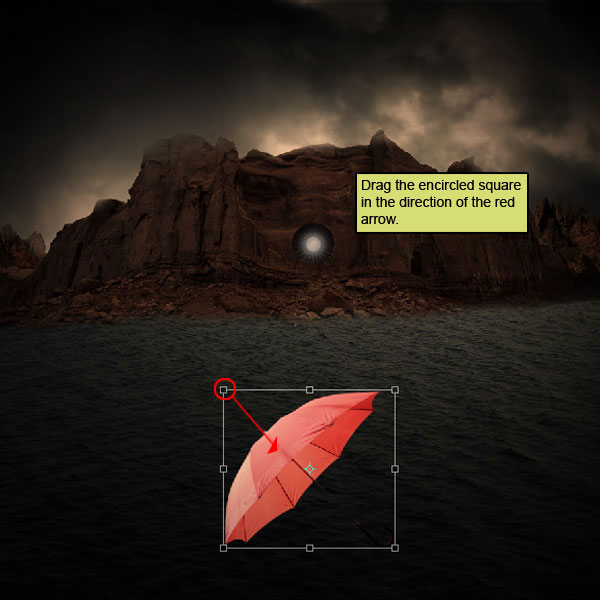
Next, activate the Transform tool (Ctrl/Cmd +T), then while the “Umbrella1” layer is selected, resize it as shown below:

Step 27
Create new Hue/Saturation adjustment layer from the bottom of layers palette .
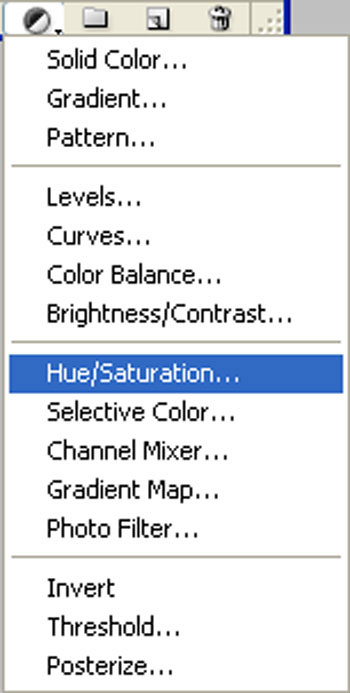
When the Hue/Saturation box opens, input the following:

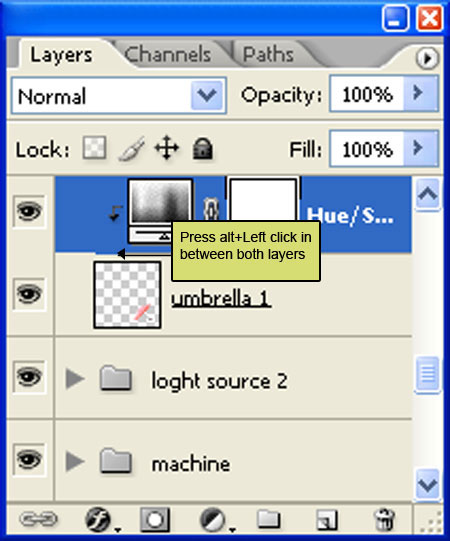
Press Alt+left click in between the 2 layer’s (umbrella1 layer and Hue/Saturation) to make a mask.
Step 28
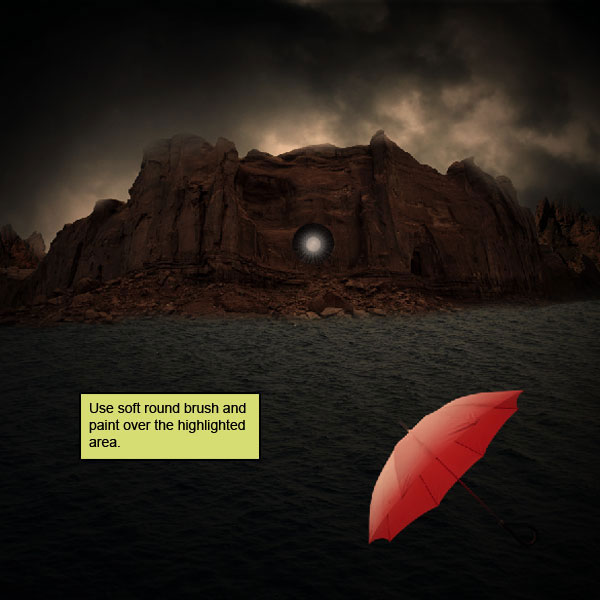
Now let’s create a shadow for our umbrella.So Activate a new layer (ctrl+n) and name it “Shadow of umbrella1”.
Now activate the Brush tool (b) with these settings :
Brush size: 100px
Hardness: 0%
Opacity: 40%
Flow: 100%
Color: #000000
Now paint over the highlighted area.
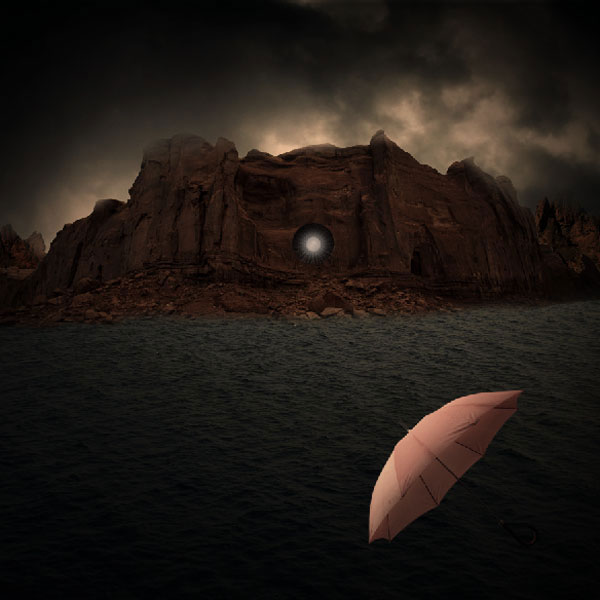
Add more Umbrellas.
Final Image
